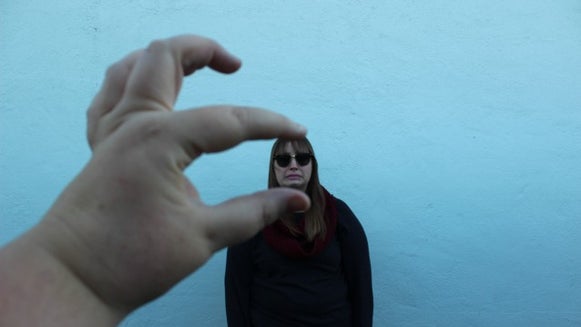
5 DIY Camera Filters Using Household Items
Sometimes you don’t need to spend a lot of money on professional filters to attach to your camera in order to add ethereal elements to your photography. When I was creating my eBook, 'The Whimsical Photography Playbook', I searched high and low for simple home-made filter techniques that any photographer could use to add that sought-after 'dreamy haze'.
Not only do I hope that you enjoy this free extract from my eBook, but I hope that you also create some incredible images using these DIY filter ideas. And don't forget - you can easily enhance your results using simple tweaks in the BeFunky Photo Editor to further transform your images!
Without further ado, here is a round-up of tried and tested home-made filters that you’re going to love!
The Sandwich Bag Trick:
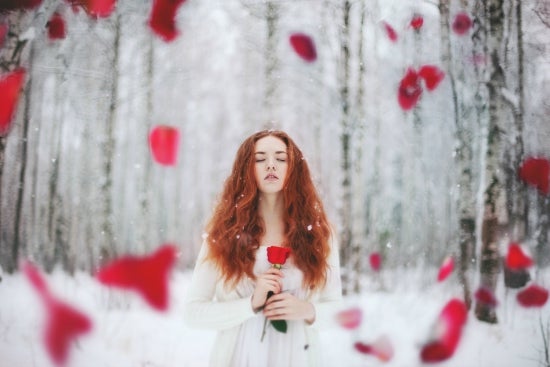
Many professional photographers use this simple and cheap tip to add a hazy and ethereal effect to their photos. Rip a hole in the closed side of your sandwich bag (don’t use scissors as you want those rough edges!). Next, take the open side of your bag and slide it over your camera lens so that the rough edges from the ripped part can be seen around the edges of your viewfinder. Ta-da! You’ve created an instant hazy vignette effect.
BeFunky Photo Editor tip: Using the 'Vignette' tool under the Edit menu will increase this effect even more during the editing process. Adjust the color, strength, and blend mode until you achieve your desired look!
The Vaseline & Cheap UV Lens Trick:
A cheap UV lens will only set you back approximately $10 and by smearing a bit of Vaseline on the lens you can achieve a soft-focus effect, or even make it look as though fog or mist is present in your image.
BeFunky Photo Editor tip: Further enhance this soft-focus look by selecting the 'Soften' or 'Blur' tools in the Edit menu. Use the Paint option to select specific parts of your image to add this effect to.
The Transparent Plastic & Coloured Markers Trick:
This trick is a personal favourite, and it was originally discovered through popular blog, A Beautiful Mess. Using a piece of A4-sized transparent plastic (the thin variety which are often used for overheads, document covers etc.), you must cut the plastic approximately 1 inch (all the way around) larger than your camera lens. Next, use coloured markers to draw big, bold shapes or patterns on your transparent sheet. It is best to avoid small shapes as these do not show up through the viewfinder.
To shoot using your home-made filters, hold the plastic sheet over your viewfinder and make sure you have auto-focus enabled. Be sure to move your filter around to see which position provides you with the best results!
BeFunky Photo Editor tip: Want to add even more patches of color to your photo? During the editing stage, apply one of the Light Leaks options (located in the Textures menu). Too easy!
The Cellophane Trick:

This one is fairly straight-forward, as all it involves is trimming a piece of coloured cellophane large enough to secure over your lens with a rubber band. That’s it! You can now produce colour-tinted images easily. Securing the cellophane over your flash will also produce a coloured lomography effect!
BeFunky Photo Editor tip: Finding your results a little too subtle for your liking? Simply apply one of the Lomo Art effects in the Photo Editor, or you can also play around with the Color Filter tool (in the Edit menu) to further enhance that colored tint!
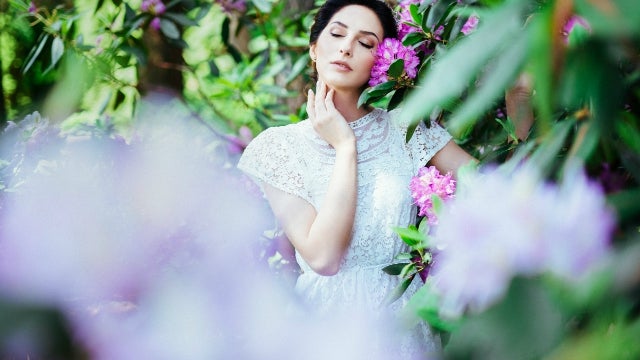
The Lace Trick:
Find a piece of lace large enough to cover your entire camera lens and secure it to the lens using a rubber band. Some lace patterns and sizes will work better than others, so be sure to check through your viewfinder to see if any adjustments must be made before you begin shooting.
BeFunky Photo Editor tip: The various textures located in the Photo Editor tools can also be used in conjunction with this filter to really make your image stand out from the crowd.
If you enjoyed this article, then you'll love these 10 photo editing tips to help you create dreamy wedding photos!
Why not use the BeFunky Photo Editor to add unique filtered effects to your own images? You can start editing them right here: