8 Time-Saving Photography Tips
Ever wondered how photographers save time? Taking photos can be an exciting experience, yet it can also be a time-consuming one – especially if you’re relatively new to the craft. Thankfully, there are plenty of tips you can take onboard to not only perfect your photography, but also save time during the process.
In this guide, we share our top tips for taking good photographs as quickly as possible, while helping you avoid some of the most common photography mistakes that could be wasting your time.
1. Plan Ahead
If you want to save time as a photographer, it’s vital that you plan ahead. This involves knowing where you will be shooting, who you will be shooting with, and exactly what kinds of photos you want to capture.
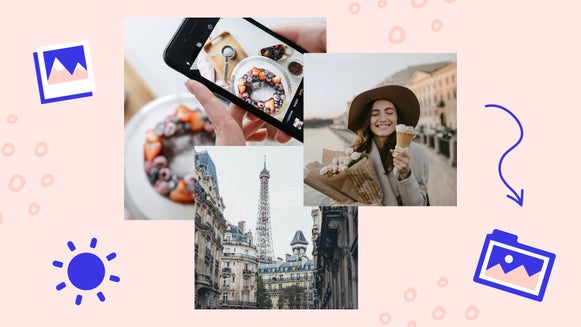
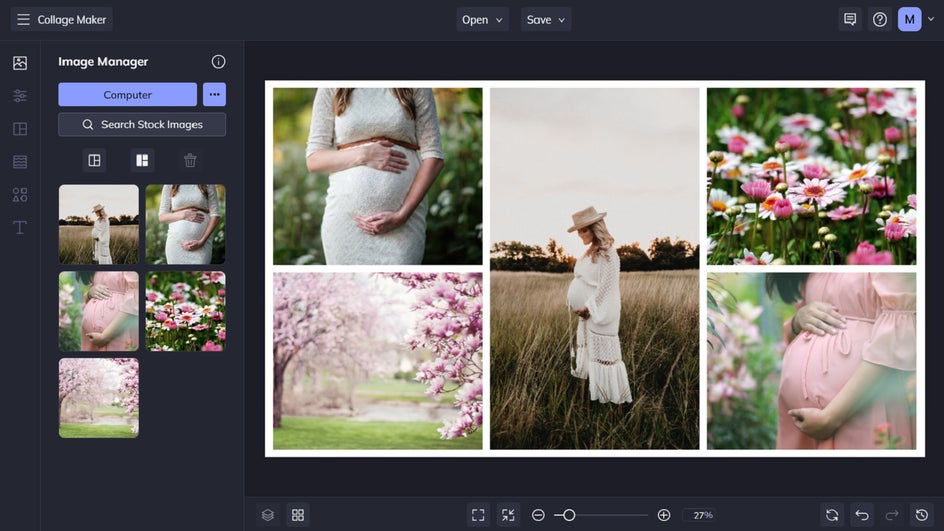
Having a mood board prepared beforehand can really help you to bring your photoshoot ideas to life. Thankfully, creating a mood board is very easy to do using BeFunky’s Collage Maker.
You should also know what gear you’ll need, how long the shoot will be, and have a backup plan in case something goes wrong, such as a piece of equipment not working properly. In this scenario, it's helpful to bring extra memory cards and batteries. If possible, you should also consider packing an extra camera to have on standby.
If you’re going to be shooting in a location that’s new to you, you should also look for details about it online. Search for photos of the area and think about how your own images could fit into this context.
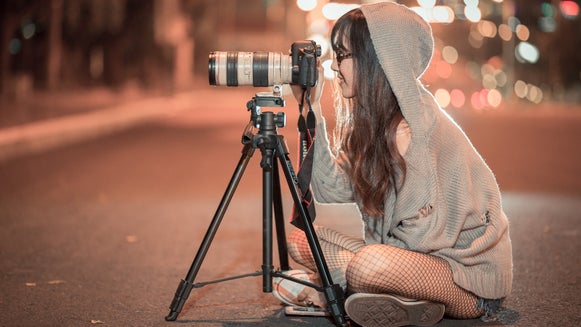
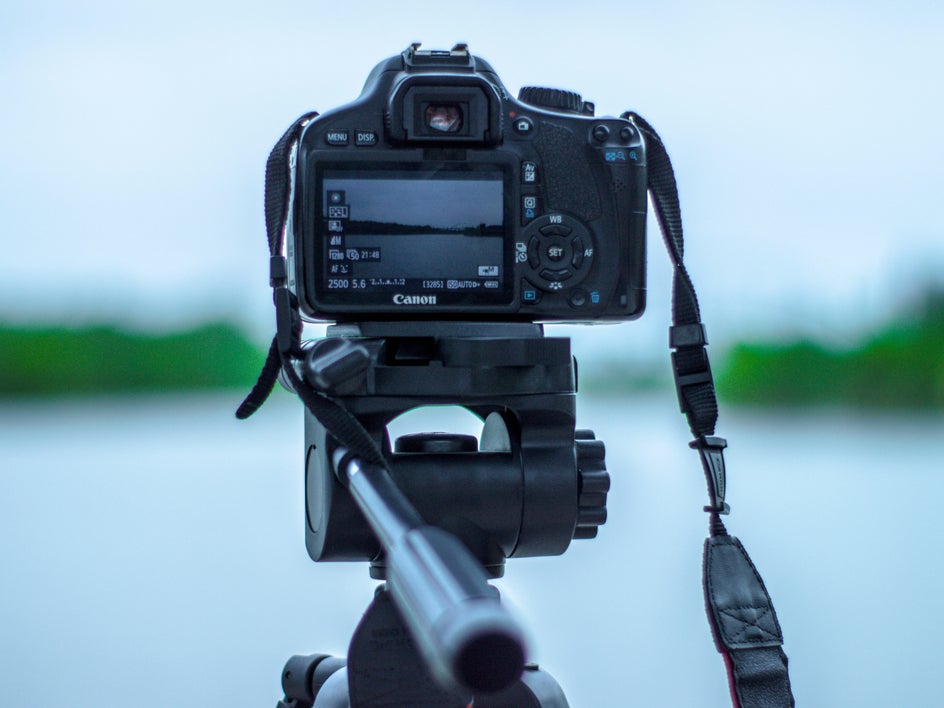
2. Master Your Gear and Settings
Know how to adjust the settings on your camera, so you can get the right shot without wasting additional time. If you’re using a DSLR, learn about the different settings and how each one affects your image. Once you know which settings work best for certain lighting conditions, you can use them consistently.
You should also know how to change the settings in different situations, like when using a flash or tripod. The more practice you have with these things, the faster you’ll become at getting great photos in less time.
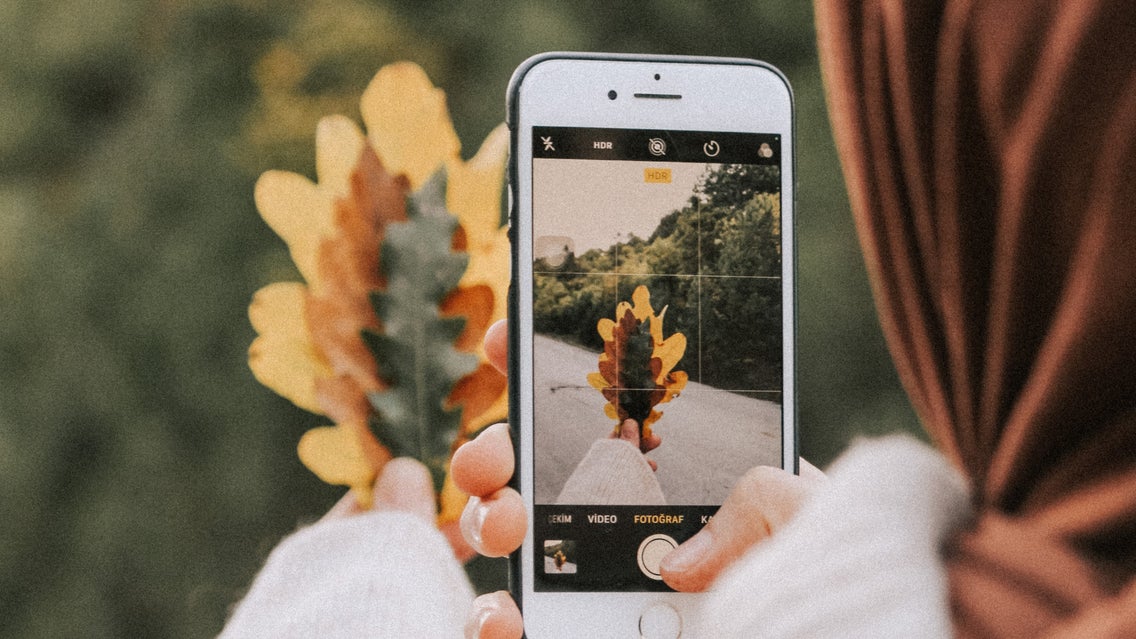
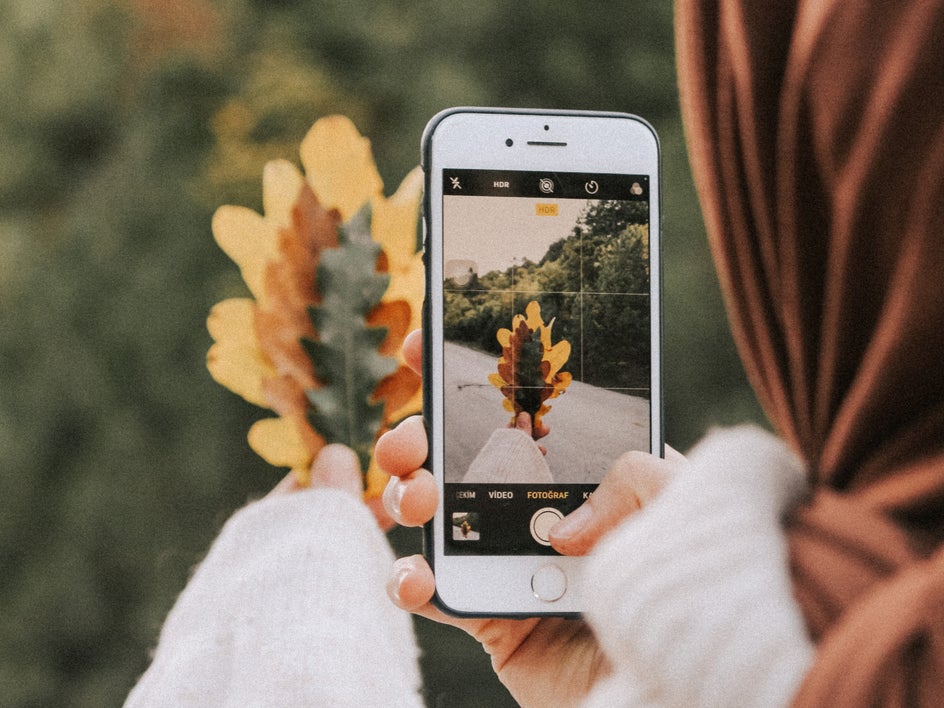
This advice also extends to mobile photography. Familiarize yourself with the different modes and settings to ensure you get the best shot each time. This includes adjusting the focus and exposure correctly, as well as making use of your phone camera’s gridlines to achieve the perfect composition.
3. Take Test Shots First
Before you start shooting, take a few test shots to make sure your camera is set up properly.
A common photography mistake is failing to take a few test shots with different angles of the same subject. This will help you to determine if one angle is better than another and allow you to continue in this successful direction from the get-go. You should also closely examine these test shots to ensure there aren’t any unwanted objects in your photo – like a pesky piece of trash or accidental photo-bomber.
Without these varied test shots, you decrease your chances of taking the most flattering and balanced photos, potentially causing you to have to re-shoot them altogether!
4. Take Advantage of Auto-Focus
Manual focus is often preferred by professional photographers as it gives them greater control over their photos. However, auto-focus can be incredibly helpful for those with less photography experience or who find themselves with a tight time frame.
If you're shooting moving objects, for example, it's best to use automatic focus so that you don't miss the action. Auto-focus can be used in low light as well, which is great for shooting indoors or at night.
When using auto-focus, make sure that you have a steady hand, and look through the viewfinder. Focus on an object in the distance and then turn on auto-focus to lock in your focus.
While they’re not ideal, blurry photos may still be corrected during editing using the Sharpen DLX tool.
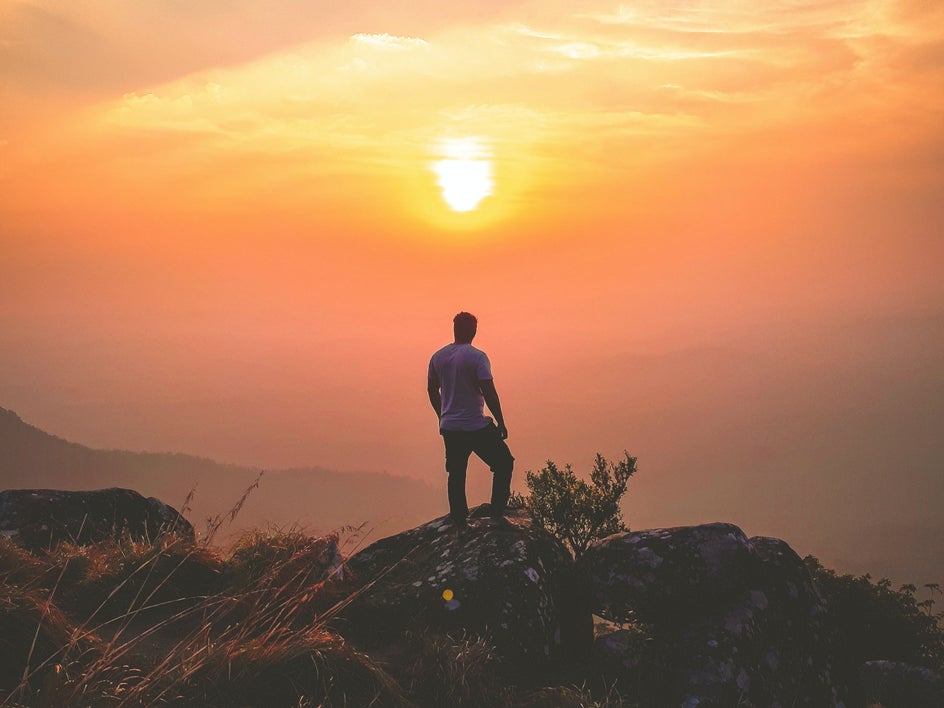
5. Get Up Earlier for Golden Hour
Golden hour is the time of day that occurs just before sunset and just after sunrise. It's when the sun is lower in the sky, which means there are fewer shadows. This makes for softer light that's more flattering to your subject.
If you’re wondering “how do you do golden hour photography?”, we’ve written a handy guide about it on our blog.
If you want to take advantage of this magical lighting, get to your photo shoot location with plenty of time to spare before golden hour passes. This will give you more time to set up your shot and compose it before that beautiful golden light disappears.
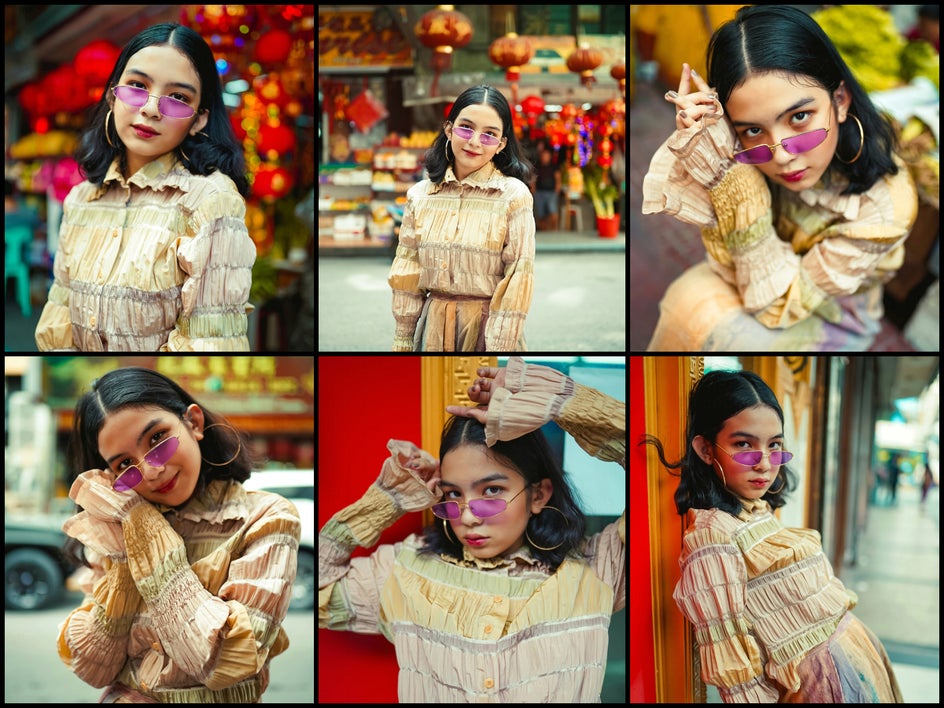
6. Shoot Multiple Photos at Once
Shooting multiple photos at once makes it more likely that you’ll get a great shot. The best way to do this is to use burst mode on your camera. Burst mode allows you to hold down the shutter button and take a series of photos very quickly, meaning there are fewer chances of missing an important moment.
It’s particularly useful for capturing motion, like when someone is running or jumping. It's also especially helpful when capturing wildlife photography, like a fast-moving animal.
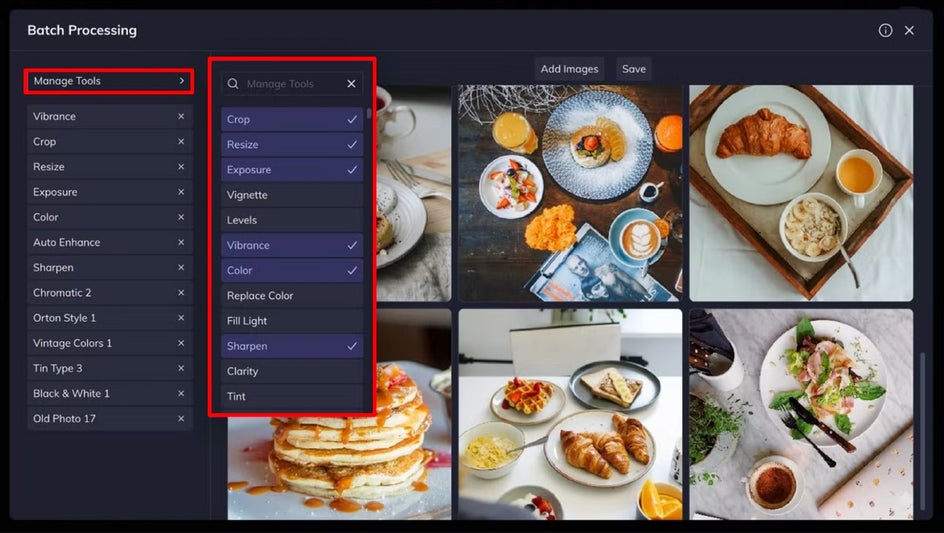
Another advantage of using burst mode during your photoshoots is that it will save you time during post-processing. BeFunky’s Photo Editor has a batch processing tool, for example, that allows you to apply the same effects to hundreds of photos – all at once!
7. Embrace Natural Light
By taking advantage of the natural light available to you, you’ll have more time to focus on getting the shots you want and less time trying to find other ways to create lighting with artificial means. It will also help you to get more consistent shots and make editing easier.
When you’re taking pictures outside, try to take them in the shade or under an overhang to avoid direct sunlight. If there’s no shade available, use a diffuser to soften harsh shadows and make your subject look more natural. To take advantage of natural light in an indoor setting, try shooting near windows or in well-lit rooms.
Flash is a great tool for photography, but it can have a negative effect on your photos if you use it too much. Try to avoid using the flash when possible and use natural light instead; this will help ensure that your photos look as balanced as possible.
If your photos are still looking too dark, you can adjust their brightness, contrast, highlights, and shadows using BeFunky’s Exposure tool.

8. Develop a Consistent Editing Process
Editing photos might seem time-consuming, but it's a necessary step in perfecting your photography and gives you an opportunity to stand out from the crowd. Your goal should be to find an editing process that works for you and stick with it as much as possible. Doing so will also allow you to save time with your post-processing.
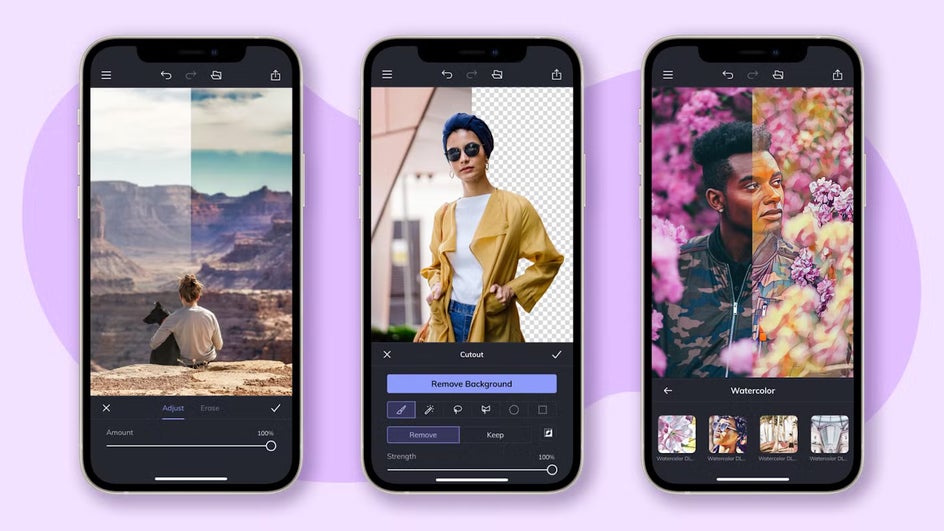
This is where BeFunky’s Photo Editor comes in handy, as it features every effect, tool, or feature you could ever need for perfecting your photos. The best bit is many of these tools are free to use, plus they can transform your photos in as little as one click.
BeFunky’s creative suite is also available across both desktop and mobile, making it ideal for editing mobile photography on the go too.
Save Time With Your Photography Using BeFunky
Whether photography is your hobby or full-time profession, these time-saving photography tips will help you get more done in less time. At the end of the day, it comes down to having the right tools on hand, as well as knowing how to use them to their full potential.
Thankfully, BeFunky has everything you need to speed up your photography process. Check out the Photo Editor today to see just how helpful it is!