A Quick HDR Lesson
Alright kiddies, gather round and listen up. It’s time for a good old fashioned lesson on how to make even the most basic iPhone photos look professional and glitzy as all hell. Today’s topic, you ask? HDR, son!
We went over HDR a little bit in our post on the wickedly awesome BeFunky Express (if you haven’t got it yet, shame on you) post, but for those of you who slacked off that day let’s go over it again real quick.
HDR stands for high dynamic range, aka the full range of visible light captured in the photo. This means that an HDR photo takes multiple photos at different exposures and consolidates them into one photo to capture both the full shadow and highlight details without looking washed out, giving your shot that oh-so professional look.
It ensures that you get only is the most colorful, well-lit and focused parts of the scene, and while BeFunky Express is totally equipped to turn just about any photo into an HDR masterpiece…
...well, we aren’t always available on our desktop computers now are we? Exactly. We have nice, fulfilling lives filled with going to the grocery store and post office and things, so naturally it stands to reason we’re not always going to have such advanced photo editing tools on hand.
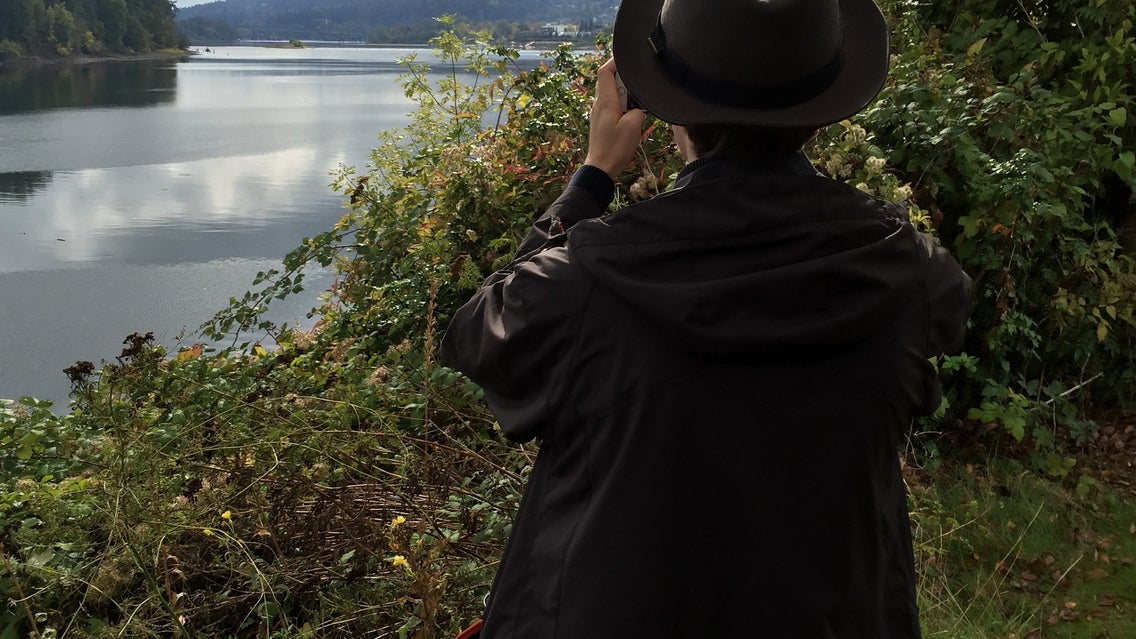
But if you know a thing or two about the theory behind HDR and have yourself a decent iPhone, there’s plenty you can do to ensure you get the perfect HDR shot. Check out this one I took a few weeks ago, for instance (completely and totally unedited):
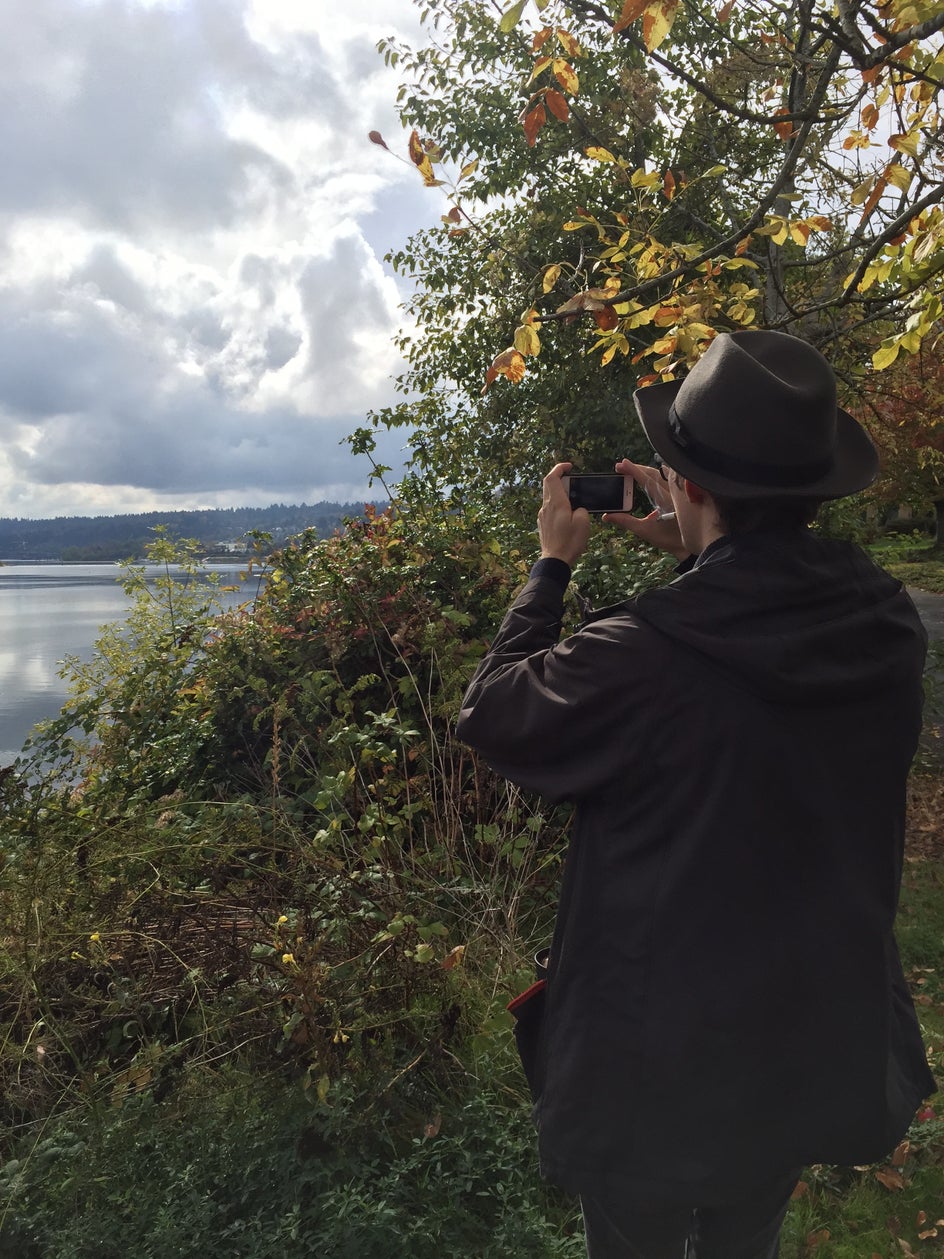
Not half bad. Start by enabling the HDR Auto setting on your iPhone camera. HDR photos work best for these types of situations:
-dreamy landscapes
-well-lit/sunlit areas
-conversely, poorly lit scenes like concerts
And doesn’t work so well for these scenarios:
-very brightly colored photos: you may lose some of your color in the process
-moving shots: because HDR takes multiple photos at different exposures, if your subject is blurry it won’t make for a very nice shot indeed.

So in short when you find yourself in a gorgeously lit, vast landscape, it’s a great idea to try and capture an HDR shot (after you’ve had your share of frolicking through the fields, of course). A few tips for getting the best HDR shot possible:
- Pay attention to your light source: The natural landscape of the scenes above proved to be tremendously useful as the leaves helped block away some of the sunlight—which would have otherwise resulted in an overexposed photo.
- Clean your lens: pretty much goes without saying.
- Try and get as close to your subject as possible: zoom doesn’t look so hot when you’re dealing with delicate images, does it?
- Hack your time: A lot of photographers aim to shoot during the “golden hour”, aka that magical time before sunrise or just after sunset.
Don’t ask me why they call it the golden hour, because waking up before sunrise sounds nothing short of ungodly to me, but hey, whatever floats your boat.
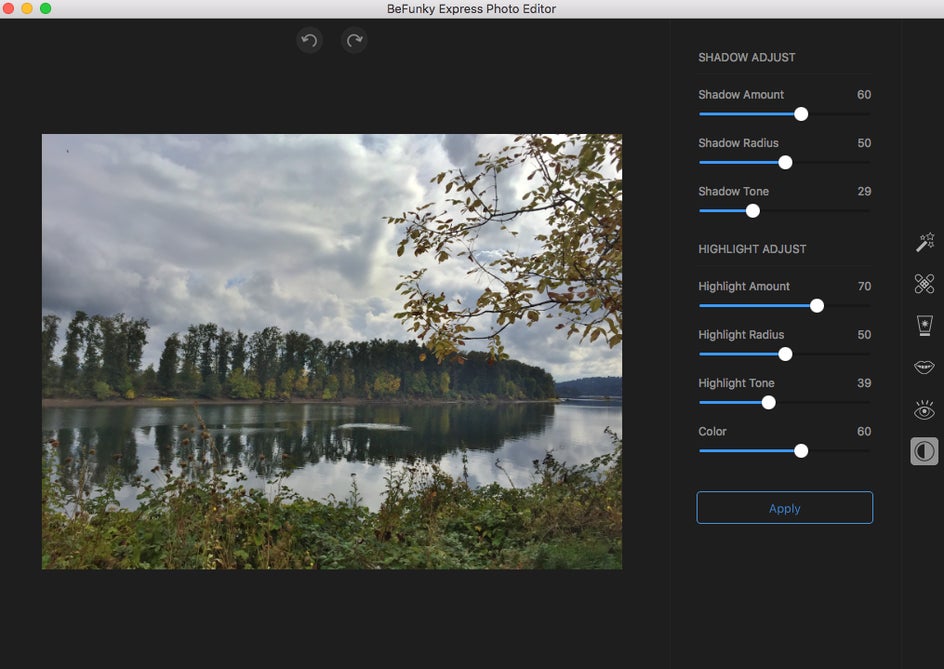
You can then plug your images into the Levels function in the Photo Editor to see just how far off you were. In this case, you can tell I managed to just hit it perfectly since a) the black and white sliders lineup and b) there’s a pretty wide tonal range, which means you’ve got yourself a perfectly contrasted photo.
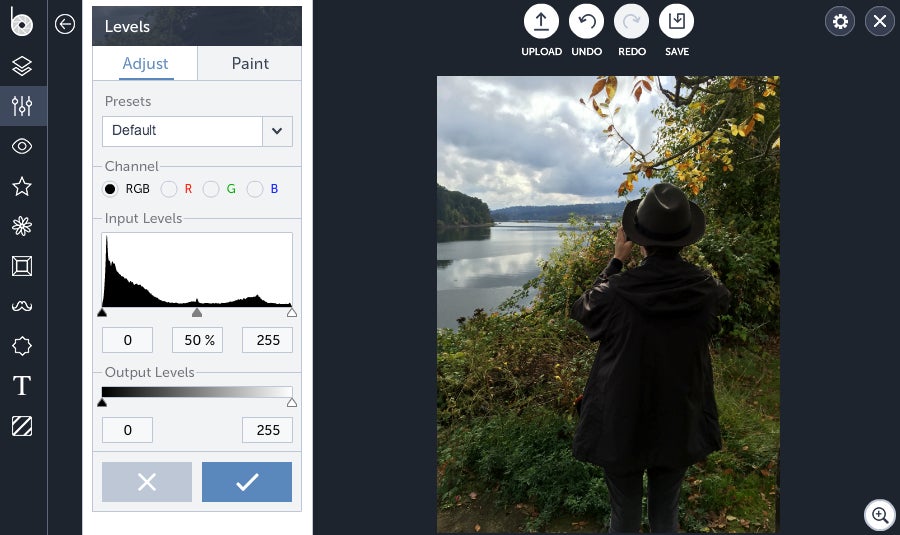
If you found you came close but aren’t quite there yet, just use your handy dandy Levels tool to tidy things up a bit. Ta da! Congrats, you’re a real photographer now. Now go out into the world and grab yourself a nice pair of spectacles and a brooding look.