How to Create a Step-by-Step Guide Graphic
Whether you’re a blogger, teacher, business owner, or product creator, there will come times when you want to share a set of step-by-step instructions with your readers, students, employees, or users. After all, it’s the best way to teach your audience how to achieve something, while allowing you to curate all of this helpful information into one handy document.
If you’ve been wondering “how do I create a step-by-step template?”, then you’re in luck. We not only share some inspiring step-by-step guide examples, but we’ll also show you how you can create a step-by-step guide template for free using BeFunky’s Graphic Designer!
What to Write in an Instructional Graphic?
An instruction graphic is a document that provides step-by-step directions for how to achieve a specific task. Instructions can be used in all sorts of contexts, from office workflows and business processes to personal tasks like cooking dinner or applying makeup.
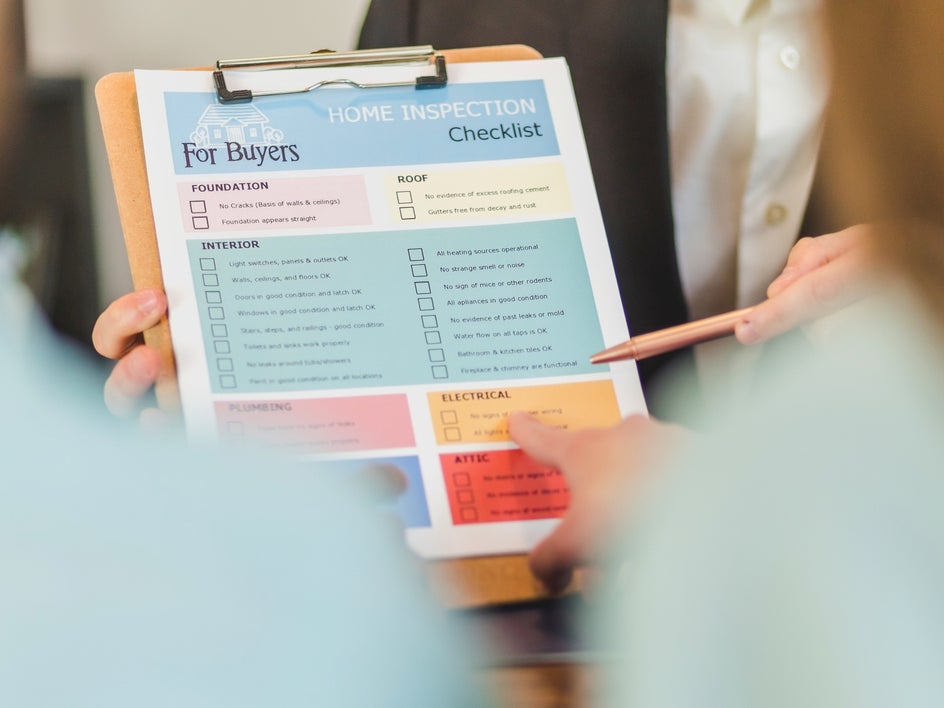
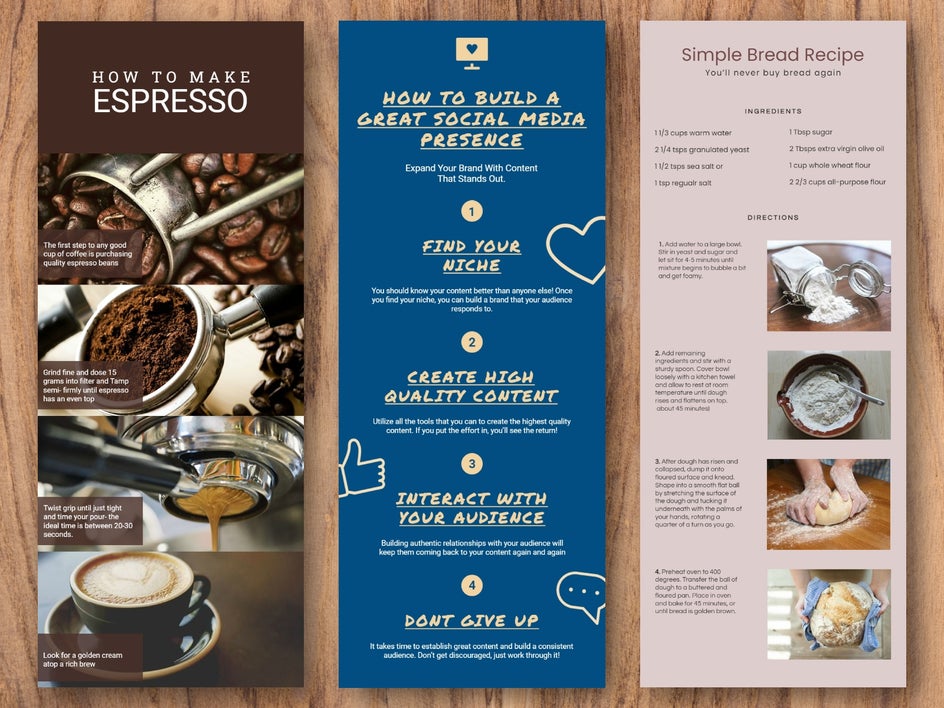
Common step-by-step examples include product guides, written DIY tutorials, and even recipe cards.
They're often written in clear language that anyone can understand without being overly complicated or technical.
When writing an instruction template, it’s important to consider the following:
- What are you trying to achieve with this guide?
- How technical does the document need to be?
- Who is your audience? Are you writing for someone who has no experience with your subject matter, or is your audience made up of experts in the field?
- What kind of language should you use? Casual and conversational or formal and professional?
When creating a step-by-step template, you should use headings and bulleted lists so your readers find it easier to follow the information. If your instructions require the reader to have certain materials or tools on hand, be sure to include these in the form of a checklist.
We also recommend providing numbered lists when there are steps or procedures that need to be followed in order. Where possible, try to provide examples or show how it's done with pictures or diagrams.
Best Practices for Your Step-by-Step Guide
When creating your step-by-step template, there are some golden rules you’ll want to keep in mind. Doing so will ensure your instruction template is a hit among your audience.
The template should be:
- Clear and concise in the way it is written
- Well-structured so that the task has a clear beginning, middle, and end
- Free of spelling mistakes, grammatical errors, and incorrect punctuation
- Easy to read, which means using short sentences and avoiding overly complicated words
- Free of unnecessary information such as fluff or filler words
- Use an active voice where possible. This means that the subject of the sentence performs the action rather than being acted upon by another subject.
How to Create a Custom Step-by-Step Template With BeFunky
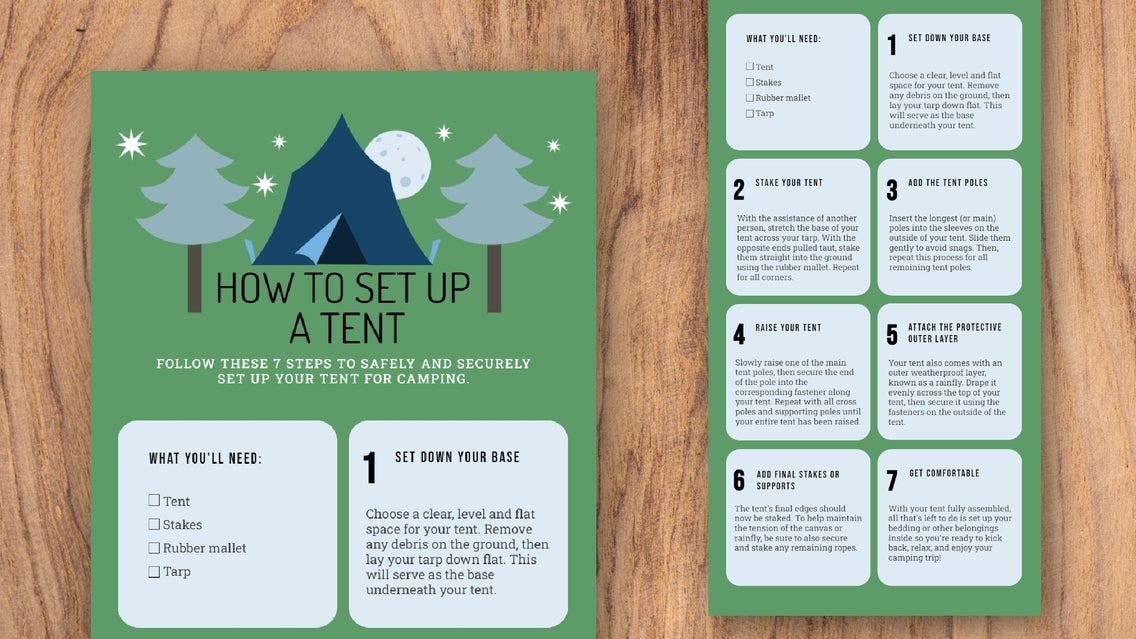
Now that you know all about step-by-step guide graphics, it’s time to create your own template in BeFunky’s Graphic Designer. Here are our very own step-by-step instructions with screenshots to help you get started!
Step 1: Choose Your Custom Template
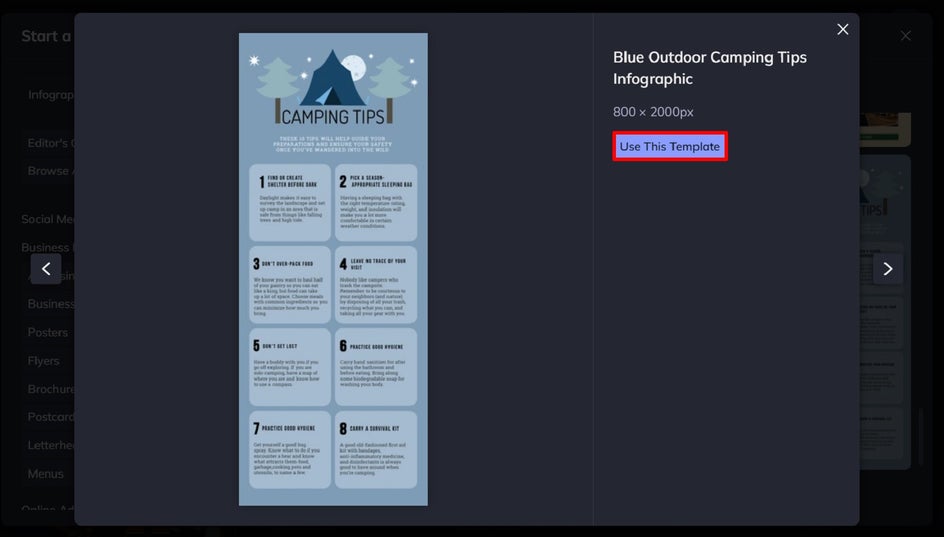
Within the Graphic Designer’s Template Library, you have the choice of either customizing an Infographic or Brochure template for your step-by-step guide. For this example, we’re using an Infographic template. Simply type “Infographic” into the search menu on the top-left of the screen to locate these. To locate the Brochure templates, navigate to Business Marketing > Brochures.
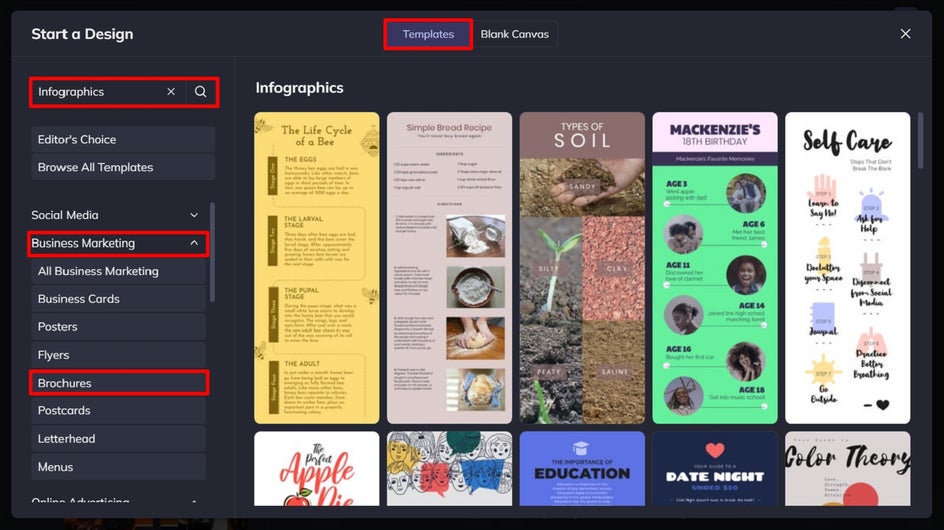
Once you’ve chosen your desired step-by-step template, click Use This Template to begin editing it.
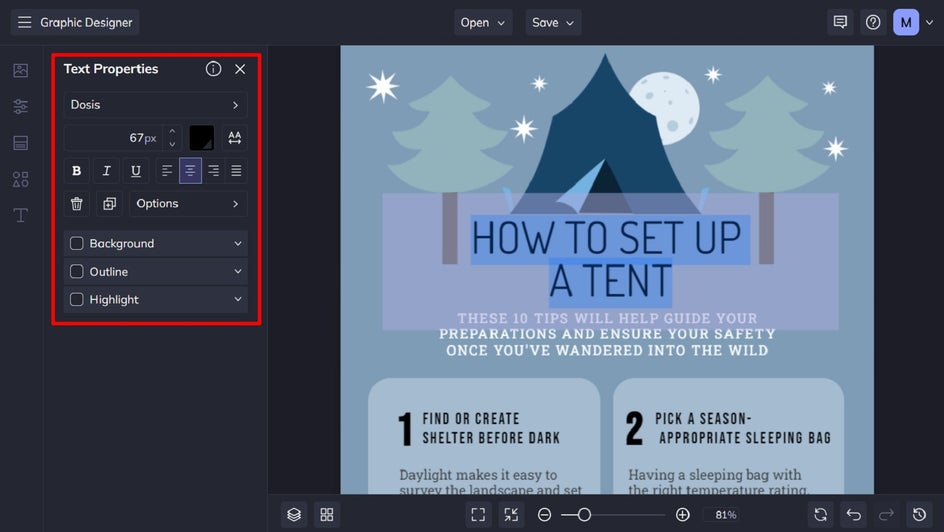
Step 2: Edit the Existing Text
You’ll want to start by changing the template’s existing text to represent your own instructions. To do this, double-click any of the text you wish to change, then start typing. You’ll also notice that when you click on a text box, a Text Properties menu appears. From here, you can alter everything from the font and font size to the text color, alignment, and more.
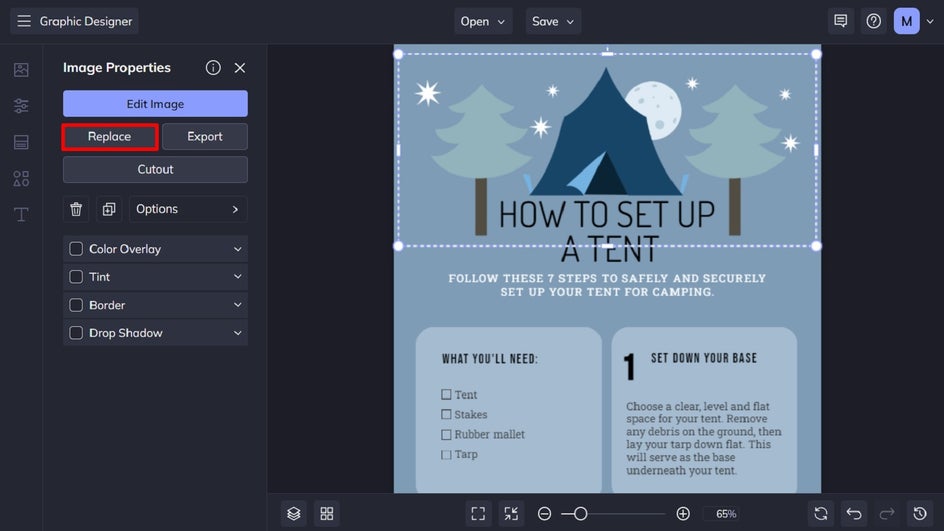
Step 3: Swap Out the Imagery
If your step-by-step template contains imagery, such as photos, you can easily swap these out to match your own content. Just click the existing photo, followed by Replace from the Image Properties menu.
Want to insert new graphics or photos instead? To insert your own photos, navigate to Image Manager in the main menu, then upload your chosen photos from your computer, BeFunky account, or Google Photos.
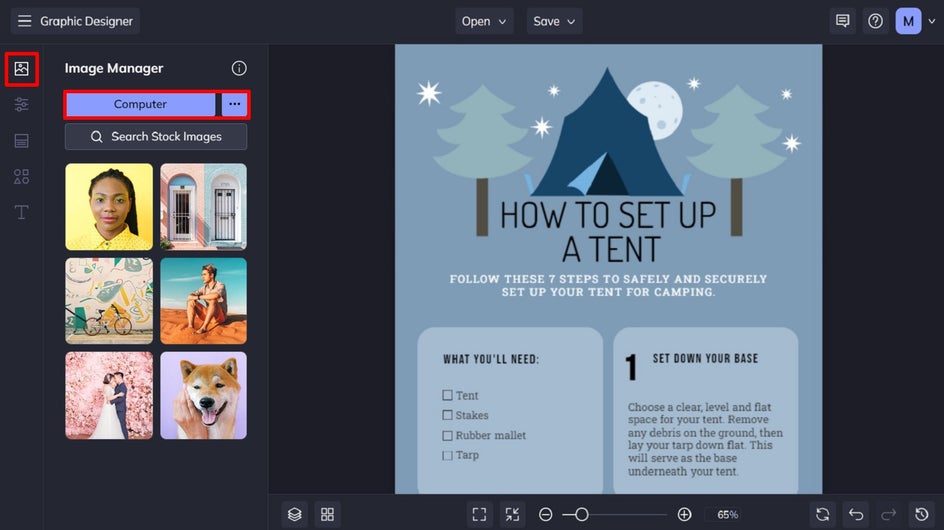
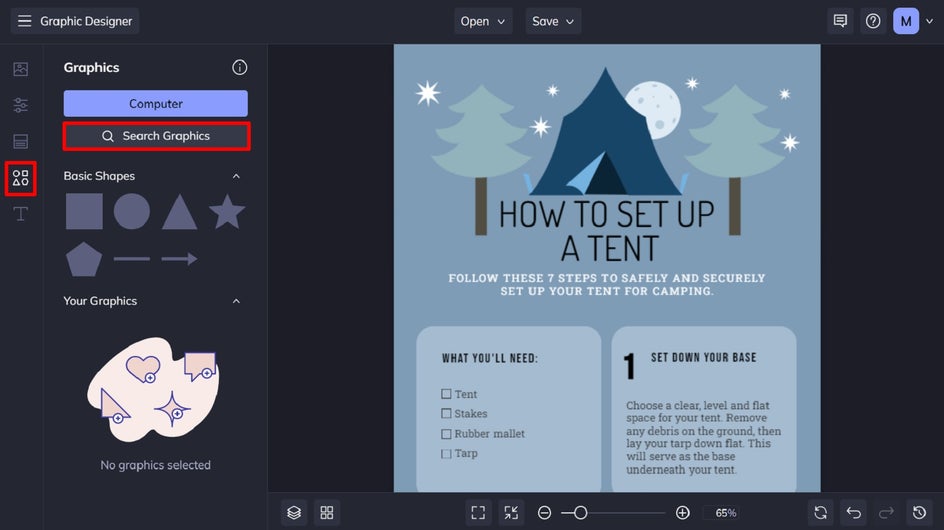
To add graphics, navigate to Graphics in the main menu and click Search Graphics to access BeFunky’s huge library of shapes, lines, illustrations, and more.
Step 4: Change the Color Scheme
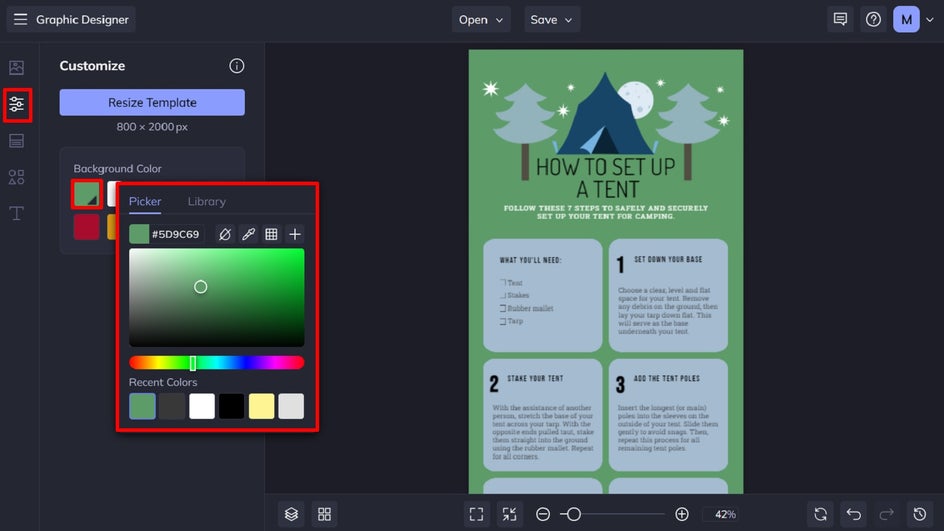
You also have complete control over your step-by-step template’s color scheme, which allows you to easily customize it for your own branding or preferences. To change the background of your template, click Customize in the main menu. Then, underneath Background Color, you can select an existing color swatch or click on the first swatch to choose your desired hue from the Color Picker.
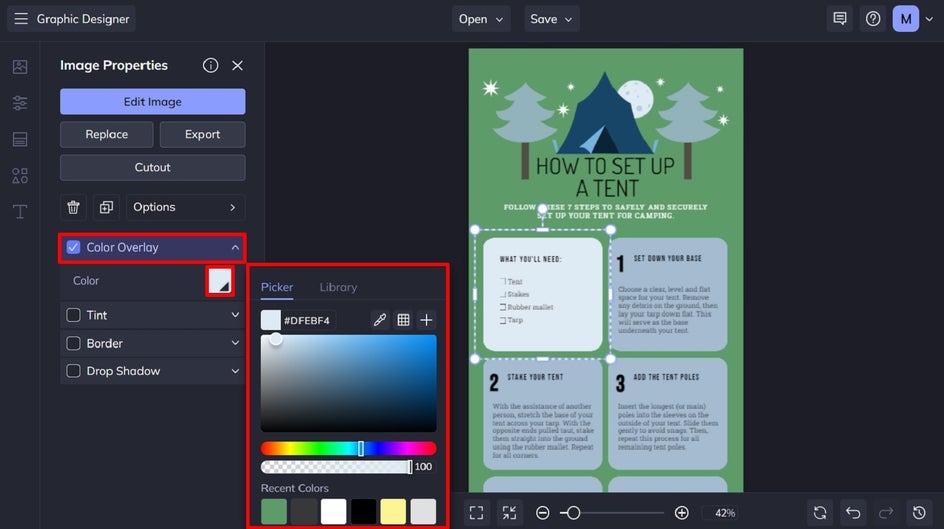
Need to change the color of a shape or graphic instead? Click on the item you wish to recolor. Then, from the Image Properties menu, click on the Color swatch underneath Color Overlay or Fill. This will give you access to the Color Picker, which features any shade you can think of. You can also use the Eye Dropper Tool to replicate a color already present in your design.
Step 5: Save Your Step-by-Step Template
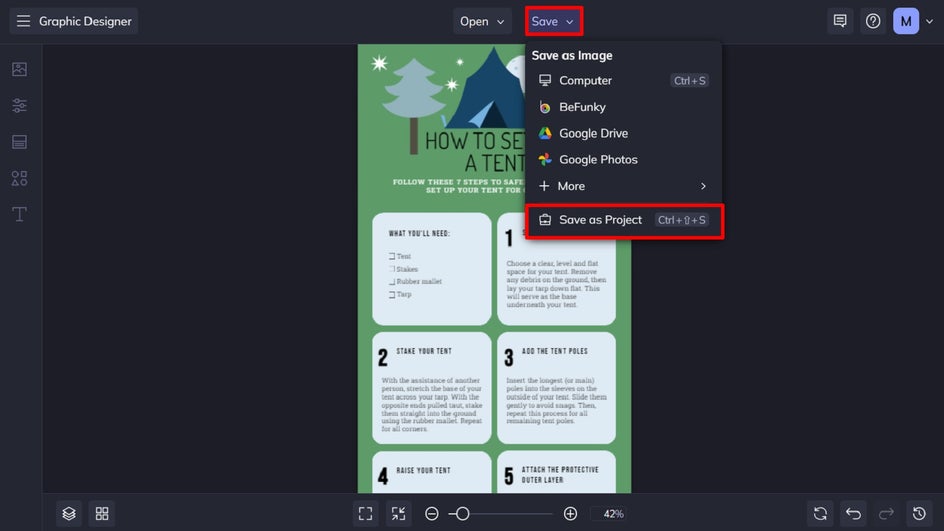
Once you’re happy with how your new step-by-step template looks, it’s time to save it. Click Save at the top of the screen, then select your desired save location. If you want to come back to your step-by-step template to customize it for future needs, be sure to use the Save as Project option.
Step-by-Step Guide Template Before and After
Who knew creating eye-catching and easy-to-follow instructions could be so easy? The best part is, once you create your own step-by-step template using BeFunky, you can then reuse that template each time you need to create another instructional checklist or guide!

How to Print Your Step-by-Step Template
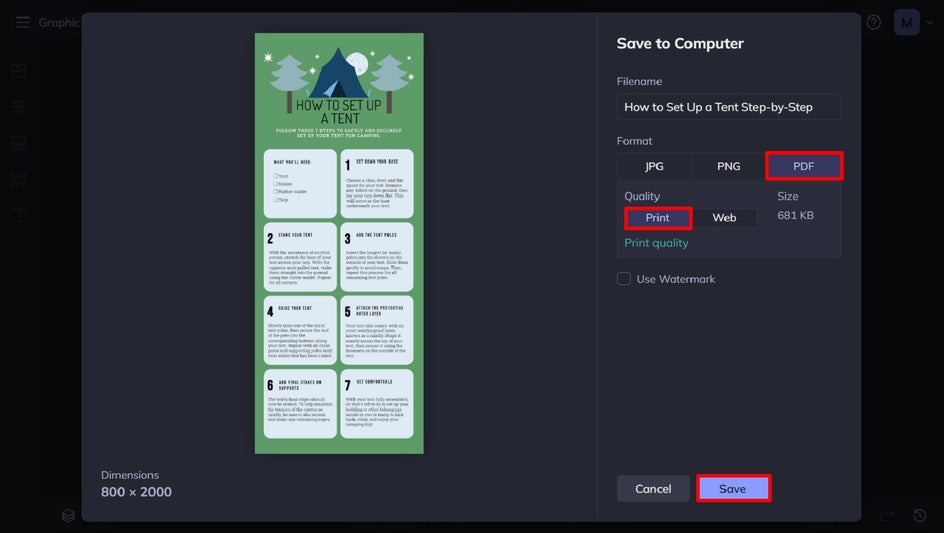
Unless you plan on sharing your step-by-step instructions digitally with your audience (for example, as an image file or downloadable PDF), you might be wondering the best way to get this graphic printed.
We recommend saving your step-by-step as a PDF file in Print Quality. This guarantees it’ll remain crisp and clear for printing. Then, simply use your home or office printer, or outsource the job to a local printing company, to produce physical versions of your step-by-step template.
Ready to Create Your Own Instruction Template?
Step-by-step instruction templates are a great way to standardize the way you communicate with your audience – no matter who you’re targeting. They can also help you save time by streamlining the process of creating new instructions, which makes them more efficient and less prone to error.
Want to create your own step-by-step template? Get started in the Graphic Designer to see just how easy it is!