Top 5 Photo Tips for Travelers
As the famous quote goes, “travel is the only thing you buy that makes you richer." While it’s easy to get swept up in your globe-trotting adventures, you won’t want those memories to fade once the trip is over.
This is why capturing picture-perfect travel photography is so important, yet it’s often a topic many of us want to learn more about. After all, it’s vital to capture your shots perfectly while abroad, as it can be difficult to go back and relive the experience!
Whether you’re shooting with a DSLR or taking travel pictures with an iPhone; here are our top 5 travel photography tips!
1. Plan Your Shot
When you arrive at your destination, it can be tempting to begin snapping away at everything in sight. Take a minute or two just to soak up your surroundings, however, as this will help you gain a better perspective of what you’d like to photograph and how.
If you’re a very organized traveler, you might even want to research your locations beforehand to determine what scenes you wish to photograph before you get there. Instagram is a great tool for this, as simply searching for the location can bring up other users’ public photos taken at that spot. This gives you a wide range of inspiration, not to mention the upper hand in determining the most photogenic shots.

2. Capture the Moment
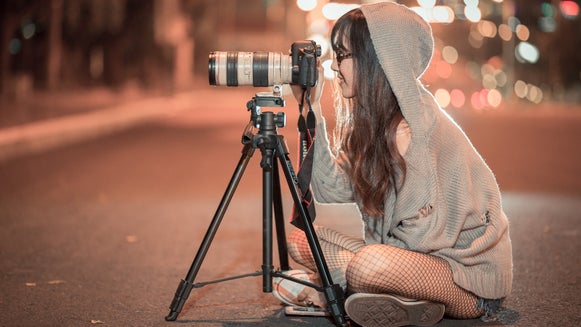
One of the most common questions in relation to travel photography is “how should I pose for a vacation picture?” While there is no wrong or right way to pose for your travel photos, we can’t deny that those which are natural and candid are the most effective. Just check out your favorite travel photographers on Instagram to see what we mean!
This is why a tripod is an essential item while traveling, as it allows you to set up your shot and use a self-timer so you can then get in the frame. If you’re traveling and don’t have access to a self-timer, don’t fret. Embrace the candid moments of others in your photographs, especially if they weave a story about the location. Monks in Tibet, for example, or Geishas in Japan are all popular subjects for this very reason.
If you really want to get in on your travel photography, then you can also ask a trustworthy passer-by or staff member to capture an image of you.
3. Find New Perspectives
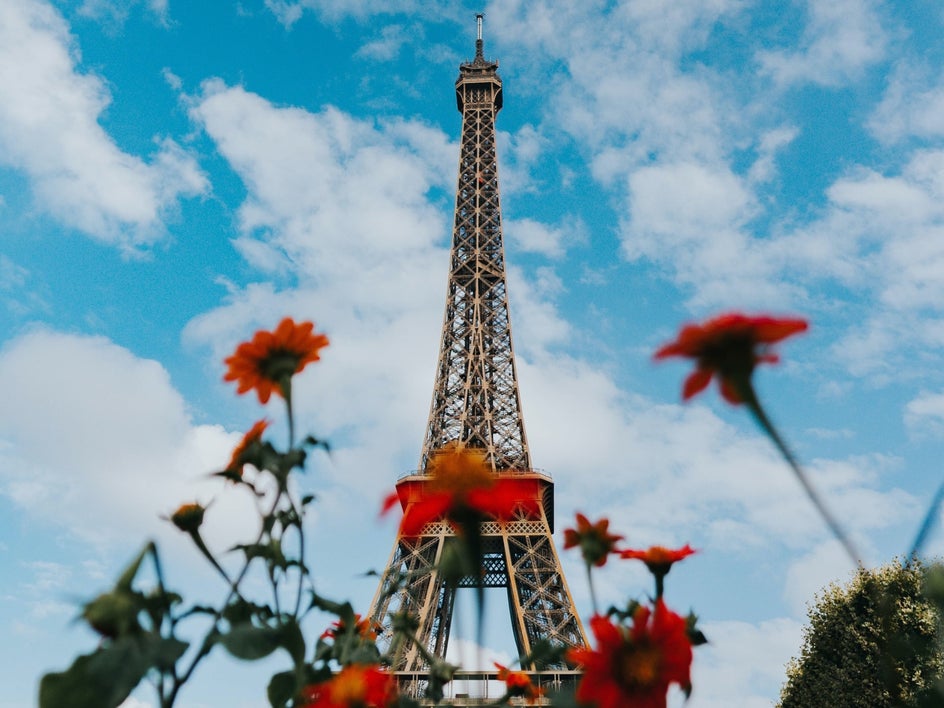
It seems like we’ve all seen thousands of the same shot of the Eiffel Tower, for example, as well as numerous other landmarks around the world. The key to effective and unique travel photography is to capture famous scenes from totally different perspectives.
This encourages you to think outside of the square with your photography and get in touch with your own creative flair. Be sure to take a few different shots too, then choose your favorite image to post-process it to perfection.
If you find your final shot’s perspective is too off-balance, then this is a simple fix. In BeFunky’s Photo Editor, simply use the Rotate tool to adjust your scene accordingly.
4. Utilize Your Phone or Camera Grid Lines
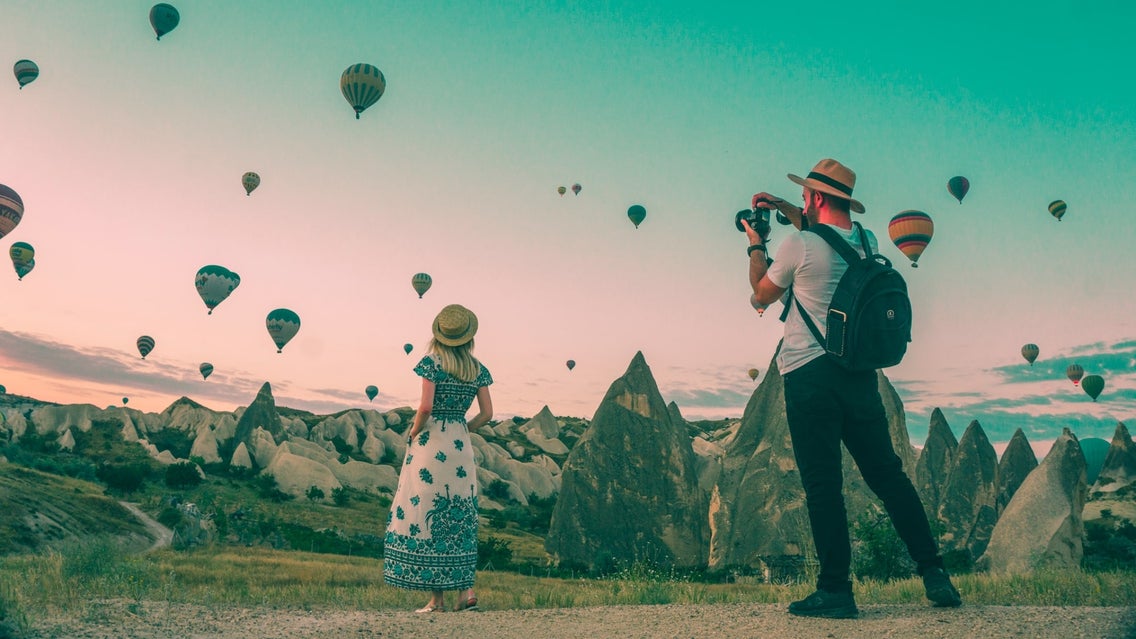
If you’re wondering “how do I take good travel pictures with my iPhone?”, then you’re in luck. The key to effective and eye-catching photography is composition, and your iPhone (or any other phone, for that matter) already contains built-in grid lines to help you perfect this.
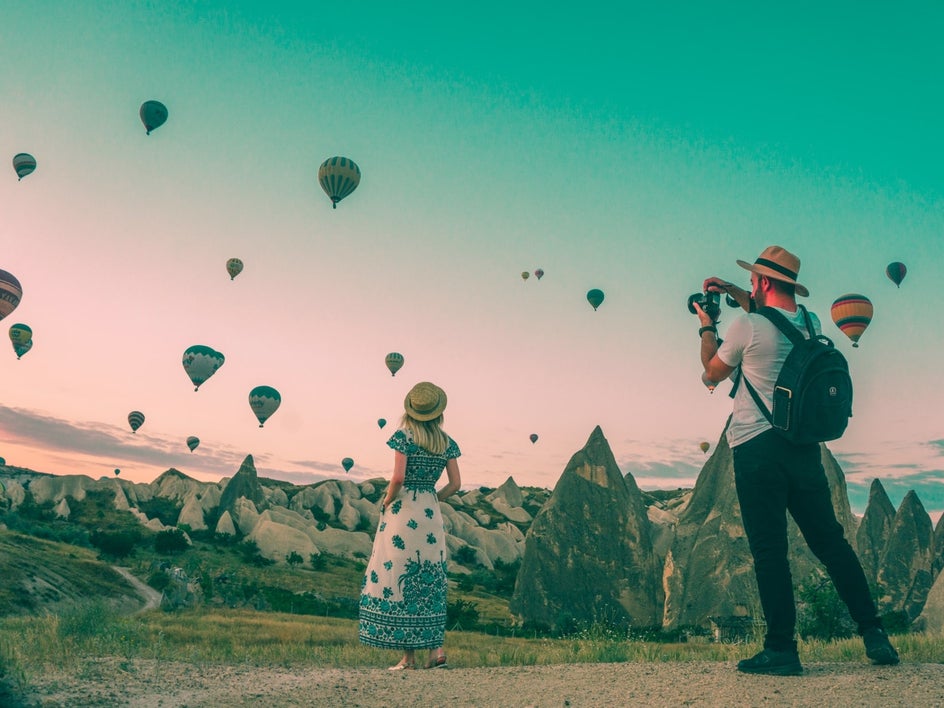
Even if you’re using a camera, these composition grid lines should still be evident when you look through the viewfinder. You’ll want to use these lines to help you achieve the “rule of thirds”. This concept encourages you to place your subject in the left or right third of the photograph, leaving the other two-thirds emptier. The result is a greater balance between a subject and its surroundings, as well as an image that draws a viewer’s eye inwards.
You can also achieve this compositional balance during the post-processing stage in the Photo Editor. Our Crop tool features handy gridlines to position your subject right where you want it!
5. Turn Off the Flash
While visiting certain landmarks on your travels, you may notice signs instructing visitors not to use flash photography. While this rule exists out of respect for visitors and staff who don’t want constantly flashing lights indoors (as well as several other important reasons), it’s also a good concept to apply to most of your travel photography.
You see, your camera or phone’s flash can cause unwanted light bursts in photos and completely throw off your image’s exposure. It also has the tendency to only illuminate objects within a few feet of the camera, while leaving everything behind this in relative darkness.
Instead, adjust your ISO to a higher setting, between 400 and 800, to compensate for low lighting. Doing so allows more light to reach your camera’s sensor faster. Setting a wide aperture (i.e., a small f-stop number) can also help you capture good-quality photographs in low lighting without the need for flash.
The only downside to these settings is that they can create some noise in your image or increase your risk of blur. If this is the case, BeFunky’s Photo Editor has advanced travel photography editing tools that can fix this in just one click. Denoise DLX, as well as Sharpen DLX, are perfect for these two common issues.
The Only Travel Photography Tips You’ll Ever Need
Your travel photography should be some of your proudest work, especially so you can always look back on your exciting adventures abroad. By following these top 5 travel photography tips, you’ll be well on your way to capturing your best imagery yet!
Of course, no image is complete without a quick polish, so be sure to use BeFunky’s wide range of essential features to help you perfect your work. Our photo editing effects can dramatically improve your travel photography in as little as one click. Go on, try the Photo Editor today to see just how great it is!