Apply a Black & White Effect to Any Photo
As a photographer, knowing how to manage an image after it’s been taken can be just as important of a skill as knowing how to use your camera. Black and white photo effects are a classic for a reason, and being able to explore your options in post-production is a valuable skill set for any budding photographer. Maybe you want to create a mood or specific aesthetic, or maybe you’re just trying to elevate an otherwise drab image for a dramatic effect. Black and white photo effects are used by many of the most famous photographers in history, like Ansel Adams or Annie Leibovitz. And with BeFunky’s plethora of black and white photo effects, you can easily explore the depth of your photographic landscape to make your creative vision come to life.
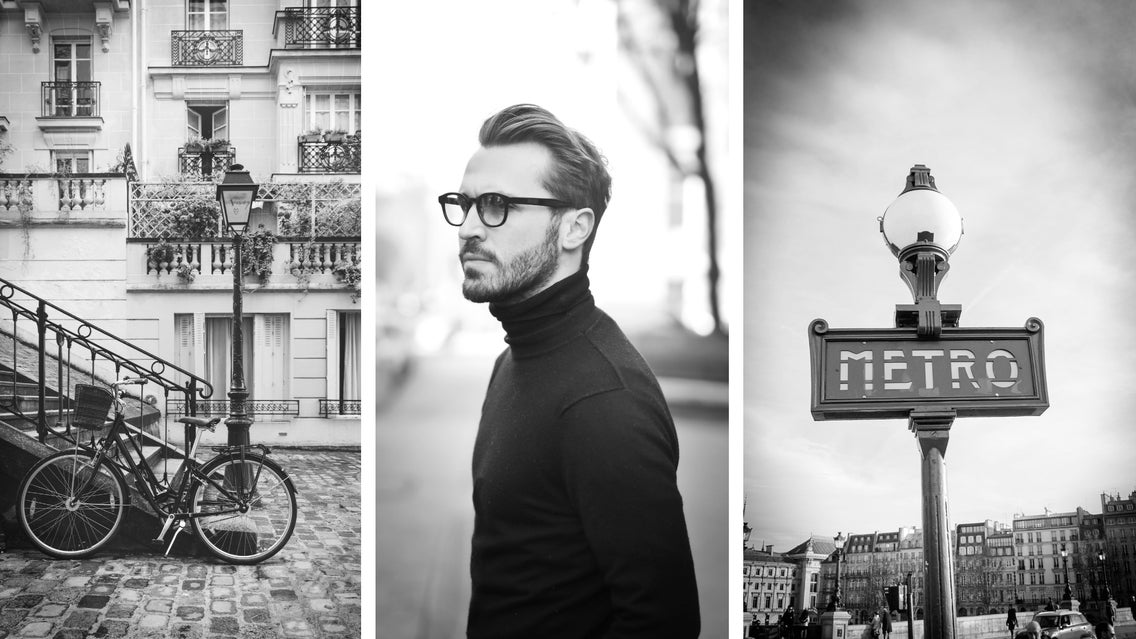
Color photos you take with a full dynamic range work great to move into the sphere of black and white effects. When an image has both dramatic light and dark areas, it’s easy to translate into a striking black and white image. Read along for a short tutorial on how to convert your photos into black and white with BeFunky’s photo effects.
How to Convert an Image to Black and White
To get started, head over to the BeFunky Photo Editor. Click on this link to be directed to the Effects tab. Otherwise, click here to head to the Photo Editor.
Step 1: Open or Upload Your Images
To get your images into BeFunky, start in the Image Manager. Here you can either upload files directly from your computer by clicking the blue Computer button or use Search Stock Images to find images that inspire you. You can also click the three dots to find images saved to BeFunky, Facebook, or Google Photos.
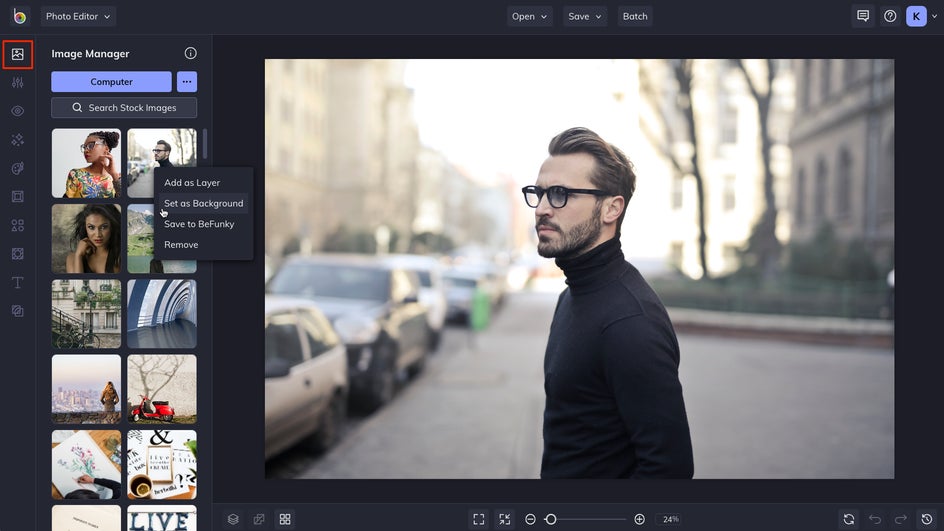
If you’re searching stock images, enter a search term then select the images you want to add to the Image Manager. Any images you select will have a blue border around them and will populate into the Image Manager. Right-click and choose “Set as Background” to edit it on the canvas.
Step 2: Apply a Black & White Photo Effect
Head over to the Effects menu to see the full spectrum of photo effects you can add to your image. Choose the Black & White section. Click through our offerings to see previews of how your image will look with the effect applied.
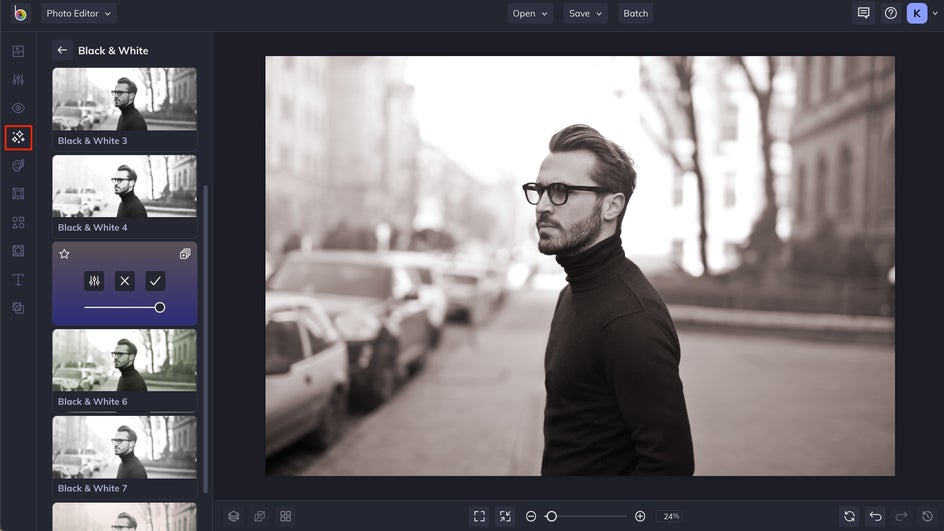
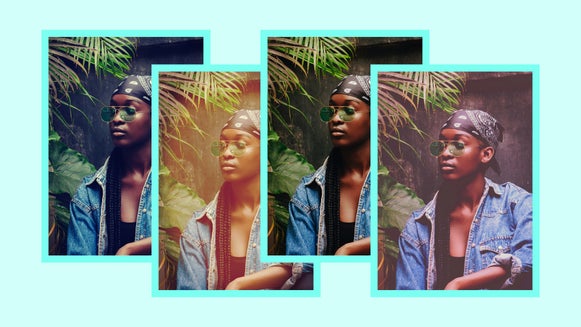
Depending on your photo they target different areas of the image to create variations in tone and contrast. Some even lean more towards sepia or green-tinted images. Use the slider on the effect panel to change the opacity of the effect if you don’t want it 100% applied to the image.
Step 3: Make Adjustments
Many of the effects also give you the ability to make adjustments to the settings of the effect in a few different ways. Click the Settings button on the effect's panel to get to this menu.
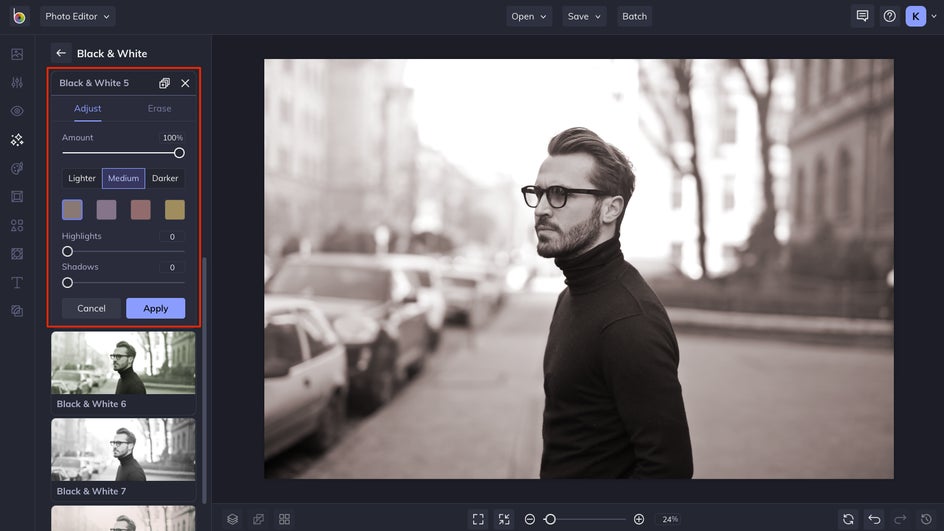
Here in the Adjust tab, you’ll see another slider to increase or decrease the effect amount. In this particular effect you’ll see some color palettes that will change the tint of the effect, and also pre-sets to make it lighter or darker. You can also adjust how much the highlights or shadows of an image are targeted.
While in the Settings, click the Select tab if you’d like to only apply the Black & White effect to certain areas of the image.
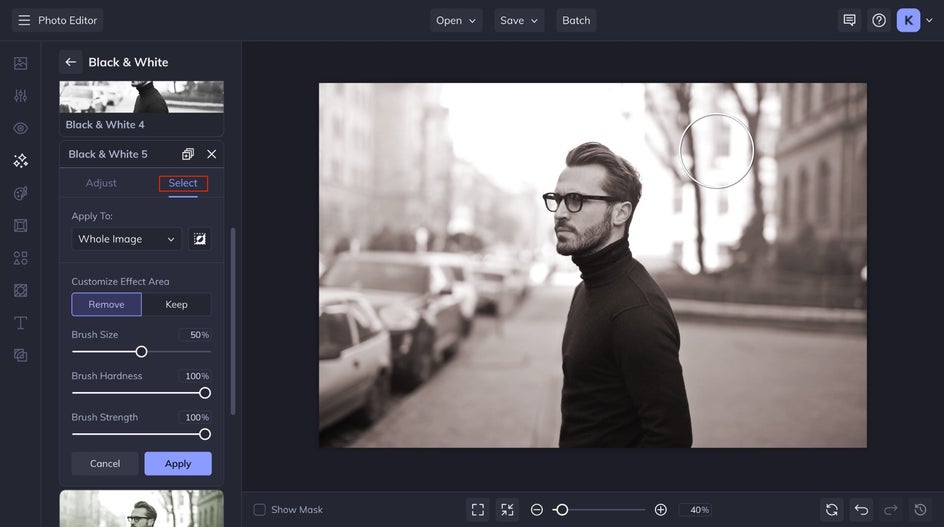
You’ll have the option to apply the effect to specific areas and adjust the brush size, hardness, and strength with their respective sliders.
Step 4: Apply and Save Your Black & White Photo
When you’re happy with the results click the Apply button to add this effect to your image. Check out the rest of the Photo Editor to see if there are any other adjustments you’d like to make.
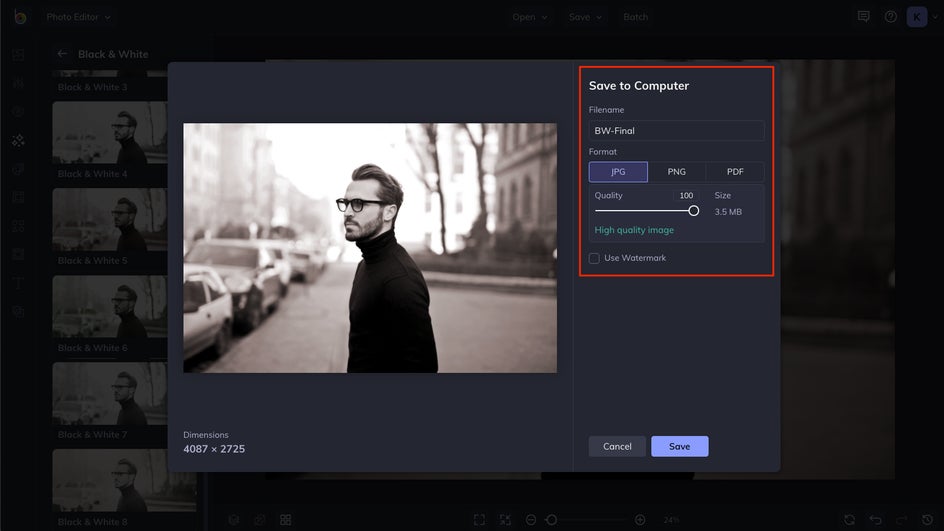
After you have your image just the way you want, click the Save menu at the top of the screen to save. You’ll see several different options for your saving destination, then a dialogue to name your file and choose the file format then click Save – JPG works best for photorealistic images.
That’s it!


Express Yourself With Black and White Effects
Switching an image from color into black and white is one of the easiest ways to dramatically alter your photos. A photo you took that may have seemed somewhat drab or uninspired can be elevated to a classical work of art by adjusting your perspective and looking at it with a black-and-white lens. With a variety of effects available for you to experiment with, BeFunky’s Photo Effects allow you to explore your creativity and alter your photographic vision with just a few clicks!