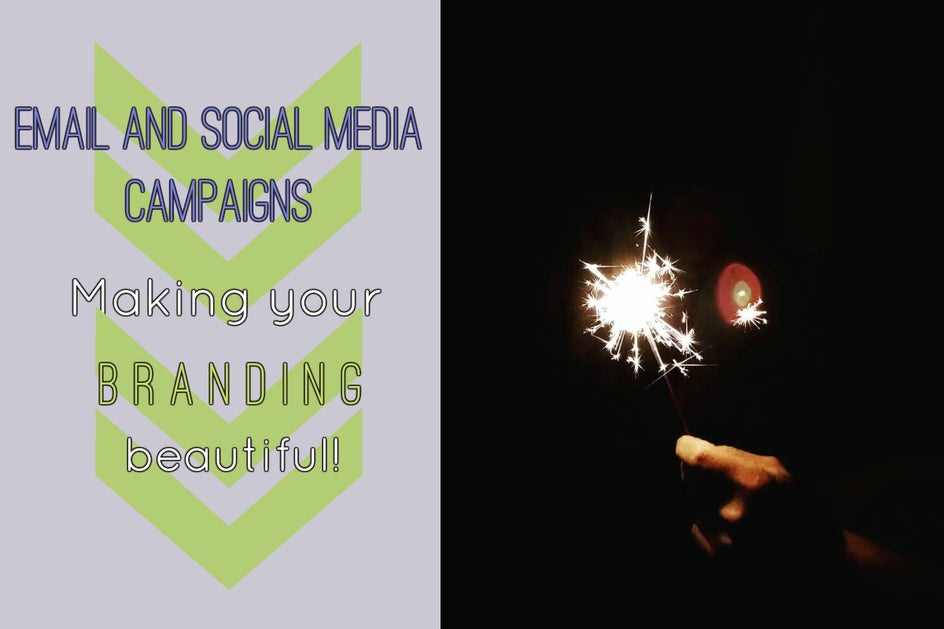
Create Email & Social Media Campaigns With The Designer

We send and receive email daily, but how many messages do we encounter that relay a solid, branded look? How many emails truly prompt a call to action—to donate or learn more? Very few. And as small business owners or bloggers, it can be both expensive and overwhelming to try and create this important imagery ourselves!
Adobe (and its imitators) are incredibly expensive and require a substantial learning curve, but BeFunky’s new Designer Toolset gives you the templates and flexibility to create the beautiful logos, headers and buttons you need, simply. As a blogger, you can create headers, step-by-step pages, and even infographics for your readers, maintaining your brand and applying it to social media sites with ease.
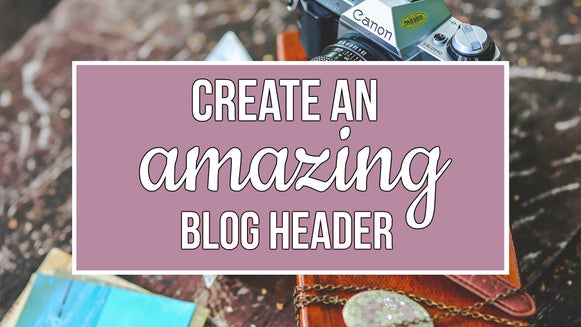
I gave it a go to come up with the header for this very article. See how I did it below:
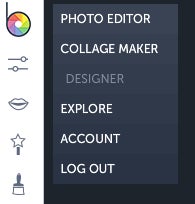
Step 1. Choose Designer Toolset upon signing in.
Step 2. Choose a template.
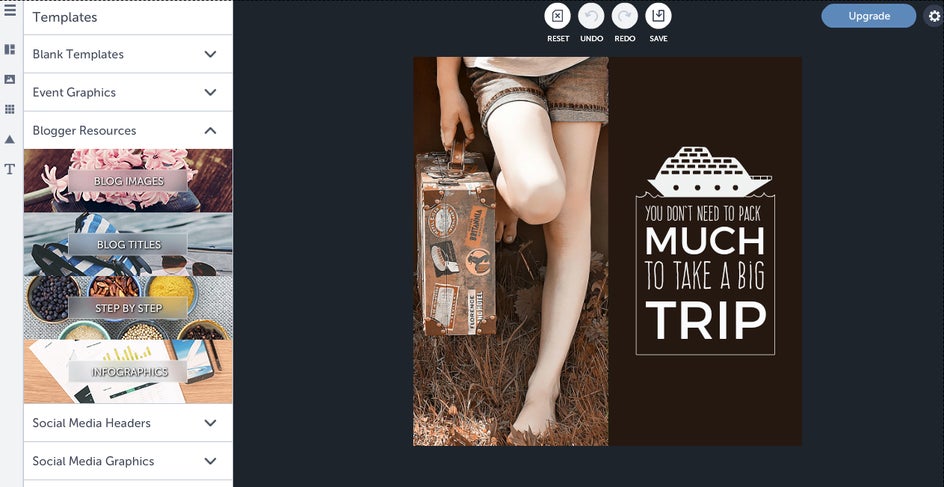
Look around at pre-created templates, using one as a guide, or pick a blank one and make your own unique design. For this blog’s purposes, I’ll use Blog Images under the Blogger Resources heading. Note how each category is broken up into places you’ll use it or see it online. Social media, events, blogs—it’s all there at the click of a button. Simple!
Step 3. Add your own images.
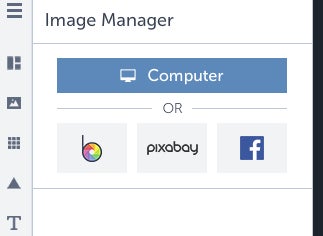
I like the idea of this template, but I want to play around with my own photo, and maybe edit it. How do I add my own photo?
Click on the Image Manager to add and edit personal and brand-related photos. If you want photos but aren’t sure what kind to use, the Toolset gives you access to Pixabay’s index of thousands of royalty-free photos. I don’t think this photo needs much in the way of editing, so I’ll move on to changing up my text.
Step 4. Play around with fonts.
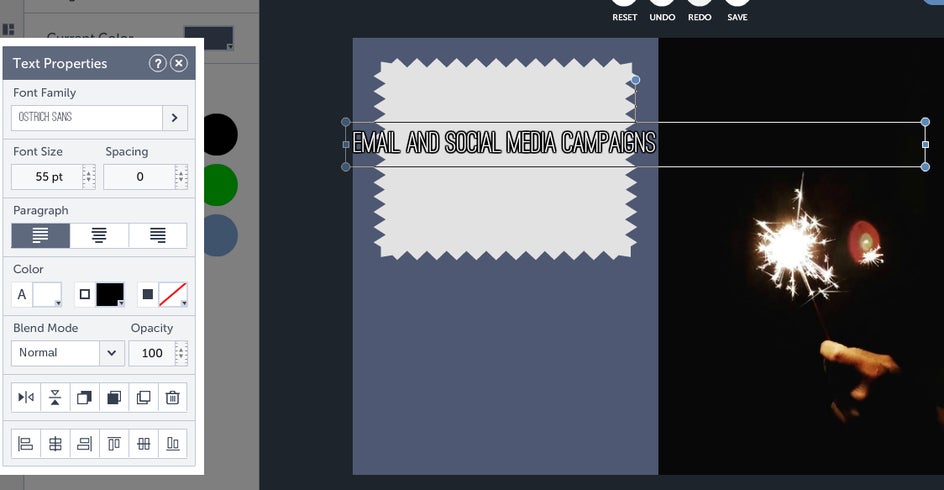
Clicking the “Text Properties” brings up the editing menu, and creates a new text box on the page. I’ll delete the existing text and add my own in the new text box. Change the font, color, and position through the left-hand menu. You can also add your own fonts, if you have specific ones you’d like to use.
Double click on a text box to edit the scale and spacing, adding visual interest to your written words and drawing the reader’s eye to important points.
Step 5. Change the background color.
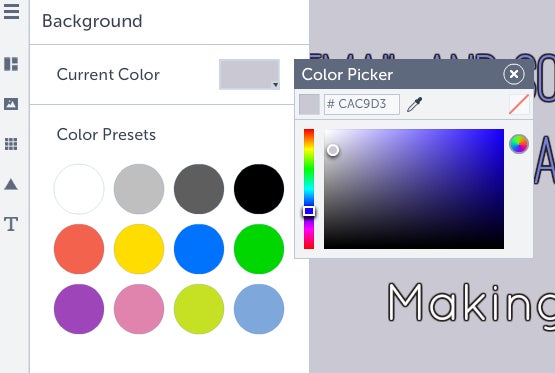
Choose from existing colors, or play with the palette to customize it.
Step 6. Add design elements.
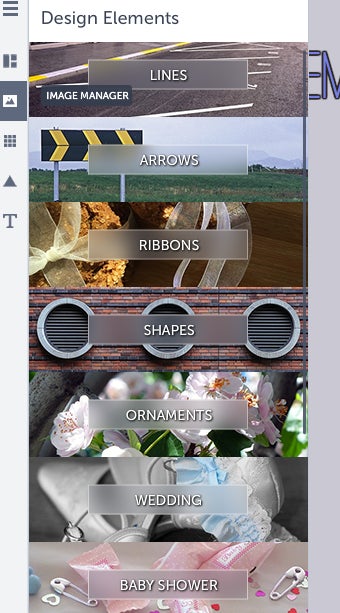
If you want to add more abstract imagery or geometric design to your page, look through Design Elements, where you can choose lines, arrows, shapes, or more event-themed art to add a flourish. No matter your brand or call to action, you have decorative options that will enhance its professionalism.
I’ll use arrows, and turn them vertically by pulling on the edge of their surrounding box with my mouse, then edit the color to match my green font. Move them backward amongst the layers to allow them to blend with the background.
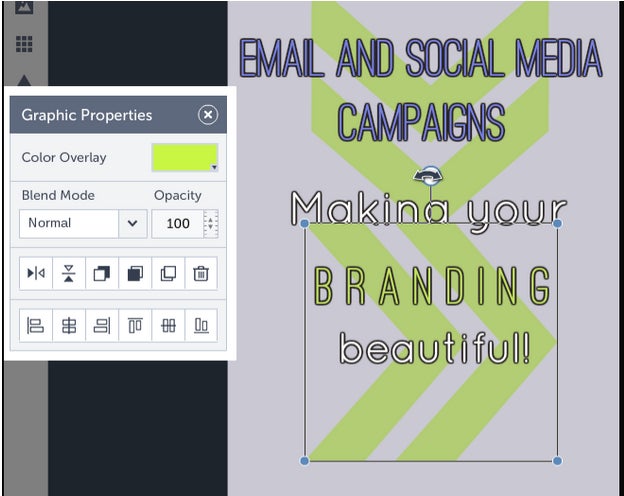
Et voila! Within a short amount of time, I’ve created an original header for a blogging piece, with minimal editing required. Of course, you could spend lots of time doing something from scratch, or take a template and run with it—the choice is yours!
When your brand is your livelihood, you want to be involved in every step of the process. Now you can create graphics for your messages—drawing the eye to where it’s important, and giving readers clear opportunities for calls to action. Your media strategy is made that much stronger when you have options to fine-tune its style. Expand your audience and enhance opportunities for your key supporters. Reach new people through your concise message and familiar look—every follower counts!
Feeling the creative burn? Try making your own branded images today: