Creative Pie Crust Designs For Any Occasion
Ever since I found this recipe for this award-winning pie crust, I’ve been using every reason in the books to bake a pie. Thank goodness that Thanksgiving is next week, because now I have an excuse to make not just one, but several pies! Taking a gander through the ever-inspiring Pinterest has turned me on to some helpful tips and techniques to making pie crusts decorative, so now I’m going to show you a few ways to make your pies look as amazing as they taste. And as always, I've got the BeFunky Mobile App on hand so I can capture all the magic as it happens. It's easy as pie.
All great pies begin with an even greater pie crust recipe, and this one is my go-to:
What you'll need:
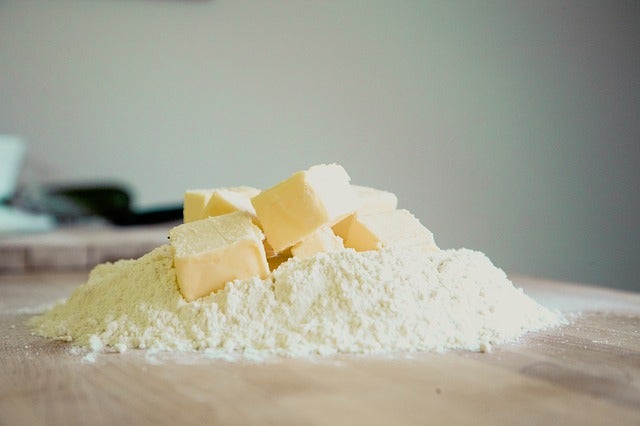
- 1 cup cold butter
- 2 ½ cups flour
- 1 tsp salt
- 4 tbsp ice water
Step 1
Cut the cold butter into cubes. In a food processor, pulse the flour and salt once to mix it. Then add the butter, cube by cube until the mixture resembles coarse sand. Add ice water until the dough starts to come together.
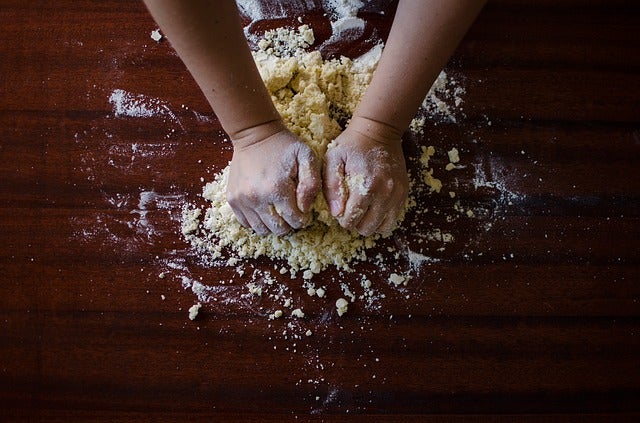
Step 2
After it starts coming together in the food processor, dump the mixture onto a floured surface and bring it together by hand until it forms a ball.
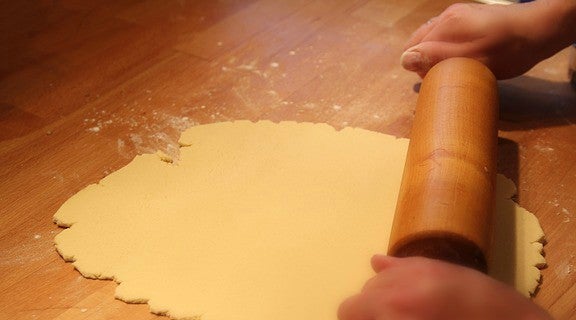
Step 3
Roll the dough out to ¾ inch past your pie pan. Then cover the pie pan with the dough, pressing it down to mold to the pan. Cut off any excess dough with a knife. Now you can make the decorative edge.
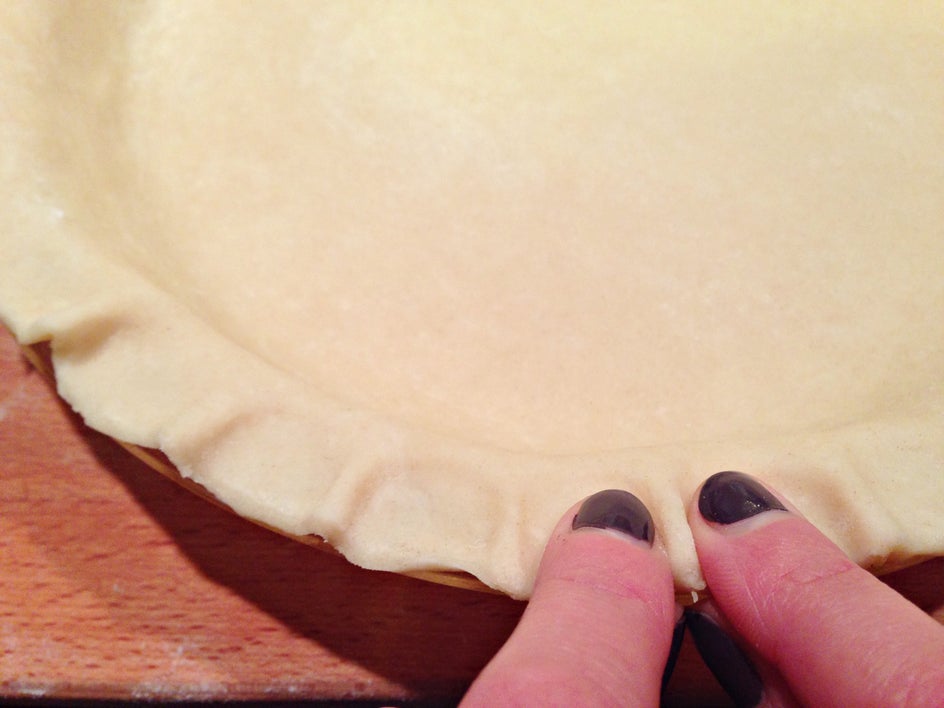
Ruffled Edge
This is a classic look and all it involves is pinching the dough between your fingers to create a ruffle.
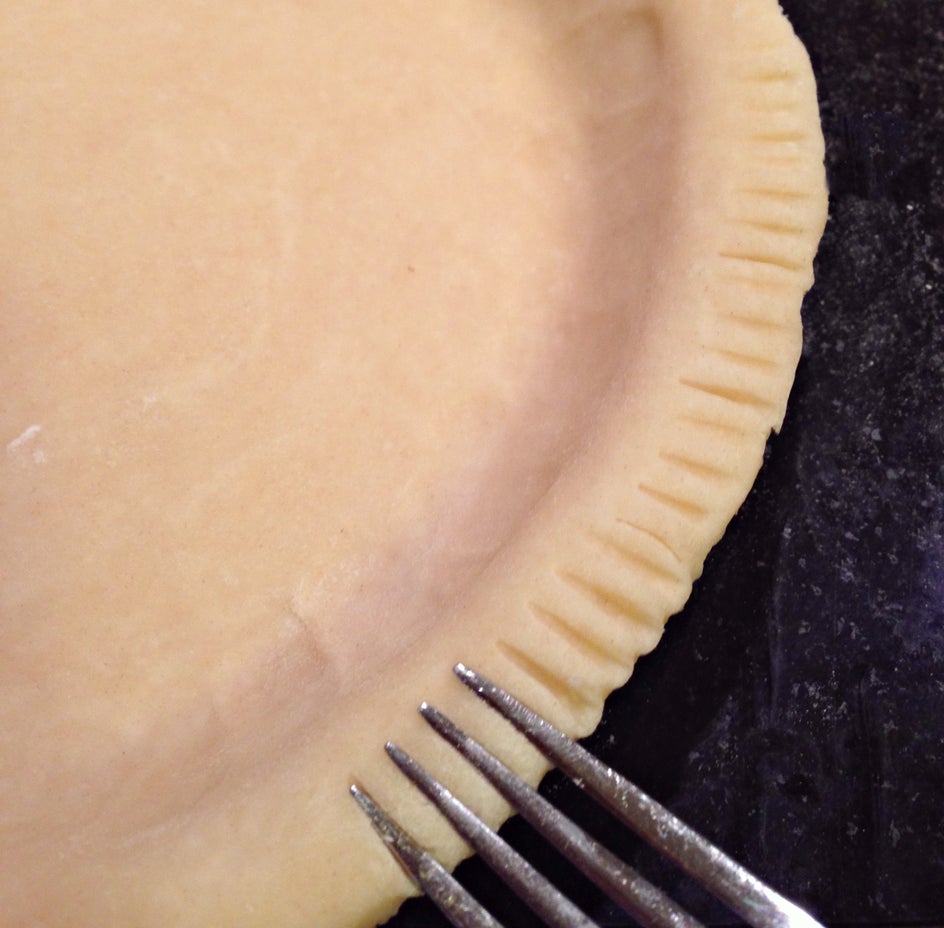
Crimped Edge
Use a fork to imprint, or crimp, the edges.
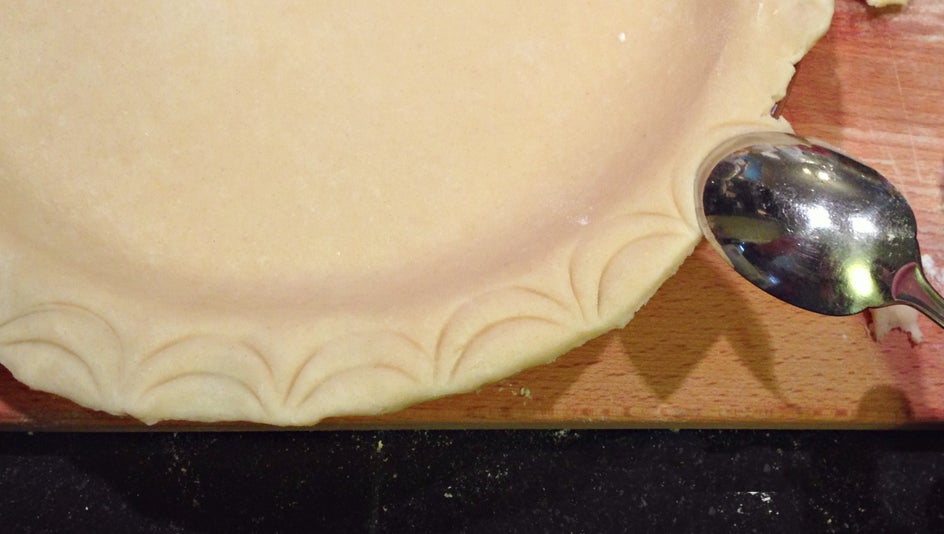
Rippled Edge
Imprint this design with a spoon all the way around the pie.
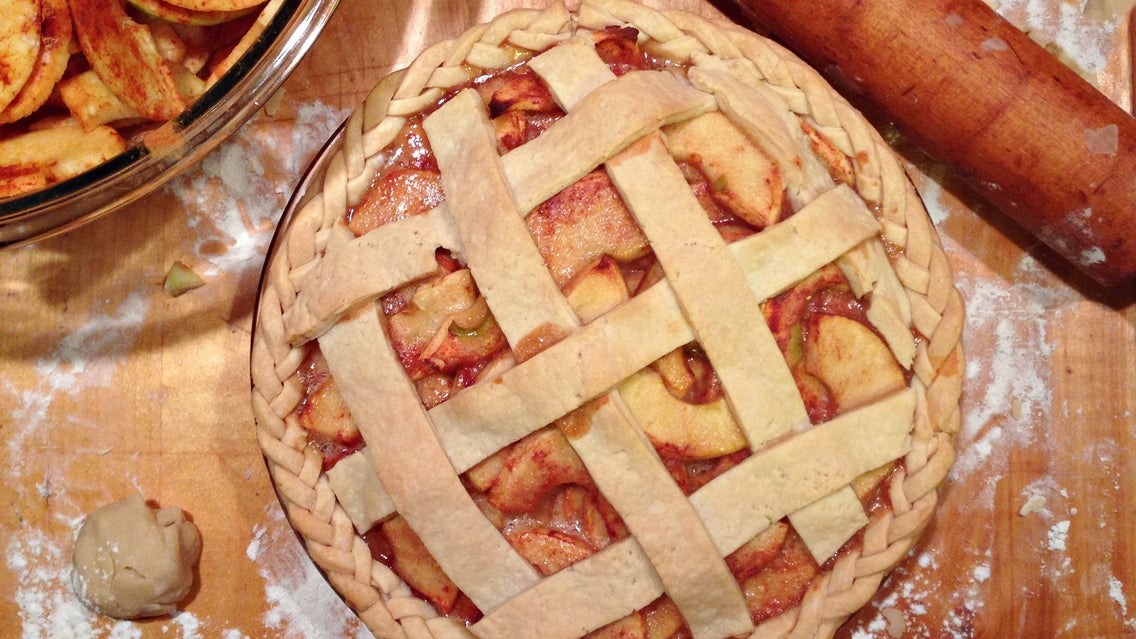
Braided Edge
This one is my favorite and the one I’ll be using on my pie today.
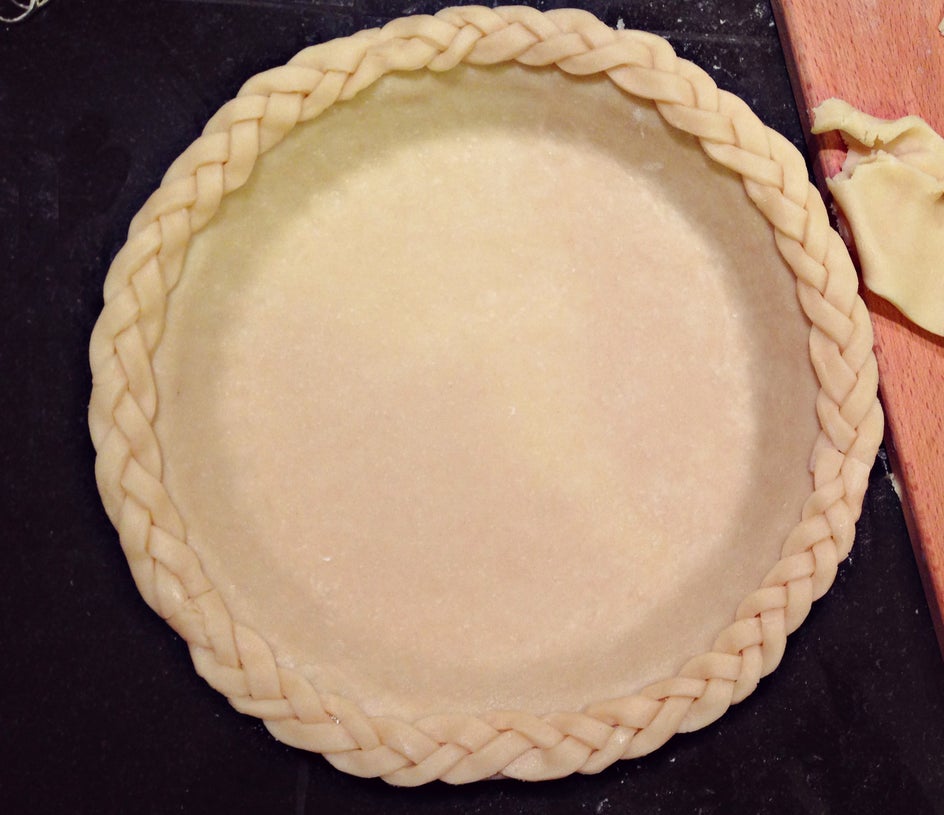
How to get the look:
Roll out the pie dough as flat as can be on the floured surface. Cut it into ¼ inch strips and braid them together. Using a pastry brush, paint the edge of the pie with water to serve as glue for your braid.

Repeat until the entire pie crust is braided, then refrigerate the crust while you prepare the filling.
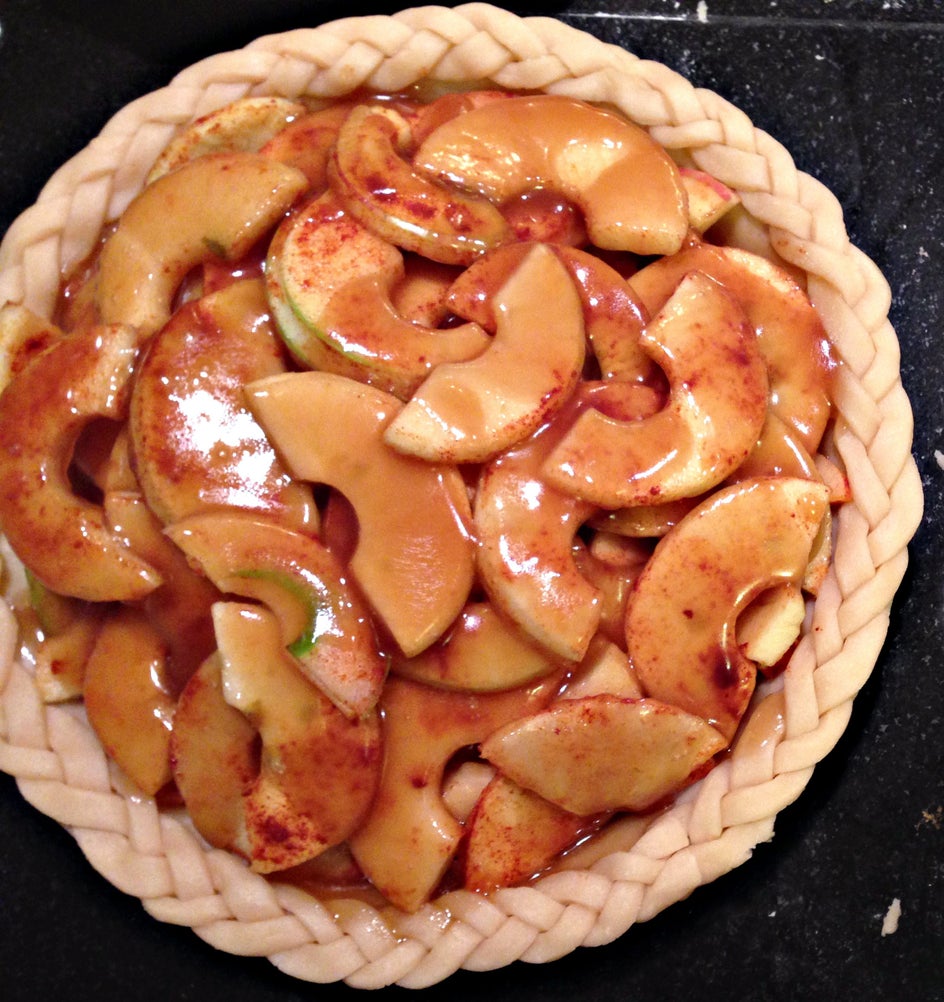
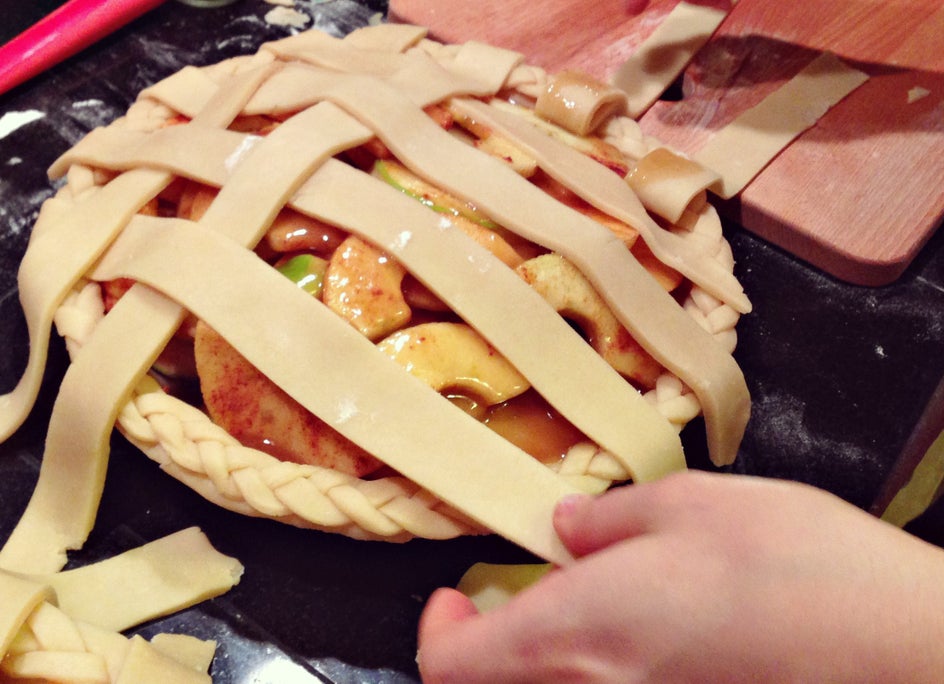
Add Some Lattice
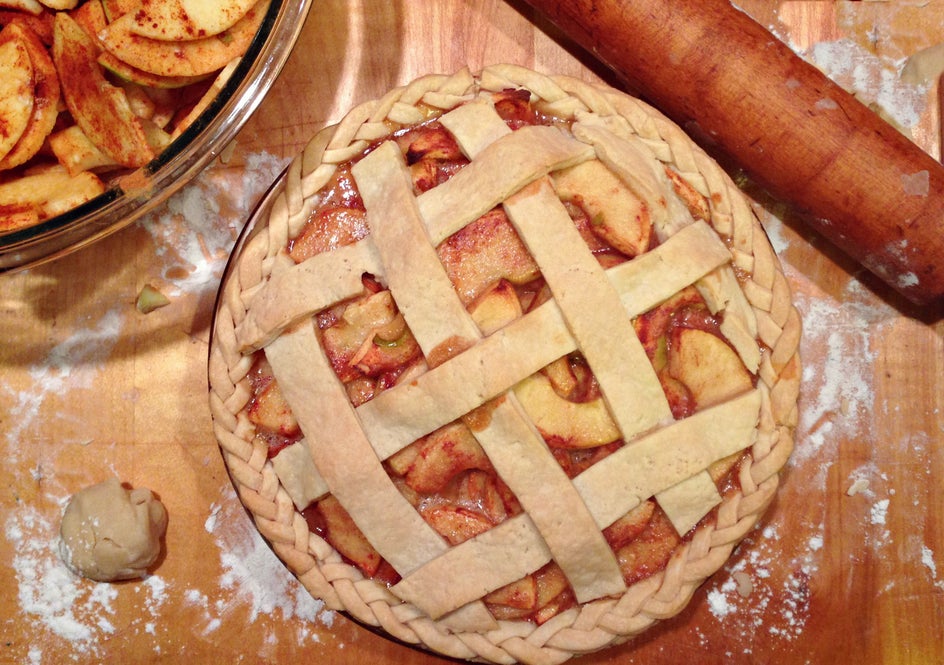
Once your pie is filled, roll out the dough to ⅛ inch thickness and cut into 1 inch strips. I used eight of these for the top. Weave the strips over your pie like a basket, leaving an inch or so between each strip so the filling peeks through. Trim the edges of the lattice with a knife at the edge of the crust.
Bake the pie according to your recipe and voila! Look how beautiful!
Ready to capture all the creativity in your kitchen? Let the BeFunky Mobile App be your guide: