DIY Wedding Invites
Ah, wedding season. While I may not be a fan of weddings for the traditional reasons—fancy hair and makeup, tight satin dresses, embarrassing speeches and precious moments that can only be brought to life with a full bar—I still remain, however, a big fan. Travel? Yessssss. Some delicious food and fancy cake? Count me in.

So while my priorities may not be, well, perfectly in order (and who could possibly turn down a nice piece of cake, anyways?) I have all the best intentions in the world. Since my friend Emily told me she was getting married this fall, I thought, well heck, I’m going to put on my fancy hat and whip her up something lovely...aka some splendid wedding invites.
Mind you, I’m certainly no graphic designer, so thank god and all his angels for sending me the Designer Toolset by which I was able to make this gorgeous invite and no one was any the wiser as to my total inability to draw/design/doodle/be an adult.
1. Customize Your Template
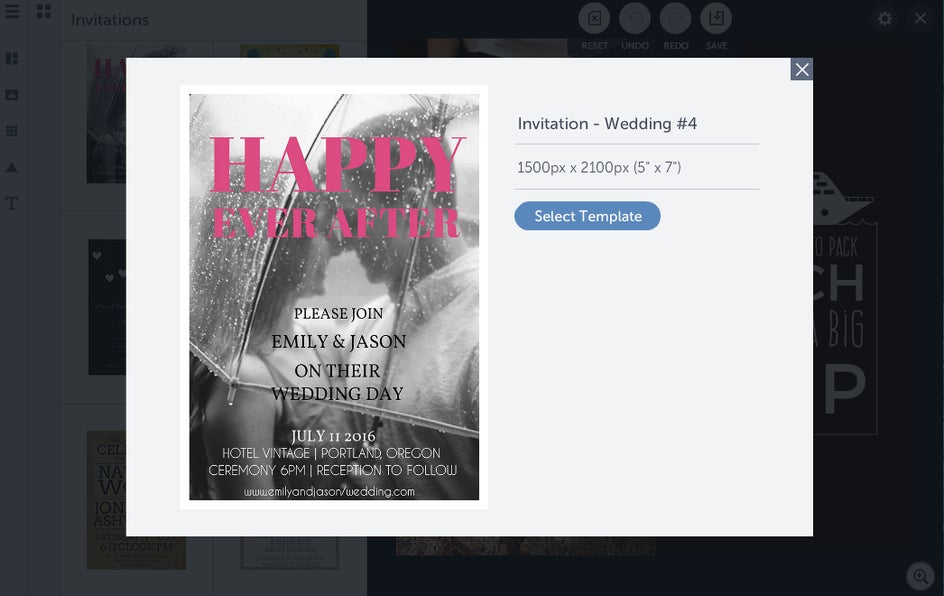
I decided to start off with one of the dozens of dazzling pre-made templates, not feeling quite bold enough to create my own (though you’re certainly welcome to try if you’re some sort of design wizard). Just head over to Event Graphics and take your pic:

And then chose this beauty:
Excellent! Now I’m just going to customize the background up a bit, so I headed over to Pixabay under Image Manager in search of some gorgeous photos and found a spiffy looking one of some roses.
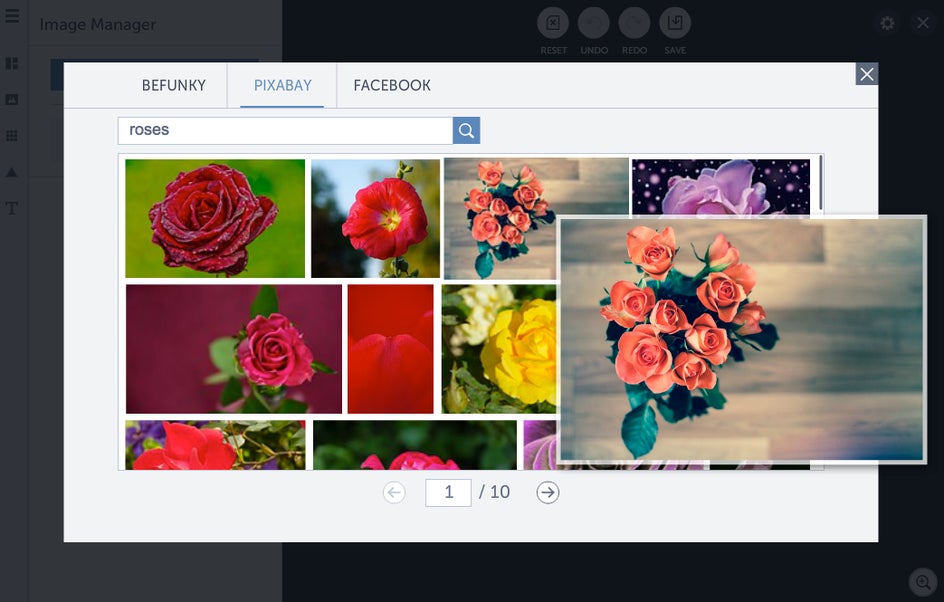
Just click, drag and drop to select it as your background. You can also edit your background picture in the Photo Editor by hitting ‘Open in Editor’. I decided to spruce mine up just a bit, playing with the exposure, brightness and saturation to make the image really pop.
2. Prep Your Image
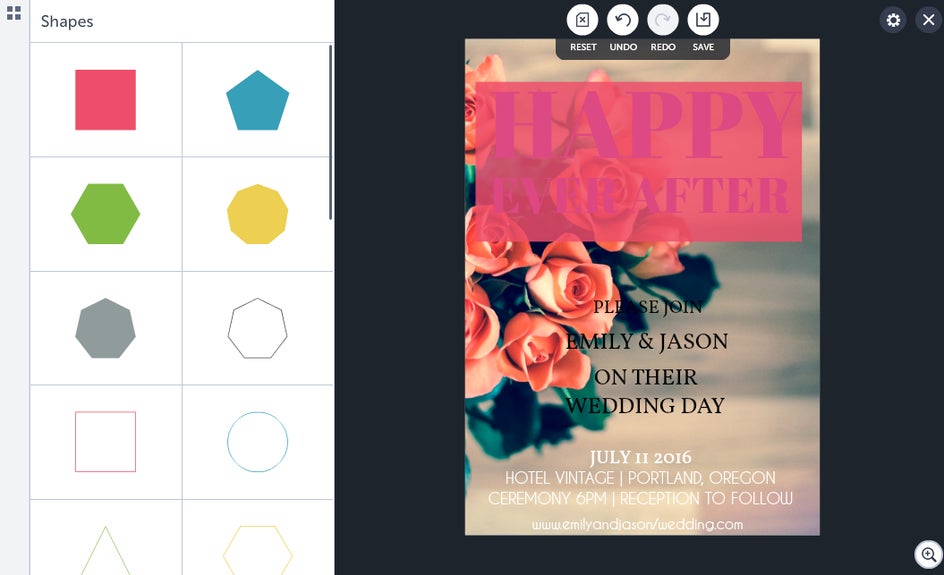
We’re going to want to play around with things a bit more now. Since our main text is somewhat distracted by the background, I decided to put in a square behind it using the Shapes section under Design Elements. I turned up the opacity of the square to 85 (you can toggle its shape by holding down Shift) and moved it backwards, creating this little block of text:
3. Add Text
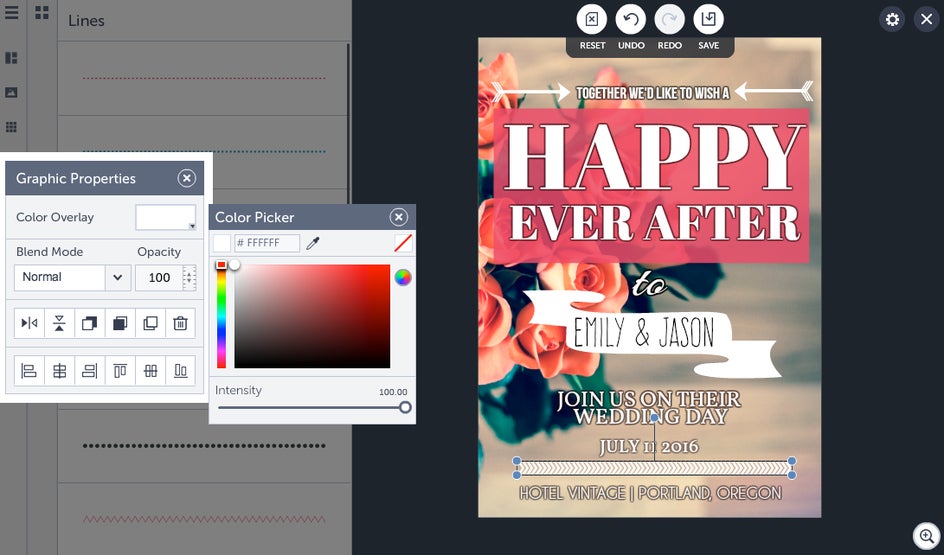
That pink on pink clearly won’t do, so I went in and changed the font to white with a black border at half intensity. I added a ‘to’ underneath the block text and also deleted the ‘please join’ line of text, opting instead to add a ‘Join us’ to the ‘on their wedding day’ line, and deleted a few other lines of filler text.
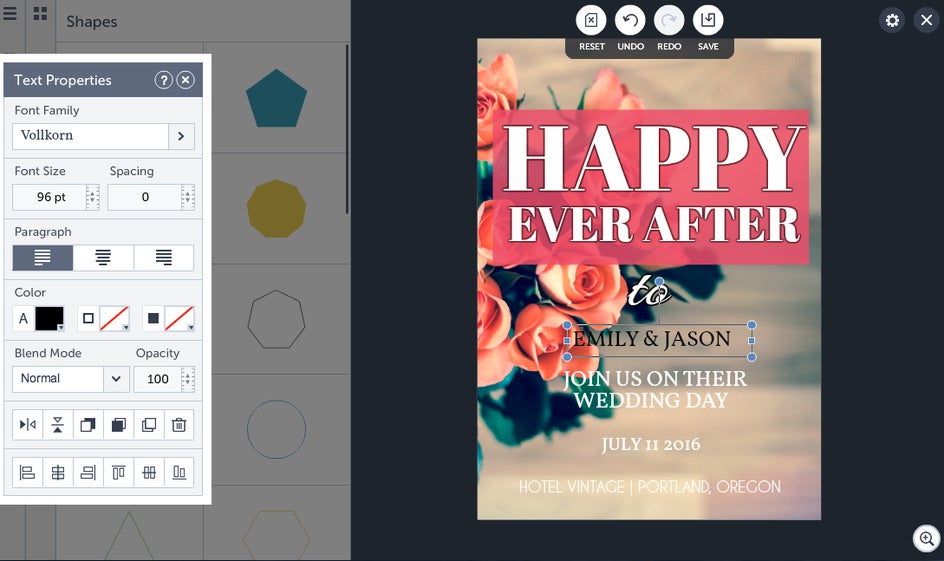
I also went in and gave all the white text a black outline at 50% intensity to help it stand out a bit more and added that spiffy line of text on the top.
4. Graphic Time
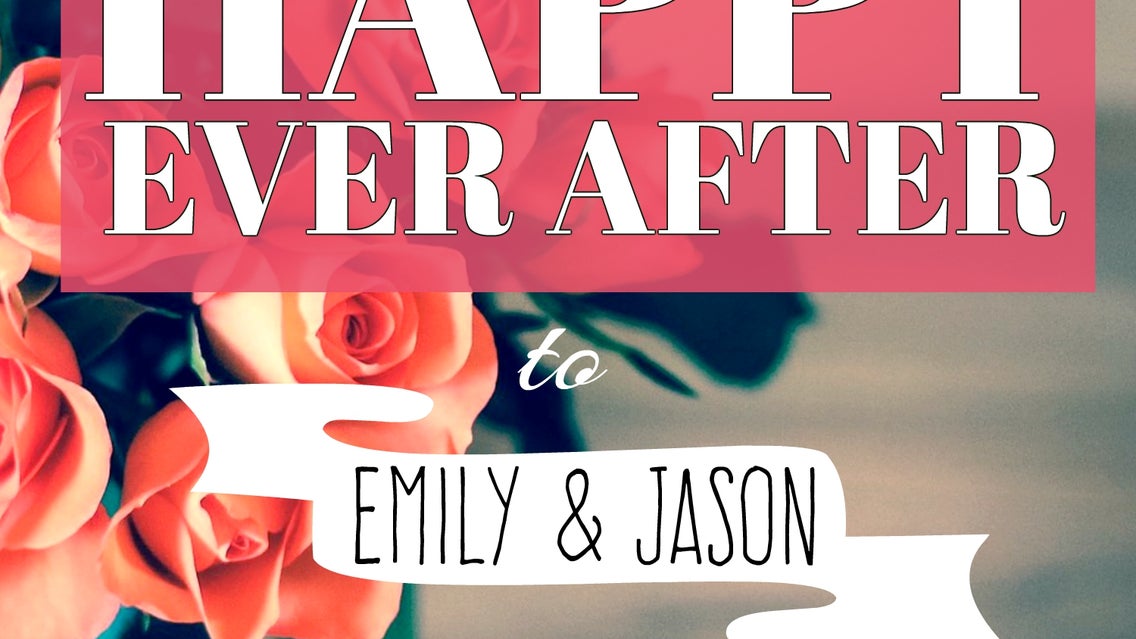
Here’s where the wizardry really starts to kick in. I wanted to make the bride and groom’s names really stand out, so I decided to go in and put a banner underneath that section of text. You can find banners under ‘Ribbons’ in the Design Elements section. I chose to have my banner as white at 100% intensity and moved it to the back of the text, adjusting it as I went:
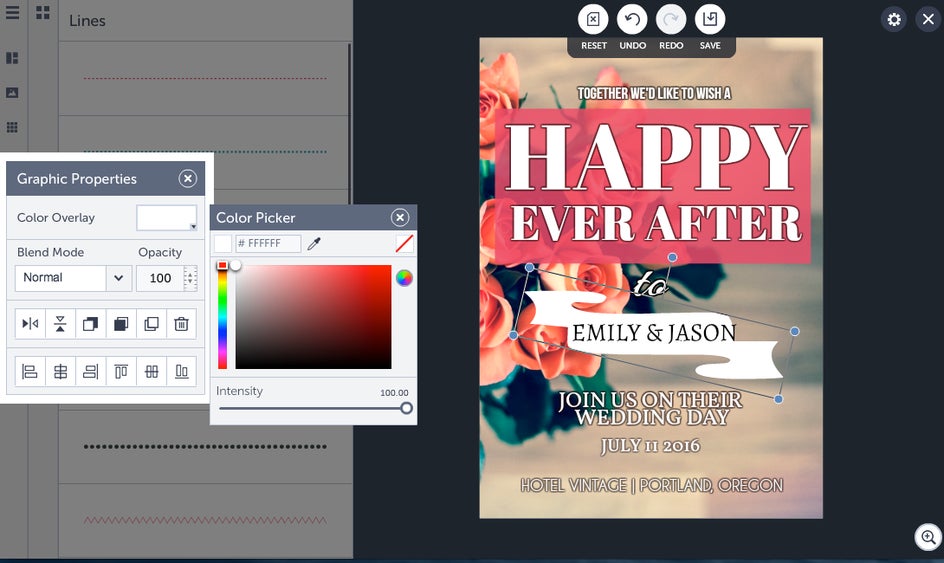
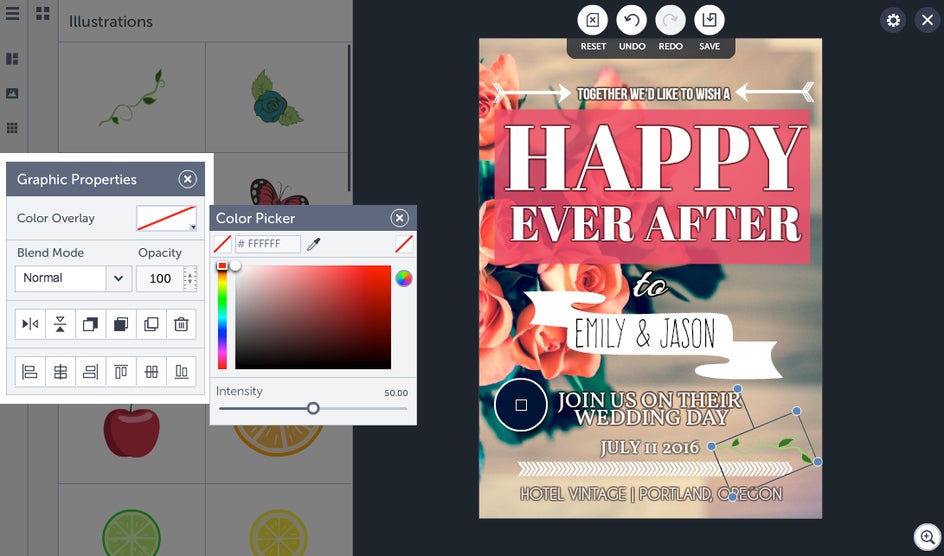
After changing up the happy couple’s text to the Frente font, I decided some extra lines and arrows would be nice for good measure, so I threw a few into the mix. You can easily duplicate any graphic with the duplicate button, which meant all I had to do was make an arrow, duplicate it and flip it horizontally before adding my last line at the bottom:
And for my final step I decided to keep with the roses theme and threw in some vines, found under Illustrations, that I’d flipped and filled in using the Color Picker:
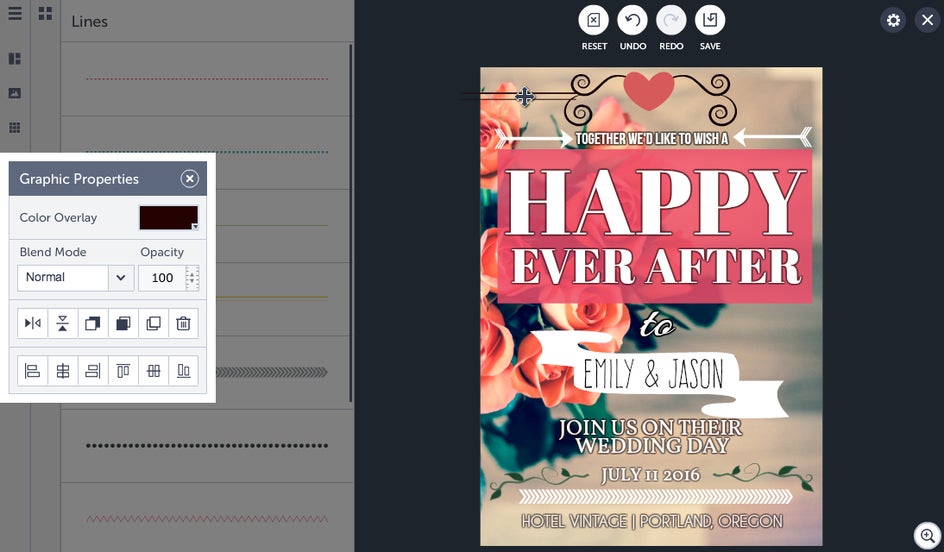
And played around with a few lines, adding in a heart at the top and using graphics from the wedding section, to give me that fabulous header:
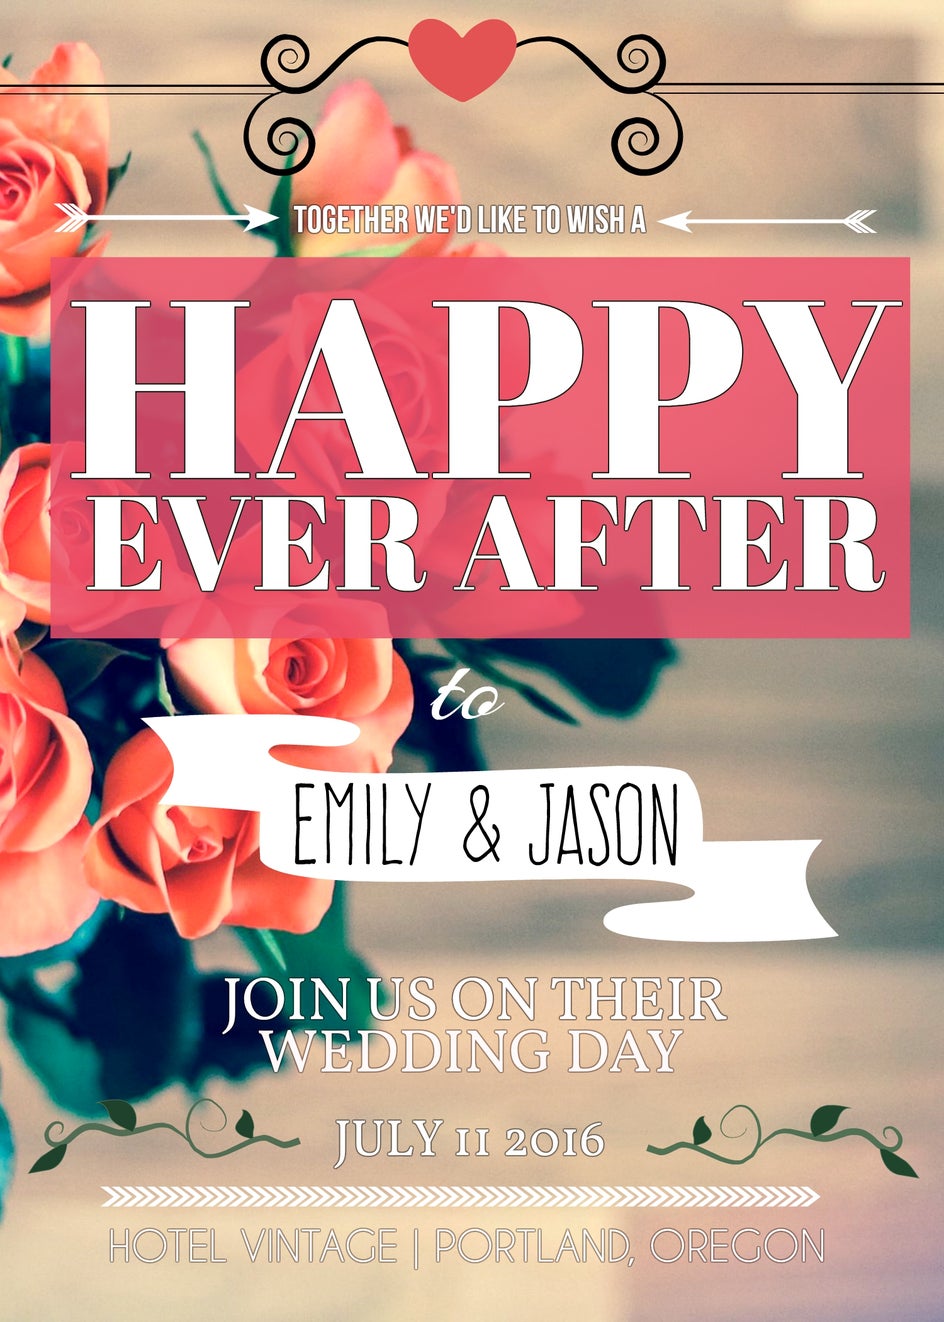
Voila! Not to pat myself on the back too much, but by Jove does that look freaking awesome.
Got a special someone in your life? If you're looking to make something stylish for yourself, we're totally game: