DIY Halloween T-Shirt Design
It's that time of year again—Halloween time, that is! Are you and your family ready for all the Halloween parties you've been invited to? Are you all going to wear costumes to these parties or wear something casual? I know you're thinking, "Stop asking all these questions!," but they're questions you should already be probably asking yourself.
Well I'm here to take some of the work out of your Halloween wardrobe decisions. Why don't you create your own Halloween t-shirt design and make t-shirts for you and your family members to wear to your Halloween festivities?
First, choose some photos you would like to use in your t-shirt design. I decided to use a cool Halloween photo and illustration from our friends at Pixabay, though old family Halloween shots definitely work here, too.
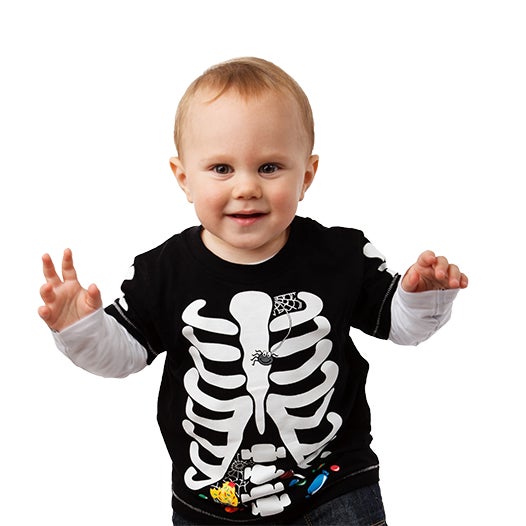

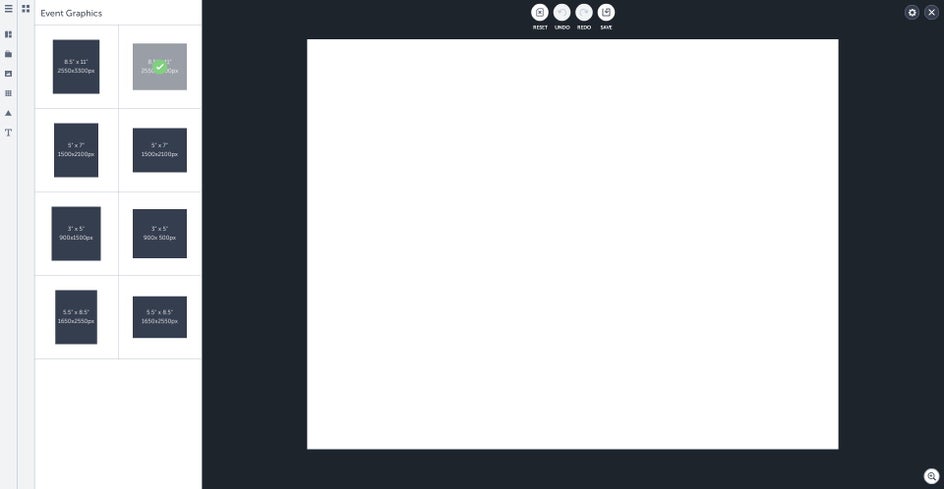
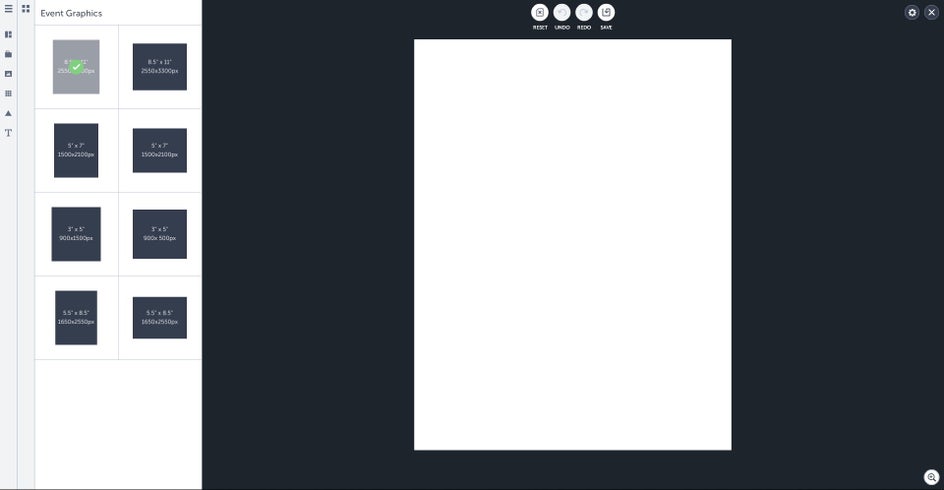
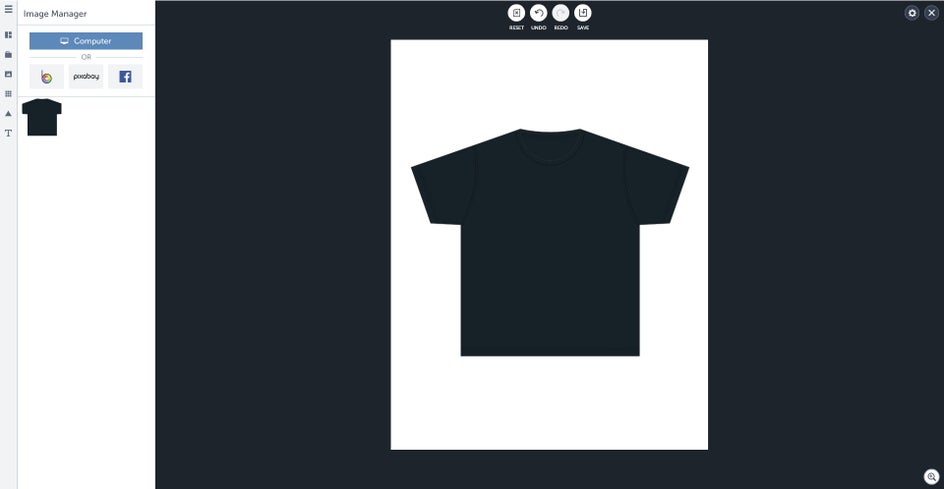
Before you upload your photos into the BeFunky Designer Toolset, you're going to see if you need to edit anything in your photos. I decided to remove the white background around the little boy so I could place him on top of the Halloween background photo. I removed the white background in another program. Once you're done editing, you're going to go to the Designer Toolset and click on the Blank Templates panel, click on Event Graphics, and select the 8.5" x 11" landscape template.
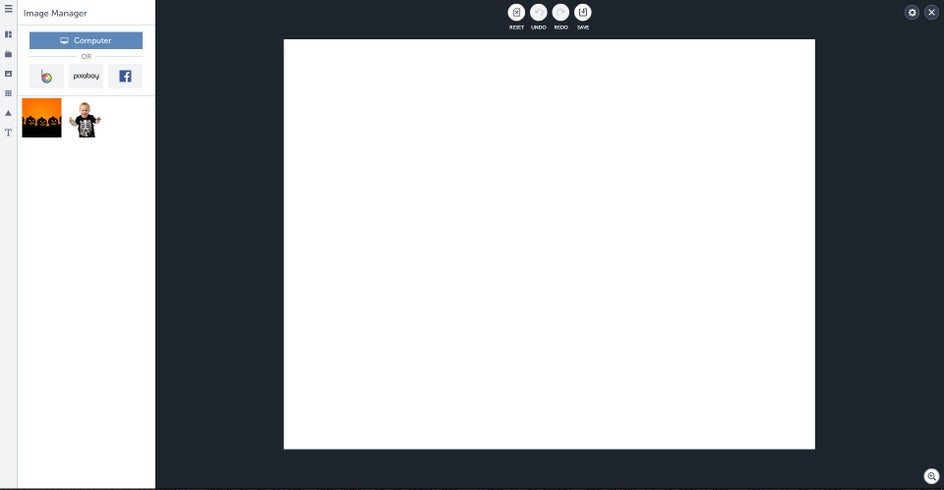
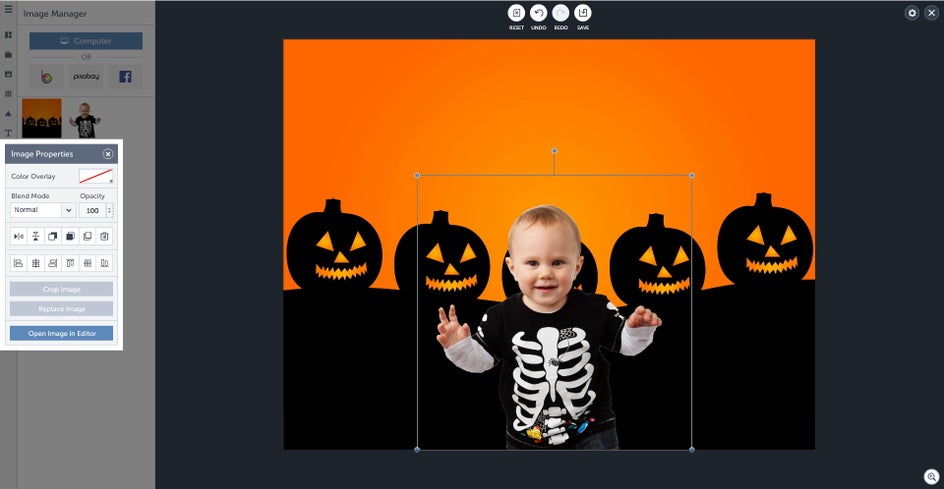
Click on the Image Manager panel and then upload the photos you want to use.
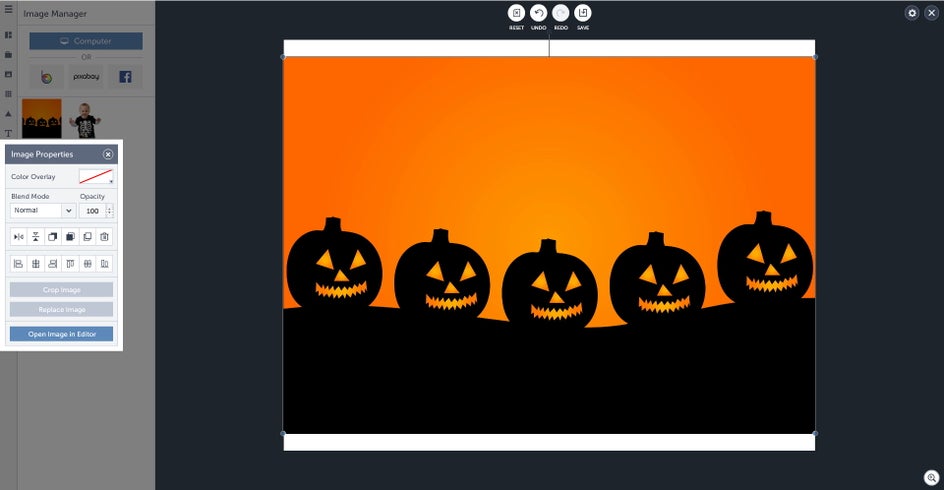
The photo you want to put on the page first will be the photo you want to use as the background in your t-shirt design. I put the Halloween illustration on the page first since I wanted it to be my background. You're going to scale the photo to fit the width of the page.
Now it's time to put your other photos on the page. I only had one more photo to put on my page and I placed it in the bottom middle of the page to make it look like the little boy was really standing in front of the pumpkin background.
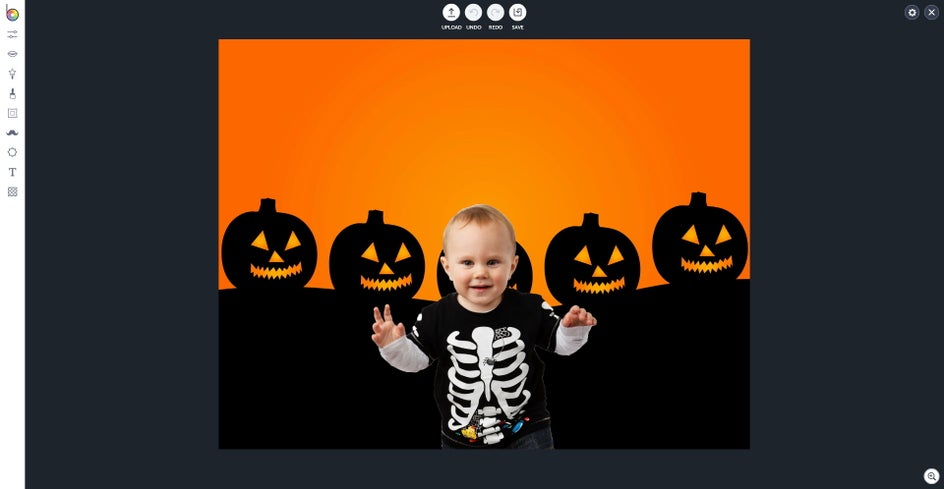
You're going to save your picture at this point and you're going to switch to BeFunky Photo Editor and upload your picture into the Photo Editor so you can add some effects to it.
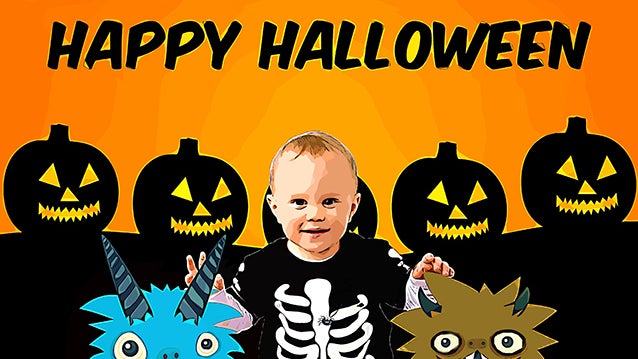
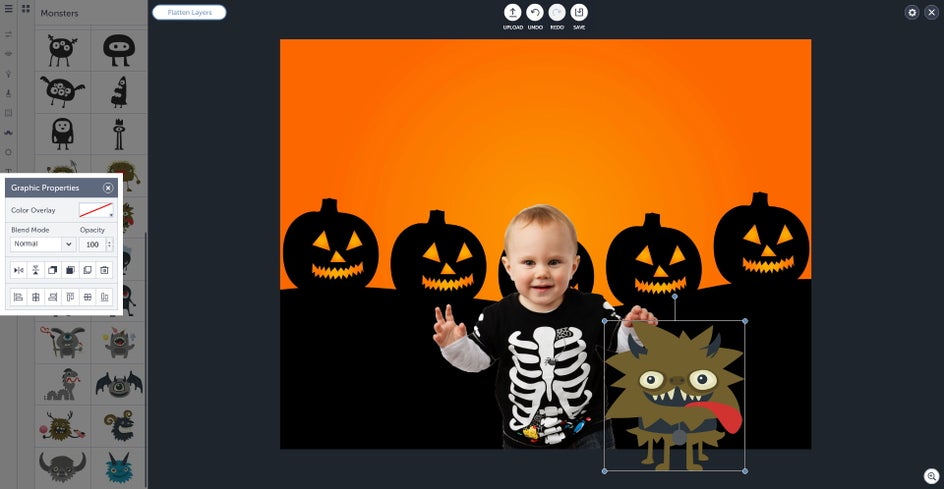
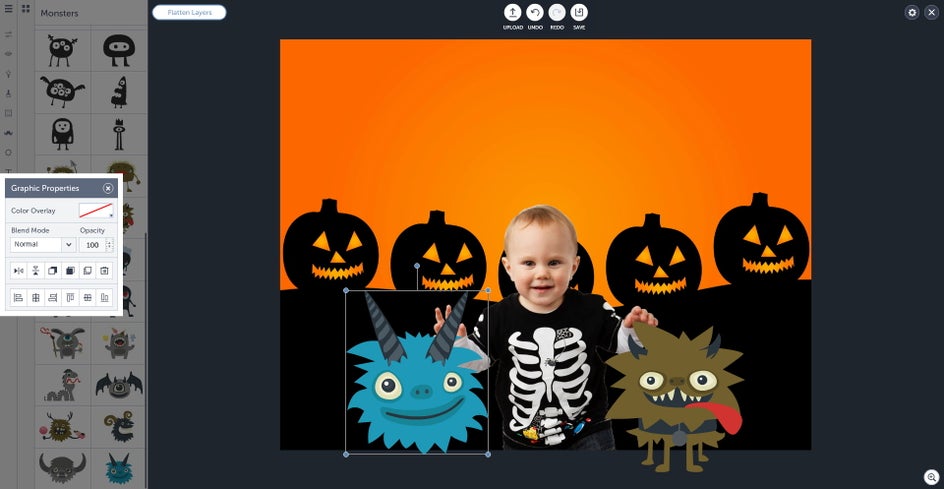
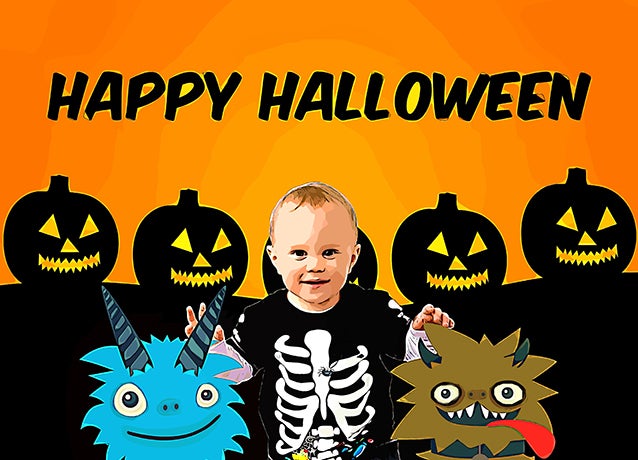
I thought the little boy looked a little lonely in the picture so I decided to give him two Halloween friends. You can do the same in your picture by checking out the sweet selection of Halloween graphics in the Photo Editor.
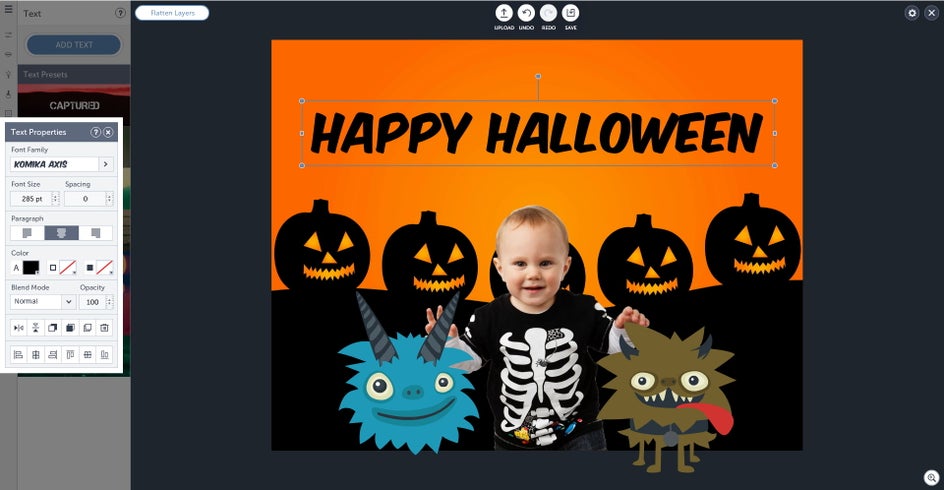
After you're done with that, you're going to add your Halloween text. Go to the Text panel, click on the Add Text button, and select what font family, font size, and font color you want to use. I used a font called Komika Axis.
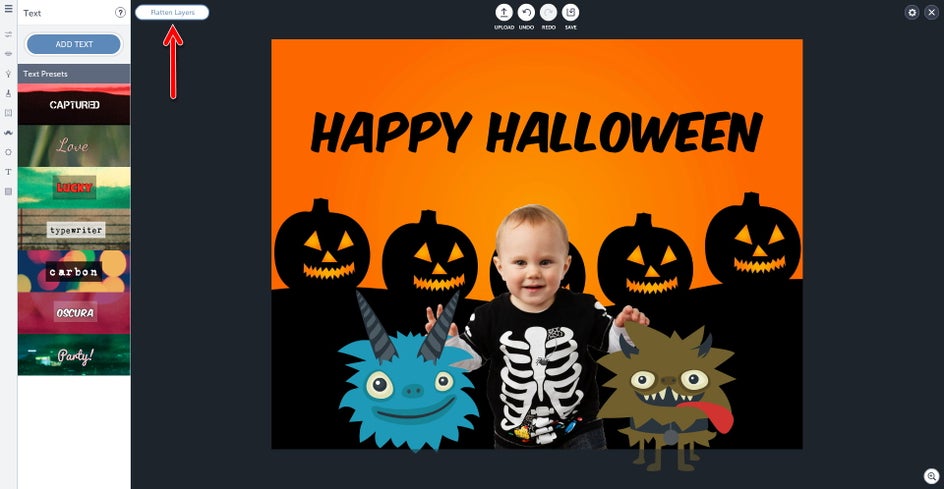
Click the 'Flatten Layers' button at the top left of the page so whatever effect you use next will go on top of the entire picture.
At this point of the t-shirt design, you're going to want to decide what kind of look you want your t-shirt design to have. I wanted my t-shirt design to have a sketchy kind of imperfect cartoon look. In order to achieve the first part of that look, I went to the Artsy panel, clicked on Underpainting , and selected Underpainting 1.
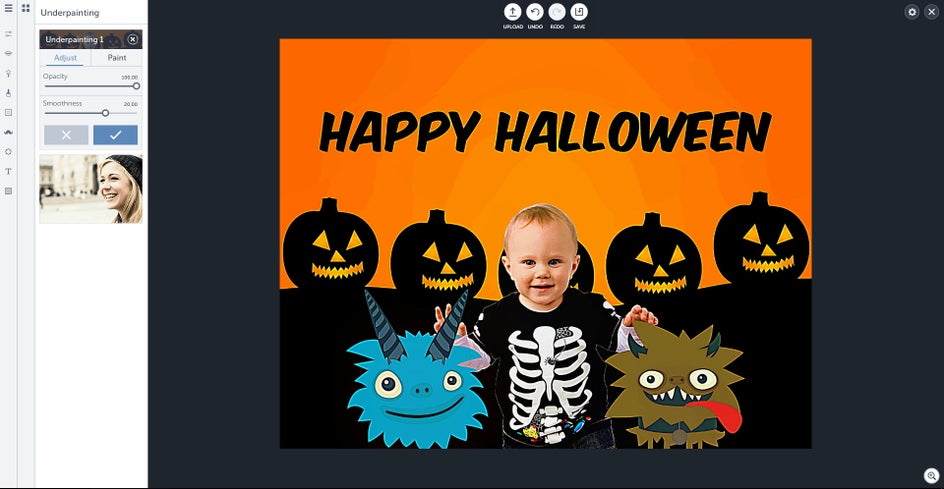
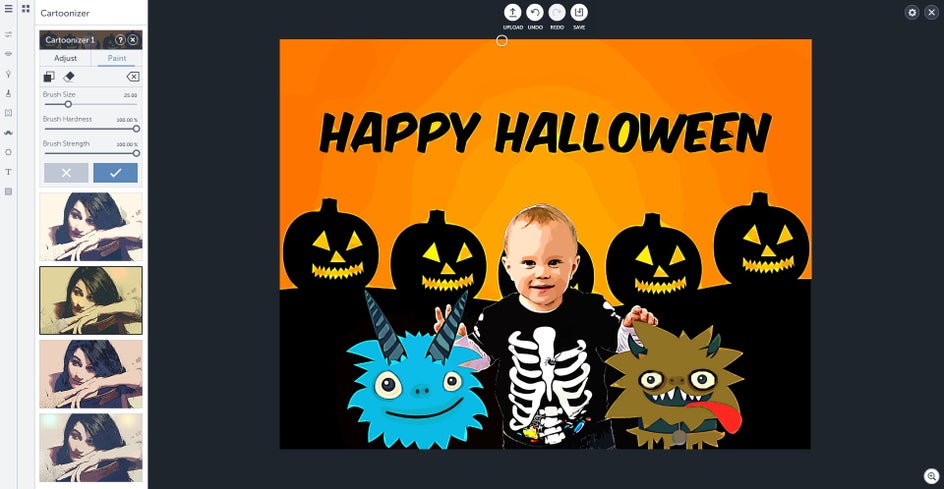
I used the Underpainting effect because it gives you a half cartoony effect and a half high definition photo effect. Go to the Artsy panel, click on Cartoonizer, and select Cartoonizer 1.
You can stop here and save your picture to get it ready for printing or you can take a few extra steps and see how it would look on a t-shirt before printing it out and not liking the way it looks on your t-shirt. This is also a good way of showing family members what their t-shirts will look like when you're finished with them. If you would like to preview your t-shirt design in this way, go to the Designer Toolset, click on the Blank Templates panel, Event Graphics, and select the 8.5" x 11"portrait template.
You're going to switch over to the BeFunky Photo Editor temporarily and upload a t-shirt photo or illustration. I uploaded a t-shirt illustration I found on Pixabay.
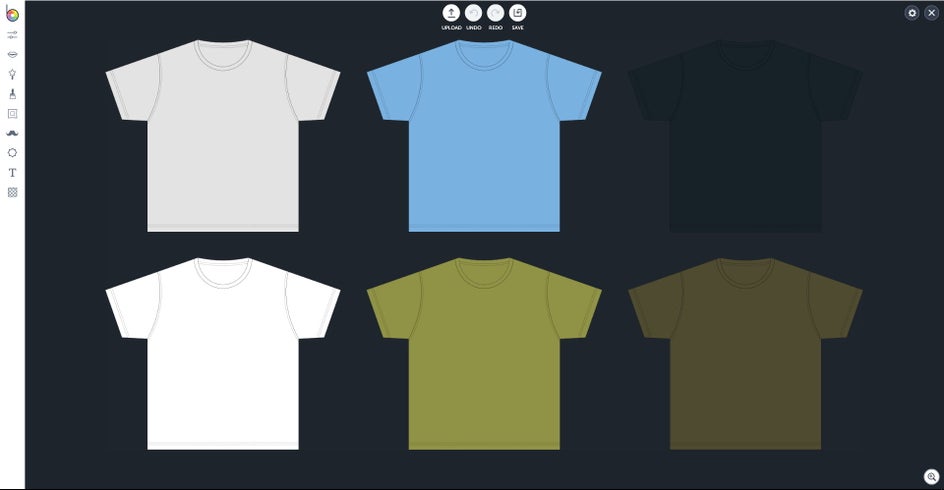
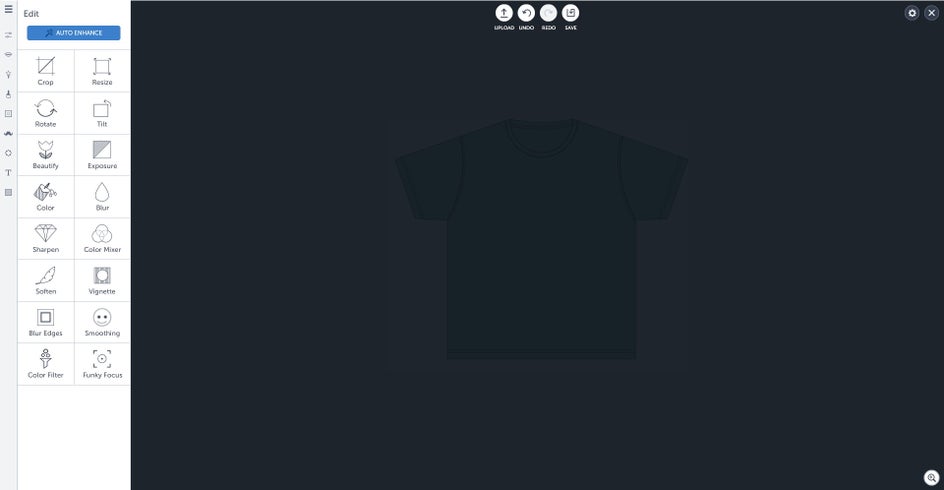
I wanted to see what my t-shirt design would look like on a black t-shirt, so I decided to crop the black t-shirt out of the illustration by going to the Edit panel, clicking on Crop, and putting the crop box around the black t-shirt.
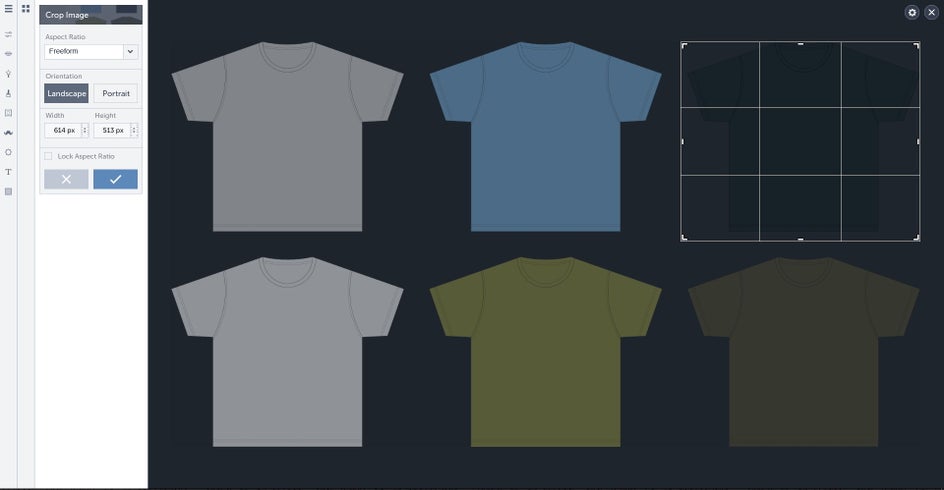
You should now have the black shirt isolated by itself.
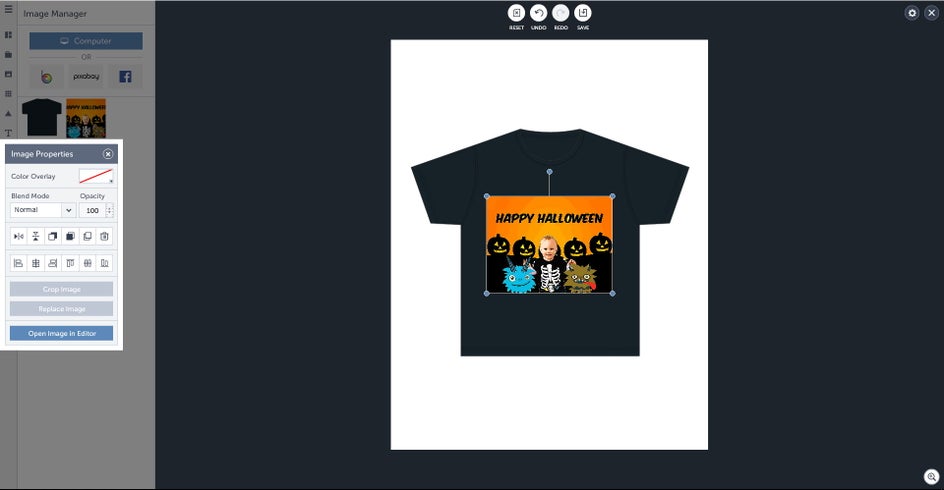
I decided to save my t-shirt illustration as a PNG file since I didn't want my t-shirt to have a background too, because I was going to have to place it on top of the blank page that was waiting for me on the Designer Toolset. You can do the same thing or you can save your image as any file type you want. After you finish saving your image, you're going to switch to the Designer Toolset, click on Image Manager, and upload your t-shirt image and place it on the page and do all the necessary resizing and positioning you need to do.
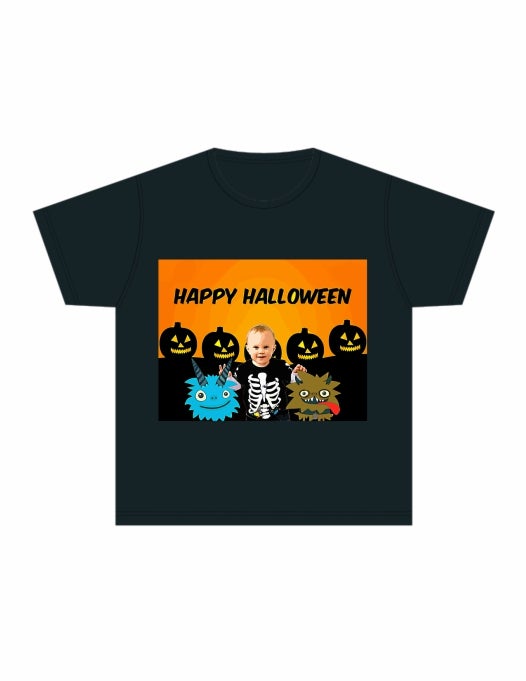
Then you're going to upload your t-shirt design and resize and position it where you want it to go on the t-shirt.
Congrats—you've just finished making a preview of your t-shirt design! Now you can send your t-shirt design preview to family members to check out. If anyone asks where you got your t-shirt from and how much it cost, you can just laugh and say you bought it from a special store and that it's priceless. I hope you and your family have a safe and Happy Halloween!
If you'd like to create an awesome t-shirt designs like this one, then try using the BeFunky Photo Editor and Designer Toolset to help let your imagination run free.