DIY Polaroid Tutorial

It was a dark day when I found out they’d no longer be making Polaroid cameras. NOOOOOOO, my teenage brain panicked. What am I supposed to do now? All hope is lost! Tragedy is inevitable!
(You get the idea.)
Teenage melodrama aside, fast forward a few years and the Polaroid is back and better than ever—only, er, considerably more expensive than ever, with your average camera ranging from $70 bucks to a crazy insane $300 (yikes). Luckily, we’ve found a way to hack your life so that you never need to drop crazy big paycheck money to snap the shot of your dreams ever again.

Welcome to the BeFunky guide to making a Polaroid photo, where the tools are free and the effects are a plenty. Join me today as I walk you through how to create a gorgeous Polaroid effect photo from scratch with the online BeFunky Photo Editor, so whether you’re whipping one up for fun or looking for how to turn your Polaroid into a magical gift from the heart (see below!) there’s a little something for everybody to enjoy.
Step 1: Find and prep your photo
To achieve the classical Polaroid look, you’re going to want a sweet and sentimental shot. Portraits work best here, though you’re welcome to throw in your favorite family pics, baby photos or even a colorful, epic landscape shot for good measure, too.
Start by selecting your photo and cropping it to get it all nice and square. To do so, click the ‘lock aspect ratio’ button to deselect and set your pixel size as equal for both your width and height. Select the ‘unlock aspect ratio’ button again and you’ll wind up with a nifty square cropping tool to select your image size.

Step 2: Edit your photo to perfection
Before we go in and turn that photo into a glitzy Polaroid, you’ll want to be sure to edit it for optimum quality. Adjust the brightness, exposure and lighting with the edit tools or use the touch up tools to erase things like red eye, blemishes and more. Don’t you look just fabulous?

If you’re looking for that special vintage effect, head on to ‘Vignette’ under Edit on the lefthand side and adjust it to your liking to give the edges of your photo that dreamy old school finish. You can adjust the amount of the vignette as well as the intensity with the handy dandy sliding bars, or even use the paint tool to go over areas you’d like to keep untouched as well.

And last but not least, scoot on down to Effect to access a whole array of gorgeous filters. You can do everything here from change your photo to a classy black and white shot or apply a Sepia tone, so feel free to play around until you find one that’s just right. I went with ‘Vintage Color 7’ under Vintage Colors and then used the paintbrush tool over a few areas to keep the color intact:

Step 3: Let’s Get to Polarizing
Now that you’ve played around with your photo and edited it to perfection, let’s get on board with that Polaroid magic. Under Frames you’ll find an option called ‘Instant’, so just select it to get a hold of all the goodies like so:
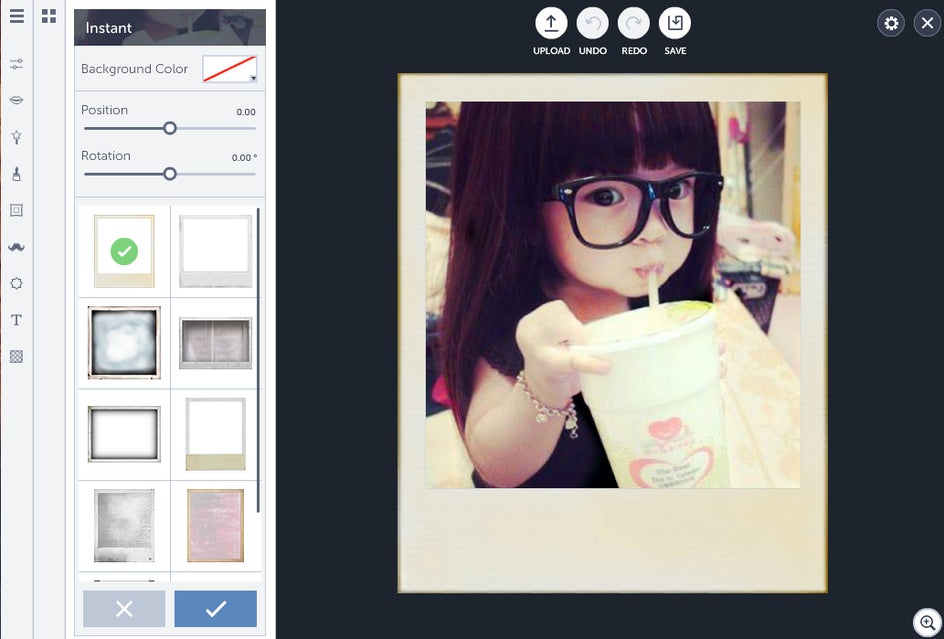
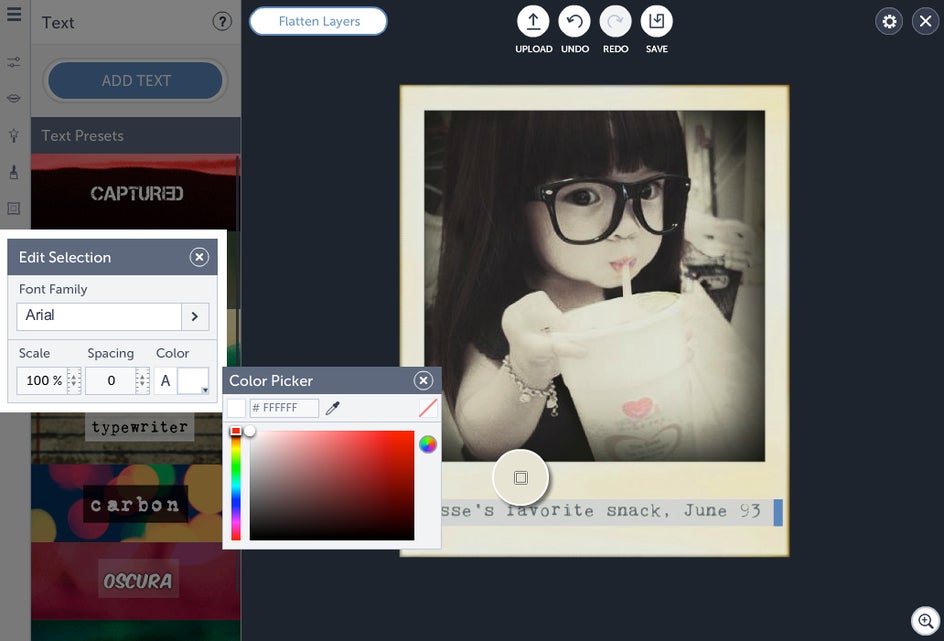
Pick your favorite, adjust the position of your photo and bam—you’re all set to go! Let’s throw in one last final touch, shall we? Run over to ‘Text’ on the sidebar there and pick a font (I like Typewriter, to keep with the vintage theme) and add in a little caption below. You can make it blend in seamlessly by using the eyedropper tool to select the background color as well:
Woohoo! You’ve created your very own dazzling Polaroid with no equipment necessary.


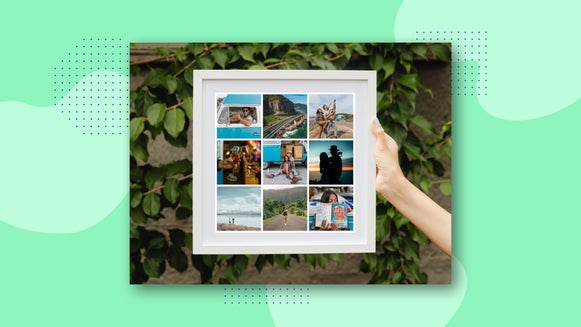
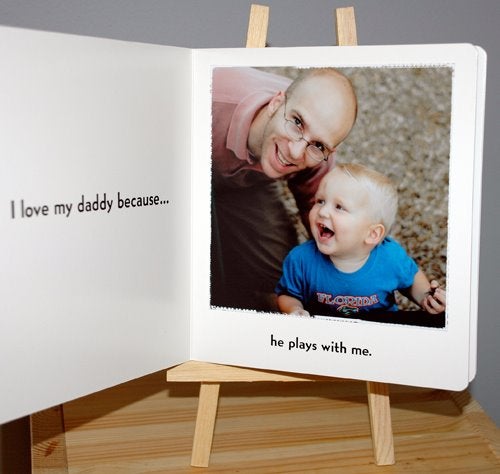
To take things to the next level and turn this into an unforgettable Father’s Day gift (because who needs more socks, really) just head over to our Pinterest for a handy dandy guide on how to turn your photo into a gorgeous wood block print. Just find yourself a woodblock, print out your pic and attach to create a unique masterpiece—a gift any dad would be proud to show off on his desk.
Think you're ready to make your own Polaroid?