DIY Thanksgiving Placemats
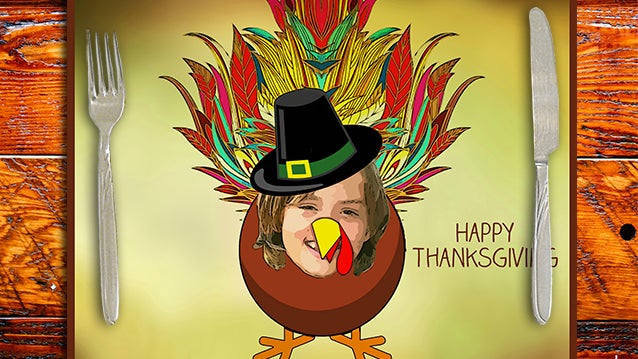
You have your favorite outfit picked out, your Thanksgiving recipes ready to go...only to remember at the last minute that you've forgot to set the table. Never fear, dear readers, because I'm about to show you how to add some Thanksgiving cheer to any kid's table by making your own Thanksgiving placemats that the little ones will love.
First, choose all the photos and illustrations you want to use for this project. I used some rather charming photos and illustrations from our friends at Pixabay:


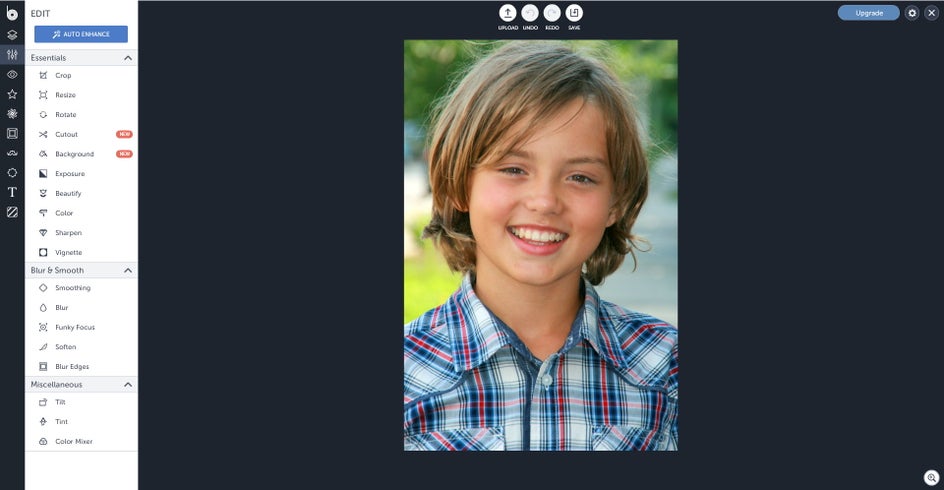
Next, upload your photo into the BeFunky Photo Editor:
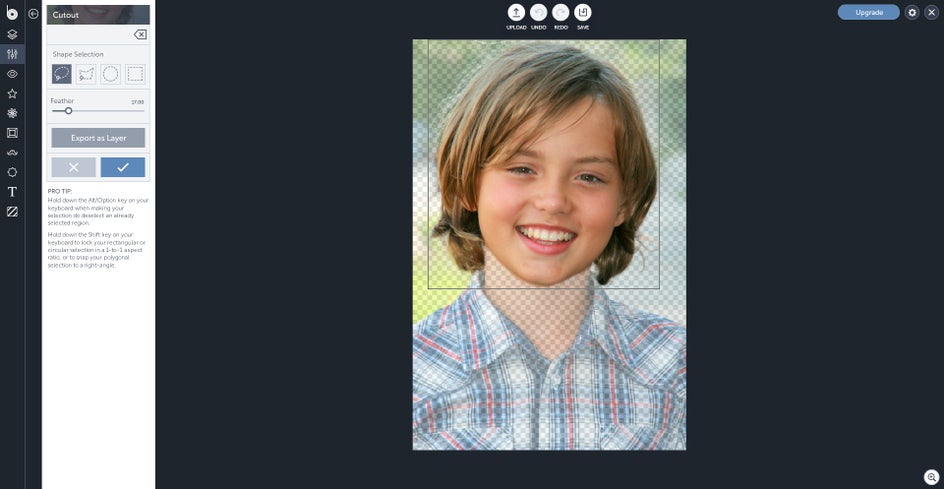
You're going to want to start by cutting out the head so you can place it on the turkey's body later on. Go to the Edit panel, click on Cutout, and select the Lasso tool to cut around the image.
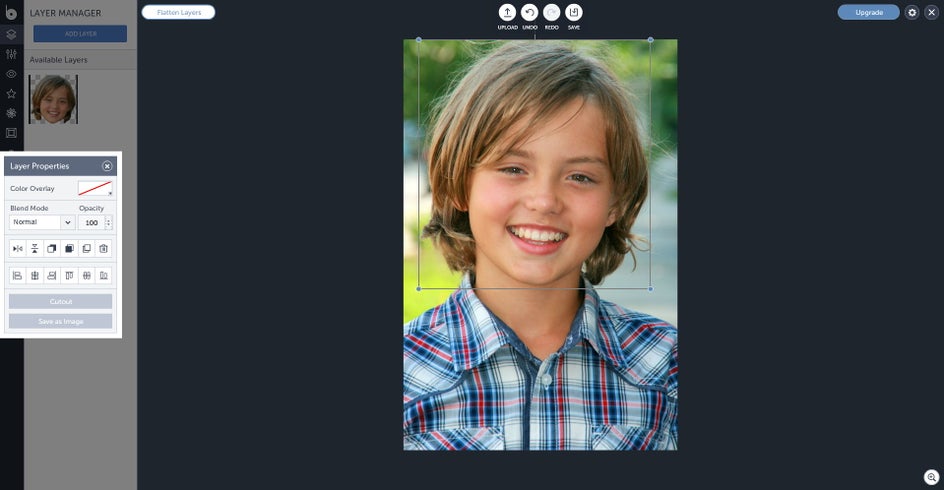
Click the export as layer button to place the face on its own layer. We want each item to be on its own layer so we can freely move them anywhere we want.
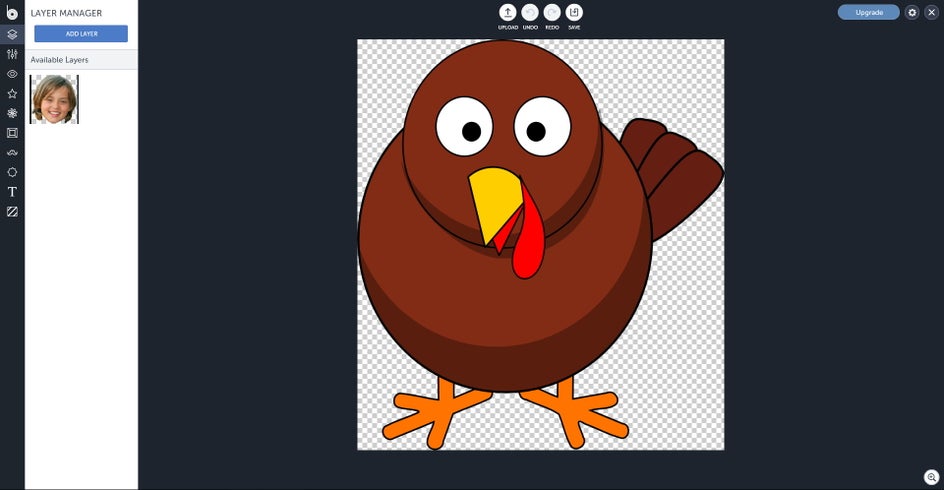
Now you're going to upload your turkey illustration using the Layer Manager.
It's time to start dissecting the turkey. You're going to cutout the beak and the snood (the red thing hanging from the beak) and put it on its own layer by using the same process we used for the child's face.
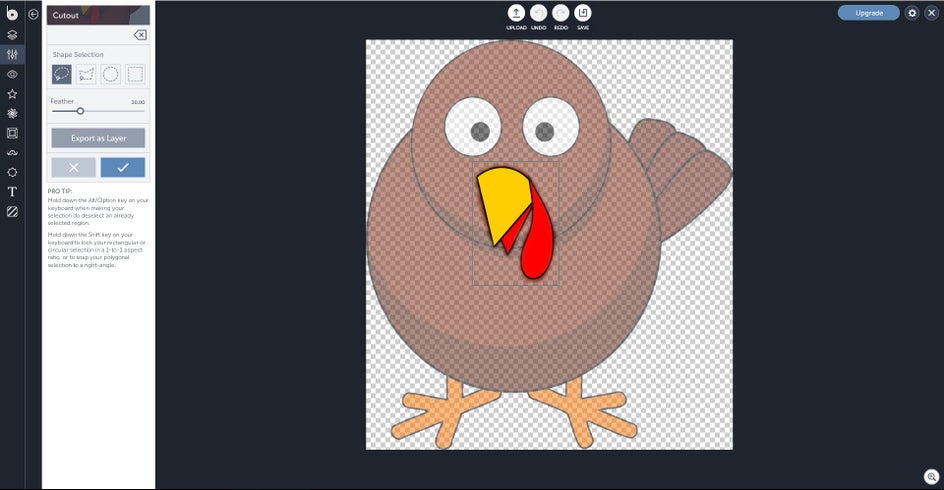
Now cutout the midsection and legs of the turkey and put it on its own layer using the same process as above.

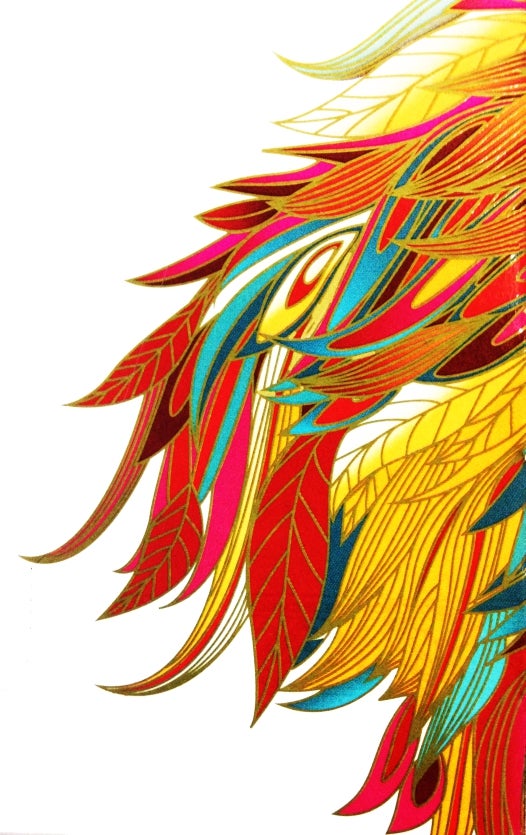
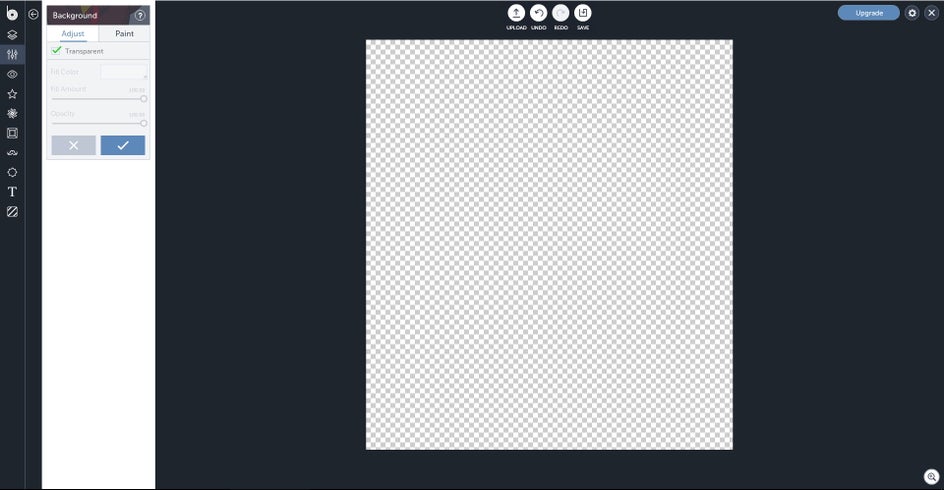
Before you add the feathers to the turkey, you need a blank canvas to arrange the feathers on. Keep the turkey photo on the screen as you're going to use it later as a base for the blank canvas. Go to the Edit panel, click on Background, and make sure Transparent is checked under the Adjust tab to create a transparent layer.
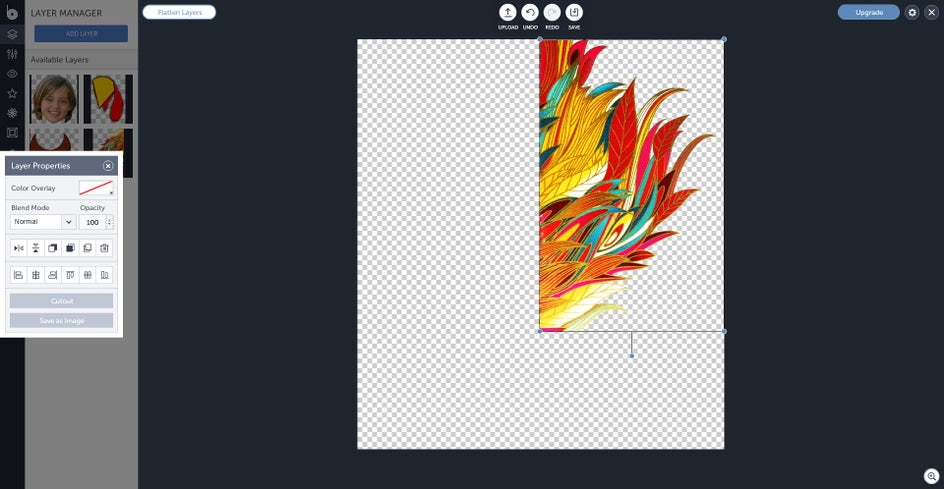
Go to the Layer Manager panel, click on the Add Layer button, and select the feather illustration for it to appear on the canvas.
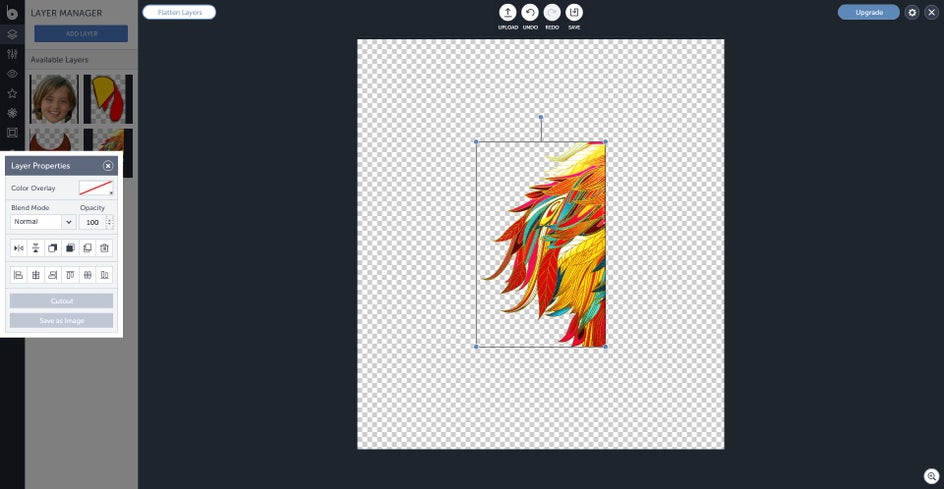
You'll want the feathers to look more tail-like, so you're going to resize and rotate the feathers and place them on the right side of the page. While the feathers are still highlighted, click on the Duplicate button in the Layer Properties box to make a copy of the feathers for you. Click on the Flip Horizontal button in the Layer Properties box and place the new set of feathers on the left side of the page.
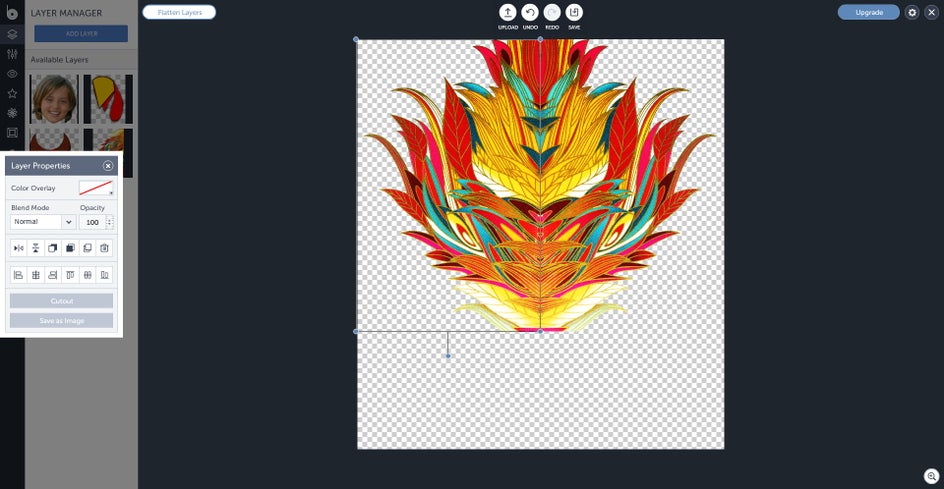
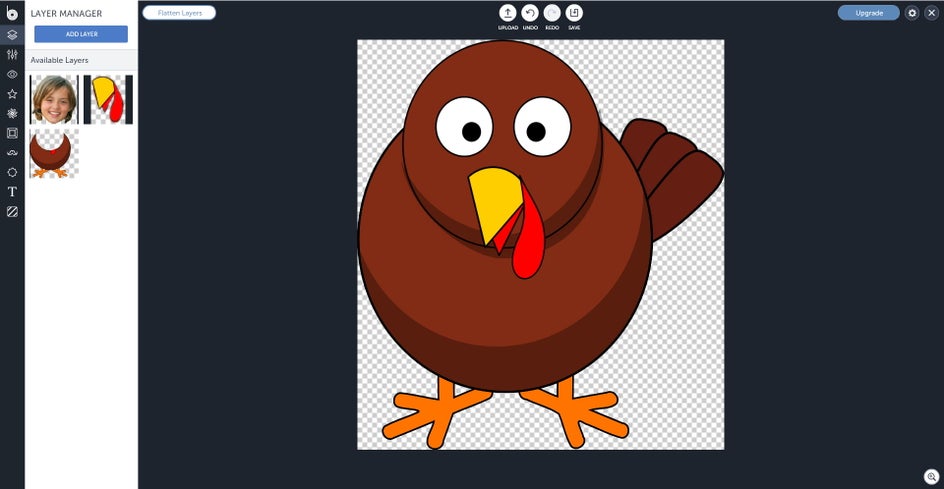
It's time to add your turkey body. You should still have the Layer Manager Panel open and you should see the turkey body shown in the list of images in the Layer Manager menu. Double click the turkey body illustration and it should appear on the page. You'll want to resize it and place it over the lower half of the feathers.
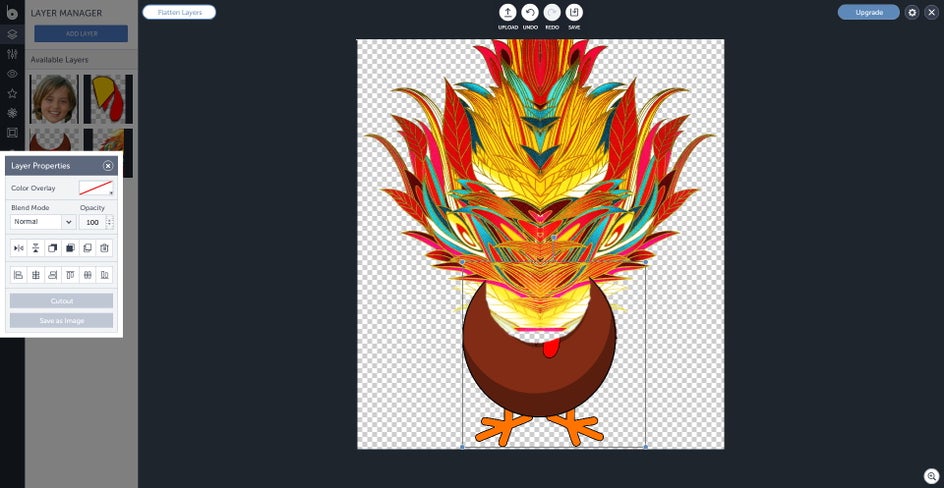
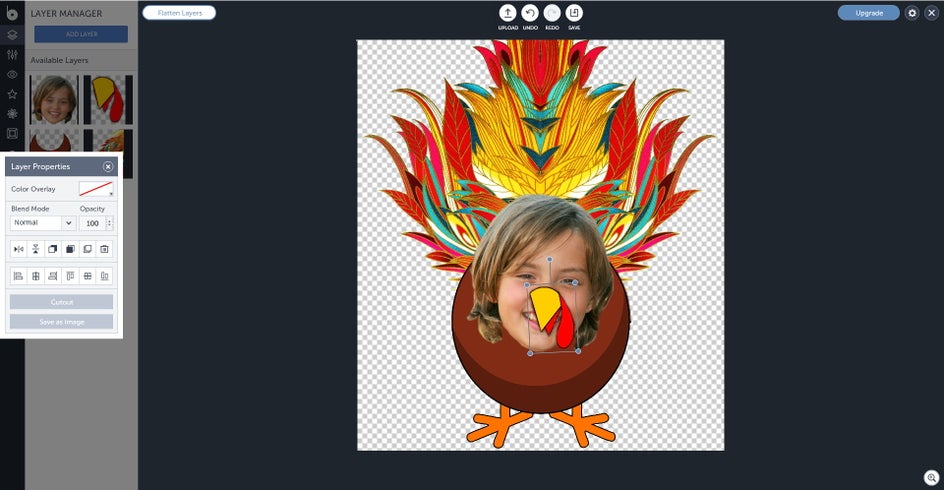
Now it's time to add the child's face. You're going to do the same thing you did with the turkey body illustration. I placed the child's face in a way that it would make the viewer think the turkey was sticking it's neck straight out at them.
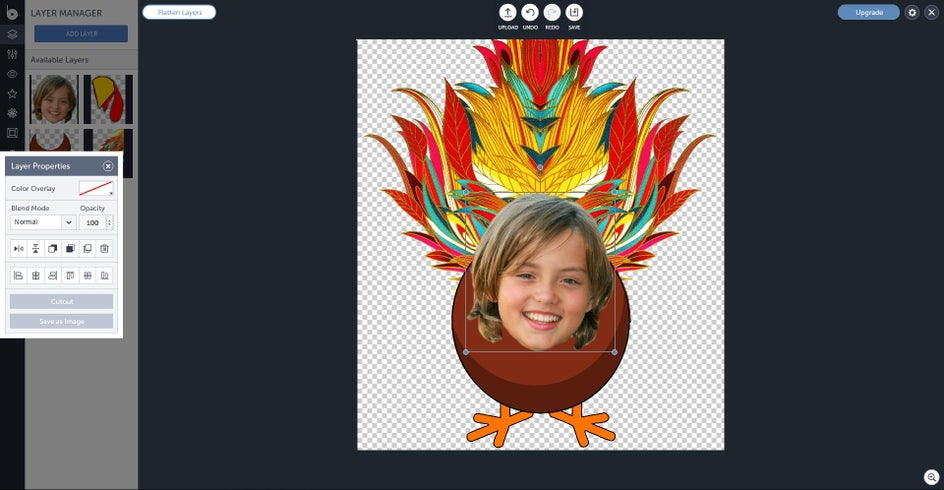
Next, you're going to add the turkey's beak and place it on top of the child's nose.
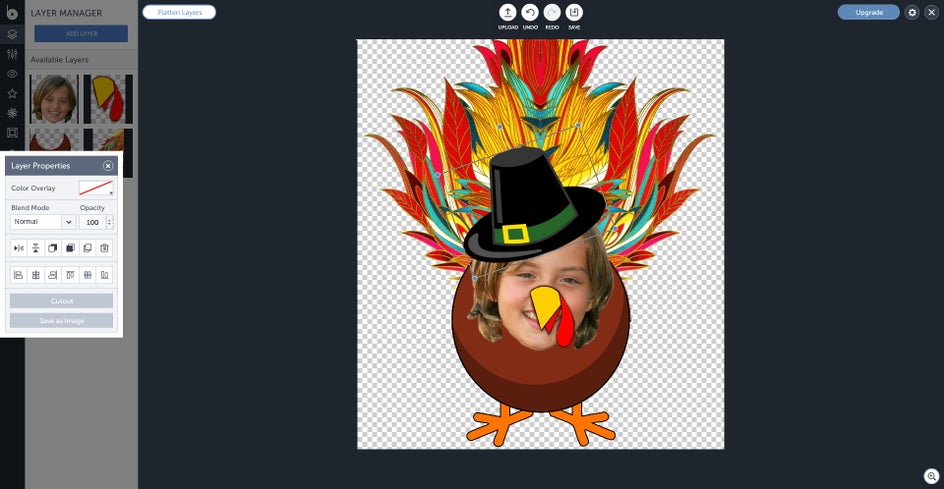
Click on the Add Layer button in the Layer Manager menu and add the Pilgrim hat illustration to the page. After you do that, click on the Flatten Layers button at the top left of the screen so the next effect you use will go on top of all the items on the page.
I wanted my turkey to have a coloring book meets cartoon look, so I went to the Artsy panel, clicked on Cartoonizer, and selected Cartoonizer 1 and moved the sliders around to my liking.

Click on the Paint tab and erase the sections that have a black cast on them. It's okay if you accidentally erase the white background, because when we save the picture as a jpg in a few seconds the areas that you accidentally erased will be replaced with a white background.
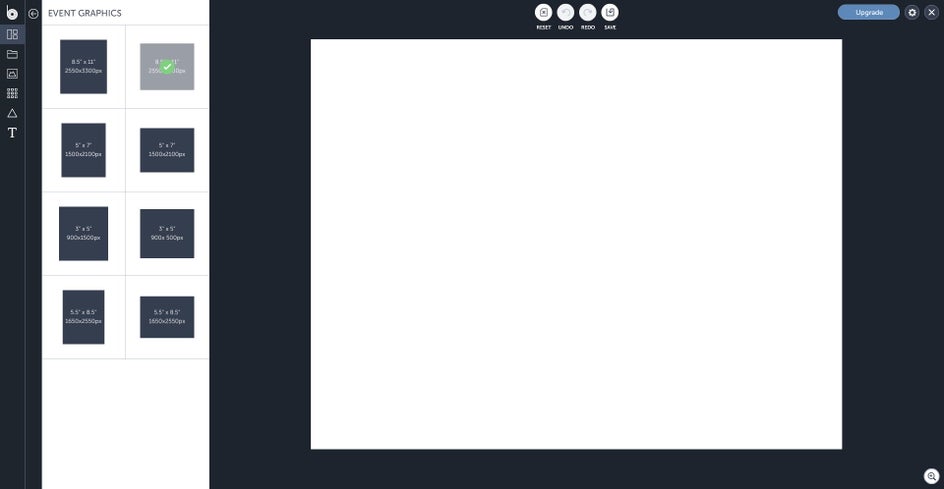
Save the picture as a jpg and switch to the BeFunky Designer Toolset so we can start constructing the entire placemat. Once you're in the Designer, go to the Templates panel, click on Blank Templates, and select Event Graphics and click on the 8.5" x 11" landscape template.
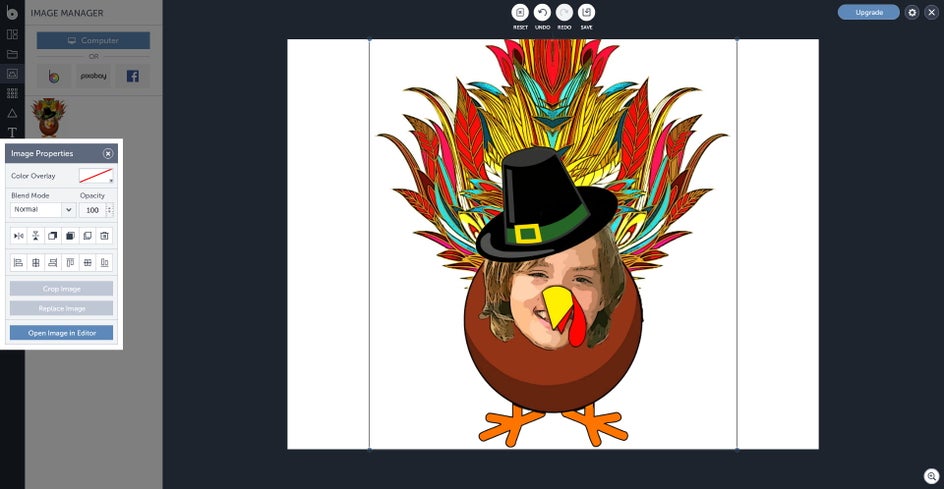
Go to the Image Manager panel, click on the Computer button, and select your turkey picture. The picture will appear on the screen and you can resize it and position it wherever you want it to go on the page.
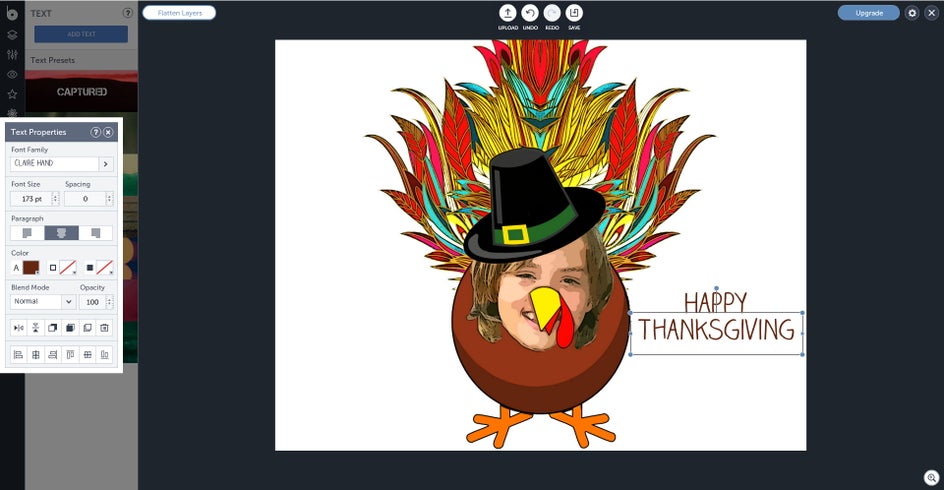
Save your picture and switch back to the BeFunky Photo Editor and upload your saved picture. Go to the Text panel, click on the Add Text button, and select what font family, font size, and etc. you want to use for your Thanksgiving greeting.
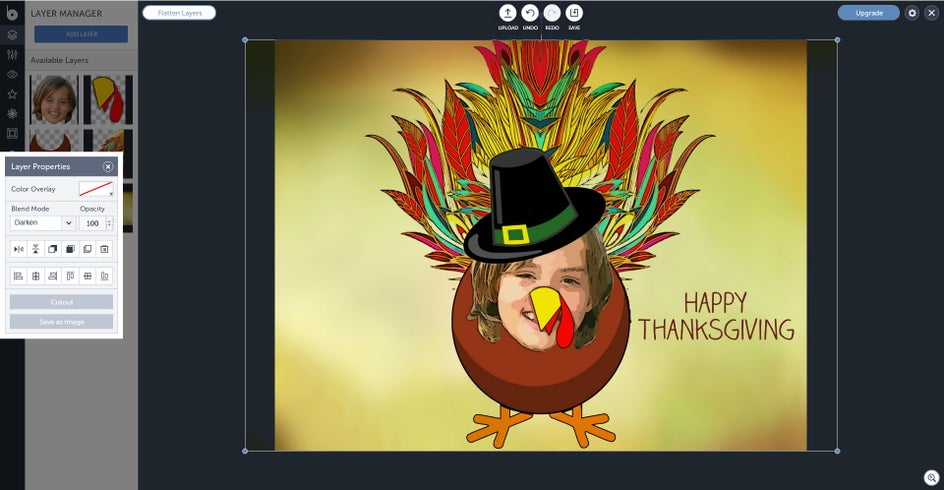
The background needs a little pizazz so you may want to add a gradient texture to it. Go to the Layer Manager panel, click on the Add Layer button, and select whatever gradient texture or photo you want to use for the background. Play around with the blend mode in the Layer Properties box until you have the background look you want.
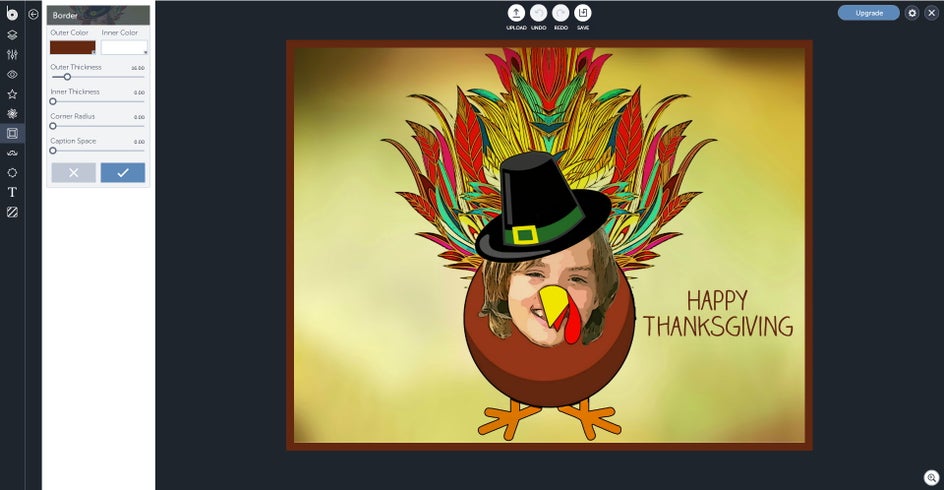
As a nice finishing touch, you can add a border to the placemat. Go to the Frames panel, click on Border, and chose the color you want the border to be and move the sliders to your liking.
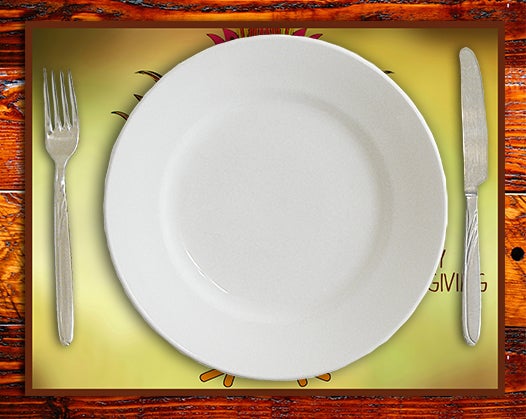
Now you can save your placemat and design more placemats using other kids faces. Once you're done designing them, you can print them out and cover them with clear contact paper or put them in page or display protectors to preserve them and make them easy to wipe off and to use every Thanksgiving. You can also let the kids take them home at the end of Thanksgiving so they can use them year round.

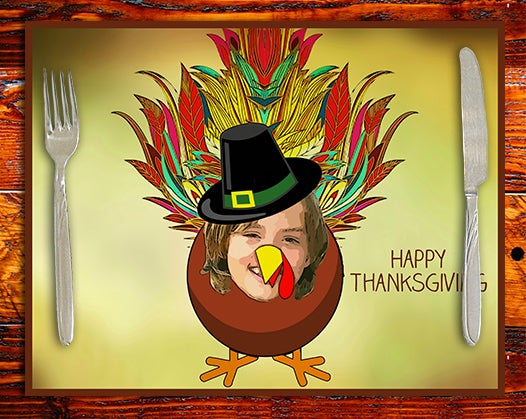
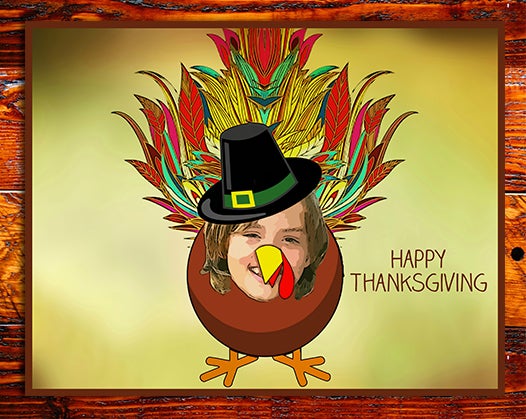
Here's what the placemat will look like on your Thanksgiving table with and without plates and utensils on top of it:
Want to design Thanksgiving decorations like this? Then give the BeFunky Photo Editor and Designer Toolset a whirl right now!