Easily Whip Up An Infographic With The New Designer
Everyone loves a good infographic. After all, learning with pictures is something we’ve been primed to do since our earliest alphabet books. Whatever the reason, infographics are a great way of serving up information in bite-sized portions. They're just wrapped up in such an appealing manner that it makes you want to share them with everyone you know.
Sort of like dumplings. Which I’m going to make the topic of today’s “How-To”, infographic edition. With BeFunky’s new Designer, you can whip up a fancy infographic faster than you can chug the soup in a xiaolongbao (and the result will be much tidier, too). Here’s how.
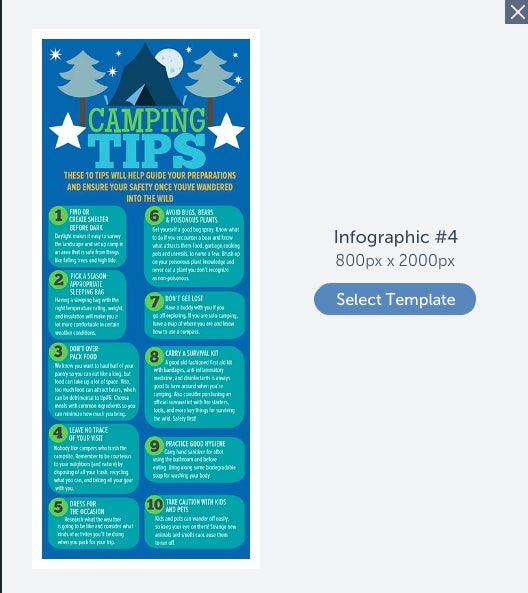
Fire up the shiny new BeFunky Designer. In the sidebar, head to Templates, then Blog Tools, then Infographics. You’ll have a wealth of spiffy pre-designed options to pick from. I’ve selected the one headed “Camping Tips”.
Since the camping graphics don’t have much to do with dumplings (well, unless you’re really good with a campfire), I cleared these away with some simple “click on the picture and delete” action.
Priming Your Canvas
Next up, I altered the infographic header text to make it a little bit more relevant to my theme. The template I’ve chosen already has fields for a heading, a subhead, and introductory text, so it was a simple matter of double clicking the text in question and typing in the box. You can easily play around with font types, text formats, text positioning and text rotation here as well.
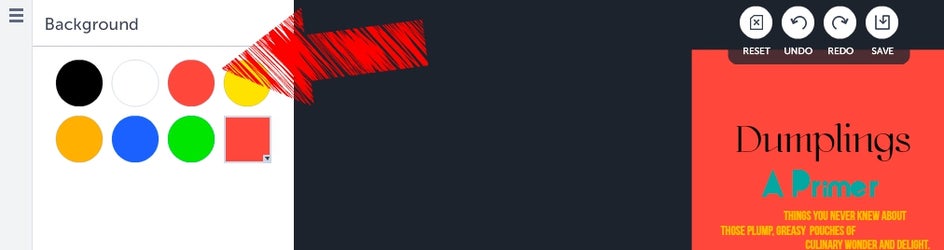
Next up, changing the background. Soothing blue works well for a night sky, but dim sum restaurants and red go hand in hand. To change the background to red, I navigated to Settings, then Background in the sidebar.
Icons and Ornaments
Now it’s icon time. I wanted to get a bit fancy with my infographic numbering system, so I replaced the template’s default green circles with jazzy stars instead. You can do this by going to Design Elements and then picking a graphic that works for you. Mine were found under “Ornaments”.
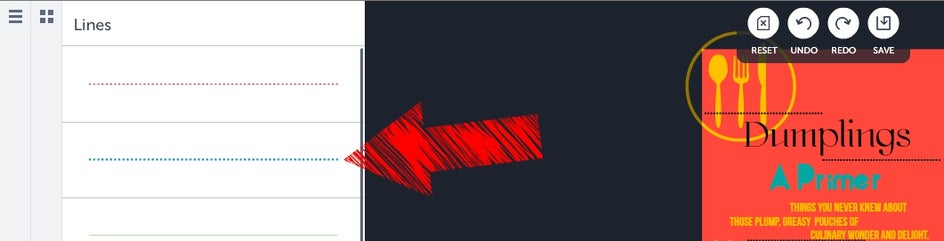
I can’t resist the lure of a good vector graphic, so I added in a couple of foodie-themed icons from the “Food” section of Design Elements, along with some spiffy dotted dividers found under “Lines”.
Reordering Layers
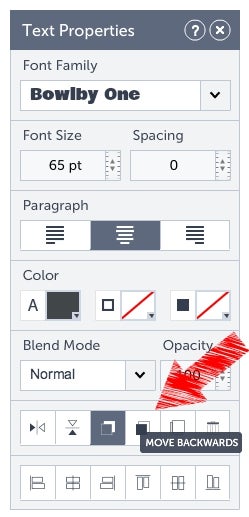
One thing you may need to do here is to reorder the layers of your infographic so that the text sits on top of the graphics, rather than beneath (this wouldn’t make for a very informative infographic). You can reorder layers by clicking on a textbox, icon or so on, and then clicking the “move forward” or “move backward” icon in the dialogue box that appears:
Filling In Your Text
The Designer's pre-filled text fields means that all you have to do to add text into the graphic is click in the box and type. Too easy. That said, I did fiddle around with font types, alignment and sizing to better suit the bold, cheerful design I was going for. That’s it!
I feel like I should have something more to add, but really, that’s all there is to it. Save your image, upload it for glorious posterity, and add “Infographics” to your LinkedIn skill set.

Make your own infographic using the BeFunky designer today: