Learn How to Create Christmas Recipe Pins That Get Pinned
Recipe Pins on Pinterest are one of the best ways to market your food blog, especially during the holiday season. Not only do they visually grab the attention of Pinterest users, but when you create a Rich Pin, it will automatically sync information from your website like title, serving size, cook time, ratings, diet preference, and a list of ingredients, while also updating the Pin in real time with any changes you make to the recipe on your website. This is a great way to keep your Pins up to date over time and consistent with the updates and information on your website.
There are some things that you need to do on your website’s end to use Rich Pins. This is a great article from Pinterest explaining everything you need to do to start using this feature. And here's another resource for a step-by-step process on how to apply for and set up Rich Pins. If you are more of a visual learner, here is a YouTube tutorial for you. It might take a bit of tinkering to get it right, but once you do, trust me, it is worth it and will save you time in the long run!
Using BeFunky’s Graphic Designer, we are going to create a graphic for a holiday Pinterest Pin that you can upload as a Rich Pin. Let’s first look at some best practices for designing your own custom Pinterest Pin and what will make your Pins get the most clicks.
Best Practices for Getting Your Recipe Seen
As with every social site, there are certain designs and visuals that the users are more attracted to than others. Trust me when I say that changing the design or title could be the key to transforming a poor-performing Pin into one that goes viral. Let’s take a look at what you can do to get your Pins seen.
1. Create Multiple Pins Per Post
You may notice that different designs perform better than others, even if you are marketing the same recipe. Learn what your users like to Pin and pay attention to your ‘Top Pins.’ It is important to create multiple Pins for each post you want to market. This means that for each recipe you create, you want at least two Pins per recipe. The reason for this is that you want to post consistently. Not only does creating multiple Pins for each post give you more content to release, but because they are varied in their design, it allows you to saturate the Pinterest Feed without looking like you’re spamming it with the same Pin over and over. Creating multiple Pins also allows you to see which Pin designs perform better than others.

I would create five to ten. The designs that you do for these Pins also need to look different, since the Pinterest algorithm favors quantity and variation. You don’t want to post duplicate Pins! If you are noticing that certain recipes or posts aren’t performing as well as others, check out the design of the Pins you created for those posts and mimic the design or title.
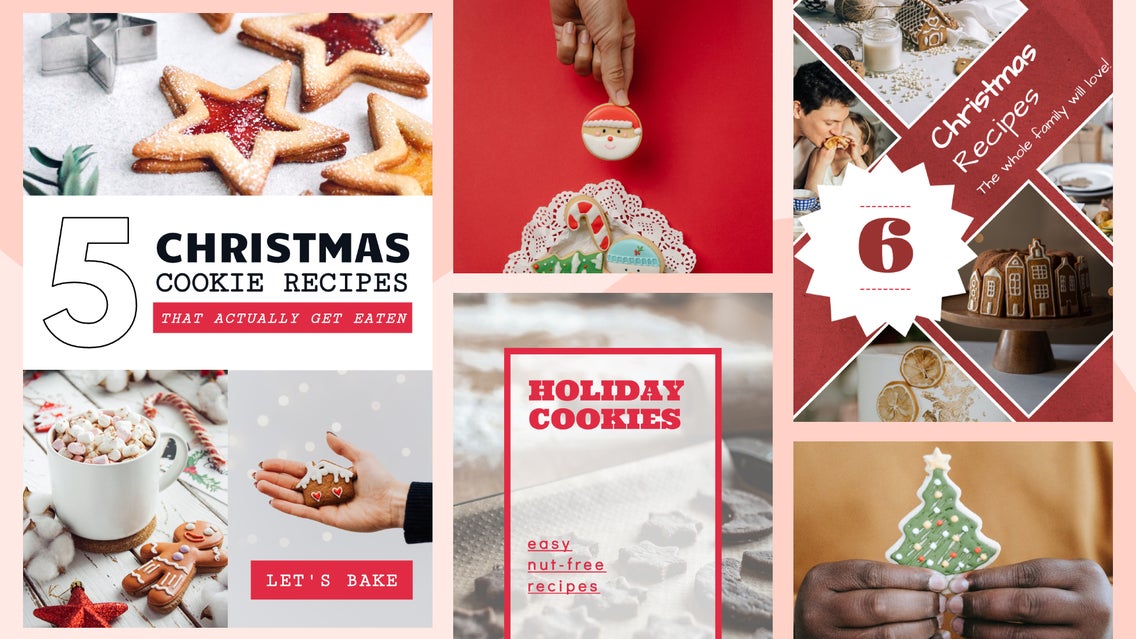
It is important to create Pins that include your title in the actual design using text overlays. This catches the attention of Pinterest users and helps them to see what the Pin is about. Are you sharing a single recipe or your five favorite holiday recipes? Communicating this in the Pin itself can help users know what to expect on your Pin and could be the reason they decide to click on your Pin.
2. Use Trends to Inform Your Design
If you have tried the three tips above and your Pins are still not performing well, take a look at the current design trends of the other creators in your industry. This can help to inform the kinds of styles that get clicked and interacted with. If there is a design you are creating that looks too outdated, people may not think that the recipe is new or unique. It is good to create designs that don’t get lost next to other similar Pins in the sea of Pinterest users’ feeds, but you want to notice the trends and how you can incorporate these top-performing designs into your own. There is a reason they get clicked, so use the research to your advantage.
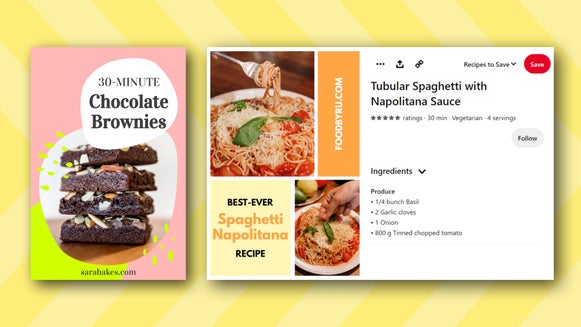
One way to tell what the trends are is by searching for similar recipes or posts as the one you are creating designs for. Take a look at the top Pins for this search, as these are the ones that have the most interactions. Take a look at the design elements so you can utilize them in your Pins.
3. Create Good Titles and Use Text
Creating good titles is key to getting clicks and Pins. Check out our article 6 Ways to Attract Followers With Good Headlines. These same tips can apply when you are creating titles for your blog posts. Creating a good headline can be the difference between having a Pin that flops and a Pin that goes viral, so pay attention to your titles!

4. Design Your Pins Tall and Narrow
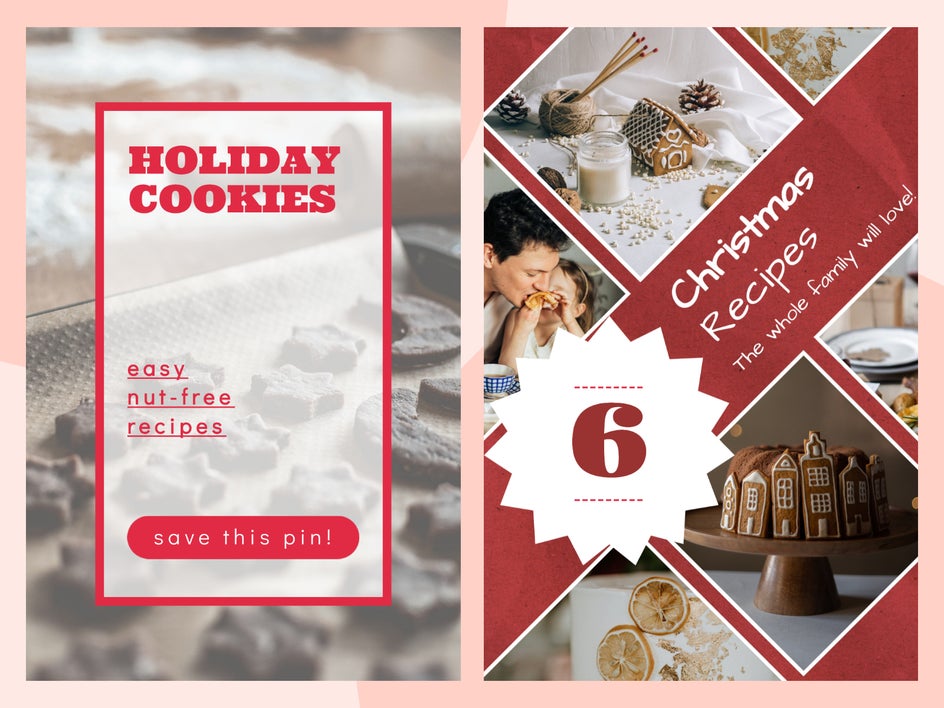
Making Pinterest Pins tall and narrow helps to break up a user’s feed. The standard size is typically 1000 x 1500 pixels, while a tall Pin can be 1000 x 3000 pixels. When someone is scrolling through pages of images that are all sized the same, it can be difficult for generic Pins to stand out amongst the crowd. Naturally, they notice the posts that look unique or different. Creating Pins that are tall and narrow and might even be twice the length of a normal Pin can help to introduce these differences into someone’s feed, allowing your Pin to catch the attention of the user.
How to Create a Christmas Cookie Pin That Gets Clicks
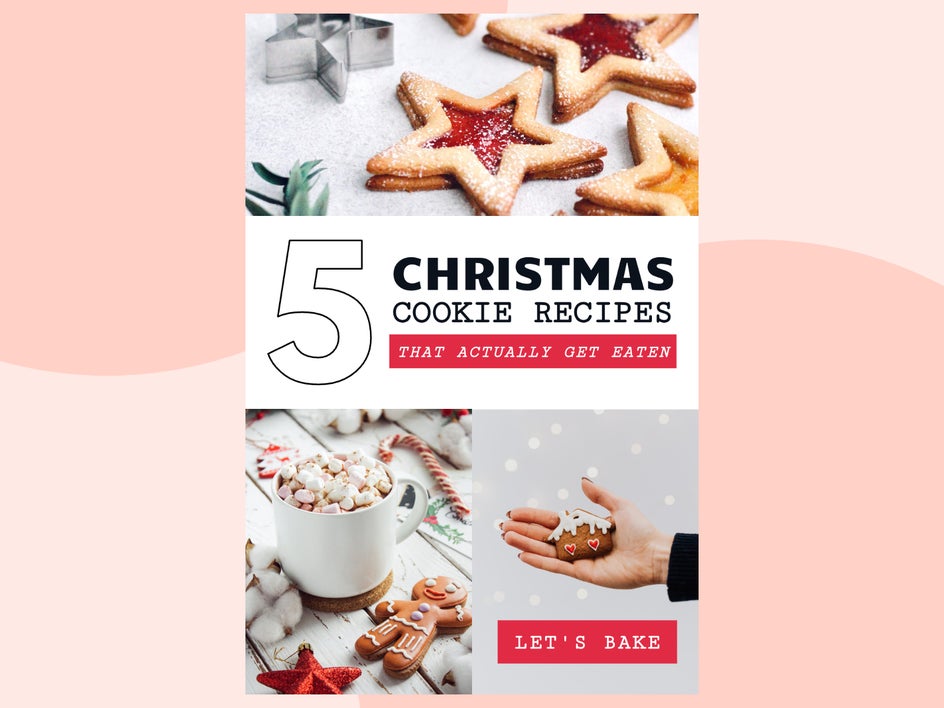
Using BeFunky’s Graphic Designer templates, we are going to create a Christmas cookie recipe Pin for a new recipe we developed on our blog. Let’s put some of the tips above into action.
Step 1: Choose a Template
To start, head to BeFunky’s Graphic Designer and select a design from the Templates tab if you want to use a pre-made design, or select Blank Canvas if you want to create your own and start from scratch. Click the Social Media tab in the left-hand menu, then select Pinterest Graphics. Select the template you want to use, and then select Use This Template to start customizing your design.

Step 2: Customize the Text
Time to add a good title. Remember, you want to create a title that gets clicks. What are the kinds of Pins that you would want to click during this holiday season? Being so busy, I want to know about cookie recipes that will get eaten, so I am going to use this concept when creating my title. Our title is going to say: 5 Christmas Cookie Recipes that Actually Get Eaten.
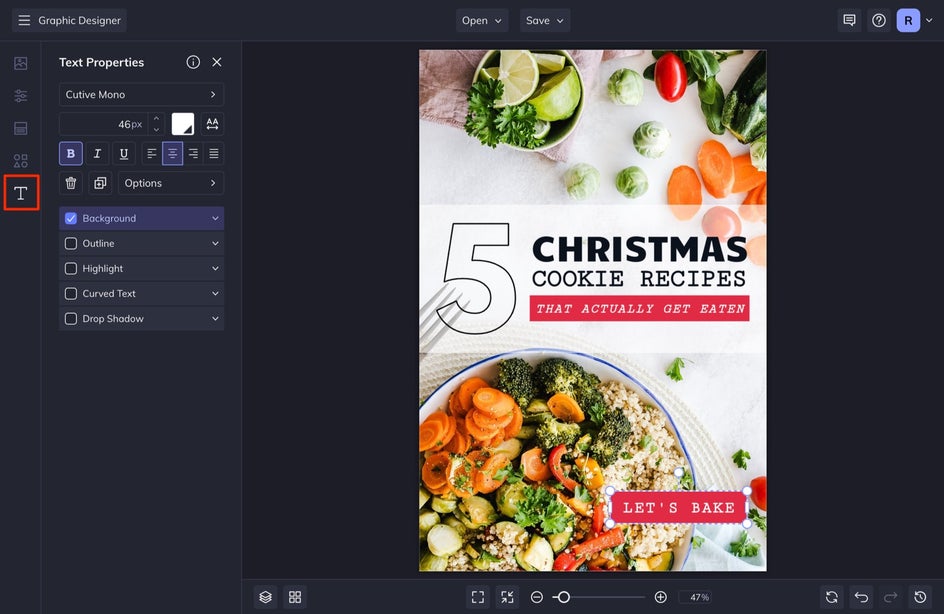
Select the Text tab from the left-hand menu. Next, double-click on a text box in the design and type in your custom text. Do this with each text box in your design. If there is any text box in your design that you don’t want, simply select it and hit “Delete” on your keyboard. We are going to adjust the font and size of this design.
You can then customize your text further by adjusting any of these settings in the Text Properties menu that appears when you single-click any text box in your design. If you want to add more text boxes, select a text box and press “D” on your keyboard to duplicate your text, or select Add Text from the Text menu. I usually like to duplicate my text because it also duplicates the text properties that you have assigned to that specific text box.
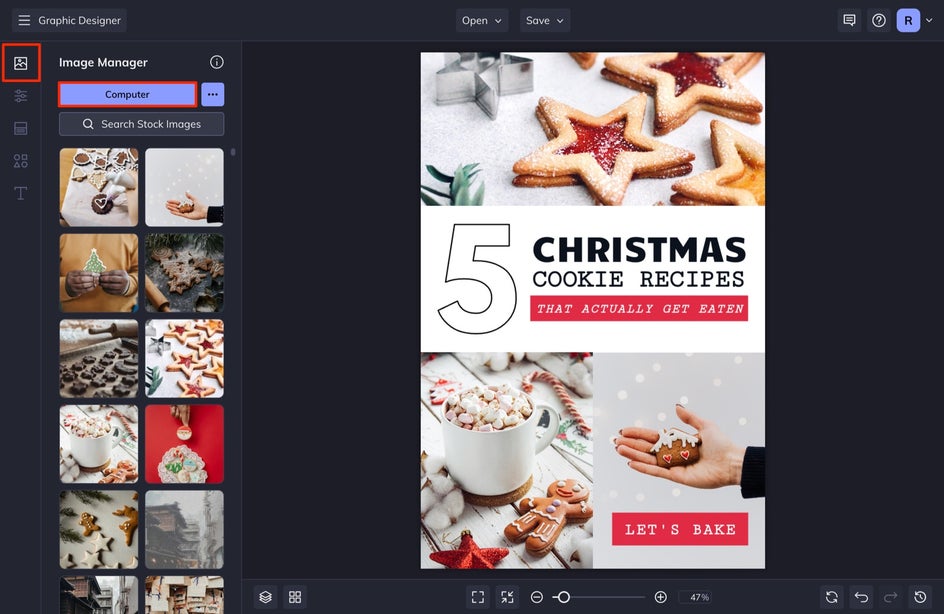
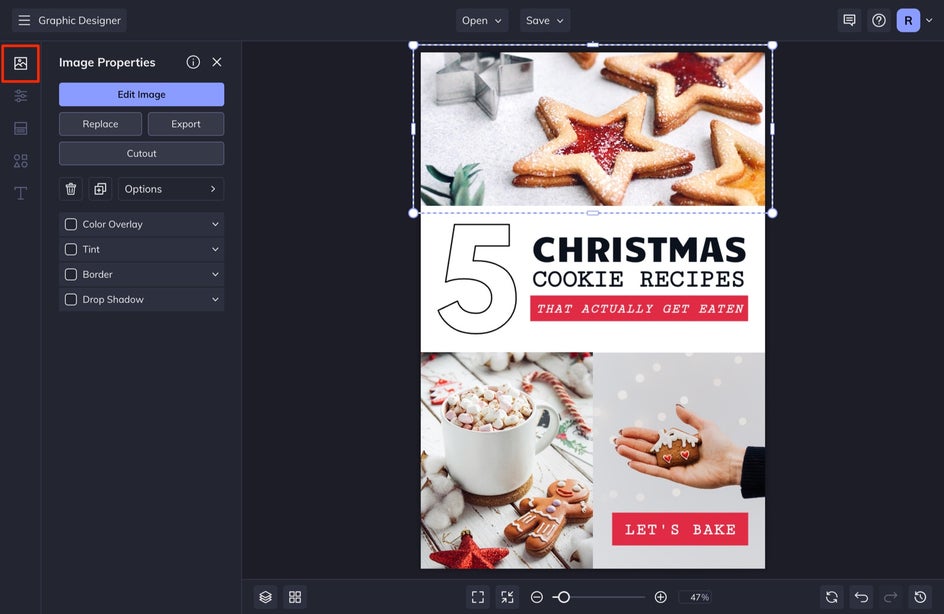
Step 3: Add Your Photos
If you need help taking good recipe photos, check out this article for the Top 5 Food Blog Photography Tips. To adjust the photo in your design, open the Image Manager tab from the left-hand menu and select Computer to upload the images you took of your recipes. From the Image Manager, simply drag and drop the new photos over the current photo in the template. Your photo will auto-populate into the new area. You can add more photos to your design if you want to make more of a collage effect.
If you need to make any adjustments to your photos, you can select them and then add a Color Overlay, Tint, or even select Edit Image to open the photo inside BeFunky’s Photo Editor and make any photo edits with all of BeFunky’s powerful tools – all without disrupting your design process.
Step 4: Save Your Custom Christmas Cookie Pinterest Pin
When you are finished with your design, head up to the Save tab. At this point, I like to select Save as Project so that if I need to make any changes in the future, I will have a copy that I can edit at a later time.
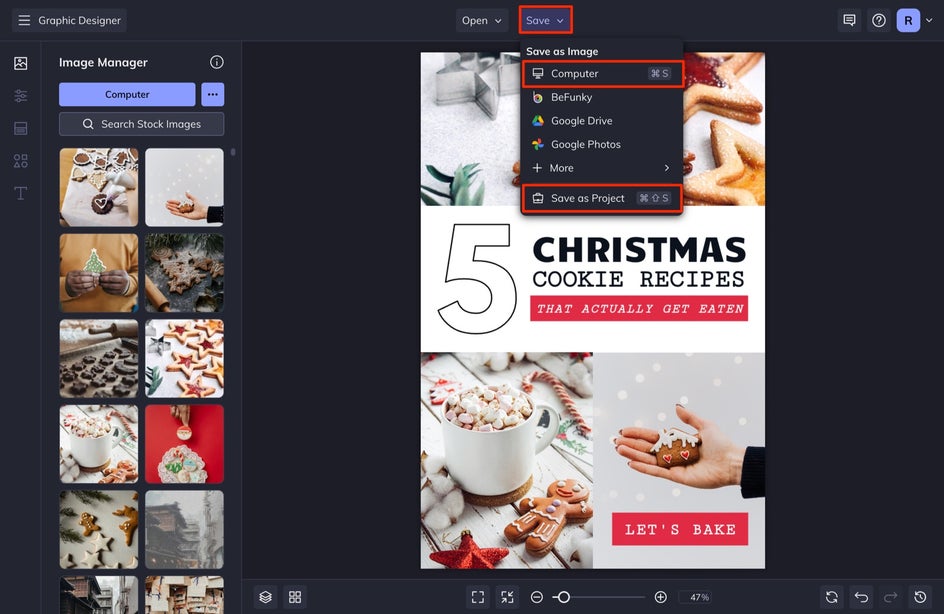
After you save your project, select Computer and then save the graphic as a JPG so that you can create a new Pinterest Pin. When you are finished adjusting your settings, select the Save button.
Start Creating Christmas Recipe Pins That Get Clicked!
Creating recipe Pinterest Pins for the holidays that get clicked is easy with BeFunky’s Graphic Designer. Don’t forget to make multiple designs for the same blog post in order to maximize your visibility on Pinterest. Once you have a finished design, it is time to turn it into a Rich Pin. Make sure to check out this article for how to create a Rich Pin.