The Best Tools for Editing Low-Light Photos
If you’ve ever captured a photo in a low-light setting, then you’re probably familiar with how dark, grainy, and dull these images can be. The reason for this is simple. The image sensor in your camera converts the light that passes through the lens onto photosites, which then transform the light into a picture. Therefore, the more light the sensor receives, the better quality photos it can produce.
Top 3 Tools for Editing Low-Light Photography
For those of you wondering “how do you make a low light picture brighter?”, the solution is (thankfully) very easy. BeFunky’s Photo Editor has a range of easy-to-use tools which correct your low light photography in as little as one click!
Keep reading to find out how you can edit photos for better lighting.
1. Exposure
When you’re editing a low-light photo, your first port of call may be the Exposure tool in the Edit menu of the Photo Editor. It allows you to adjust the brightness, contrast, highlights, and shadows of your image. This helps you turn an underexposed (or low light) image into one that’s perfectly balanced.
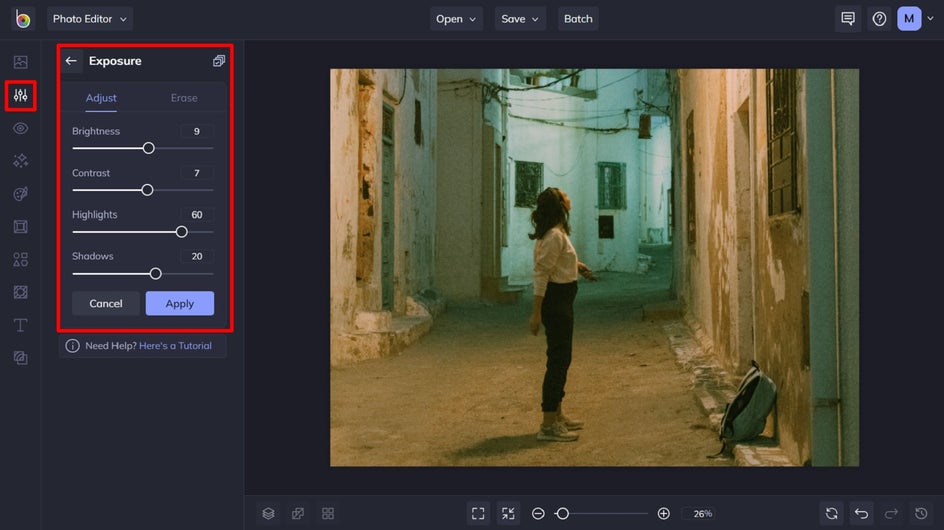
Increasing the Brightness enhances the overall exposure of your image, while Contrast increases both the light and dark areas to make details stand out more. Highlights, on the other hand, make your photo's brights even brighter, while Shadows bring out the subtleties in the image's darker sections.

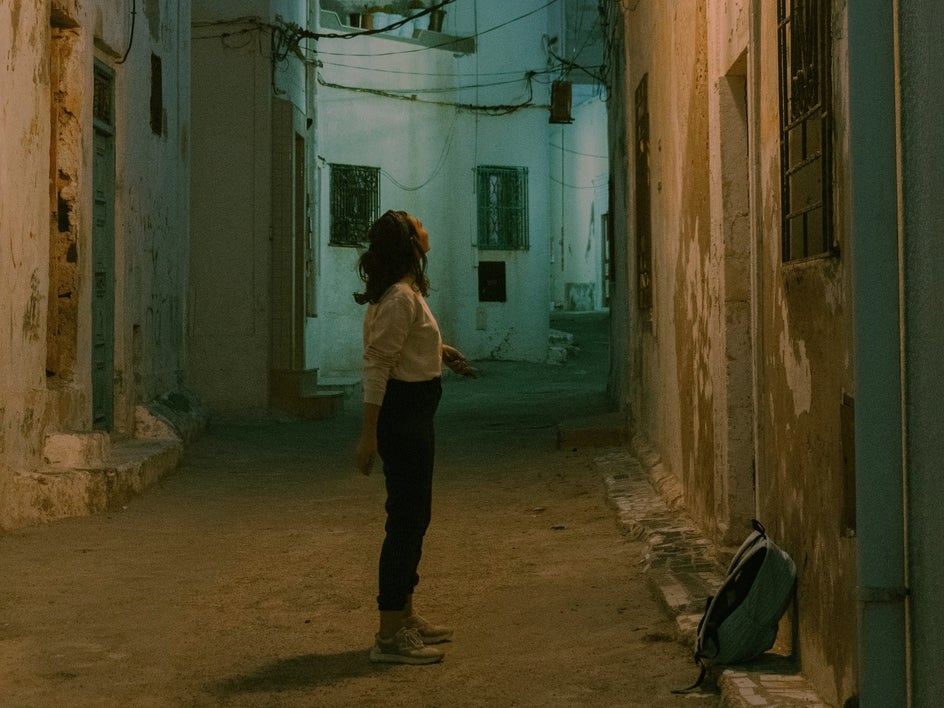
Pro Tip: If you find that brightening your low-light photo increases its noise (or graininess), then you can use the Denoise DLX effect to counteract this.
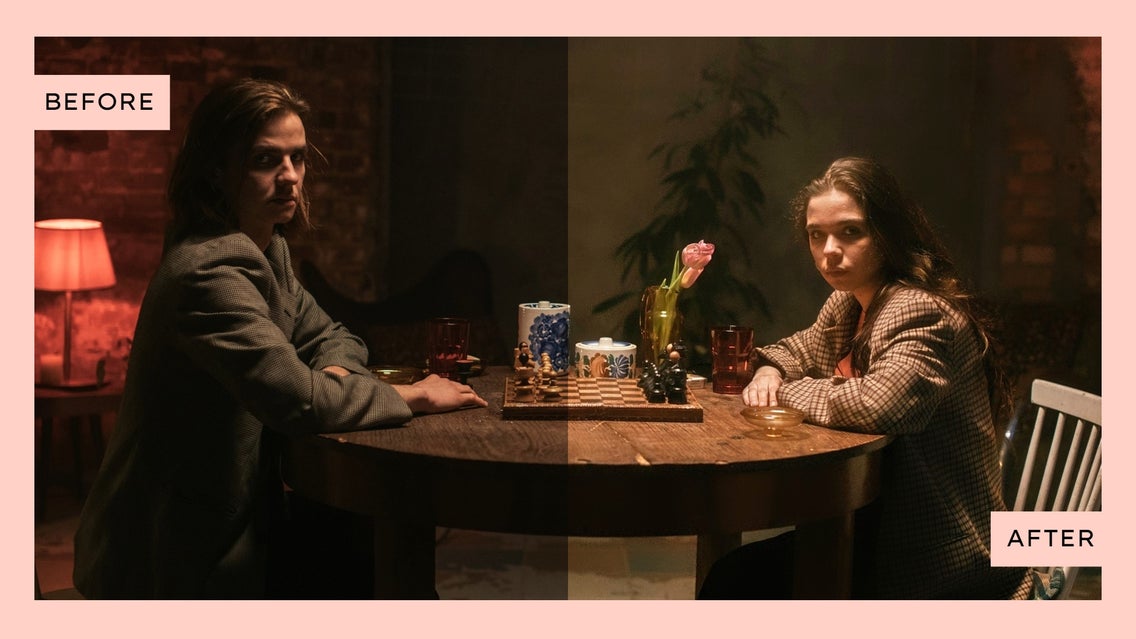
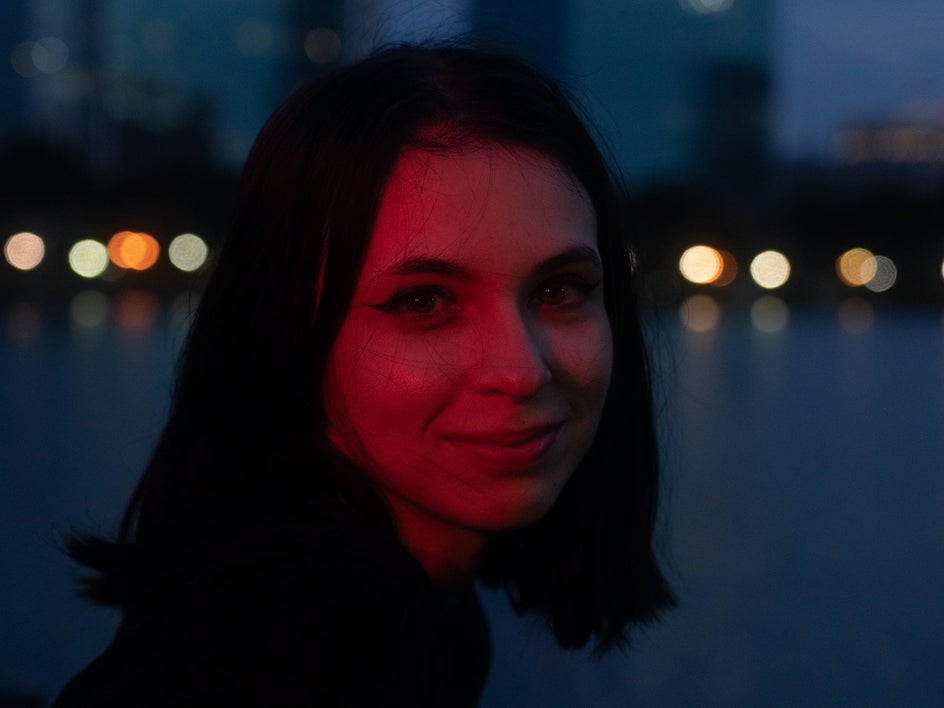
2. Fill Light
The Fill Light tool, also available in the Edit menu, is another option for fixing your low-light photos. It’s particularly suited to images where the light has fallen unevenly, therefore leaving one area of your image in the shadows, while the rest remain brighter.

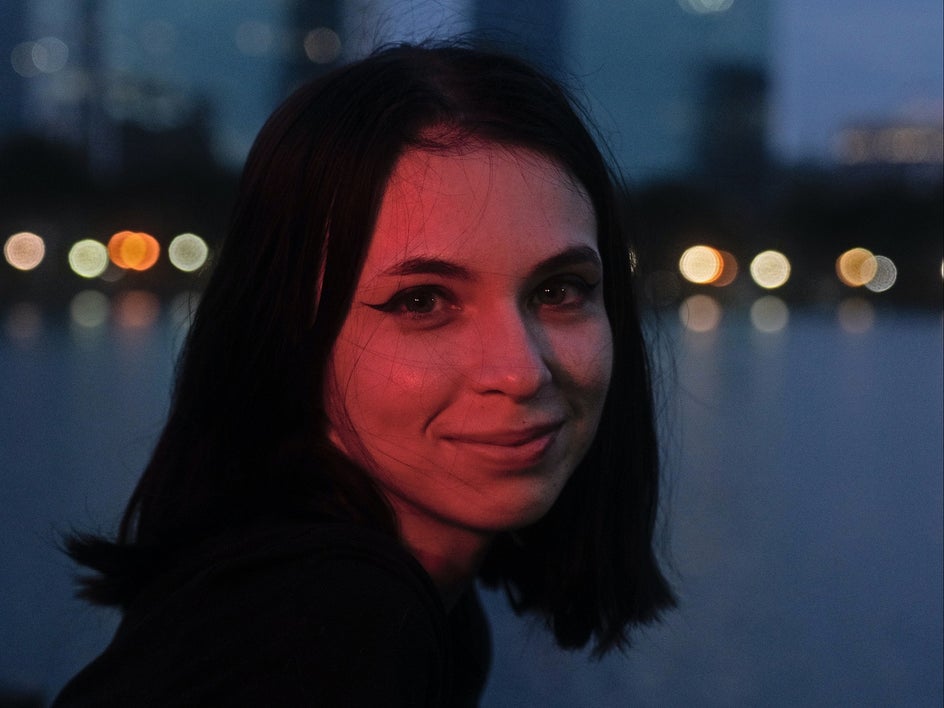
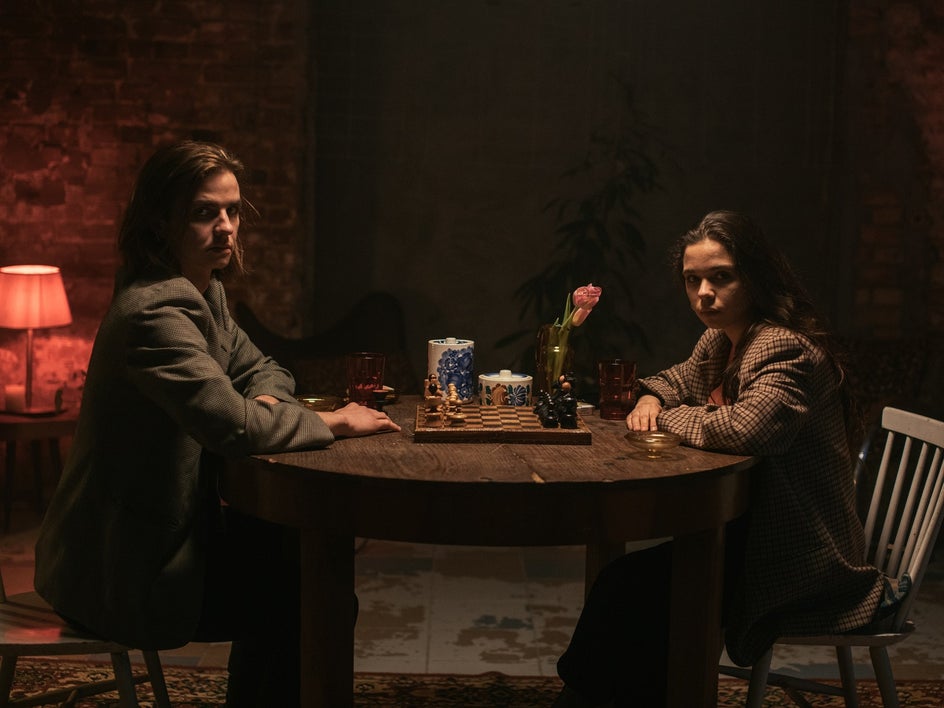
Take this image below, for example. While the portrait was captured at night, the uneven lighting left the entire photo looking a little flat. It also caused one side of the subject’s face to be darker.
In a professional setting, photographers would usually use a prop that bounces light (like a whiteboard) onto the shadowy parts of a subject to illuminate those darker areas more.
If you don’t have such a tool, however, then the Fill Light effect can do the job. It brightens the shadows in your image, while decreasing the highlights and maintaining the midtones at their optimal level.
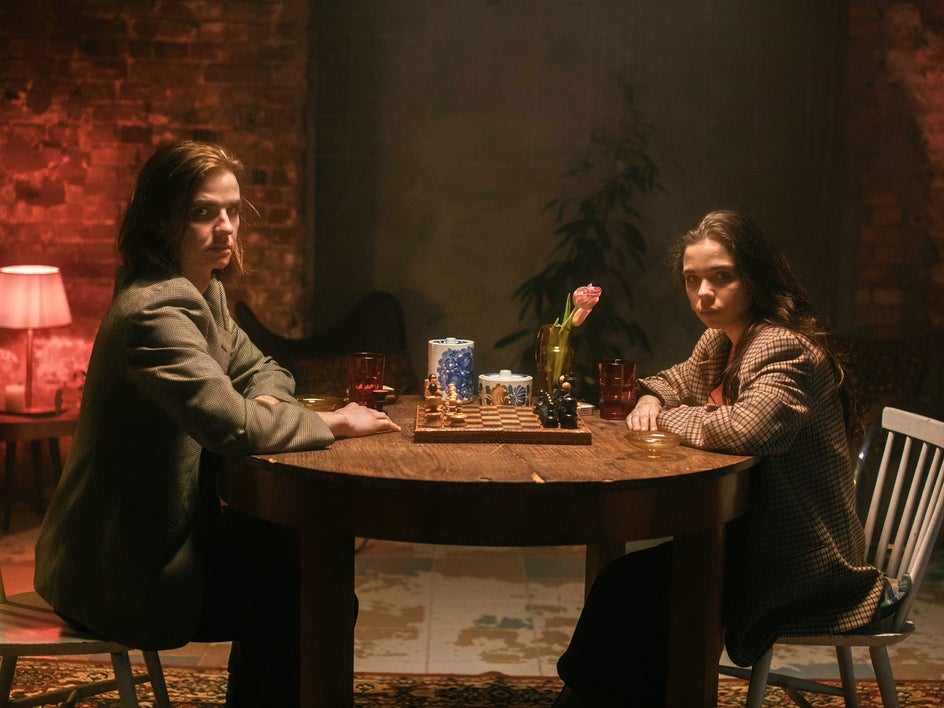
3. A.I. Image Enhancer
Another incredibly powerful tool for editing a picture in low light is the A.I. Image Enhancer. It uses Artificial Intelligence to automatically balance your image’s exposure, adjust contrast and shadows, and enhance color without causing oversaturation.
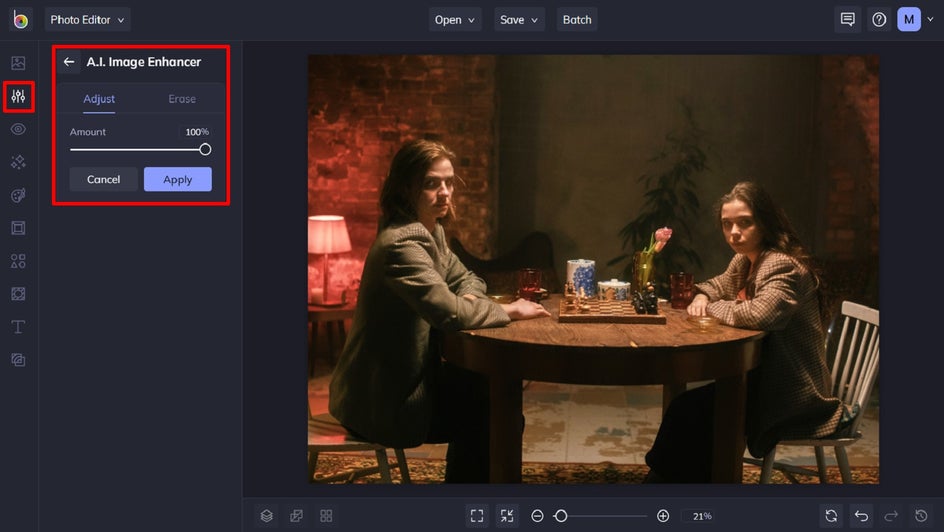
The A.I. Image Enhancer is especially helpful for those who don’t understand a great deal about exposure or would rather not spend extra time tweaking individual elements of their photo. It was designed to do the hard work for you and fix your low-light photos in just one click.
Make Your Low-Light Pictures Brighter With BeFunky
One of the most common questions is “how do I edit low-light photos in Photoshop?”. But thankfully, you don’t need expensive photo editing software to edit photos for better lighting. Thanks to tools such as Exposure, Fill Light, and the A.I. Image Enhancer, fixing low-light photos has never been easier!
Try these tools in the Photo Editor to see just how quickly they can brighten your photos.