Elevate Your Landscape Shots With These Photo Editing Tips
Landscape photography offers a unique set of challenges, from busy trails to poor outdoor lighting, there seems to be a new problem to overcome with each stunning image you snap. Instead of being frustrated about the imperfections, BeFunky has a few solutions for your landscape photos. Reaching the mountain top should be the hardest part of your journey, BeFunky is here to make photo editing sweat-free.
BeFunky offers a wide range of tools in the Photo Editor to make sure your landscape images are edited quickly and efficiently so they are ready to wow your audience.
5 Tips to Elevate Your Landscape Photos
When you are ready to get started, upload your picture to BeFunky’s Photo Editor, select an editing tool and get to work. These are BeFunky’s top 5 tips for editing those minor imperfections and bringing out the beauty that you have already captured. These 5 tips will all be found under the Edit tab!
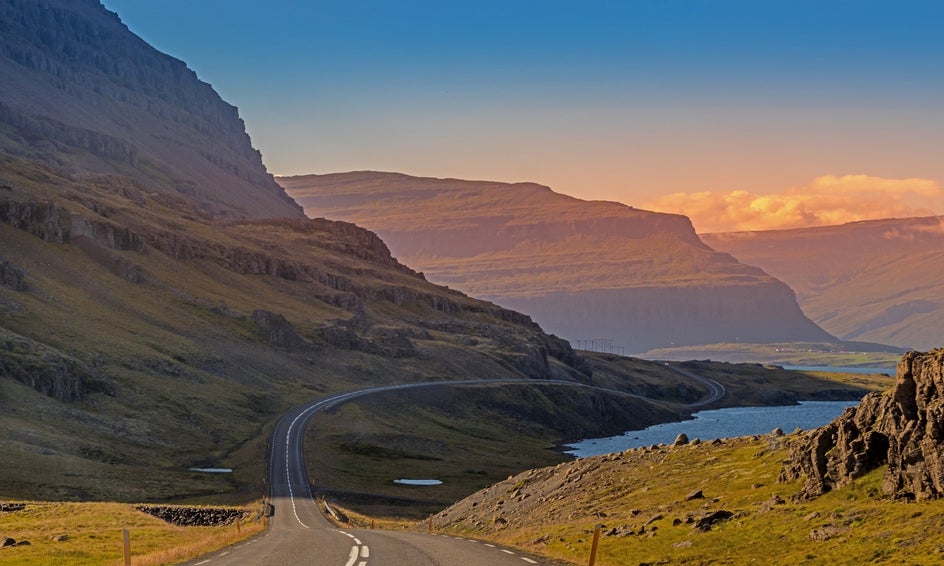
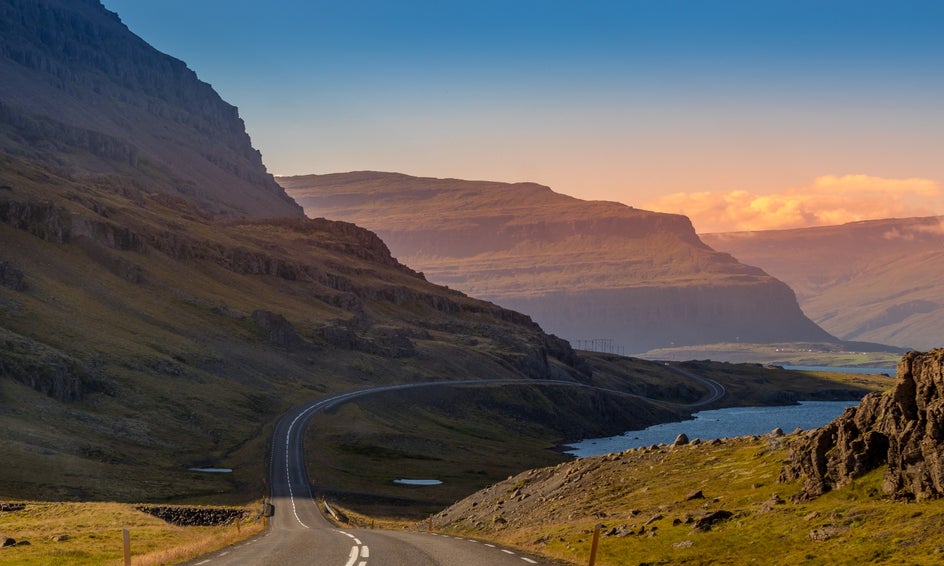
Tip 1: Brighten Your Photo With Beautify
To increase the colors in your image and brighten it overall, use the Beautify tool. This tool is a simple solution to elevating your landscape photos, you can adjust the intensity of the tool, and when you have achieved something that fits your aesthetic click save and you’re done! With the Beautify tool, less can be more impactful in the final result. Play around with the slider to see what fits your image best.
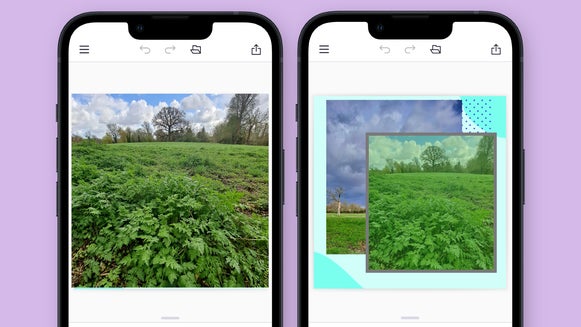
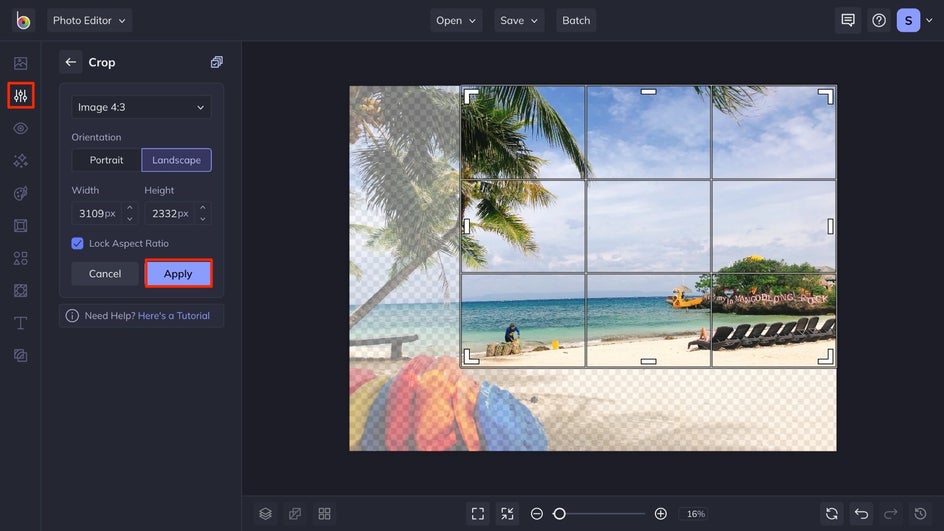
Tip 2: Crop Your Image for the Best View
When you snap the perfect image in the moment of a beautiful landscape and then go back to take a look at it after your journey and there is something unsightly in the image, the Crop tool is for you! Locate the Crop tool, select the ratio you want it to be, then move the box around or adjust the size of the box so that you capture the perfect landscape. You are also able to use the Freeform option to create your own crop to perfectly frame your image. Once you have the subject framed in how you desire, click Apply.
Tip 3: Make Your Landscape Dynamic With a Vignette
A quick way to make your photo look more dynamic is by adding a vignette to your image. Vignetting an image makes the outer edges of the photo a bit darker, making the center stand out more. BeFunky’s Vignette tool allows you to change the color of the vignette selected, or even make changes to the vignette shape.
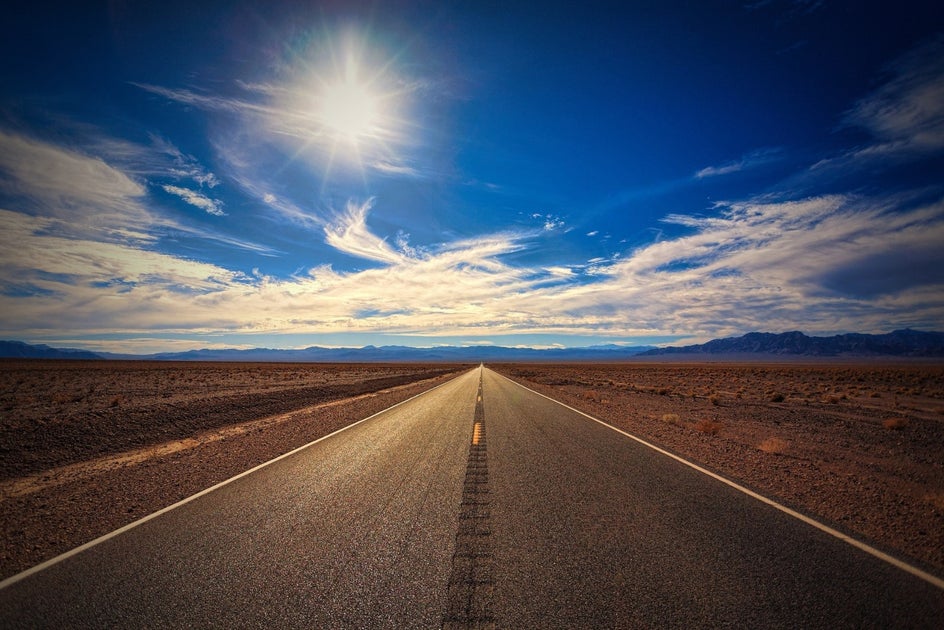
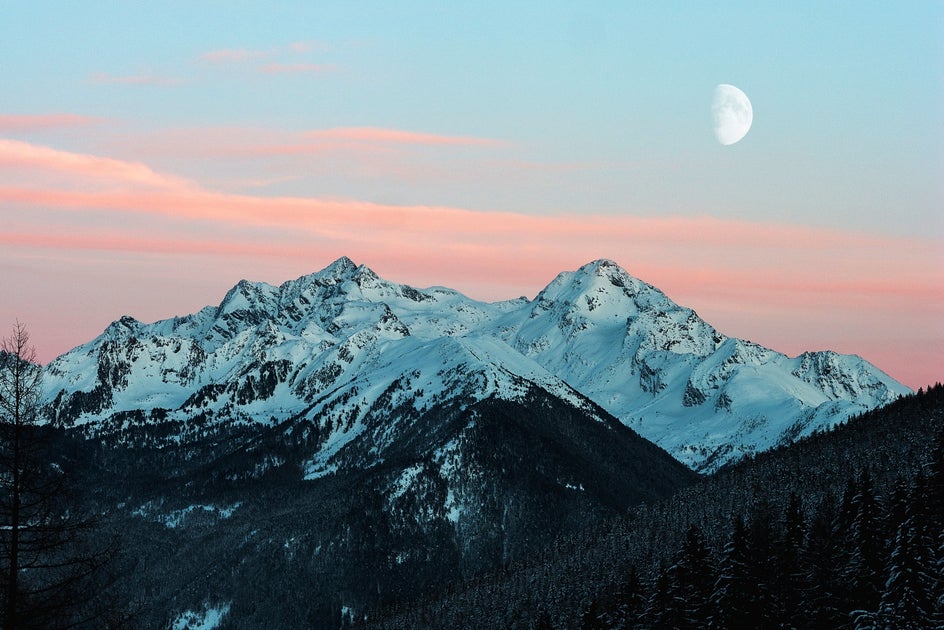
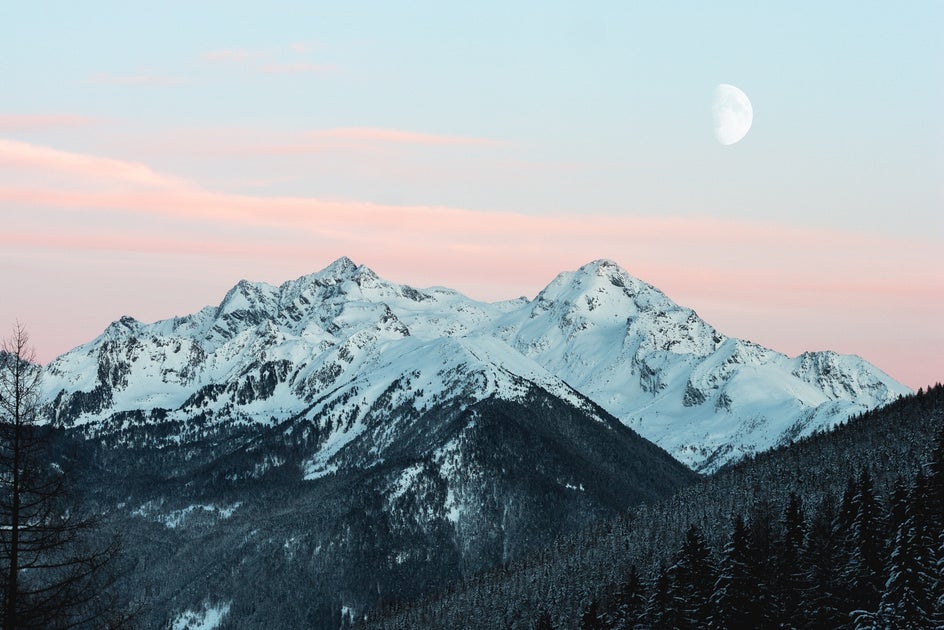
Tip 4: Adjust Exposure to Make Features Pop
Outdoor photography can be hard to get like it looked to your naked eye, a great solution to that is BeFunky’s Exposure tool. The Exposure tool is a perfect answer to making your images color match what you saw in real life. Play around with the sliders to help you achieve the right combination of brightness, contrast, highlights, and shadows. Too much of one can make a big impact on the final result, so it is best if used in moderation to achieve lifelike results.
Tip 5: Use Funky Focus to Highlight the Details
Another way to highlight a specific part of your image is by using Funky Focus. This tool allows you to blur certain parts of the image while keeping a selection in focus. You can adjust the shape of the blur, the amount of blur that occurs, and how opaque the blur is! Get creative with it!

Enjoy the View With These Landscape Photography Tips
These 5 tips are just the beginning of your potential with editing your landscape photos, try layering the tips together to achieve an even more amazing end result. BeFunky has made it sweat-free to get the most out of your landscape images and allow you to get back to enjoying the beauty of nature. When you are ready to get started, click here to open up your image and give it a try!