How to Elevate Your Mountain Photography
Mountains have captured our attention for centuries, they are notoriously gorgeous landscapes that tell the stories of those who explored before. Snowy summits have become a vital part of the history of photography and will continue to be a focus as long as explorers are willing to rough it out all for the perfect picture. Although some locations are not easily accessible, sometimes this may mean climbing up a rocky crag, ascending a billowy bluff, or maybe just a hike along a trail; whatever it takes to capture the image, it's always worth it.
Very few are willing to tackle the task of climbing a mountain to capture the image, for those who are, BeFunky has some tips to elevate those captured shots. With the images in hand and the BeFunky Photo Editor, you will have share-worthy images!
Three Tips for Elevating Your Mountain Shots
Bring your camera along for a hike, and remember these three tips when you are snapping photos along your journey:
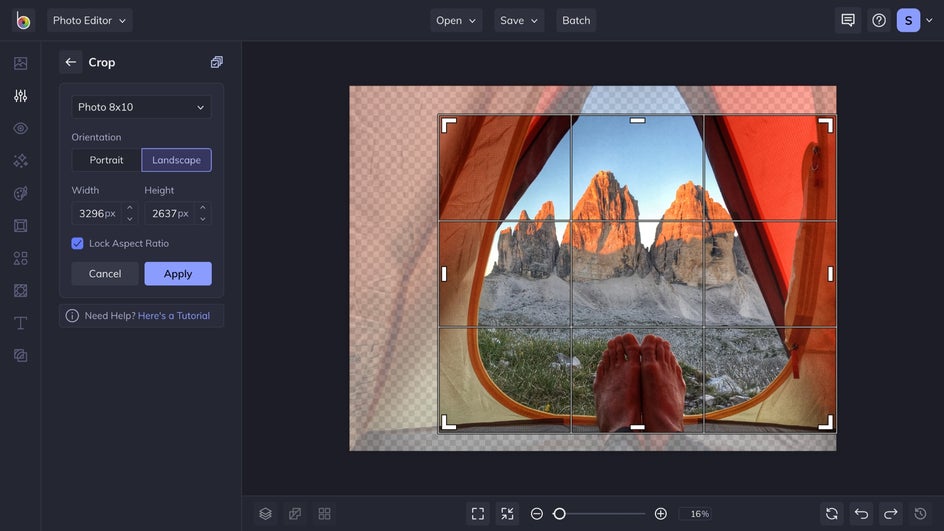
Tip 1: Perfect Your Perspective With Crop
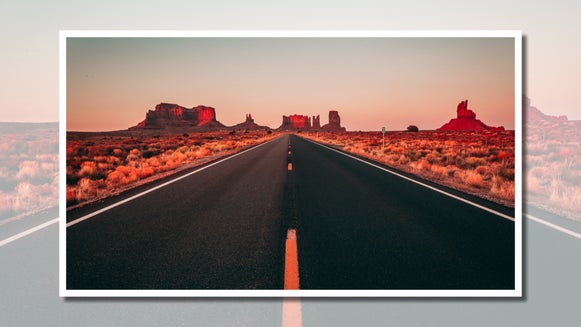
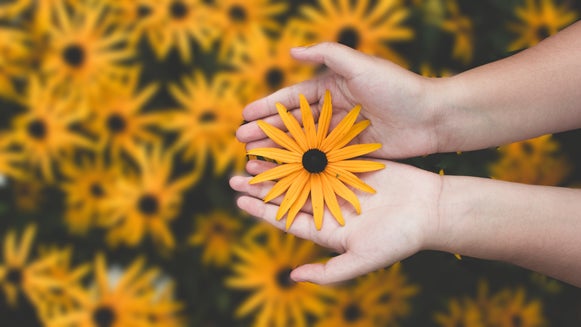
Perspective in photography is defined as creating a sense of depth between objects in a photo by using space and dimension. To get a good shot, utilize the other objects around you: get down low and capture the babbling brook with a massive mountain protruding from its far end, and put some wildflowers into perspective by having the mountains fade out into the background, or take a photo of a landscape from inside a tent to create a perfect frame. Capturing the image is half the equation, the other half makes it perfectly composed with the Crop tool. Cropping the image so that it is perfectly centered is a tip to elevating your image to the next level by having a sense of composition. Under the Edit tab, navigate to the Crop option and select the size that works for you!
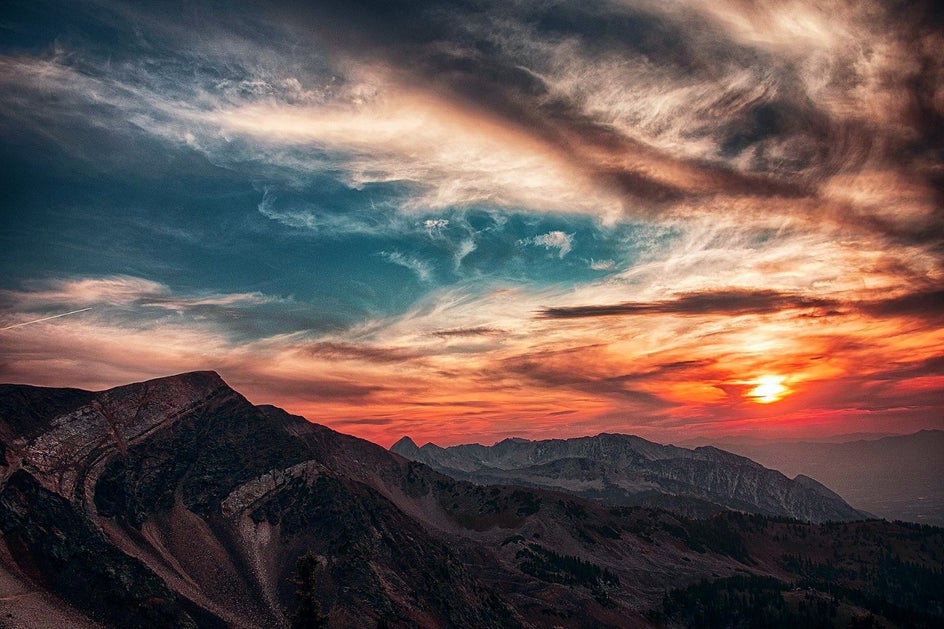
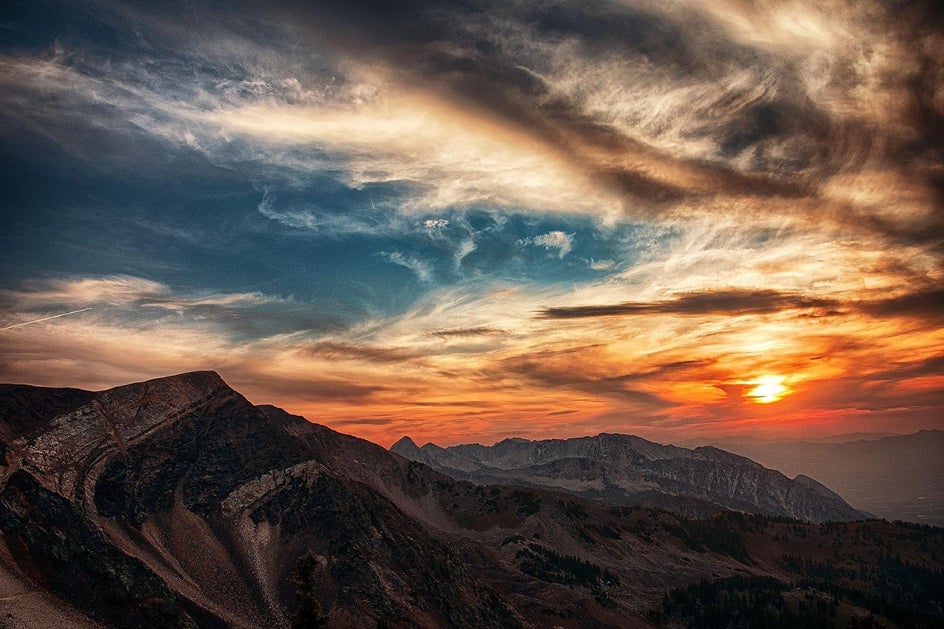
Tip 2: Color Correct Your Skyline
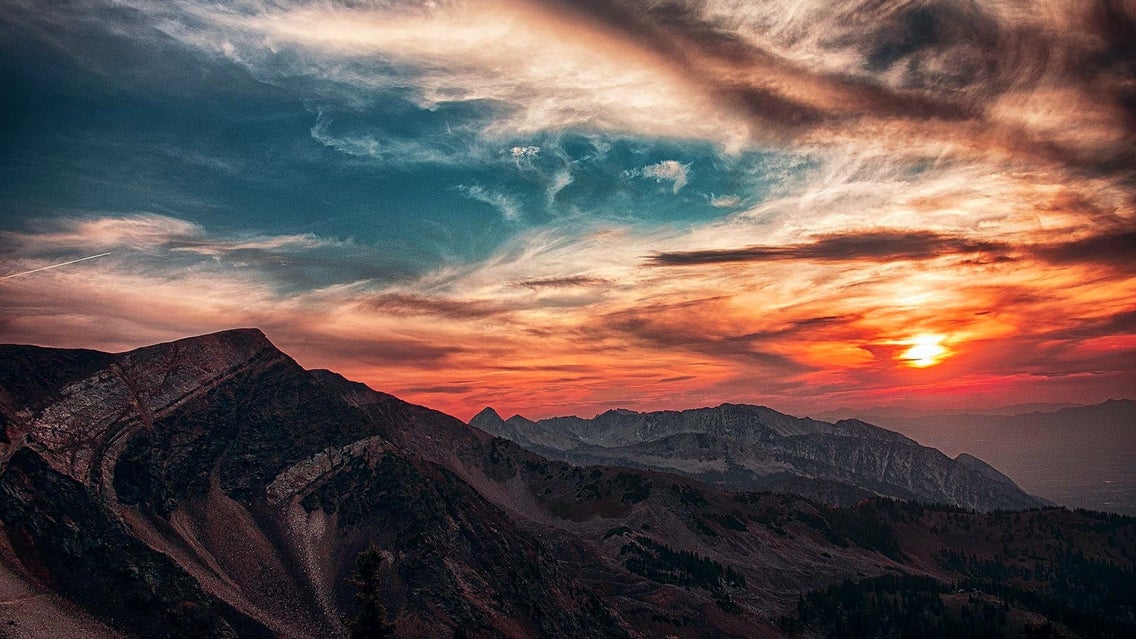
Mountains are breathtaking at sunrise or sunset, the colors of the sky look like they are celebrating the beauty of the mountain. However, the camera lens doesn’t always capture the perfect colors that the eye can see. You may remember the landscape coming alive with pinks and purples that are reflected onto the mountain, but the image you captured is a drab yellow-orange that isn’t as magnificent. You can easily correct the colors in your image with the Color tool. Simply adjust the hue, saturation, and temperature until they match what you remember the sky looking like. Less is more, so start with slight adjustments to get the best results.
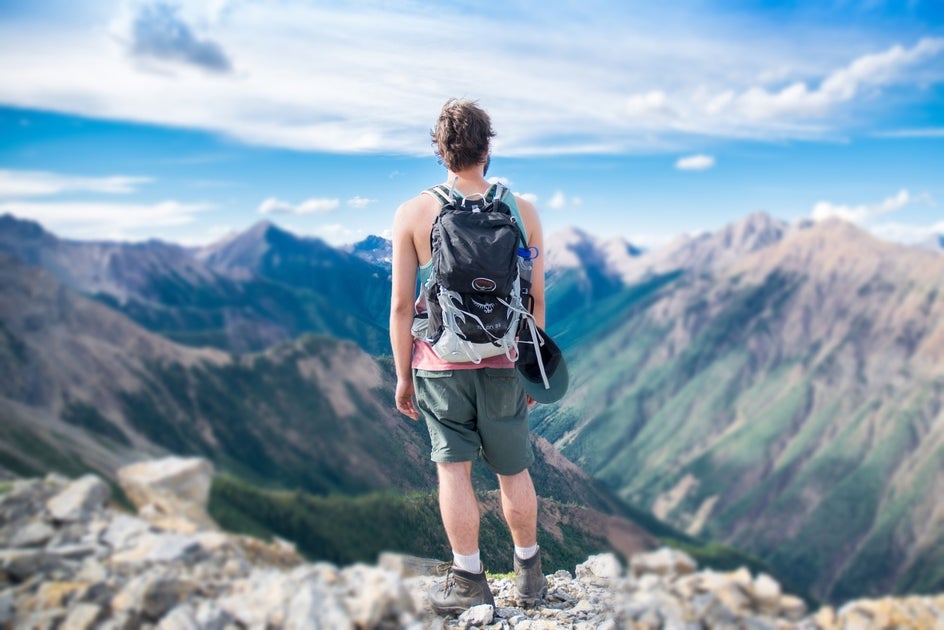
Tip 3: Highlight Your Experience With Funky Focus
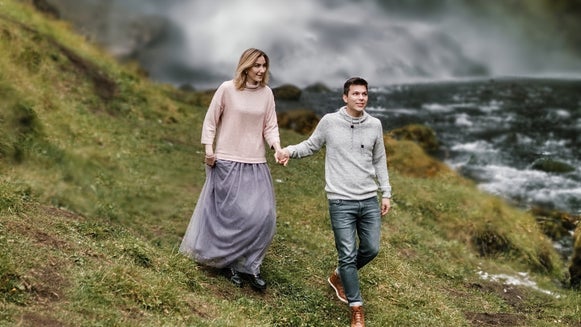
The feeling of victory as you reach the top of the mountain is unparalleled. A favorite BeFunky tool to use to highlight your accomplishment is Funky Focus. Funky Focus allows you to highlight a subject while blurring the background, you can choose as little or as much blur as you desire. This allows you to bring attention to the task that you completed, while still having you be the focus. You have the opportunity to revel in every ounce of beauty that Mother Nature has prepared for you, and you probably want to share this moment with the world. Be sure to bring a tripod, or a friend, to capture you at this moment! To show off this peak you climbed, make sure that you are capturing a large area in the photo. This will show the vastness of the space, and how small you are.
Elevate Your Mountain Shots With 3 Simple Tips
Although these tips may seem simple, they will transform your landscape images from drab to something iconic. Be sure to bring your camera along your next trek and capture all the stops along the way, and Edit them when you return!