Top 5 Food Blog Photography Tips
As a food blogger, you have to know how to do it all. Whether you’re just getting started or you’ve been doing this for years, you’re wearing all the hats: cooking, recipe testing, writing, editing, and of course, taking photos.
Photography can be a very daunting part of food blogging. Your recipes might taste amazing in real life, but a new audience can’t be sure of that, so you want all that deliciousness to come through in the images you use. This is especially true now that so many food blogs gain traction through social media. Your visuals can make or break somebody’s decision to use your recipes.
Unfortunately, it’s very easy to take mediocre pictures of your meal. So how can you make your food photos look their best?
BeFunky's Top 5 Tips for Food Bloggers
Though really great food styling and photography skills come with time, there are also plenty of tried-and-true ways to make your food pictures look instantly appetizing. If you’re not able to follow these tips during the photographing process, there are always ways to edit them in post with the Befunky Photo Editor! With these five tips, you can quickly improve your food photography skills and make your recipes look as mouth-watering as they taste.
1. Use Natural Light
Kitchen lighting often washes out its subjects, and food is no exception. Those white fluorescent lights can suck all the visual warmth out of a delicious home-cooked meal. And even if you do have warm lightbulbs in your kitchen, it’s often not bright enough to capture the depth and detail of your food.
But there’s a reason photographers love to work outdoors. The morning sun, golden hour light, even the bright light of midday—all of these natural lighting situations can make your food look as appetizing onscreen as it does in real life. No studio lights necessary: All you need for a beautiful food snapshot is sunlight and an unobstructed window.
If you do end up with photos that have less-than-great lighting, you can always adjust the exposure, color, and vibrance in the Photo Editor. This way, you’ll still end up with the perfect result.
2. Be Resourceful With Household Objects
When it comes to styling backdrops for your food, sometimes a granite countertop just doesn’t cut it. Luckily, there are plenty of other surfaces around your house that are sure to make your food photography pop.
Cutting boards and butcher blocks are a common way to add a simple, elegant wooden background for your food. Solid fabrics like tablecloths or sheets can also provide inexpensive, varied backgrounds that will make your food blog look cleaner and more colorful.
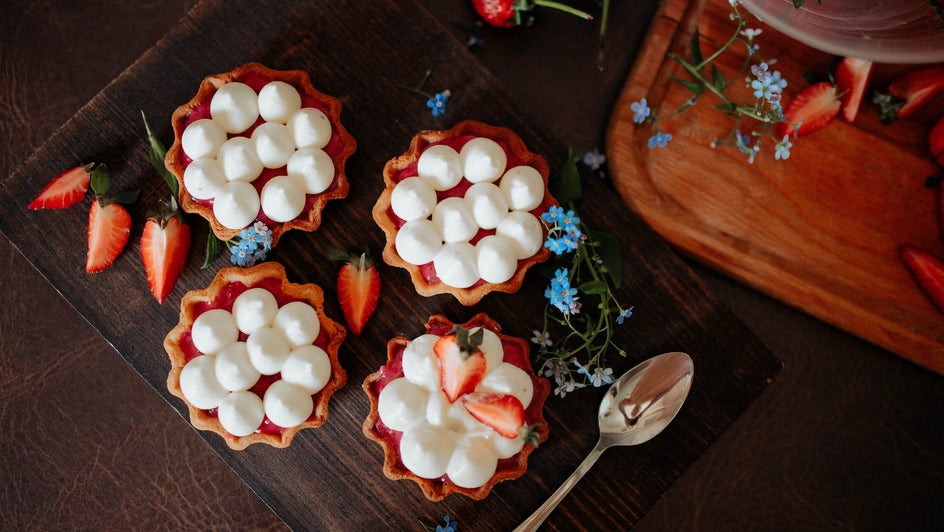
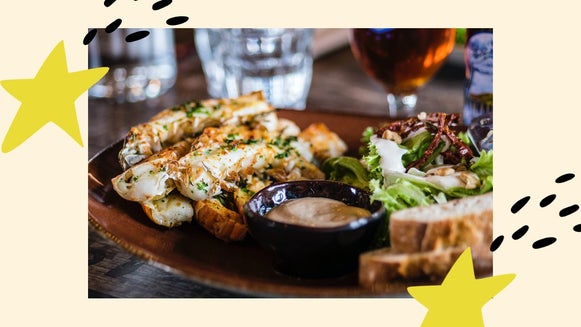
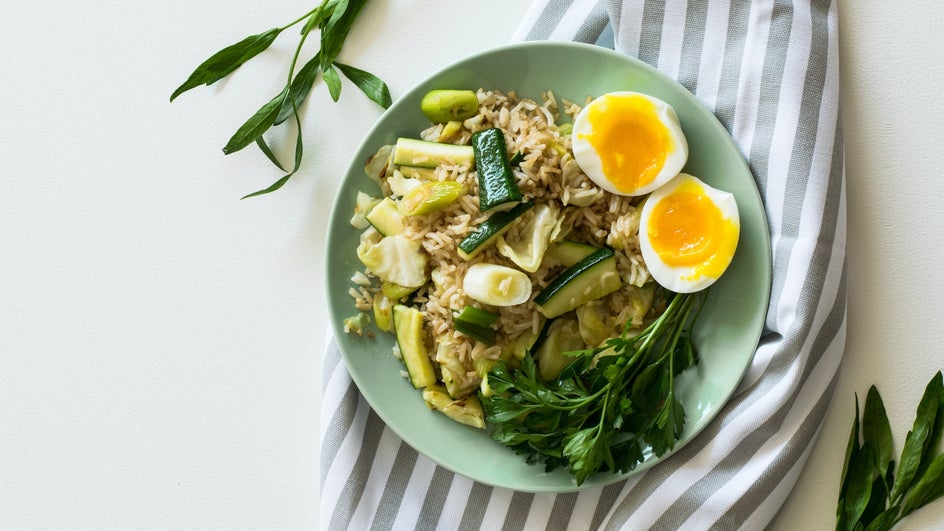
Can’t decide what color surface to use as a backdrop? Try picking an accent color from your meal (i.e., the pop of red from some bell peppers, or the green from a slice of avocado) and matching it to that! White and wooden surfaces also provide elegant neutrality no matter the recipe. The following image combines all of these tips by using a printed fabric against a white background, with some leafy greens to frame:
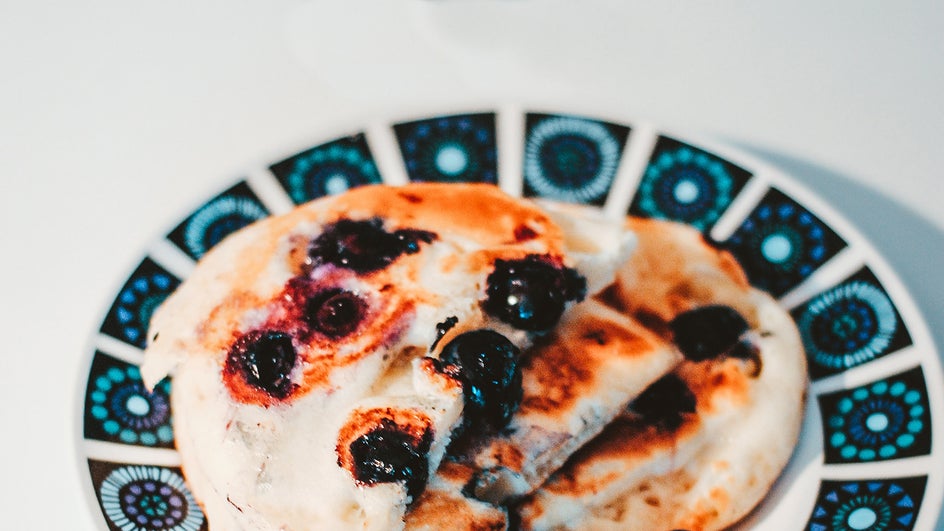
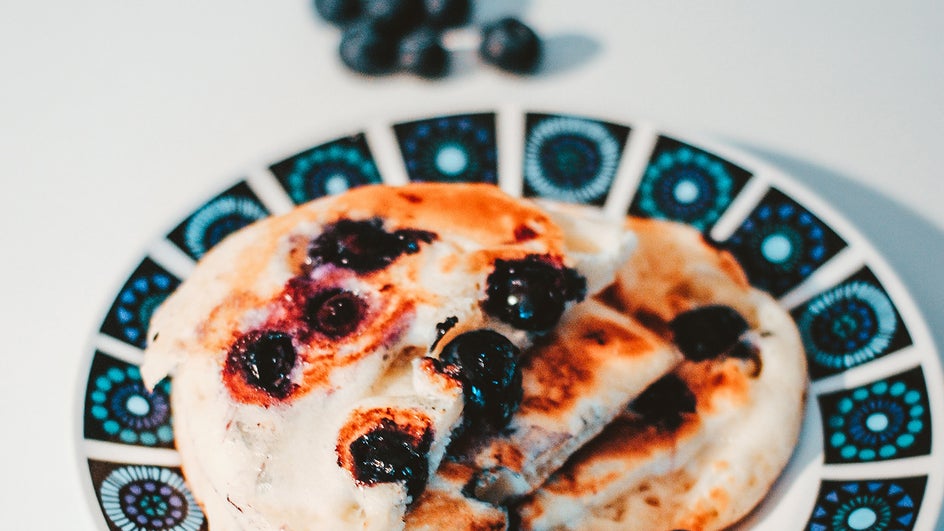
3. Fill the Space
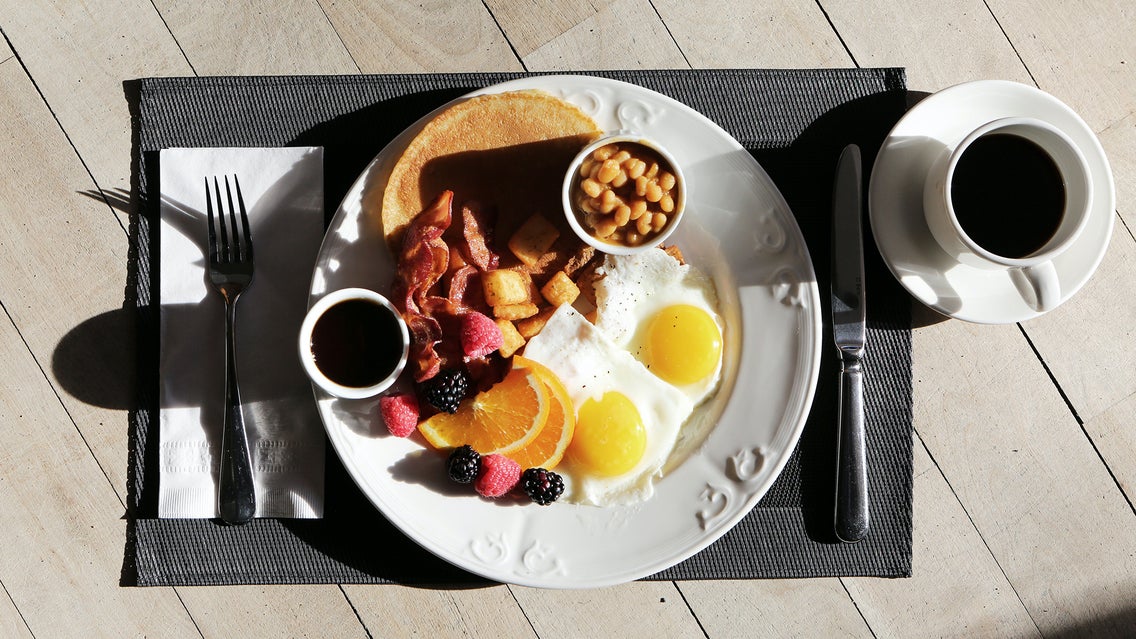
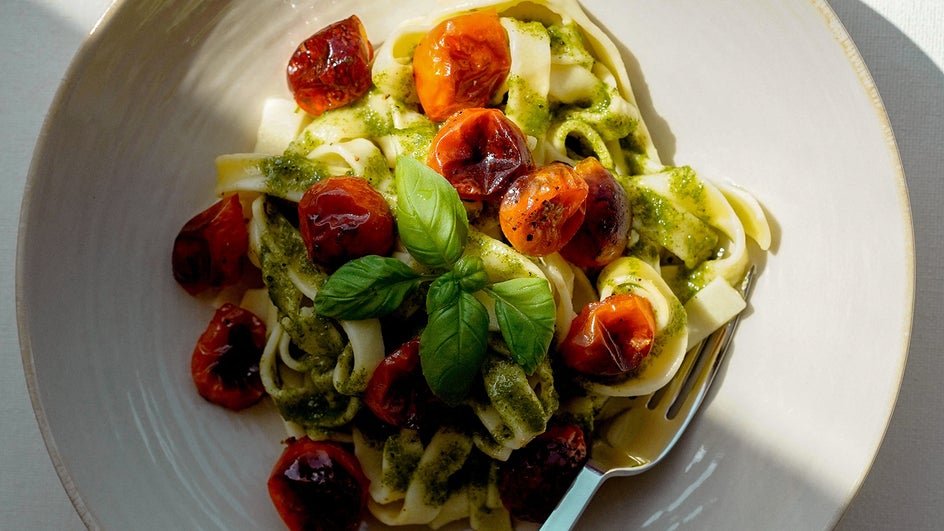
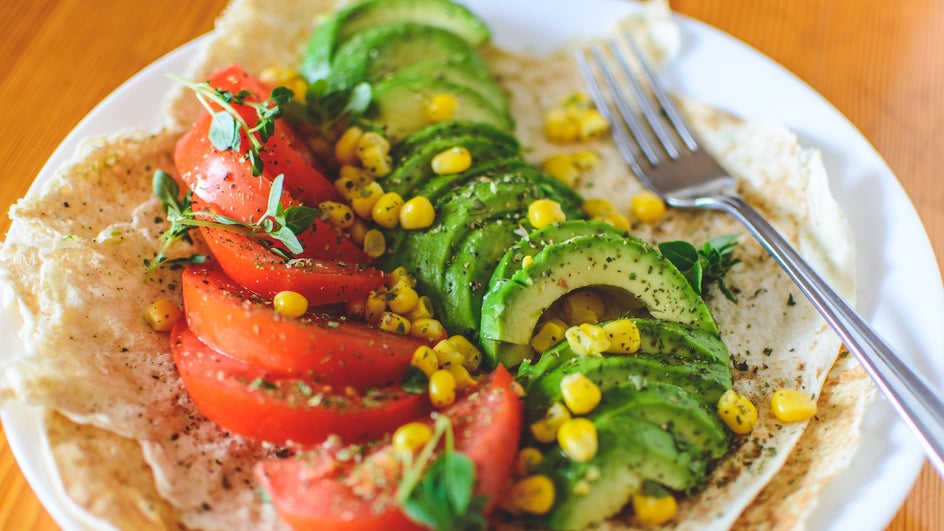
When adding photos to your food blogs, there’s rarely any need to capture the entire plate of food in one image. Trying to capture a circular plate by itself usually means leaving strange corners of empty space. The food might look all right, but the photo feels bare:

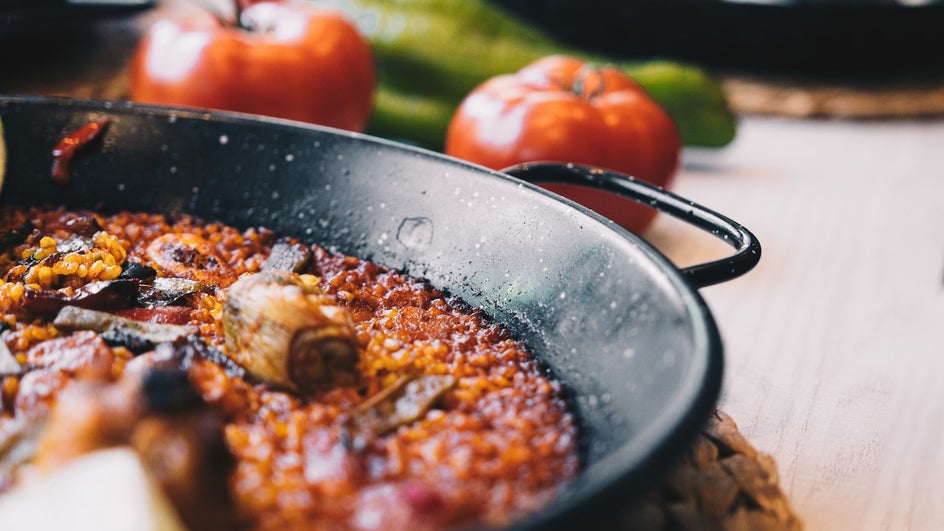
You could find appealing ways to compose a shot like this, but when it comes to food photography, decadence usually garners more attention than minimalism. That’s why we recommend using plenty of macro shots to capture the color, texture, and detail of your food.
If you want to photograph an entire plate, try creating a complete scene with ingredients, utensils, and other objects. You can even set the table and take pictures of the whole meal!
4. Follow the Rule of Thirds
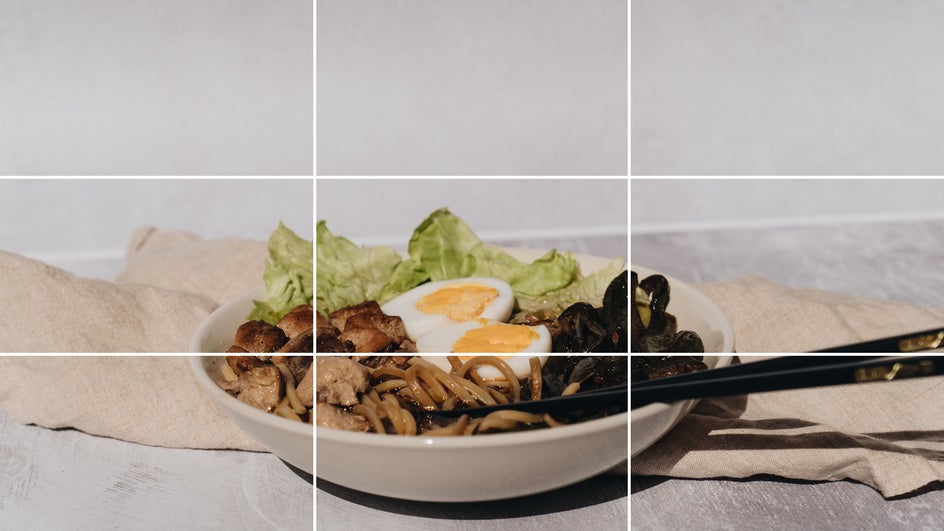
Speaking of setting up a scene, there are some handy composition tricks that guarantee a better-looking food photo. One of the simplest and most effective is the rule of thirds: Divide your image into thirds horizontally and vertically, and place your focal point at an intersection of these lines.
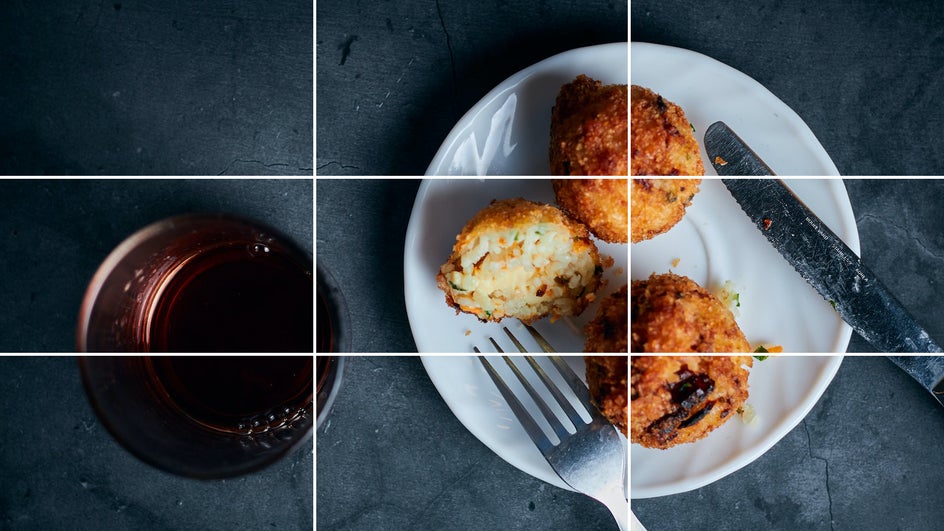
In other words, don’t just center your subject in every photo. Utilizing negative space will help focus on your food while keeping your images visually interesting. If you didn’t take your food photos with this rule in mind, no worries! You can always crop it in the Photo Editor.
5. Clear Up Clutter With the Clone Tool
Everyone’s kitchen gets messy. Sometimes in the rush of styling food pics for a blog, you may forget to clear out a measuring spoon or stray onion peel, ruining an almost-perfect set of photos.
There’s nothing wrong with showing the less glamorous parts of cooking, but these haphazard items can easily ruin a photo’s composition. With the Clone tool, it’s easy to erase any mess you might have left in the background of a photo, leaving your image looking spic-and-span.
Take Better Food Photos for Your Blog
These small steps can make a big difference in your food photography. By taking advantage of natural light, negative space, and items you already have in your home, you can instantly improve the aesthetic of your blog posts and social media. For photos you’re still not happy with, you can always edit them to be more vibrant, better composed, and even less cluttered. All you have to do is open up your image in the BeFunky Photo Editor and you’re all set to make your food look as good as it tastes.