Getting Spooky With Black And White Photos
If you’re looking to turn up the scare factor of your photos, you just can’t go past black and white photo effects. Not only are they devoid of the joys of color, but black and white imagery is also reminiscent of the scary movies of decades gone by, like the original versions of Frankenstein and The Invisible Man.
Whether you’re looking to create a spooky photo project or simply want some haunting photos to celebrate Halloween, you’re in luck. BeFunky’s wide range of scary Photo Effects will help you create creepy black and white images in seconds—if you dare.
Keep reading to find out how!
How to Create Scary Black and White Photos Using BeFunky
Ready to create your own scary photos? To get started, head to the Photo Editor and open the photo you wish to edit. Then, navigate to Effects in the main menu on the left side of the screen.
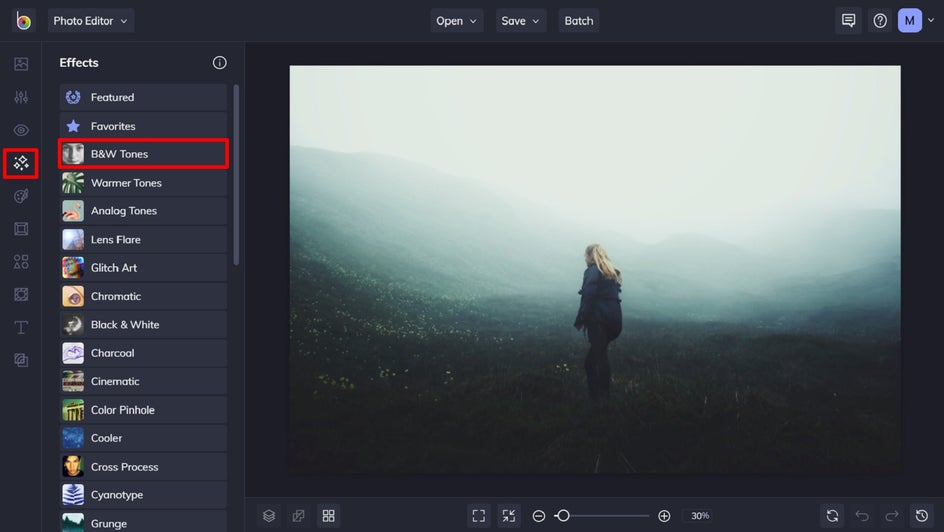
Step 1: Choose a Spooky Photo Effect Category
Within the Effects menu, you can choose from categories including B&W Tones, Black and White, or even Grunge – depending on what look you’re going for!
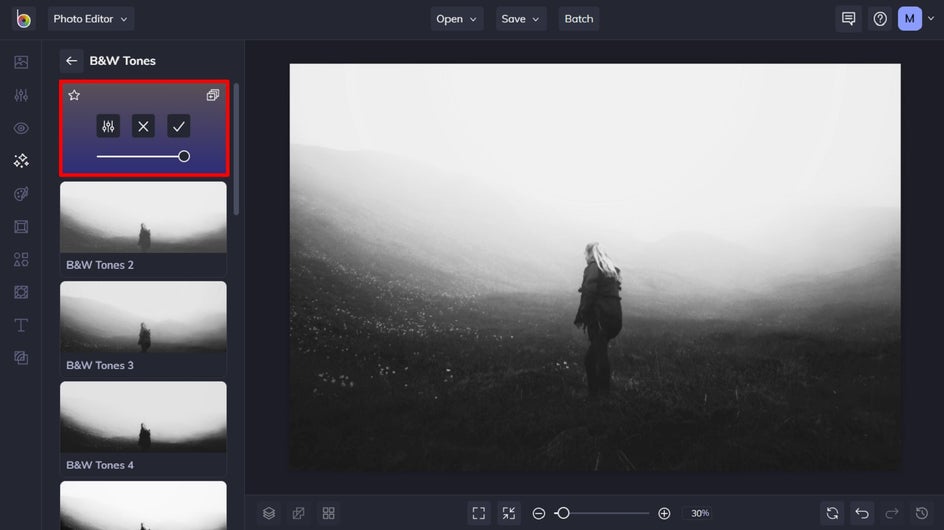
For this example, we’ll be using a B&W Tones effect. Simply click on any effect to preview how it looks when added to your image.
You’ll also notice when you click on an effect, three options are available: Settings, which allows you to alter the effect further; Cancel, which cancels the selected effect; and Apply, which applies the effect as-is. You can also adjust the strength of the effect using the slider.
Step 2: Edit the Photo Effect
To adjust your effect, click Settings.
Within Settings, you can further customize elements of the black and white effect, including Amount, Highlights, and Shadows. Use the sliders located underneath each to increase or decrease the desired effect.
Once you’re happy with your changes, click Apply.

Step 3: Navigate to the Edit Menu
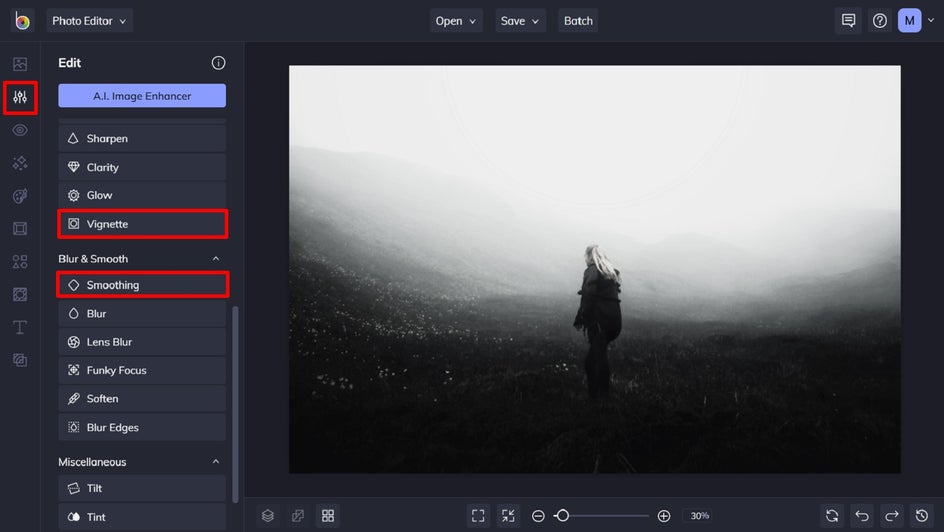
Next, navigate to the Edit menu to find some additional and recommended tools for adding a spooky look to your photo. Smoothing, for example, is excellent for enhancing a misty look within your image, while Vignette adds a foreboding, dark color around your subject.
Experiment with whichever tool takes your fancy! In this example, we’ll be using both Smoothing and Vignette, as outlined in the next steps.
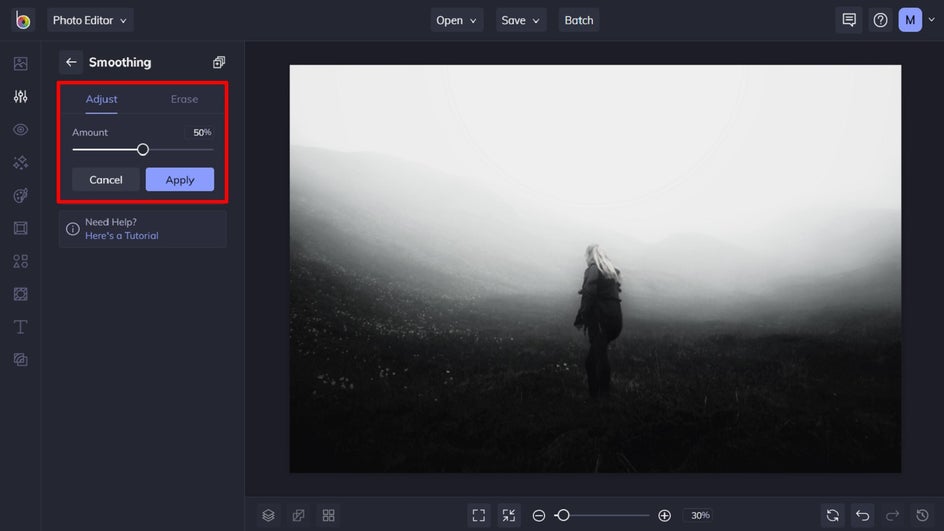
Step 4: Apply Smoothing
If you want to enhance any mist within your photo, or wish to give your photo a softer, smoother appearance, Smoothing is a great tool. Simply click on Smoothing, then adjust the Amount slider to achieve your desired look.
Step 5: Apply Vignette
A Vignette effect is achieved by making the edges of a photo darker or less saturated than the center. Not only does this draw the viewer’s eye to the center of the image more, but in the case of creating haunting photos, it boosts its spookiness.
Click on Vignette from the Edit menu. By default, the effect will be in radial (or circular) mode, but you can select one of the two other options at the top if you prefer.
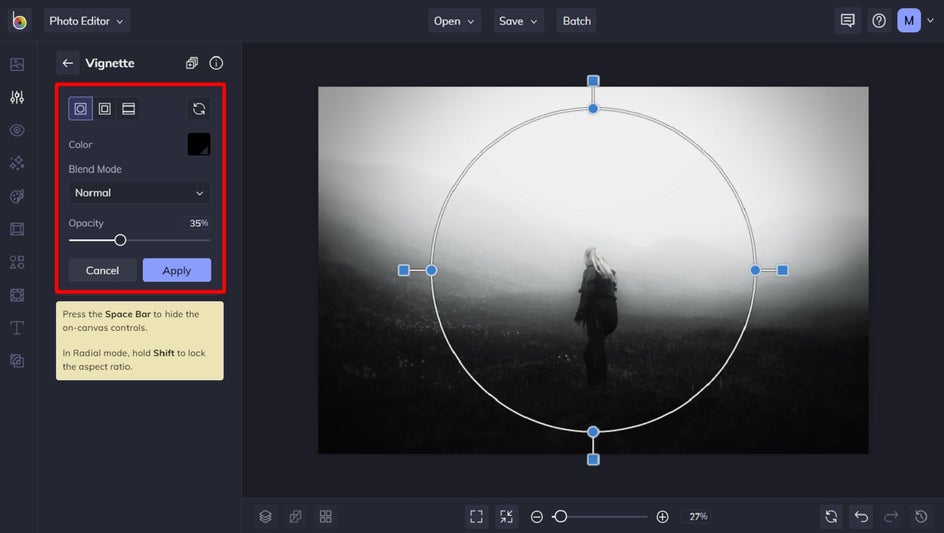
A target will appear on your screen. You can adjust its size or shape by clicking on the target’s handles and dragging. The circular handles will let you adjust your target with locked aspect ratios, while the square handles give you full control over your target’s shape.
You can also adjust the Opacity to change the intensity of the effect, select another Blend Mode, or choose a different Color. For scary black and white photos, we recommend keeping the Vignette color as black.
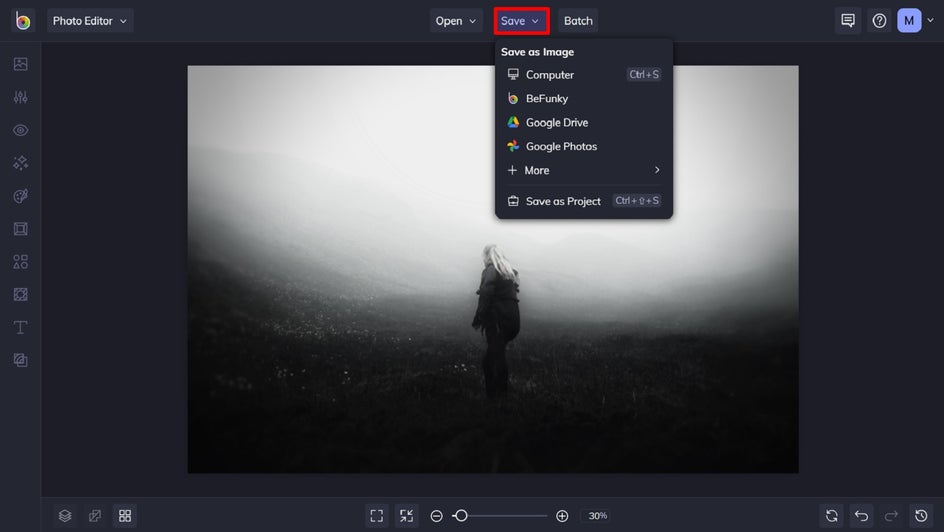
Step 6: Save Your Spooky New Photo
All that’s left to do is to click Save at the top of the screen, followed by your desired save location.
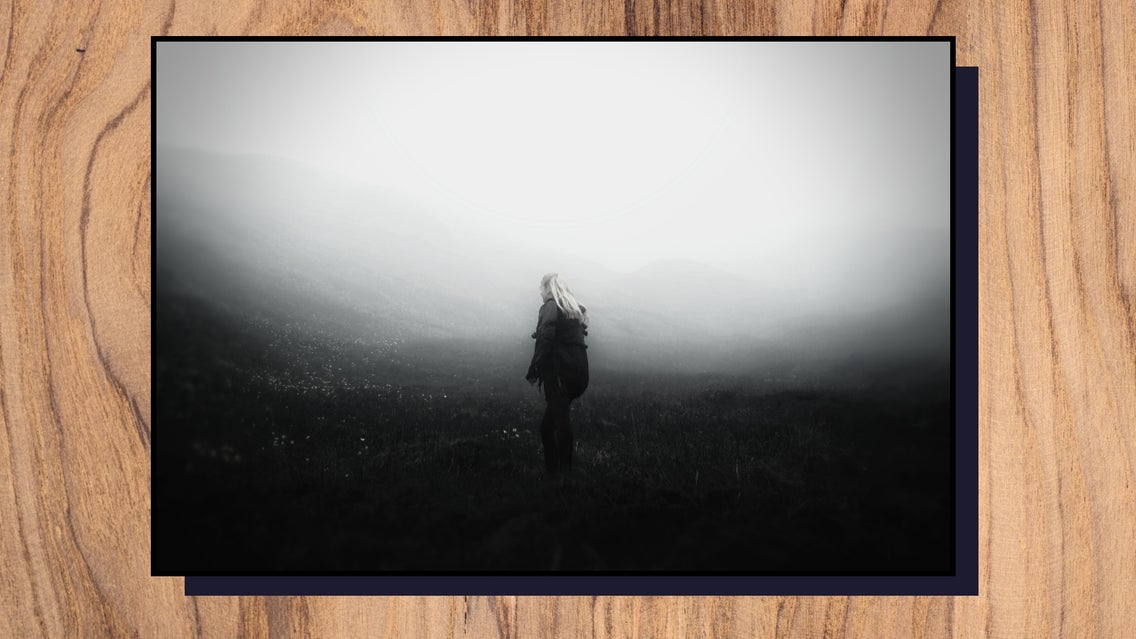
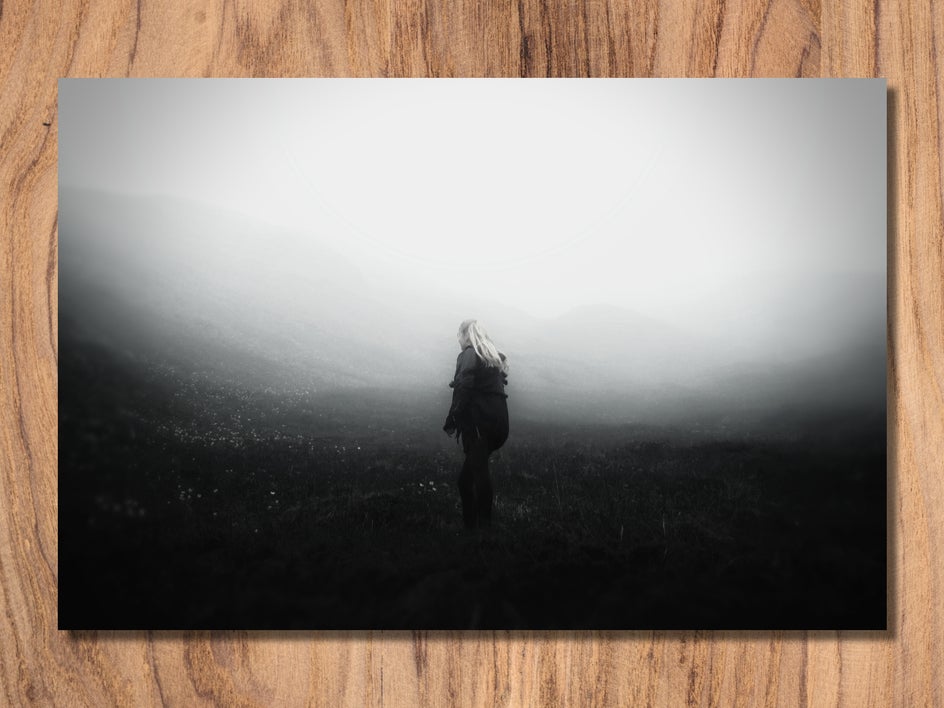
Final Results
There you have it! Who knew creating a spooktacular photo was as simple as adding a black and white photo effect and making few minor tweaks?
Scary Black and White Photo Inspiration
Want some more ideas for your next scary black and white photo? The following haunting photo effects are sure to create your spookiest image yet!
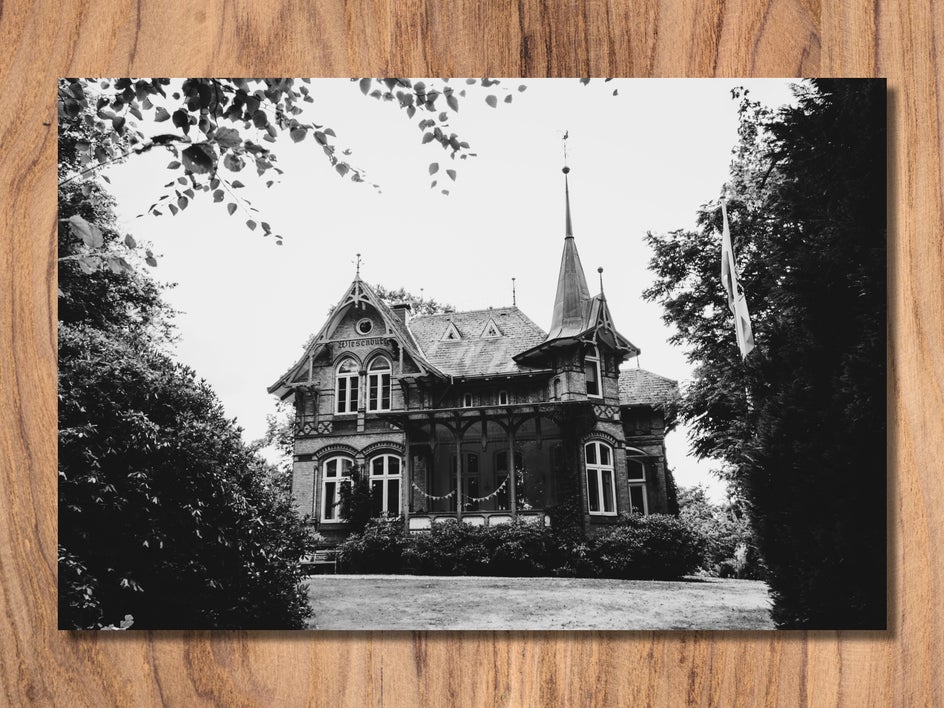
B&W Tones 14
This B&W Tones photo effect provides the perfect balance of Highlights and Shadows. It, therefore, adds a striking black and white effect to your image without washing-out any cherished details. The best part is that you can adjust the Highlights and Shadows to your preference within Settings. If you need to enhance your image’s natural shadows (or darker elements), simply increase the Shadows slider. To ramp up the brighter aspects of your image instead, increase the Highlights slider.
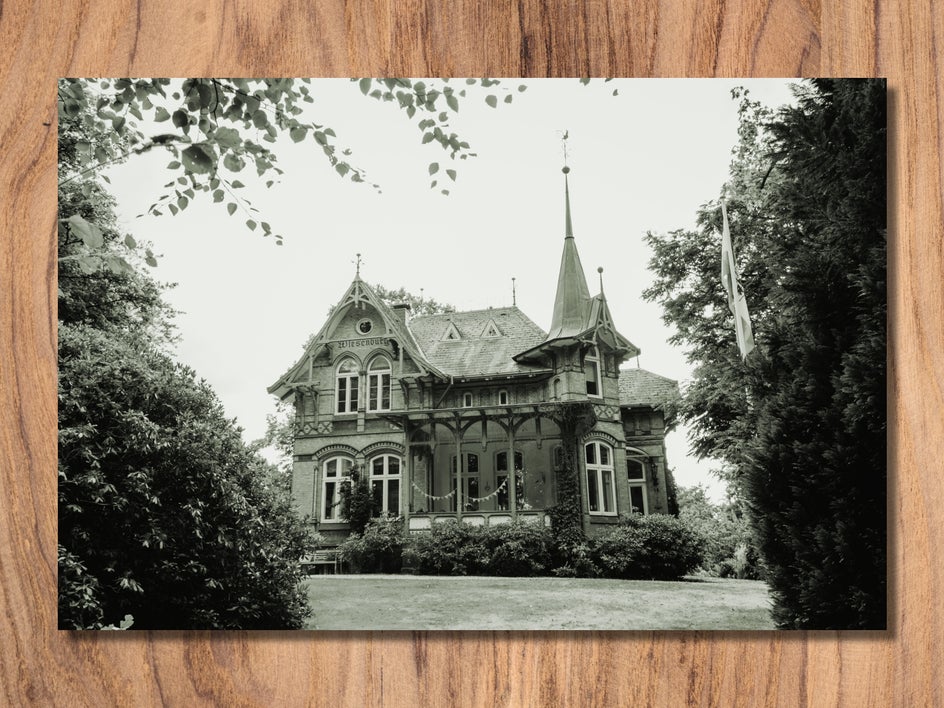
Black and White 6
This photo effect not only turns your photo black and white, but also adds a haunting green hue—all within a single click! It’s the perfect Black and White effect for transporting your image to a previous century. In fact, similar effects are frequently used in films when trying to emulate eras gone by.
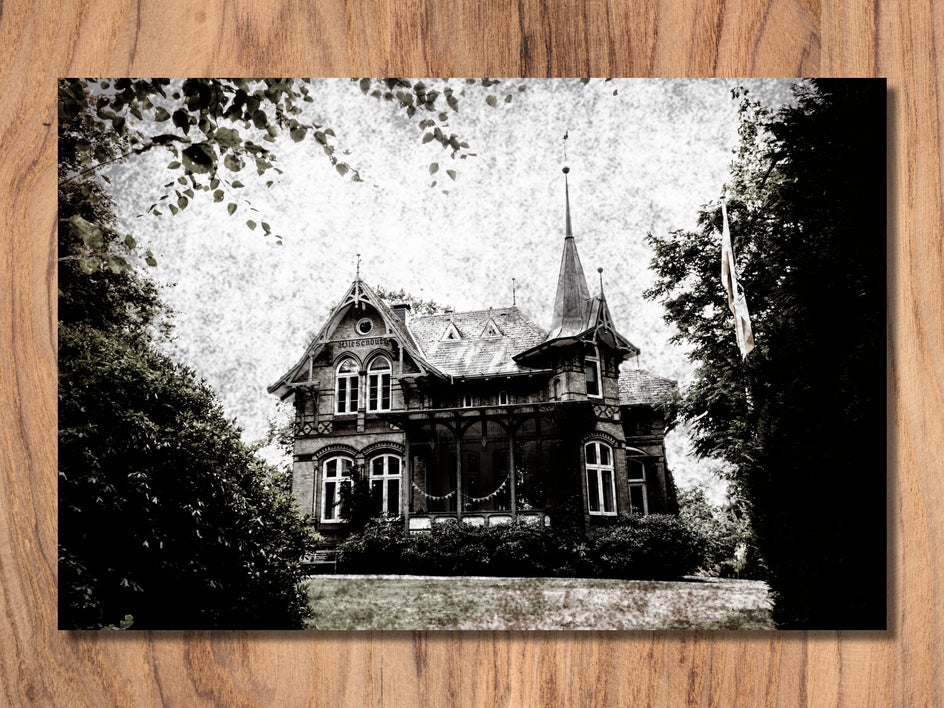
Grunge 5
While the B7W Tones and Black & White photo effect categories are full of spook-inducing effects, don’t be afraid to look in other categories when hunting for the perfect, haunting photo effect too. This Grunge effect adds a dramatic grayscale shade, while also combining it with a scruffy texture. It’s the easiest way to create creepy old photos within seconds!
Turn Up the Scare Factor by Turning Down the Saturation
Black and white photos have always had an artistic appeal, but they also hold the key to creating scary photos for your next haunting project. This is no time for vivid or brightly saturated images; it’s all about creating scenes that are completely devoid of color for that vintage horror film vibe!
Try out our scary black and white photo effects to see just how easy it is!