How to Brand Your Business With BeFunky
Getting your business off of the ground can be a difficult process when you don’t know where to begin. Not only do you have to name it, but you also need to create a business plan and marketing plan. What usually gets put off due to its expensive process is branding.
Most people think that they can get by without doing more than a logo, but after doing branding work over the past ten years, I can tell you that if you don’t do a more cohesive brand design in the beginning, including creating brand assets, you will eventually need to do it by year three. Around year three is when bad branding begins to hinder business growth. During this period, brands generally have grown an audience of consumers who love their product but without good branding, their messaging, marketing, and business structure begin to combat one another because there isn’t a centralized point that all of these departments are pulling from. Good branding essentially binds your business together from a central point - and when it is done this way, it allows you to make decisions from this centralized point - thus keeping every facet of your brand consistent.
How to Brand Your Business With BeFunky
The question then becomes, how do we begin and what does it look like to do this? Let’s start from the beginning so that we can build our brand - first with the foundation and then with the design. You can think of this process like building a house. The foundations and framing need to go in before building the walls and then finally adding the final design aesthetic.
Step 1: Build Your Brand’s Foundation
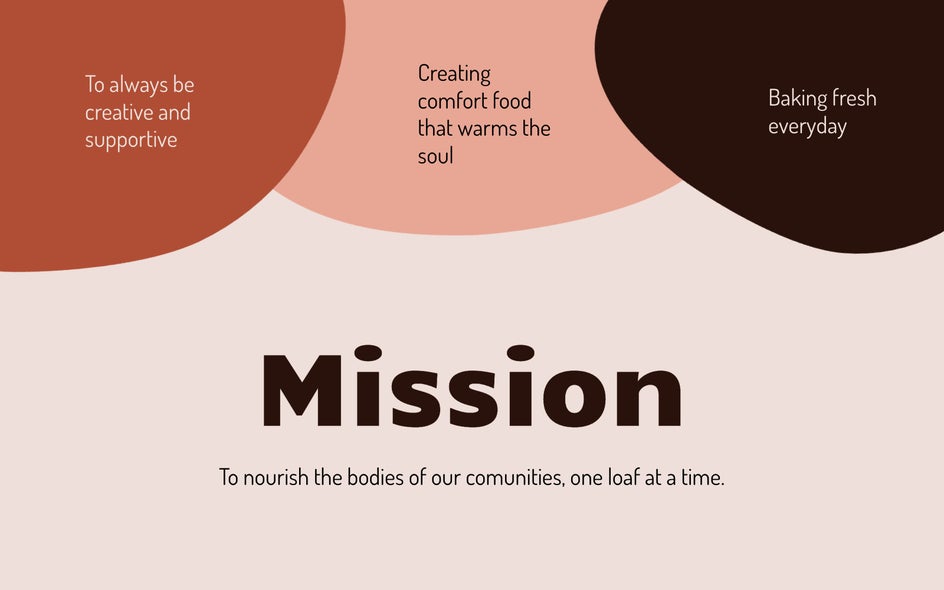
To start, you will want to ask yourself some questions about your business. Who are you, what do you do, and what is your purpose for starting the business? You will want to develop a mission statement, purpose, vision, promise, tagline, and values. These are not necessarily essential, but it makes designing your brand a whole lot easier when you know who you are as a business. Make sure you take notes on all of these things and then simplify your answers into 1-2 sentence pieces.
If it helps you, make a mind map in BeFunky’s Graphic Designer by utilizing the Text Tool and some Graphic Elements. This is also helpful because you can save it as a project to come back to later.
Step 2: Use Design Elements to Create the Perfect Logo for a Website
After naming your business, creating a logo can feel very daunting. This decision usually stays with you for some time, and as a rule of thumb, keeping a logo for at least the first few years before rebranding is essential so that you can build brand recognition.
You can create a logo in BeFunky’s Designer by using Design Elements or by simply using a creative typeface to create a wordmark, which is simply a logo made from text only. You will want to make sure that whatever logo you design will look good in color and black and white.
When having a logo, the exporting process is just as important as the design process. Make sure when exporting, you export many different file types, especially different-sized PNGs so that the background’s transparency is maintained - this will really help you in the future. What is even more helpful is being able to save your logo as a project to go in and edit and save different file formats later!
Step 3: Use Collage to Create a Color Palette
Color palettes are essential when creating a cohesive brand. Have you ever walked into a house and every wall in a room is painted a different primary color? It feels like an instant headache. There needs to be strong primary colors and smooth secondary colors that come and assist the more bold colorations.
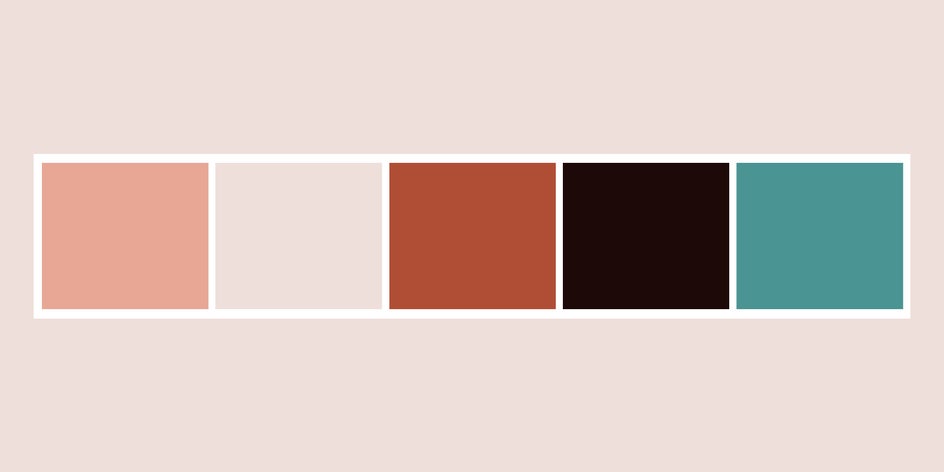
When choosing colors you can get into color theory and also you can create based on color principles like using a full monochromatic color theme or choosing analogous colors. There are so many options with this, but I have found that it is best to begin with a couple of colors you are drawn to and then fill the spaces around them. If you are having a hard time, there are so many color palette inspiration images on Pinterest or Google that you can see examples of. This is helpful as well because you can type in “sunset color palette” and see pallets associated with a color range or vibe.
I've used BeFunky Collage Maker in order to create color palettes easily. These are great because you can save these in a ‘Branding’ project folder in BeFunky for easy access in the future. You can save these collages to your computer and keep them in a brand folder in order to give to designers or creatives who may work on your content in the future.
Step 4: Create a Typeface Hierarchy in the Designer
Type is queen. Minimalism has reigned for over a decade and it has been so amazing to see brands adopt a fresh new serif typeface to spice things up. There is definitely a time and place for a sans-serif number, but right now, if you are wanting to compete with other brands on the market, finding or creating a unique typeface with character is surely gaining momentum.
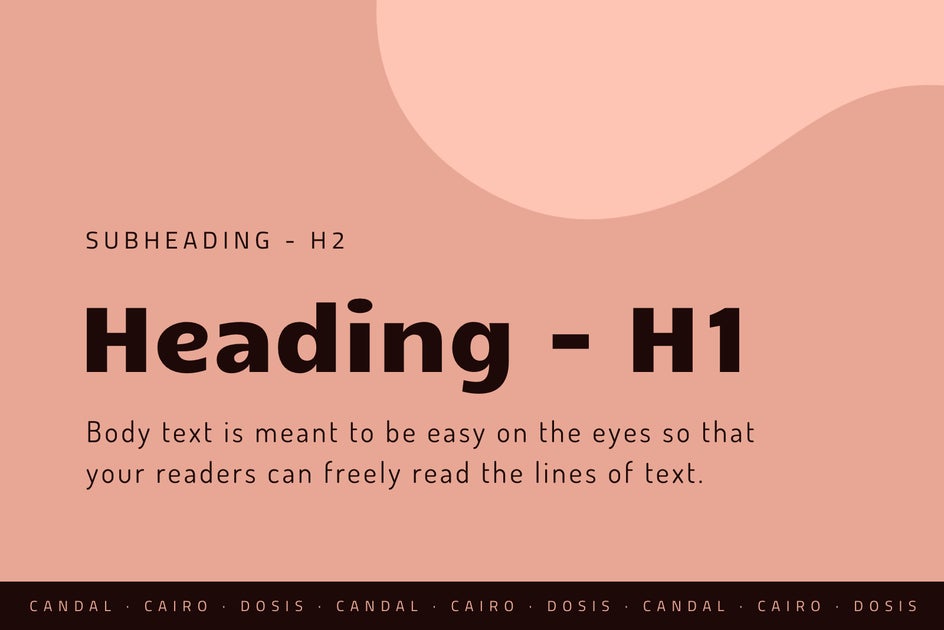
When creating a text hierarchy sheet, you want to create three tiers of text that pairs well together: H1 Header, H2 Sub-Header, and a Body typeface. To see examples of good pairings, searching “font pairing” in Google will get you some good sites that have created searchable engines. I usually take a font I am loving like ‘Montserrat’ and search for “Montserrat Font Pairing.” If this is your secondary typeface, find an H1 Header that pairs well with this font, and also find a body typeface that pairs well with it.
Once you have found your typefaces, use Graphic Designer to create a text hierarchy sheet. Again, creating a folder of brand assets is going to be so important because this folder is what you will send to designers and creatives who create content and assets for your company. There will come a time when you aren’t the one doing all of the work for every facet of your business - so making sure you have files to hand off to those you will hire to do the work for you will ensure that your brand stays cohesive
Step 5: Choose a Photography Aesthetic
One of the last things that I do when creating a simplified brand package is to make sure and create the photography aesthetic. Photography assets are important for branding. Whether you are shooting products in a studio or with models at lifestyle shoots, creating a cohesive filter will ensure that your design meshes with your photo aesthetic.

I typically decide on an aesthetic I like, whether that is muted, a transition theme, bright, punchy colors, or something more minimalistic. There are so many themes to choose from, but just make sure that you are consistent. If you are wanting to share photos on your Instagram feed that don't fit with your feed aesthetic, try putting them on your stories or as the second slide in a feed carousel post. Maintaining your aesthetic is imperative to having clean branding.
You can use BeFunky’s Photo Editor to edit your photos and create a filtered aesthetic. What’s even more awesome is that you can batch edit your photos. Let’s say you did a photo shoot and want the same aesthetic. Follow the link above to learn how to batch edit all of your photos so that they all have the same effect applied to them.
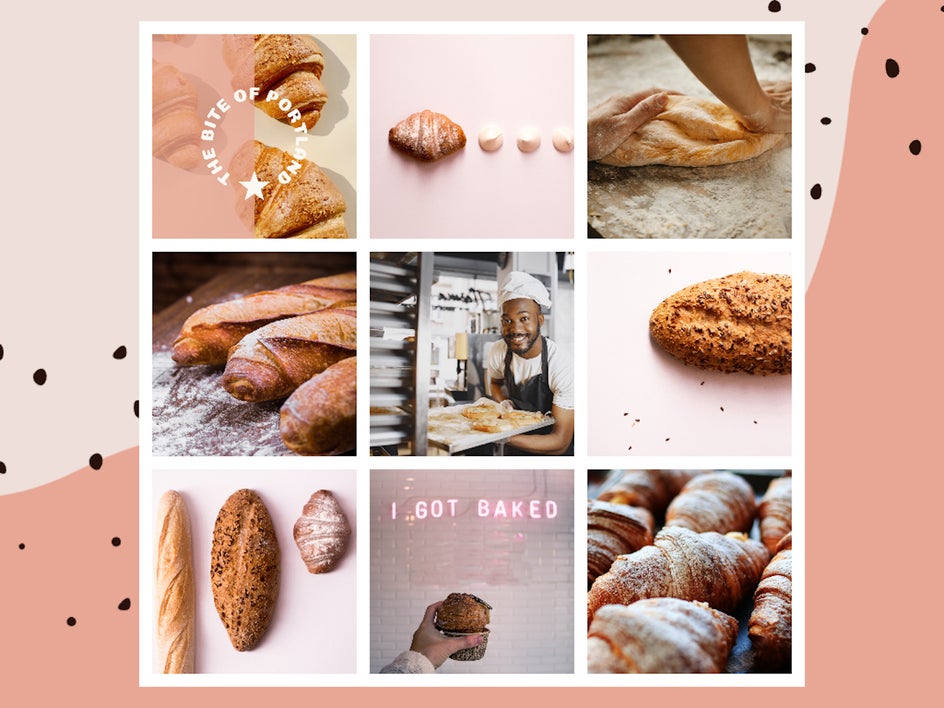
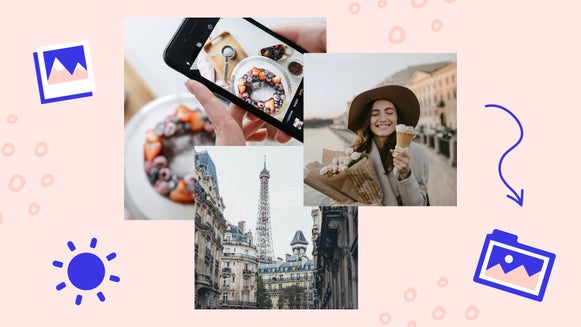
For branding purposes, I like to create a library of images that I can pull from when I need a photo to use. I organize and label my folders so that finding photos by type or genre is easy. Once you have a collection of photos edited, you can plan out which ones you want to post to social media by creating a grid in Collage Maker.
Step 6: Create Digital Content With Social Media Assets
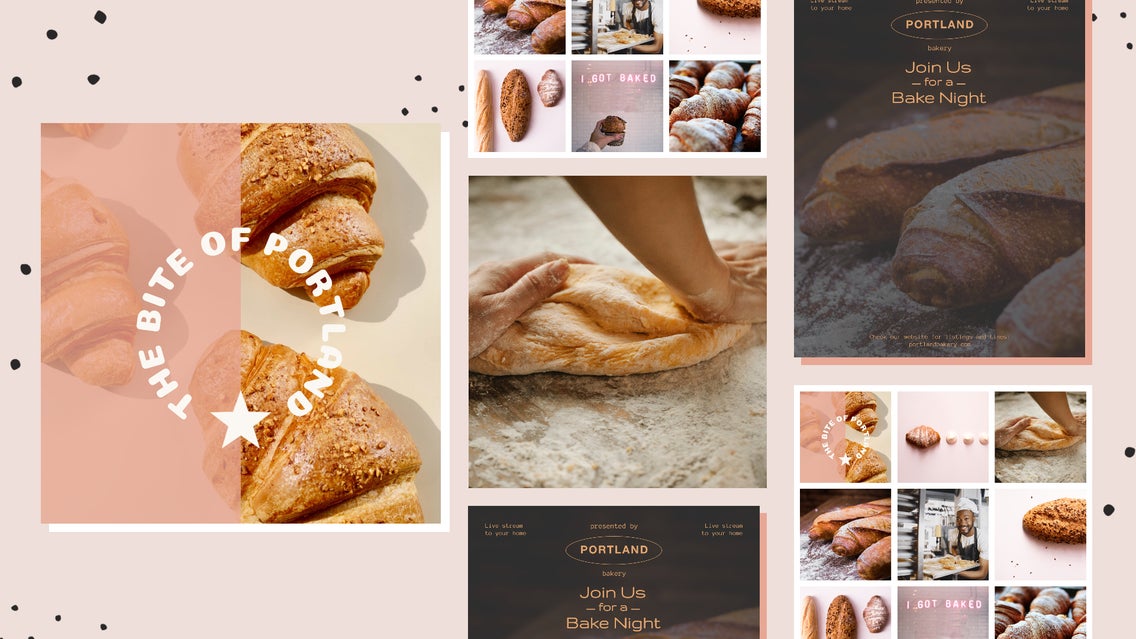
Once you have decided on your design aesthetic, you can move on to creating marketing content like stories, YouTube thumbnails, banners, ads, etc. Creating all of the elements above makes this process so much easier! Rather than having to edit your photos and choose your fonts and colors, you already have these decisions made - so the process can be as simple as plugging these things into BeFunky’s pre-made templates. You can create an Instagram Story series for your brand, or create Facebook Stories!
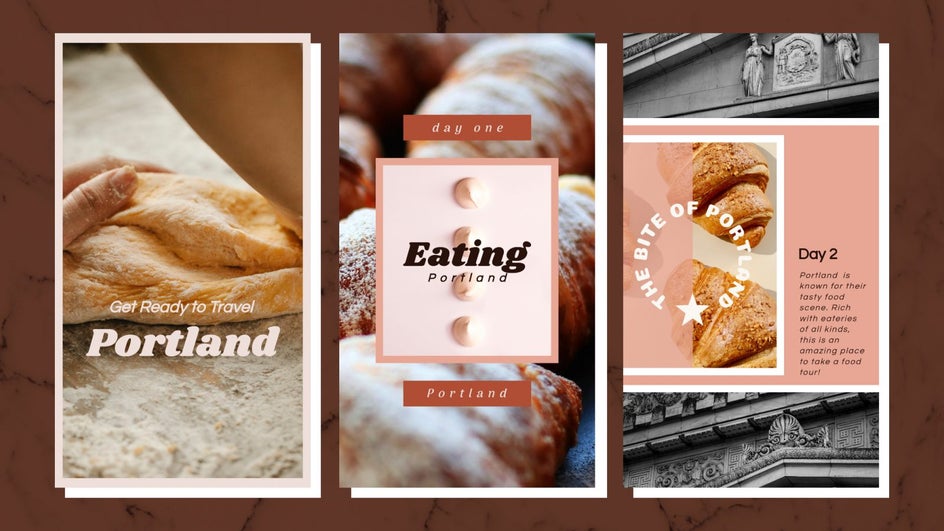
Simply open Graphic Designer and choose from one of our many Social Media Templates. Choose a template you love, plug in your fonts, colors, and images, and there you have it! Since BeFunky has powerful editing tools, you can create some amazing marketing assets utilizing these.
Step 7: Create Physical Marketing Assets
Not only does BeFunky help you create digital assets but it also has templates for physical assets like event posters, postcards, brochures, and business cards. There are not many other platforms that can do all of these things in one place, making Befunky a powerful tool in the branding process! If you don’t have any time to take photos for your brand, you can utilize the thousands of images in BeFunky and create powerful marketing material with stock images!
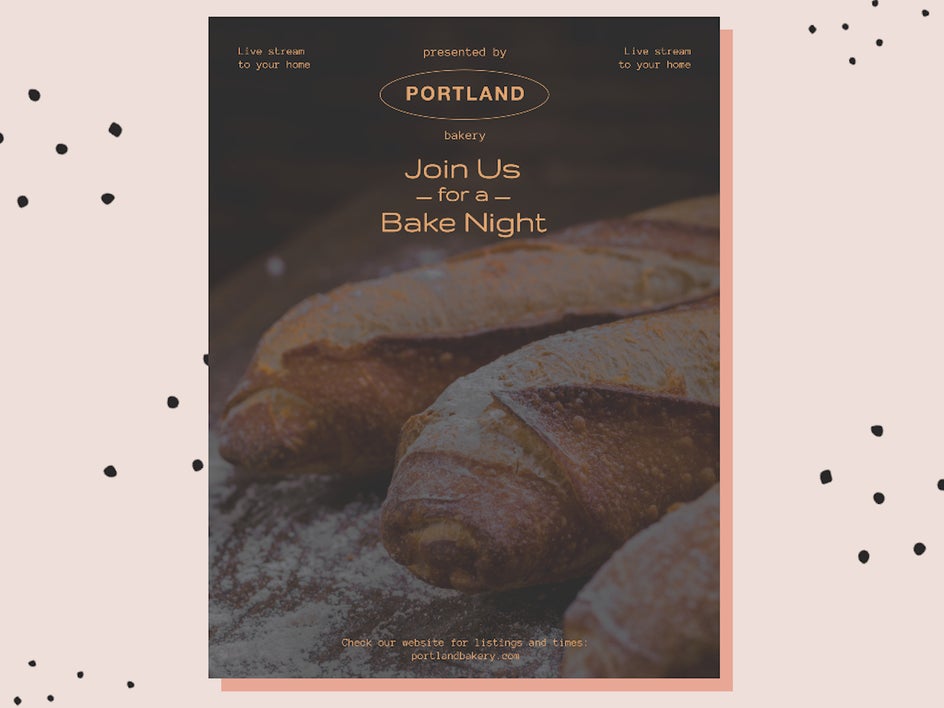
Use Graphic Designer to create posters for events, mailing postcards to promote a sale, or even funky business cards to have on hand for when you talk about your business. Get creative and let these assets really show off all of the hard work you’ve put into designing your brand!
Brand Your Business – All in One Place
With BeFunky’s Photo Editor, Collage Maker, and Graphic Designer, you can create so many assets for your brand. Branding may seem expensive upfront, but making these decisions ahead of time so that when you are at the point where you need to create content, you are already pulling from a centralized place. This not only makes sure that your branding is cohesive but it also saves you money, especially if you create these things with BeFunky! I haven’t worked on a platform as powerful as this, and I have often hoped that more expensive platforms could do what BeFunky does.
Get creating and sharpen up your branding before your business starts booming. You will thank us because as the other businesses around you have to slow down and pause in order to iron out their details, you will have already done the work and will be ten steps ahead of the rest!