7 Tips for Setting Up and Editing Flat Lays
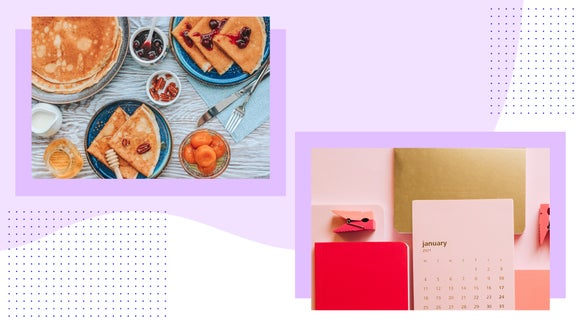
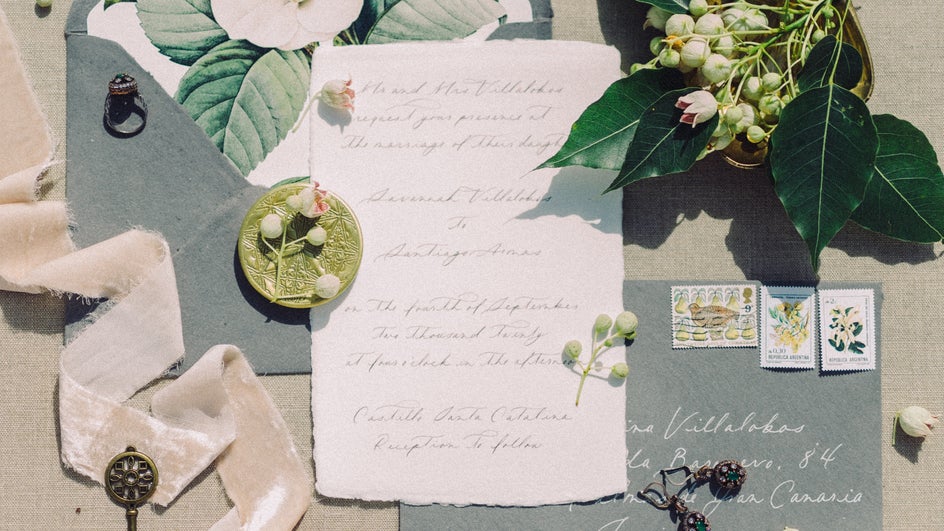
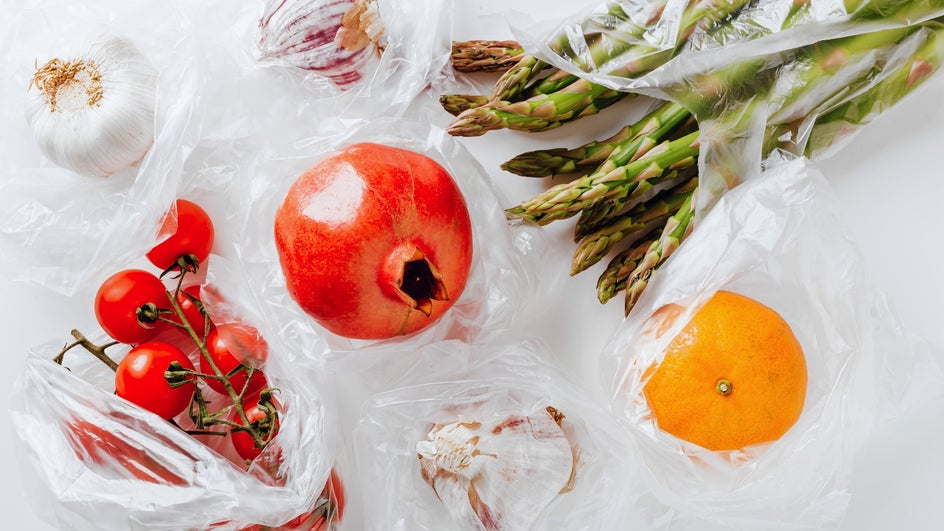
Whether or not you’ve heard the term “flat lay,” you’ve definitely seen them around. A flat lay is a photo, taken from above, of several items arranged on a flat surface. There might be a few items, there might be many; they could be arranged haphazardly, they could be neatly organized. Either way, all flat lays are still lifes involving multiple objects that are taken directly from above. Here’s an example:
So what’s the purpose of a flat lay? Essentially, flat lays show off a broad range of items or products at once. They usually capture a specific aesthetic, creating one cohesive image out of an assortment of “random” things. Flat lays are a simple, stunning way to promote your brand on your website or social media. They’re also great ways to capture hobbies and special moments in your life, like your home-cooked meals or wedding invites. You can make a flat lay out of anything you choose!
Some people are put off by flat lays because of the slightly complicated lighting situation, but in this article, we’ll talk about some simple workarounds, plus how to use the Photo Editor to touch your image up in post. Following these tips, you’ll even be able to photograph a flat lay with your phone! We’ll also discuss some general tips on composing, photographing, and editing a flat lay—because if you understand the basics, it’s guaranteed to look good every time. So let’s get started!
1. Stick to a Theme
The best flat lays all have a sense of cohesion. Whether that’s via color, aesthetic, item type, or something else is up to you. Just make sure there’s a general theme. Otherwise, you’ll just end up taking a photo of a bunch of unrelated items, and your flat lay won’t be of any use to you.
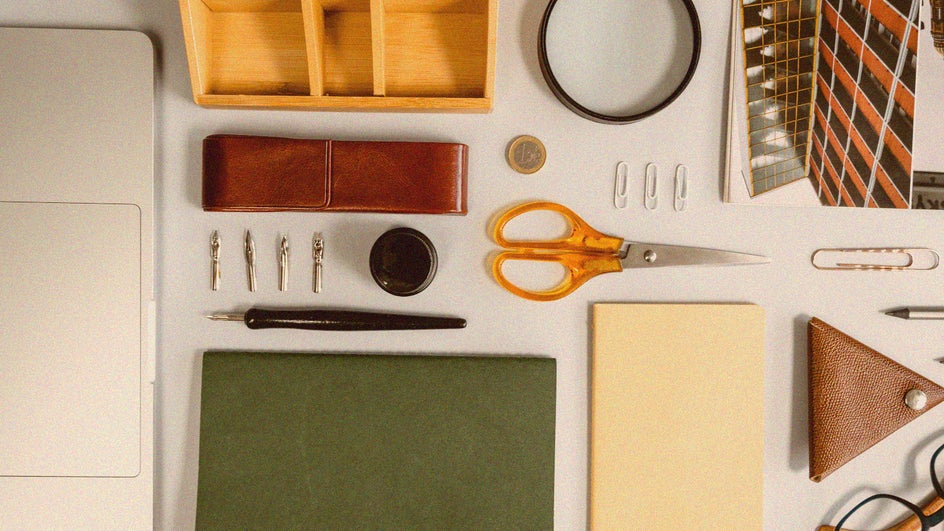
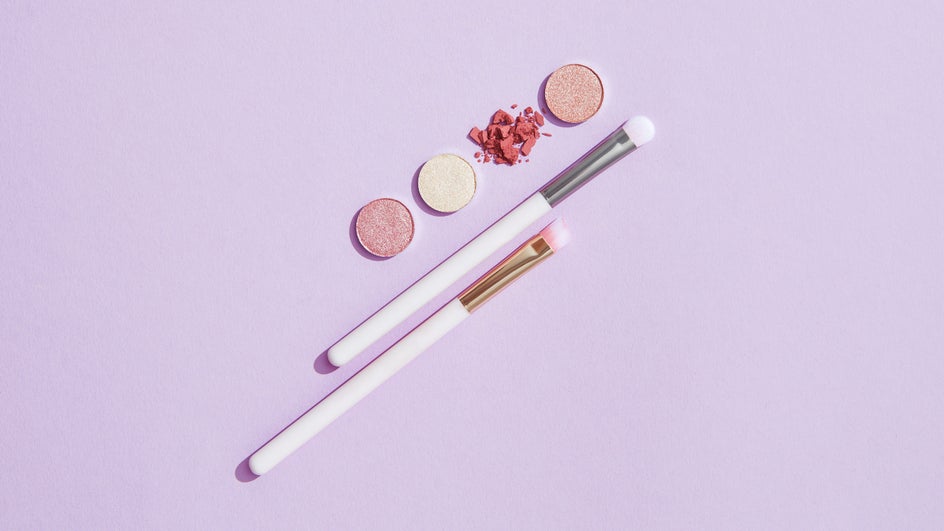
Here’s an example: If you want to showcase some of your artwork, you can make a flat lay of your painting setup. Just arrange your pencils, brushes, erasers, paper, and other art supplies around your finished piece of art.

Color is another easy way to tie a flat lay together. Consider sticking to a warm color family (reds, oranges, yellow, pinks) or a cool one (blues, greens, purples). Or, just pick one or two colors and stick to those. The Color tool in the Photo Editor can help you adjust the hue and temperature of your image so that it’s more cohesive—or you can even replace one color with another!

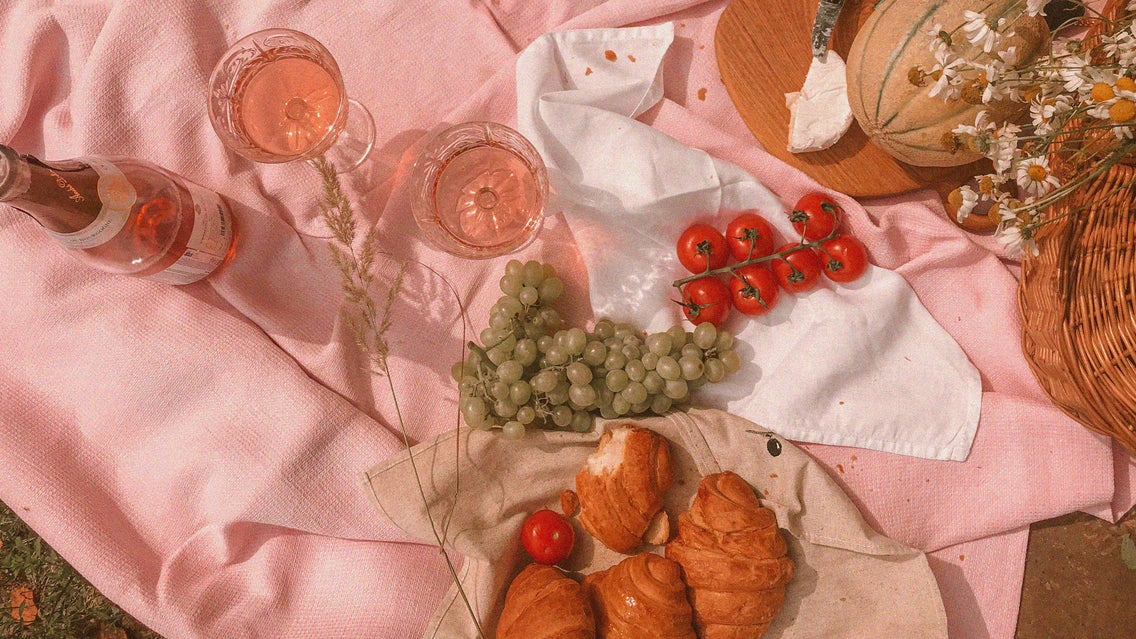
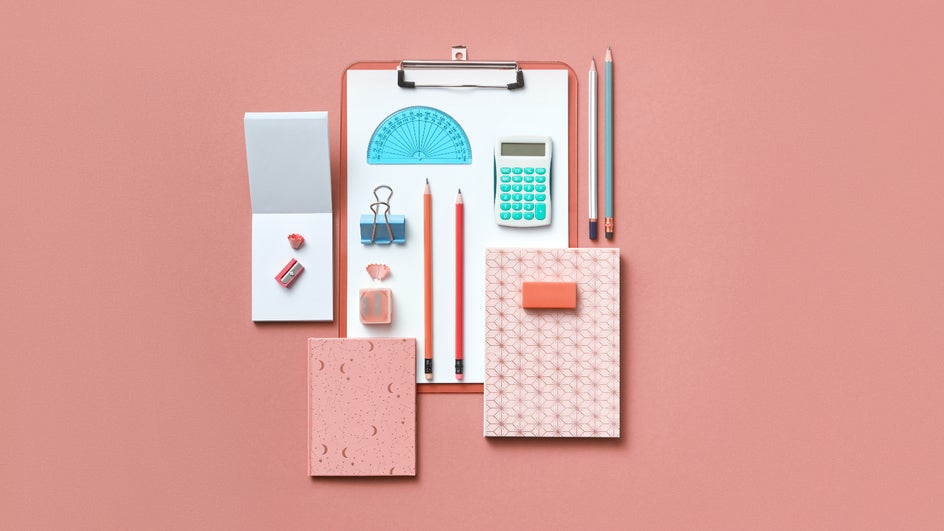
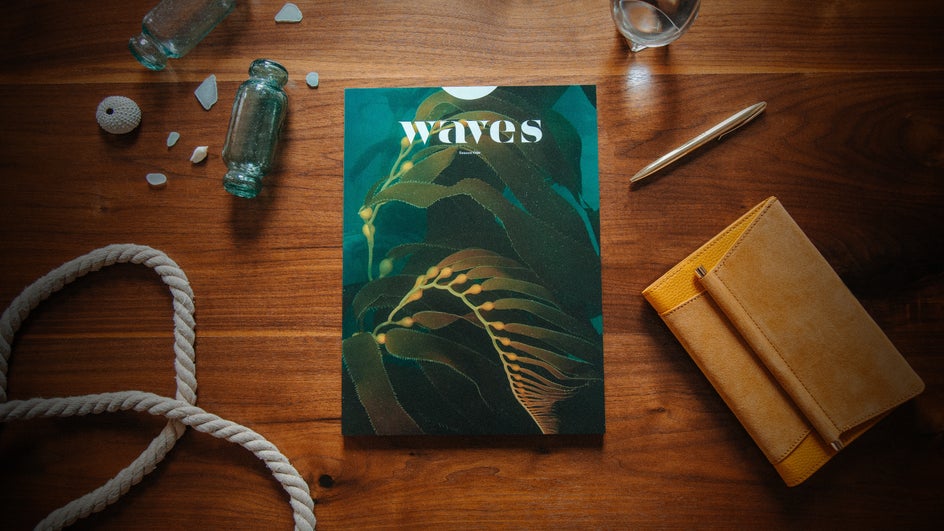
If you’re aiming to showcase a wide range of different products but still want them to look good together, you can also base your flat lay around an aesthetic. Besides using the teal as a motif, this flat lay is aiming for a worn-out vintage style:

2. Think About the Background
It’s not just the subject of your flat lay that matters, it’s also what surface you lay them on. Any good photograph utilizes negative space, so at least some of the background will be visible. That means that the surface you use makes up a big part of your image and can greatly impact the final product.
Try to use a background that fits with the theme of your flat lay, but also makes your arrangement stand out. This means using a lighter color, a darker color, or a contrasting color from your items. Solid color fabrics are a great way to manage this. You could also replace the background with the Background Remover tool even after you’ve taken the photograph!
When thinking about more unique backgrounds, textures like wood or metal are great. Get creative with it! Just remember that you want your items to be the focal point, so the background shouldn’t be heavily patterned.
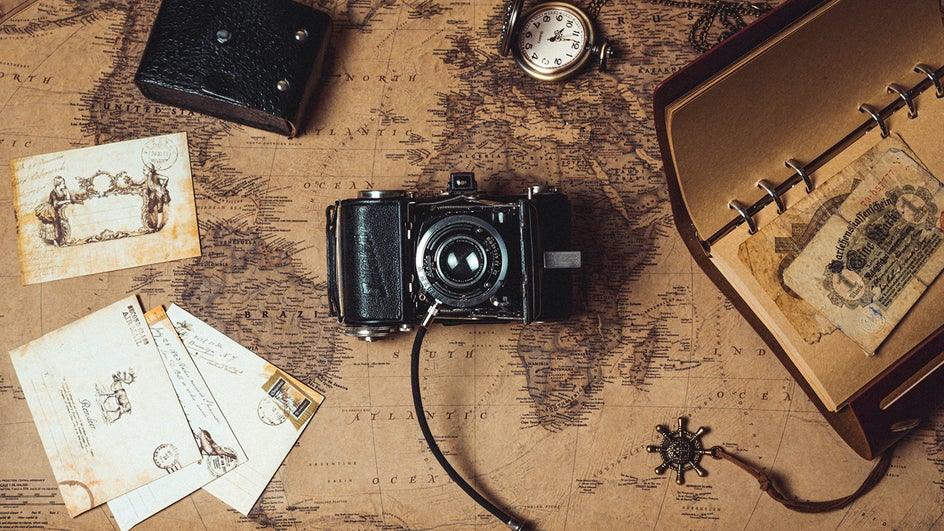
Here is a great example of how an interesting background that still works with the rest of the flat lay. It’s on theme, since the map relates to travel. And while it’s not completely solid, it doesn’t draw the eye away from the arrangement.
3. Experiment With Your Layout
There are endless ways to set up a flat lay. You could make the items look like they were strewn randomly across the table. You could arrange them neatly in rows. You can have one object as your focal point and arrange others around it. Change it up depending on what you want to focus on. Play around and figure out what works for you!

4. Avoid Harsh Shadows
This is one of the more difficult parts of creating a flat lay. Because you’re taking the photo from above, everything can create shadows if you don’t have the proper lighting: You, your camera, the objects themselves. So how do you take flat lay photos without shadows? The trick is to have lighting from all sides. Placing your flat lay by a window is the most easily available source of light for the back and sides. To provide the rest of the light, simply stand a piece of white foam board in front of your flat lay. (You can find foam board in any store with school supplies.) This reflects the light from the window back onto your subject.
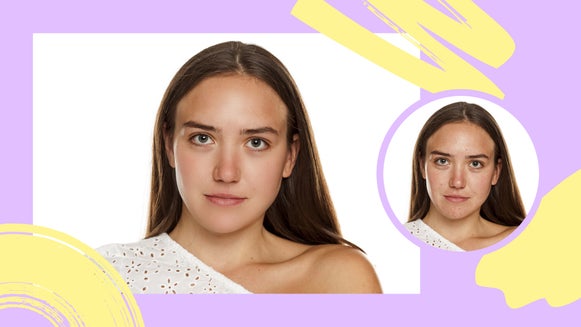
Now, you can photograph your flat lay from above, either with your camera or your phone. It’s unlikely the foam board will be visible at this angle, but if it is, you can always crop it out with the Photo Editor. The Photo Editor also comes in handy if there are shadows you can’t get rid of. Just use the Exposure tool to adjust the lighting until you’ve minimized the shadows and brightened up the image. Or, use the Clone tool to remove shadows from plain backgrounds.

5. Clone for Organized Clutter
If your flat lay is feeling a little sparse but you don’t have more items to help fill in the space, the Clone tool can help. Just click the object you want to duplicate, and then paint wherever you want the copy to appear! The Clone tool is also useful for erasing items without ruining your background.

6. Make It More Vibrant
Because you need a lot of light to properly photograph a flat lay, some colors may lose their luster in the process. If you feel like your flat lay isn’t as visually interesting on your screen as it was in person, this may be the reason why. Try increasing the saturation, vibrancy, and contrast in the Photo Editor. This works especially well if you based your flat lay around a particular color.
Because you don’t have to contend with any skin tones or greenery, like you would with a portrait or landscape, you can really push the saturation if you want to. Don’t be afraid to mess around a little—you can always undo it if you go a step too far.

7. Add Focus With a Vignette
Vignettes are useful for flat lays because they make the center of your image stand out, highlighting a particular group of items while maintaining the beautiful organized chaos of a big flat lay. You can use the Vignette tool to easily create dark, light, or colored vignettes around the edges of your photo. This has the added bonus of creating some dramatic flare.
Create the Perfect Flat Lay With Be Funky
Arranging, photographing, and editing a flat lay might seem like a lot of steps, but once you’ve got the basics down, the possibilities are endless. Plus, with a whole host of tools at your disposal, BeFunky can help reduce that learning curve. Just check out the Photo Editor to get started!