How to Make A Dazzling Postcard In Just 3 Easy Steps
I recently had the INCREDIBLE good fortune to go on an extended vacation, i.e. the Big Europe Thing, where you go to a bazillion airports and hostels and you’re lucky if you manage to snag a decent morsel of burnt toast for breakfast. Tales of luxury aside, it goes without saying that Europe is indescribably beautiful.
At any rate, because my phone was on hiatus (and I wasn’t willing to pay a fortune in roaming charges), I found myself in desperate need of postcards. You know, ways to let your family know you haven’t quite died yet without all that awkward hassle of actually having to talk to them. So with that in mind, I took to the BeFunky online photo editor to help me whip up a beautiful postcard in a pinch (guilt-free!).
1. Enhance With Effects
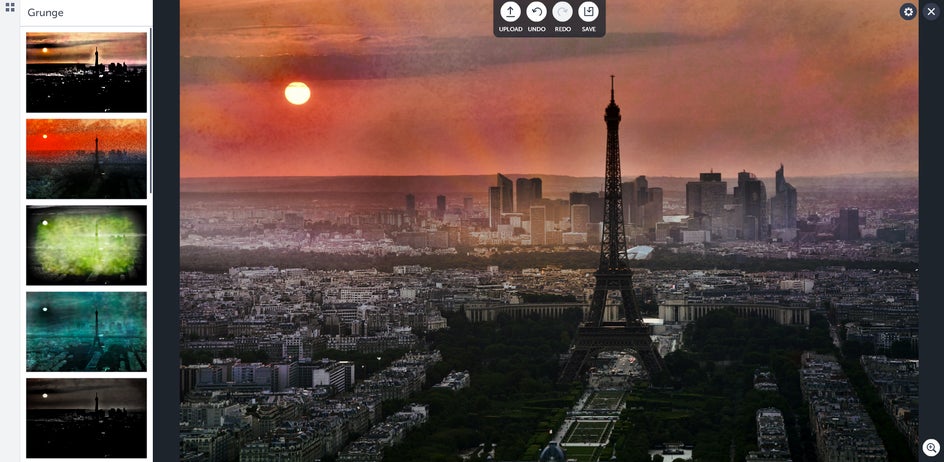
While you want to be sure to capture an image with an epic landmark as a reference point, there are approximately anywhere between five and a hundred million billion photos taken of the Eiffel Tower—meaning you’ve got to make your image really stand out. Here’s what I started off with:
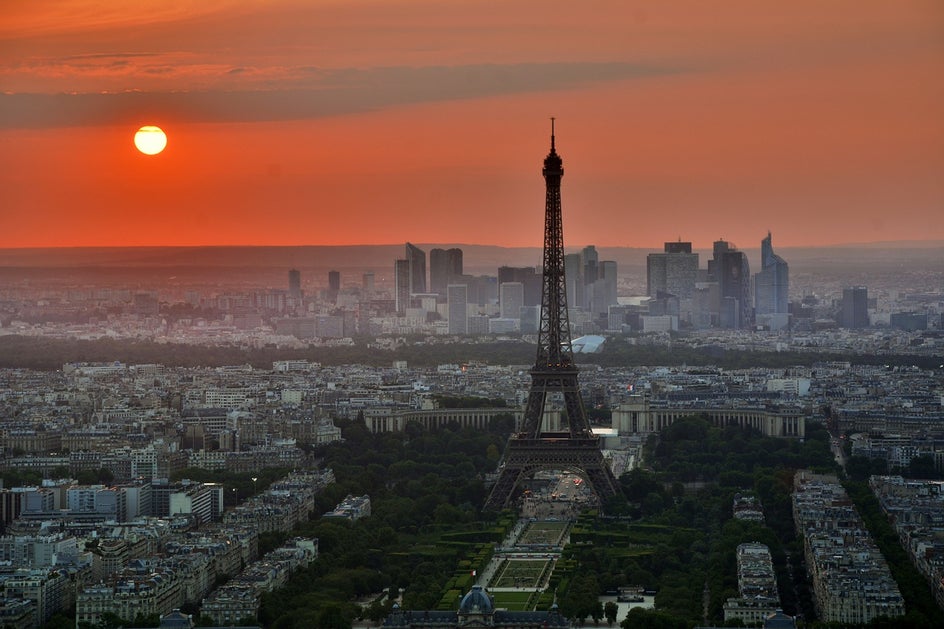
While this is a gorgeous scenic shot of dear old Paris, the color could definitely use some work. Effects time, y’all!
Like a mad scientist, I sat and played around with various effects for a good amount of time, trying out every possible combination I could think of—playing around with the effect amount, layering different effects over each other and so forth—until I came up with this dazzling combo.
Start with Grunge 6, at about half strength:
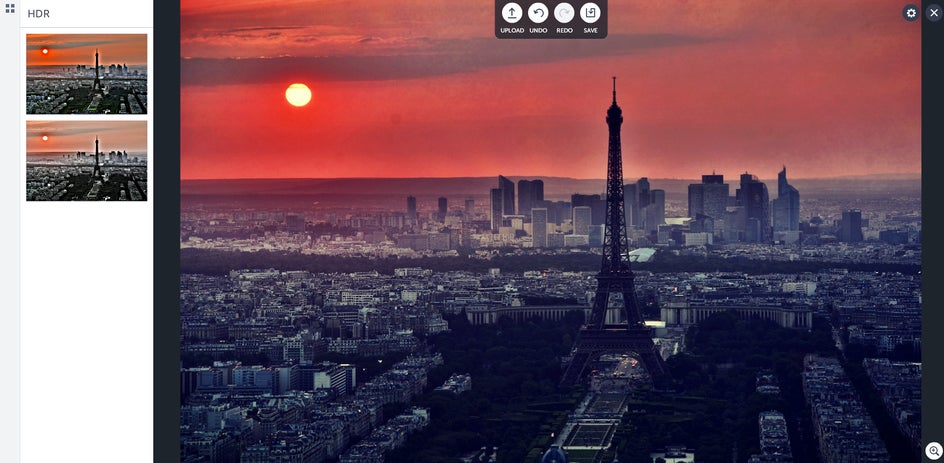
I then applied the Chromatic 2 filter as well as the HDR 2 filter (at 12 effect amount) which yielded this beauty:
And then headed into the color mixer found in the edit tools to play around with some color. I ended up liking liking R: 18, G: 8, and B: 27 the most in terms of color amount:
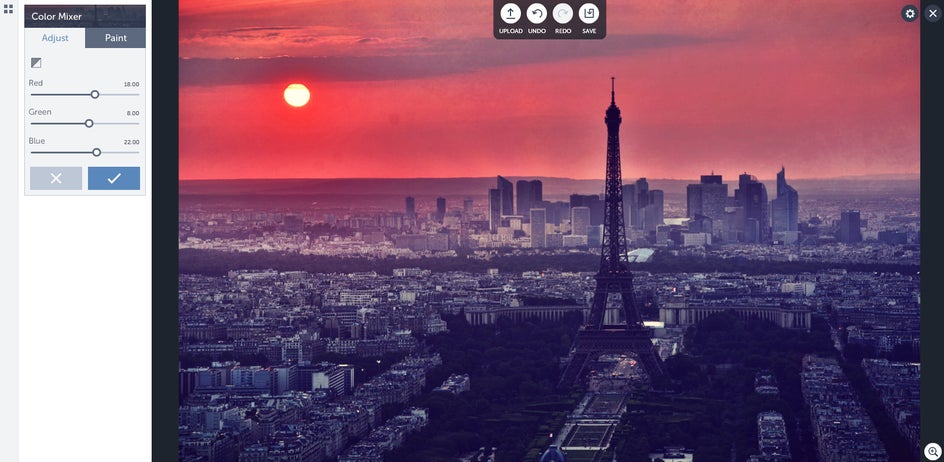
Hot damn.
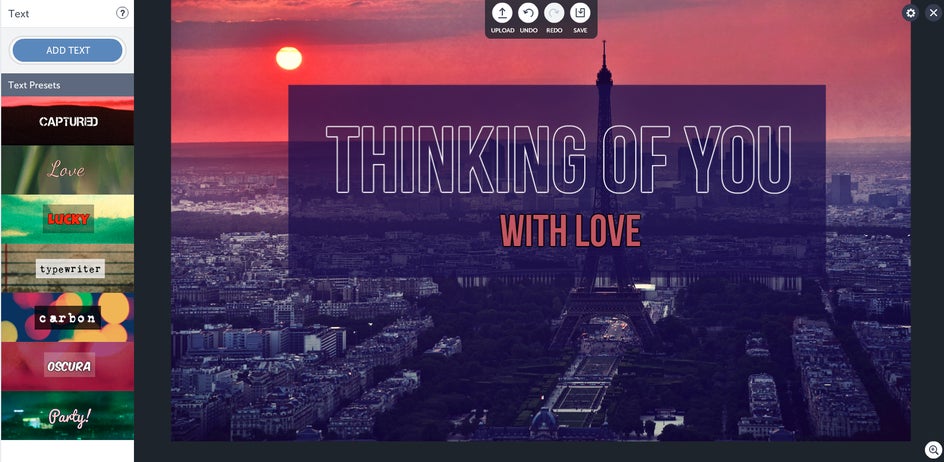
2. Add Some Text
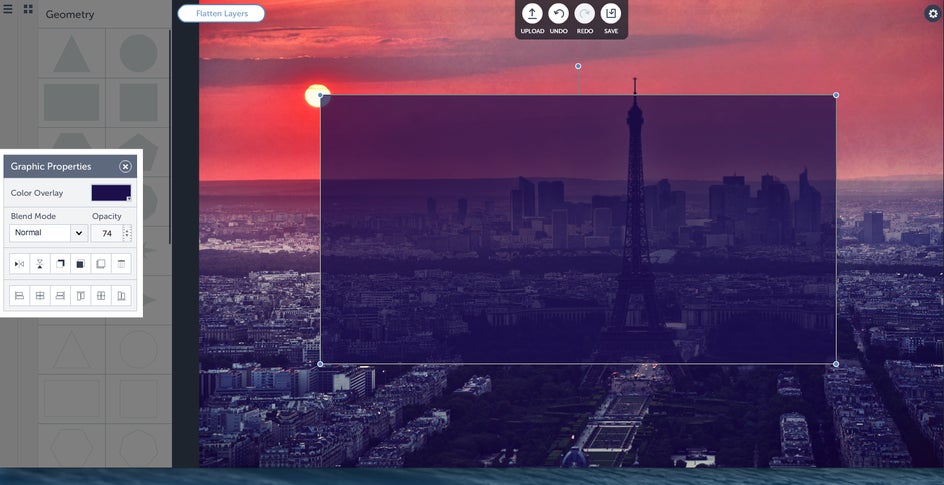
The next step on my list was to add some text, but I didn’t want it to look too crowded with such a busy background so I went into Graphics and put in a square box. I used the color dropper tool to select a custom color from the background, adjusted the intensity to 100%, reduced the opacity to 74 and resized the image while holding down the Shift key:
Yeeeah! Now text time. I used Bebas Neu font and added in two separate lines of text over my box. For the first line of text I selected the strikethrough for the image color and white as the outline color, and for the second I used the eyedropper tool to get that pink along with black as the outline color.
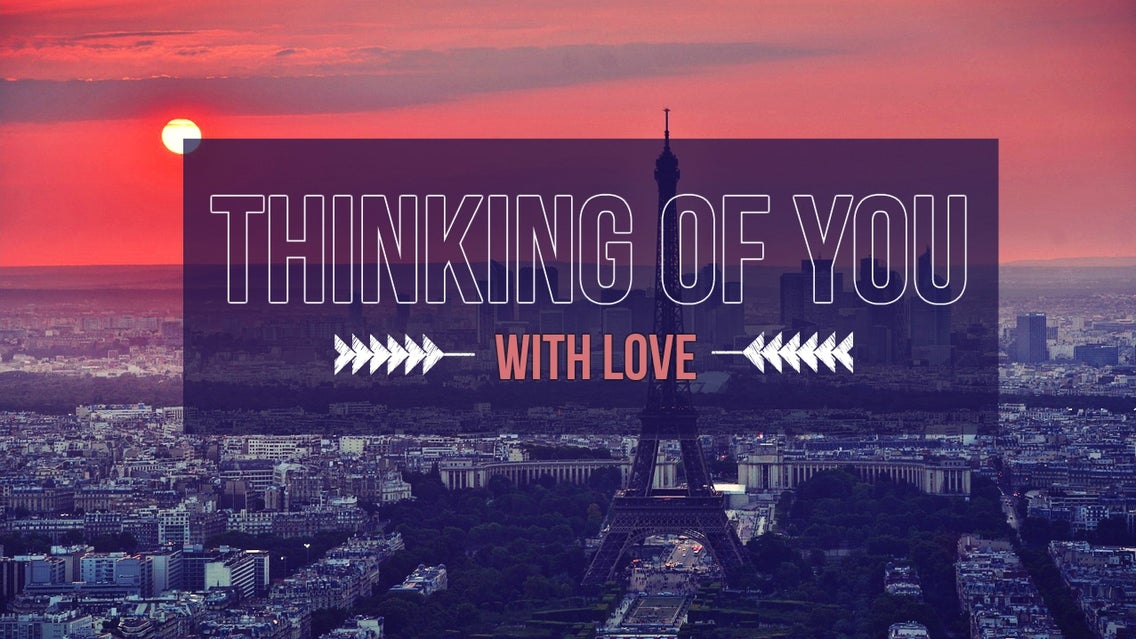
3. Add Some Graphics to Make it Pop
The final step is adding in some nice graphics, so I went on and headed to Design Elements and put in these nifty arrows, using white as the color and turning up Opacity to max. I also added in a snazzy black frame to give it a border, flattened my layers and voila:

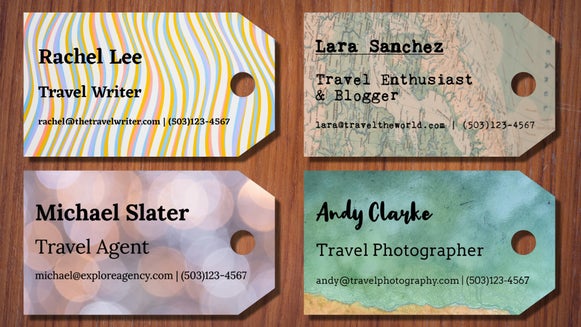
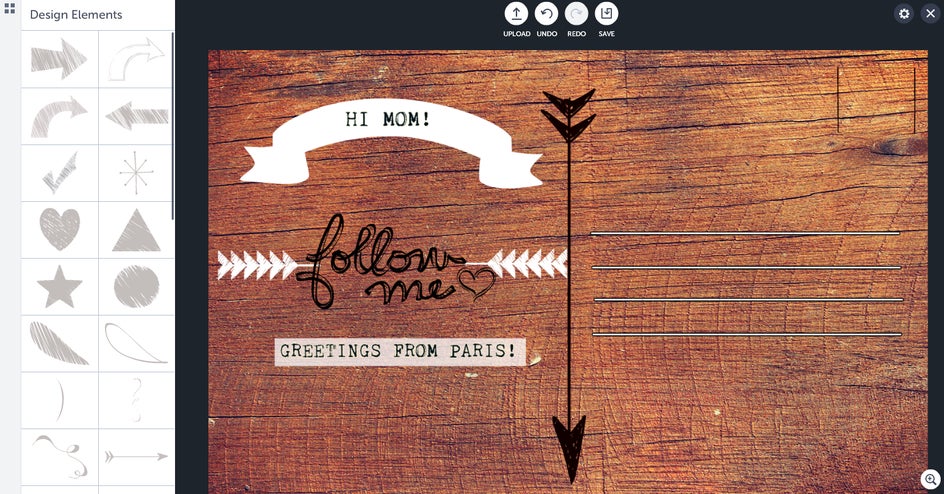
Now if you’re super committed, you can create the flip side too to get some actual writing on there. I chose a stock image (Pixabay is a handy source for some great images) for my background and just added in a whole lot of graphics, mostly from the Design Elements section, as well as some text:
Whether you’ve just come back from a holiday or you’re dreaming of your next vacation, making your own postcards is a beautiful way to not only preserve memories of your trip and keep friends and family in the loop, but they’re great for travel bloggers to show off their adventures with, too.
So if you find yourself hit with the wanderlust itch, try your hand at making your own dazzling postcard today: