An Introduction to Editing Macro Photography
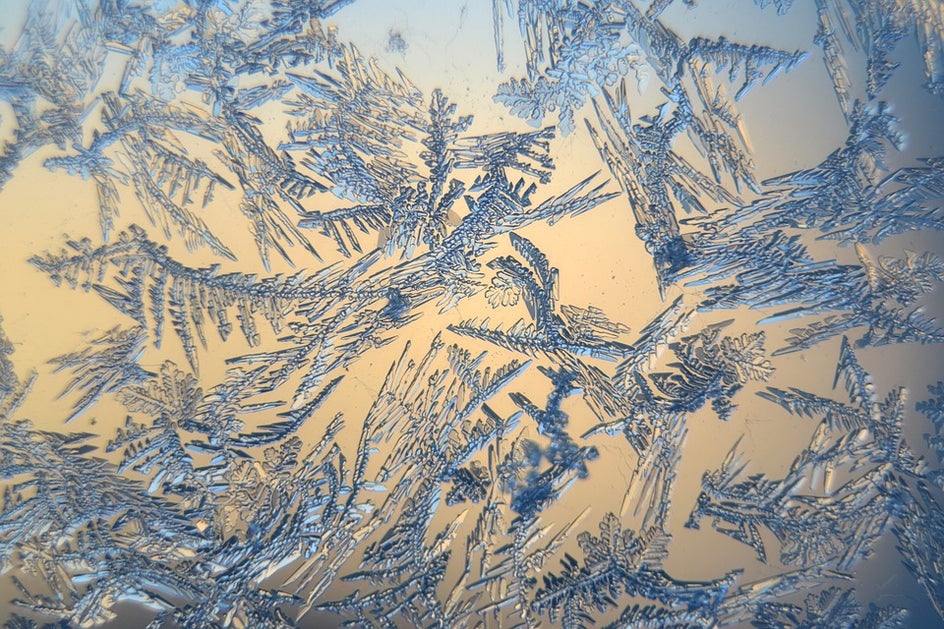
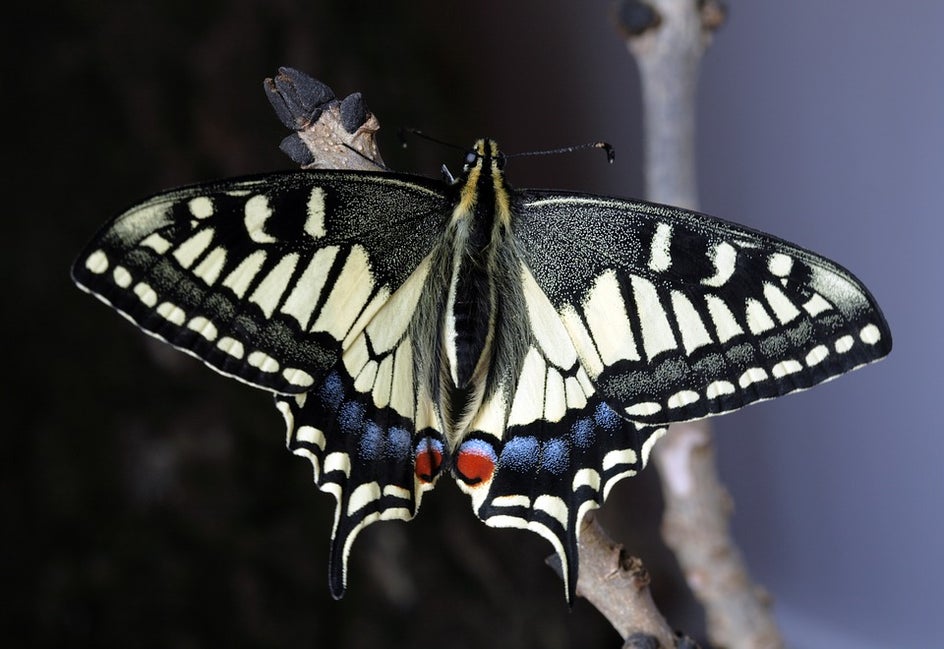
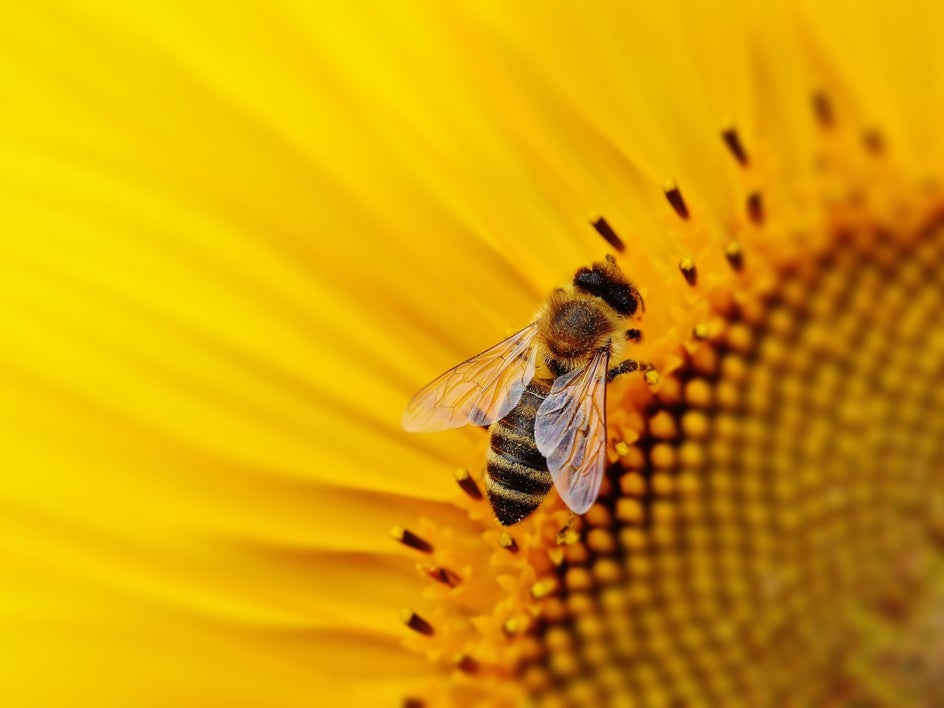
Macro photography is a style that makes tiny items seem larger than life. Extreme close-ups are uncommon in most styles of photography, but that is what makes macro photography so special. It is so up close and personal that it captures every detail about the subject in a way that makes the smallest item become the main focus. It takes things not seen by the naked eye and puts into perspective how intricate they have been made.
What Is Macro Photography?
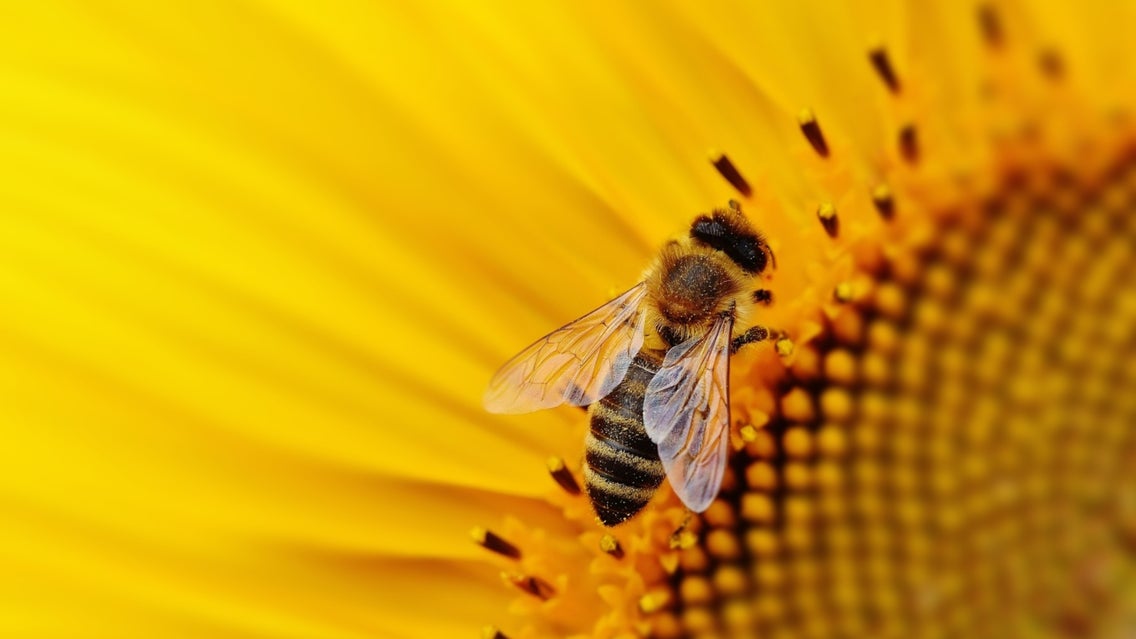
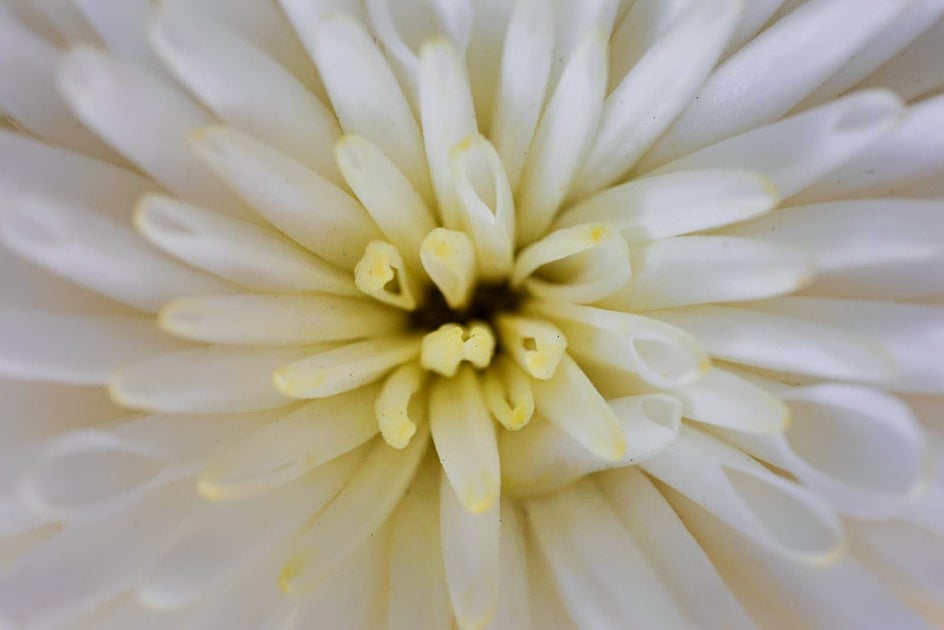
By definition, macro photography is acutely close-up photography where a very small subject appears to be larger than life in the end outcome. A beautiful place to start is out in nature; leaves, flowers, and insects are all perfect subjects for macro photography. Grab your phone, snap some photos, and edit them on the go with the BeFunky Mobile app!
How to Shoot Macro Photography
When shooting macro photography, it is important to keep a slight distance and use a tripod. Keeping your distance will ensure that there isn’t a shadow on your subject and that the image does not get distorted by being too close. The tripod is important to make sure that you have a steady place for the camera (or phone) to rest, so the final result is a crisp image.
Pro Tip: Most cameras will have a Macro mode that you should be able to select. That’s going to be the easiest way for you to shoot using this technique.
With macro photography, the background should be the least remarkable thing about the image. Having a background that is free of distractions allows your subject to take center stage. If you can’t eliminate all the background noise, you could use the Background Remover tool in the Photo Editor to replace the background with something less distracting.
Top 3 Editing Tools for Your Macro Shots
To make the subject of your photo shine, we have selected our top 3 editing tools that will enhance your image! Get started by uploading your image in the Photo Editor and see which tool looks best on your image.
Highlight Details With the A.I. Image Enhancer
The A.I. Image Enhancer allows your images to be sharpened and more color balanced in seconds. Navigate to it by selecting the Edit tab on the left side of your interface and clicking the A.I. Image Enhancer button.

This will automatically enhance your photo while giving you the option to adjust the edit with a slider. This is a simple tool to make your image pop in just seconds – providing definition and color balance all in one click.

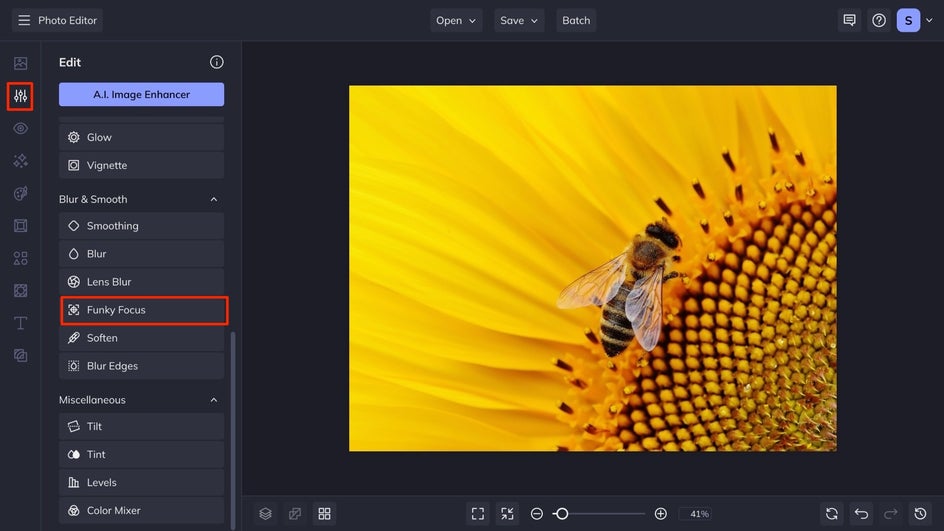
Adjust Perspective With Funky Focus
The Funky Focus tool allows you to highlight a specific spot in your image, this is perfect for macro photography because you can select your subject and make the rest of the image fade away. Under the Blur & Smooth section of the Edit tab select Funky Focus.
This will pull up a circular-shaped blur. You can select radial, or linear as well if your subject is better suited for those shapes of focus. Place the center of the circle over your subject and adjust it to fit your subject by selecting the white and blue dots on the edges of the focus rings to change the shape. Use the slider to find the perfect combination of blur and gamma correction for your desired outcome.
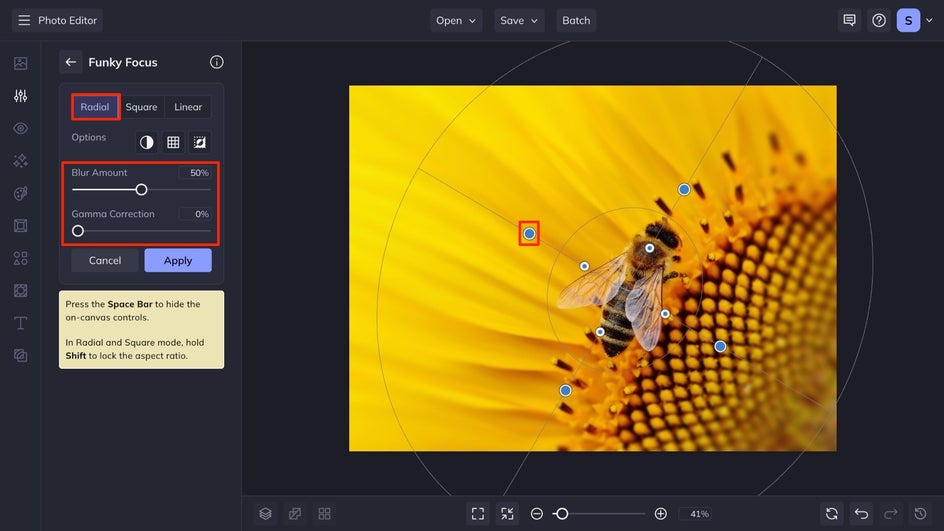
Funky Focus will make your subject the shining star of your image while the rest fades to the background. Take a look at the transformation you can get with Funky Focus.
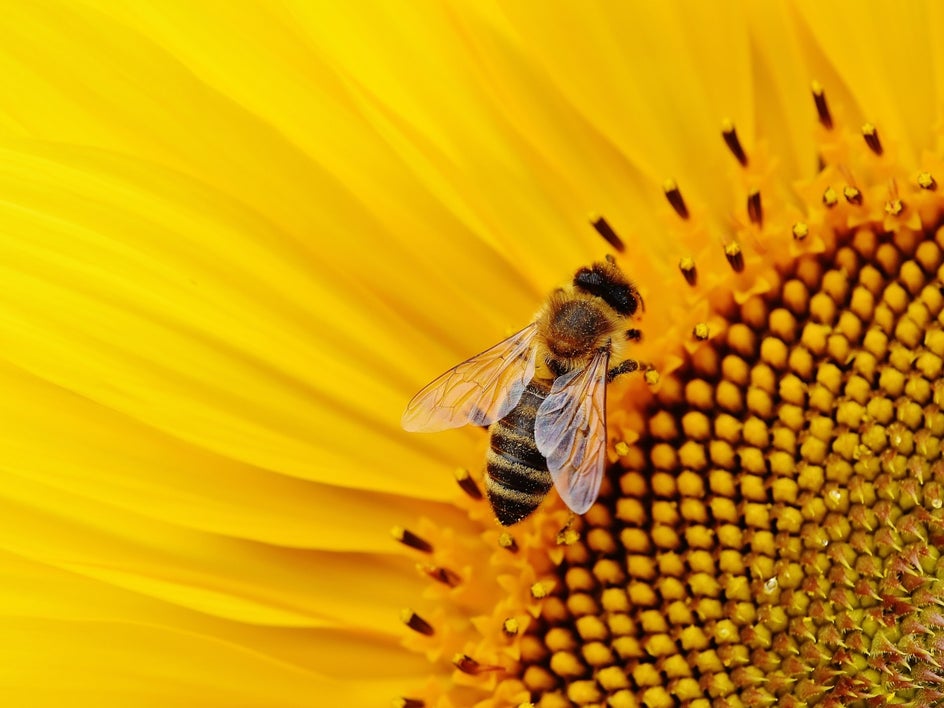
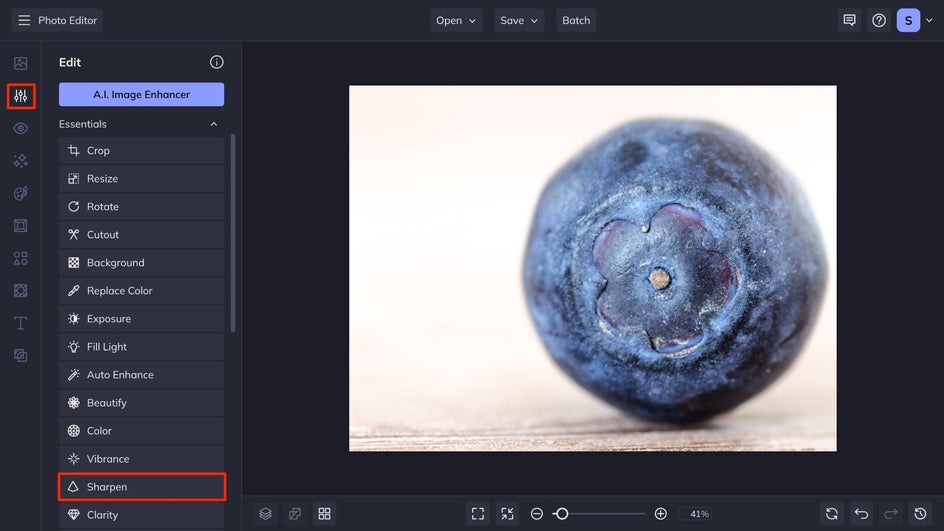
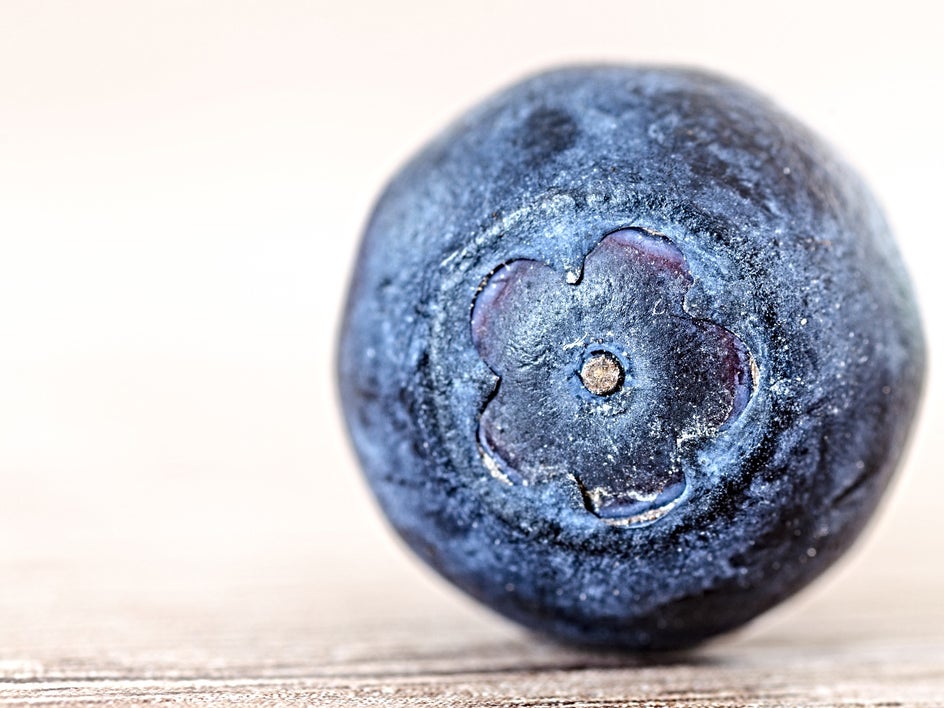
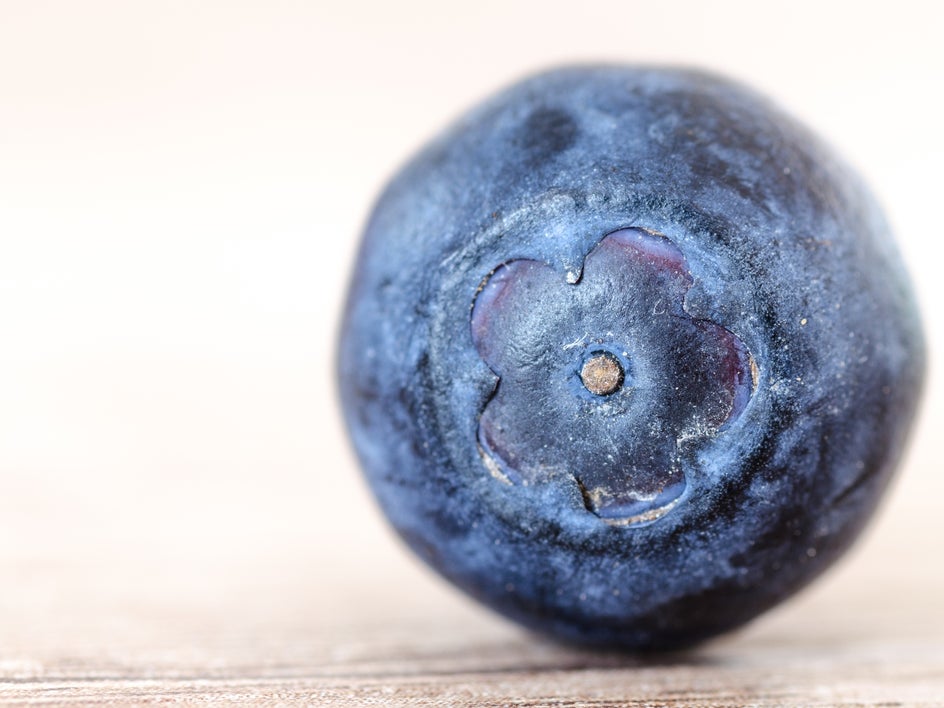
Sharpen Your Subject With the Sharpen Tool
The Sharpen tool makes your image crisp by increasing the contrast along the edges of your subject, decreasing blur, and bringing your image back into focus. This is a great option for your macro images because it helps eliminate the inevitable blur that occurs in this style of photography. Select the Sharpen tool from the Essentials section of the Edit tab.
This will automatically have the Smart Sharpen effect applied to the image, you can choose to switch to the Standard Sharpen option if that suits your image the best. Adjust the amount slider till you are satisfied with the sharpness of your image.
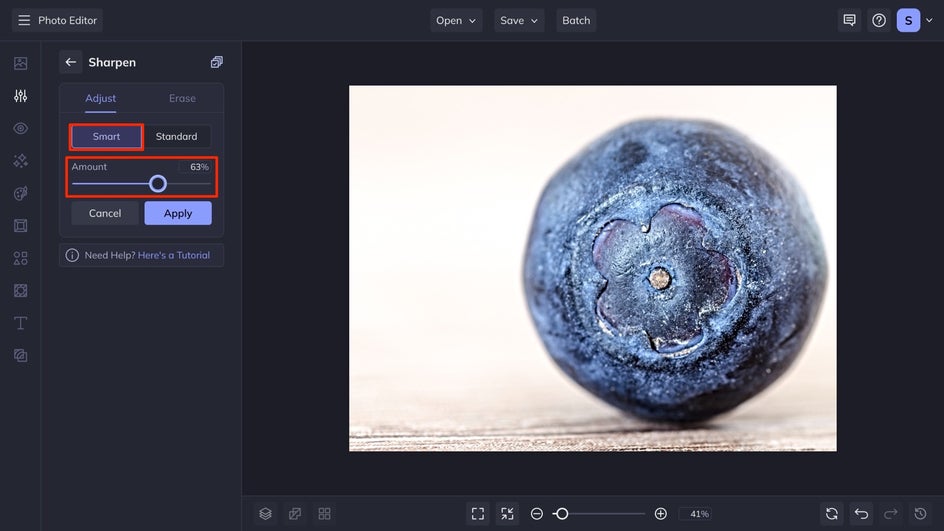
Take a look at how Sharpen makes your subject stand out in seconds. A little bit goes a long way with the amount, so experiment with that to see what works best with your subject.
Refine Your Macro Photography With BeFunky
With these three tools and your newfound knowledge of how macro photography works, get out in nature and start finding the beauty in the littlest things. Once you have snapped photos you love, upload them to the Photo Editor on your desktop or your mobile device to make your macro dreams come true.