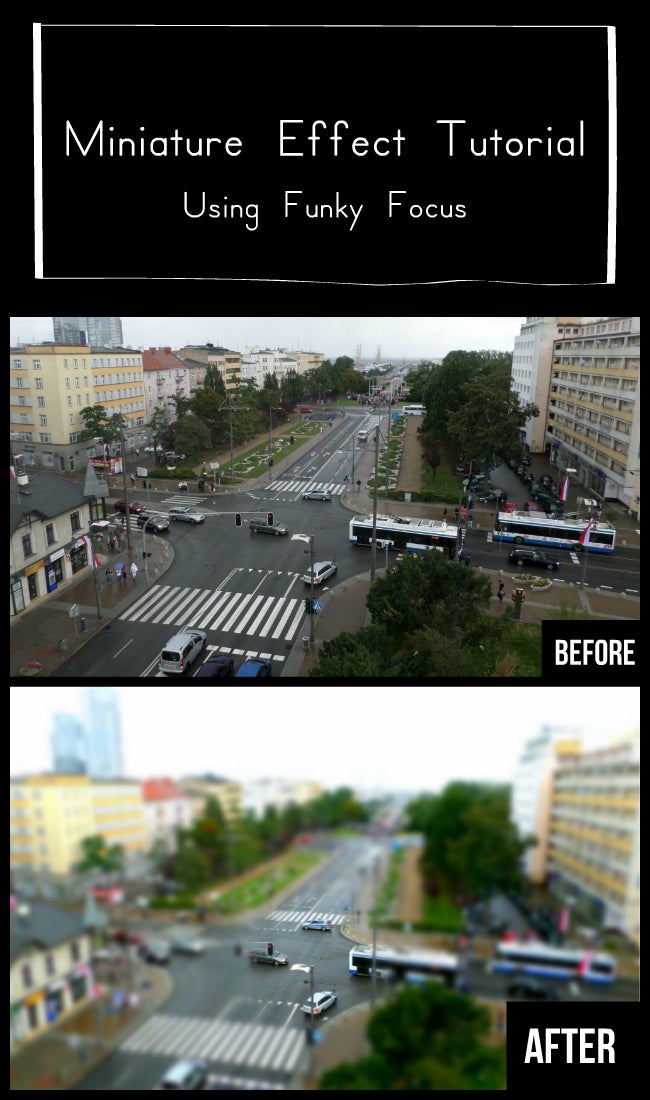
Miniature Effect Tutorial
Whether you call it miniature faking, tilt shift, diorama effect, or diorama illusion, once you get the hang of this technique, you're going to have so much fun editing your photos with this effect!
Recommended types of photos to try the Miniature Effect on:
- Photos of scenes looking down at an angle (buildings, traffic, roads, railways, parks, etc.)
Here’s how to get that cool Miniature Effect in 5 easy steps:
1- Exposure & Contrast
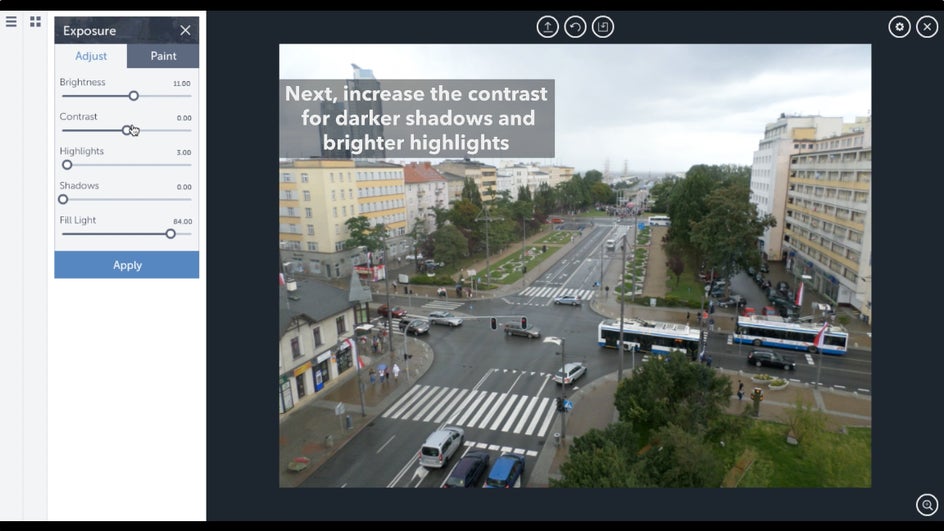
Correct your photo’s Exposure and increase the Contrast for darker shadows and brighter highlights
2- Saturation
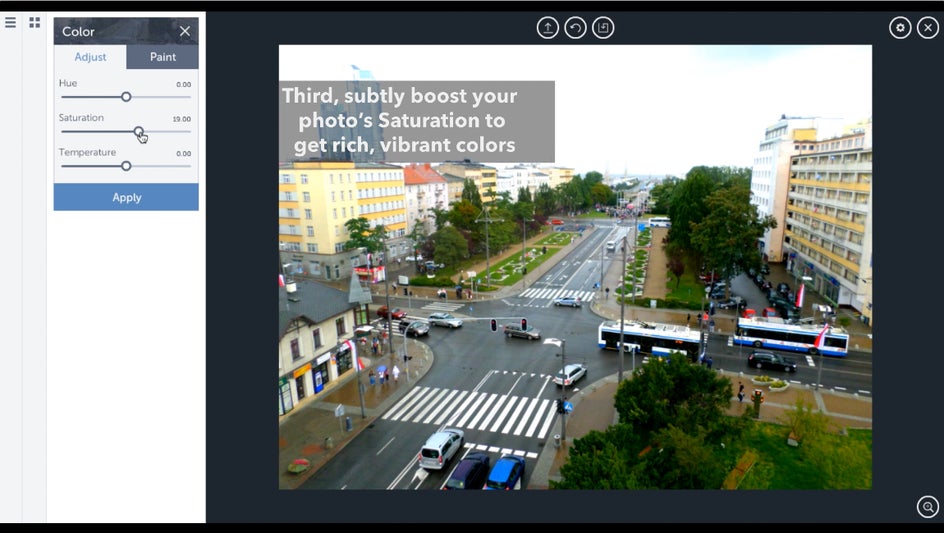
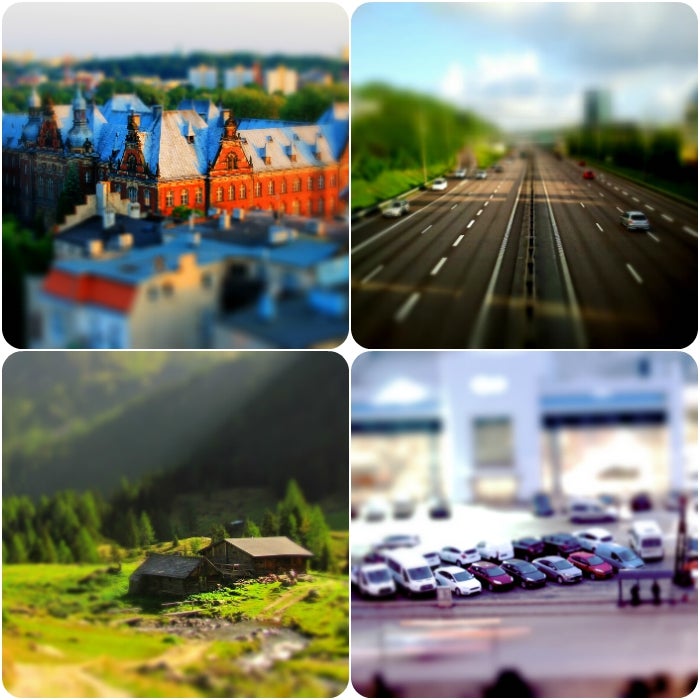
Subtly boost your photo’s Saturation to get rich, vibrant colors. By enhancing the saturation you'll help to trick the eye and improve the miniature effect.
3- Sharpness
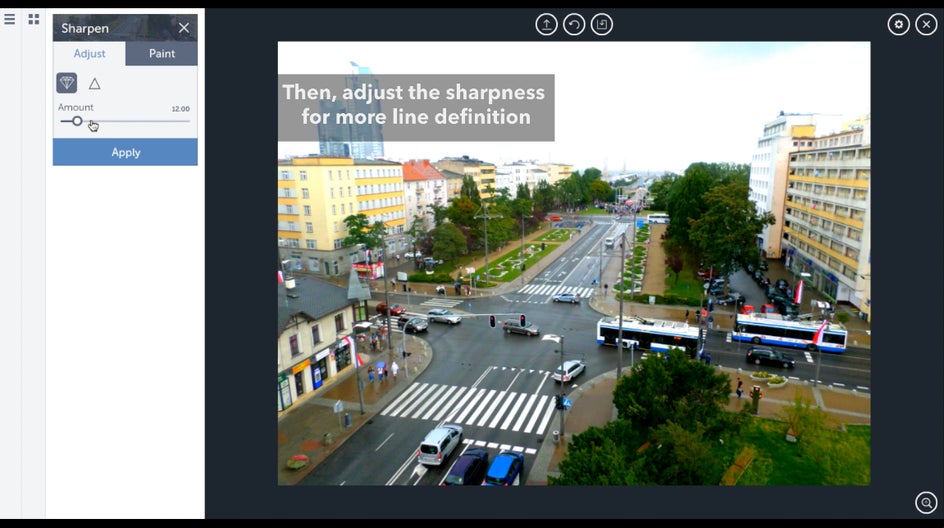
Then, adjust the Sharpness for more line definition
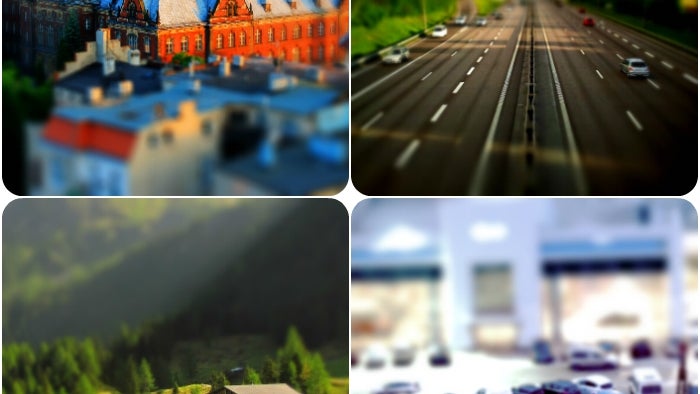
4- Funky Focus Tool
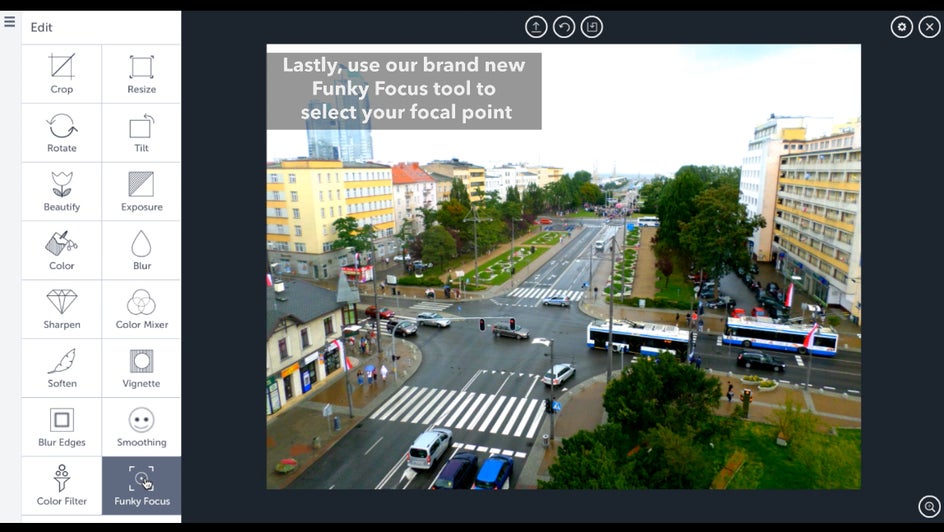
Lastly, use our brand new Funky Focus tool to select your focal point!
BeFunky Pro Tip: You can change the blurred area of your photo to black and white, mosaic, or even reverse the tool.
5- Set Your Focal Point
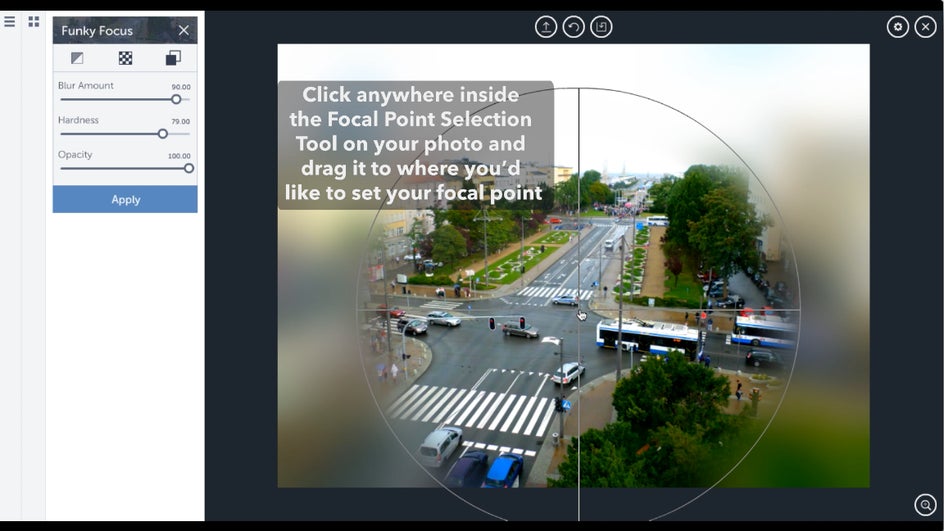
BeFunky Pro Tip: Adjust your hardness low enough that the effect blends naturally with your photo.
Adjust your blur amount and brush hardness depending on how subtle of an effect you want. Resize your focal point by grabbing the border with your mouse and dragging it in or out.