Mixed Media Fun With Studio Ghibli
Once upon a time, in a land far, far away existed an excitable little girl who was raised on Disney movies. From running through the wilderness with Pocahontas, to trips to 19th century Paris, to fighting the war in China and back, she was an avid devotee, a little minion that delighted in getting her hands on as much Disney as humanly possible.
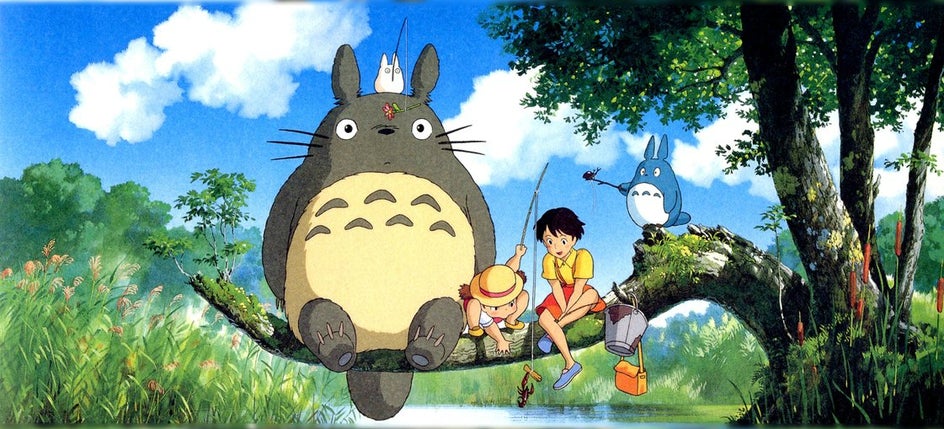
Many years later, this same girl would go on to fall in love with a certain someone who wasn’t raised on Disney movies, but rather, glorious, glittering anime. It wasn’t just any anime, either, but the work of the legendary Hayao Miyazaki, the founder and animator behind the Studio Ghibli films like My Neighbor Totoro and Spirited Away.
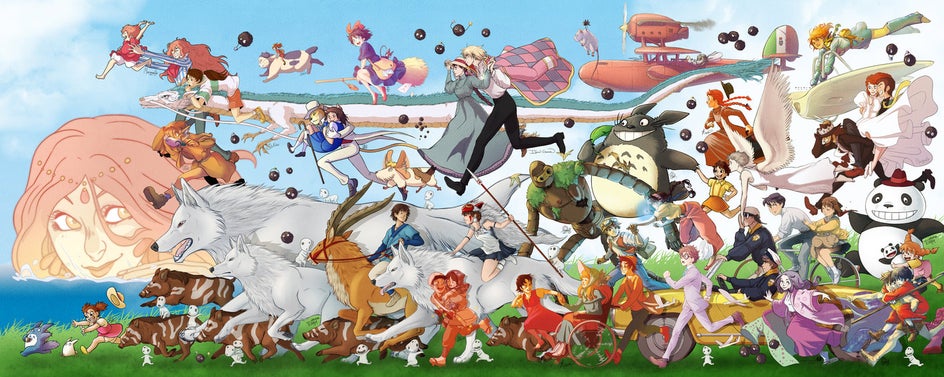
So today, in honor of my two great loves, I’m setting out to create a mixed media piece that shows off all of the artistic influences in my life by whipping up a Miyazaki/Disney sketch and bringing it to life with the BeFunky Photo Editor—my ode to Miyazaki.
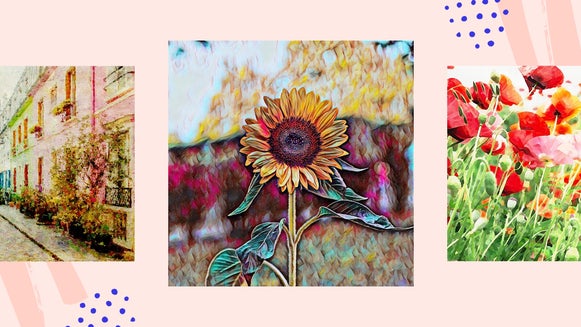
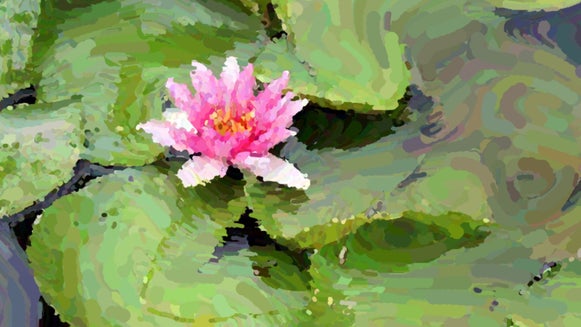
I admittedly started out with an array of gorgeous illustrations from Pixabay and tried out every possible combination of Artsy effects in the hopes of yielding a photo with a similar animation style, but nothing could quite come close to the great Miyazaki’s style.
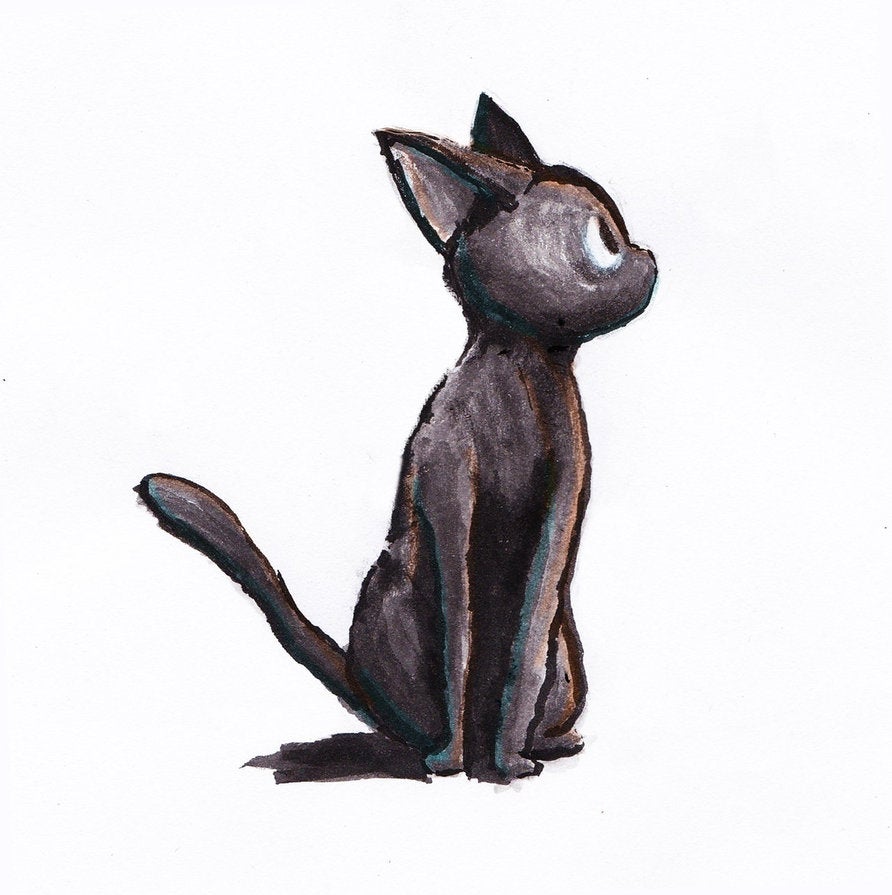
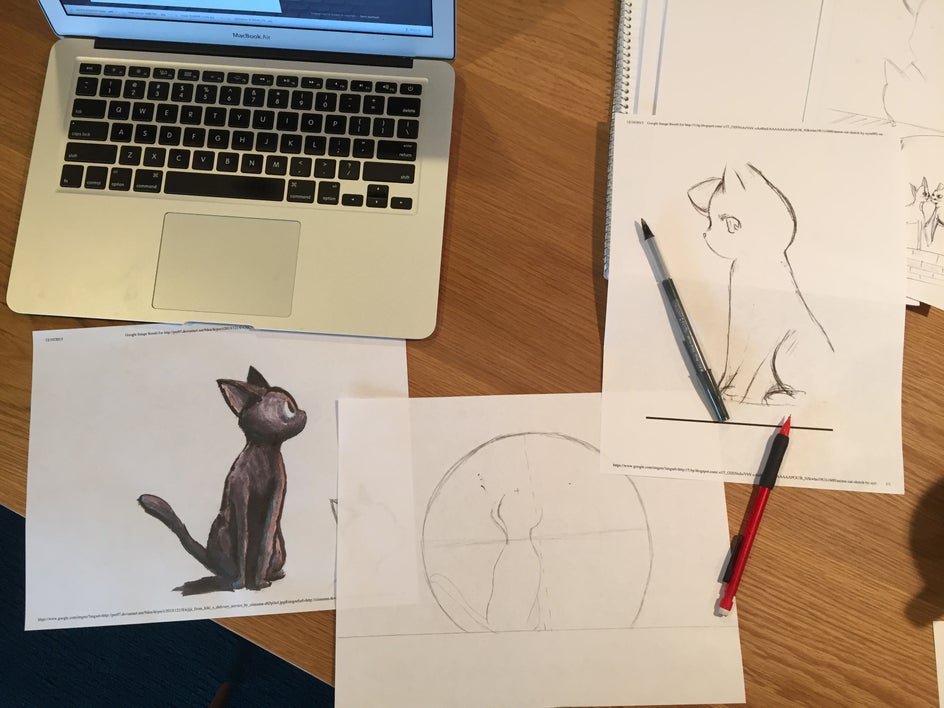
With that being said, I decided to make my initial sketch by hand instead. I headed to my good friend Google and pulled up an image search of Jiji, the black little cat in Kiki’s Delivery Service, to serve as my inspiration.
I had a scene in mind, but I’d need another cat for it. Though I had Disney in mind—specifically, the Duchess, that grand old lady cat from Disney’s The Aristocats…
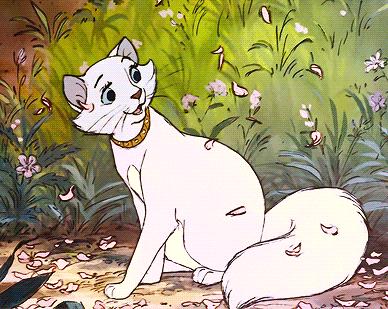
...I wanted something that would help me achieve the Miyazaki look. I ended up finding this little cutie:
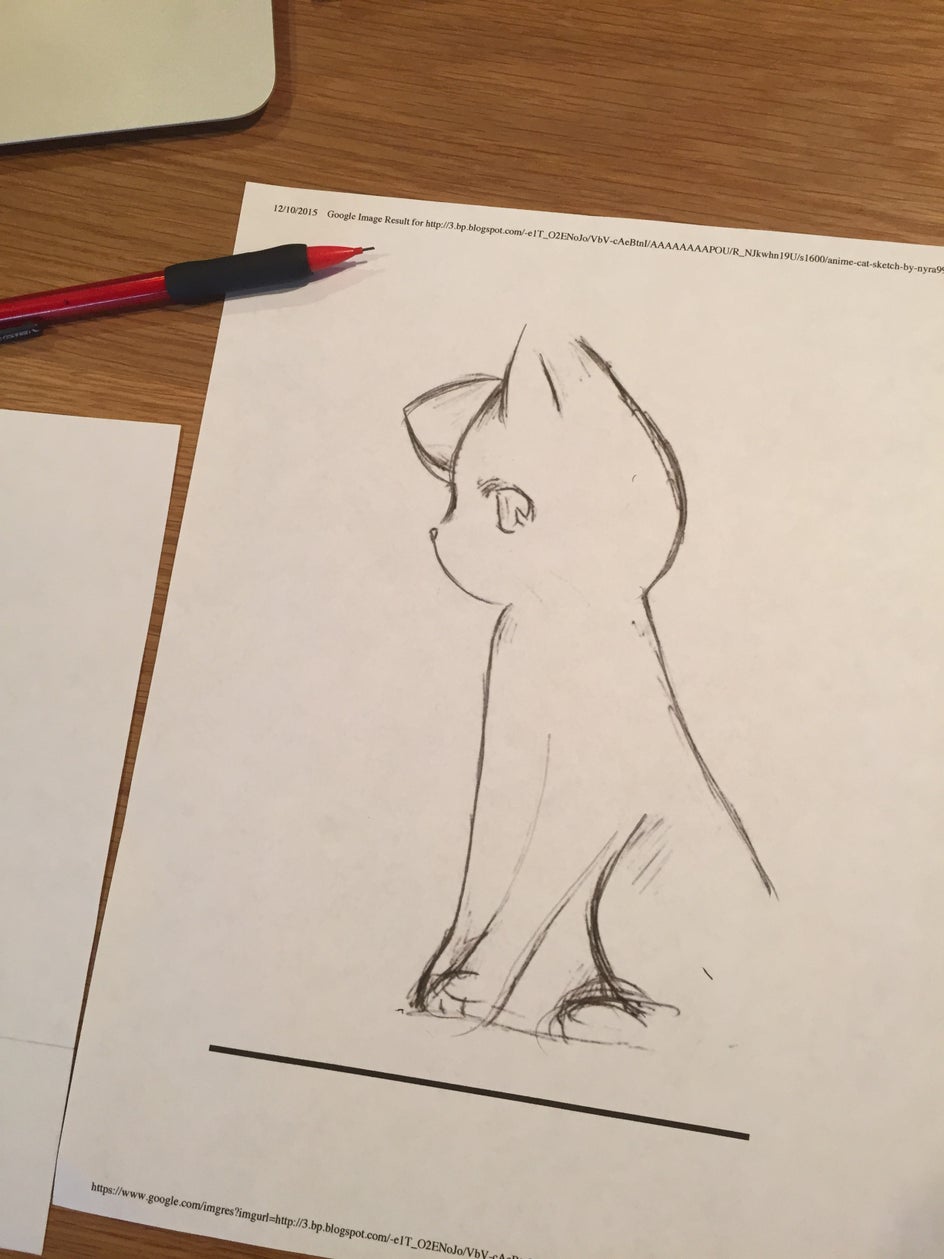
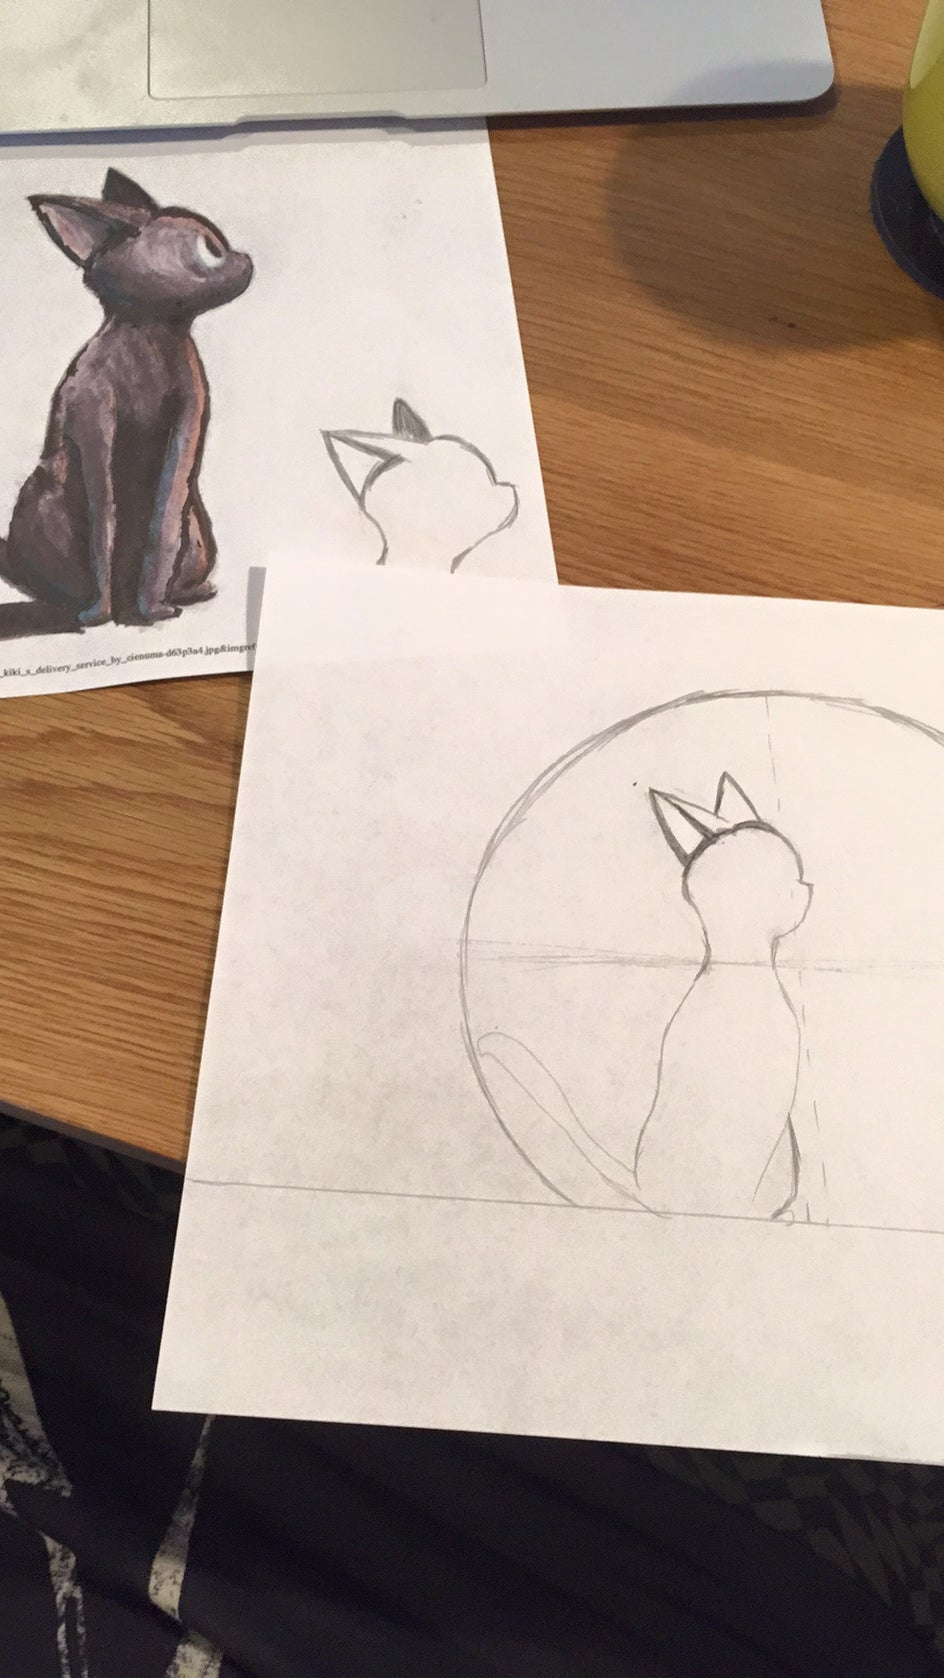
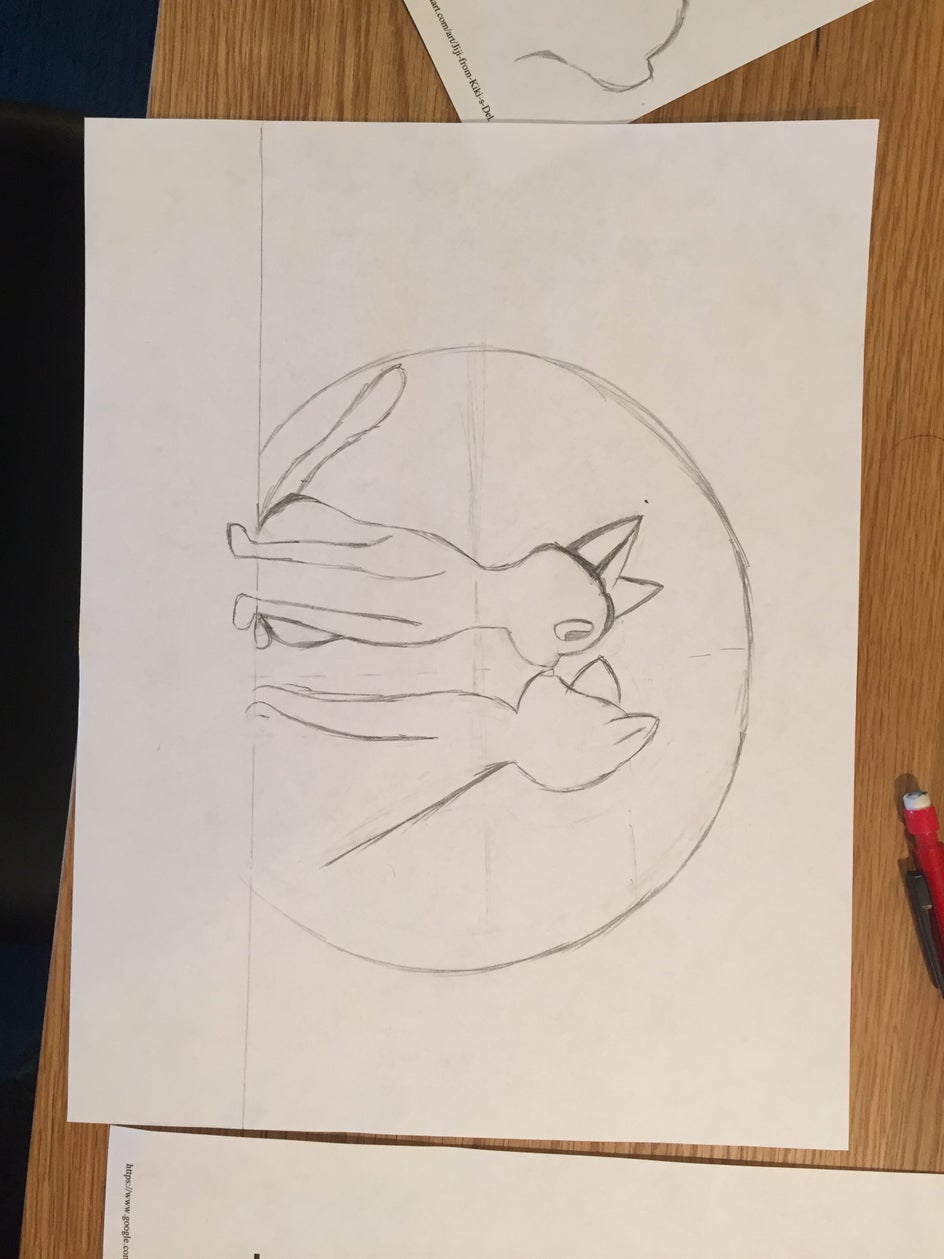
Now it’s time to get down and draw. This part took a while.
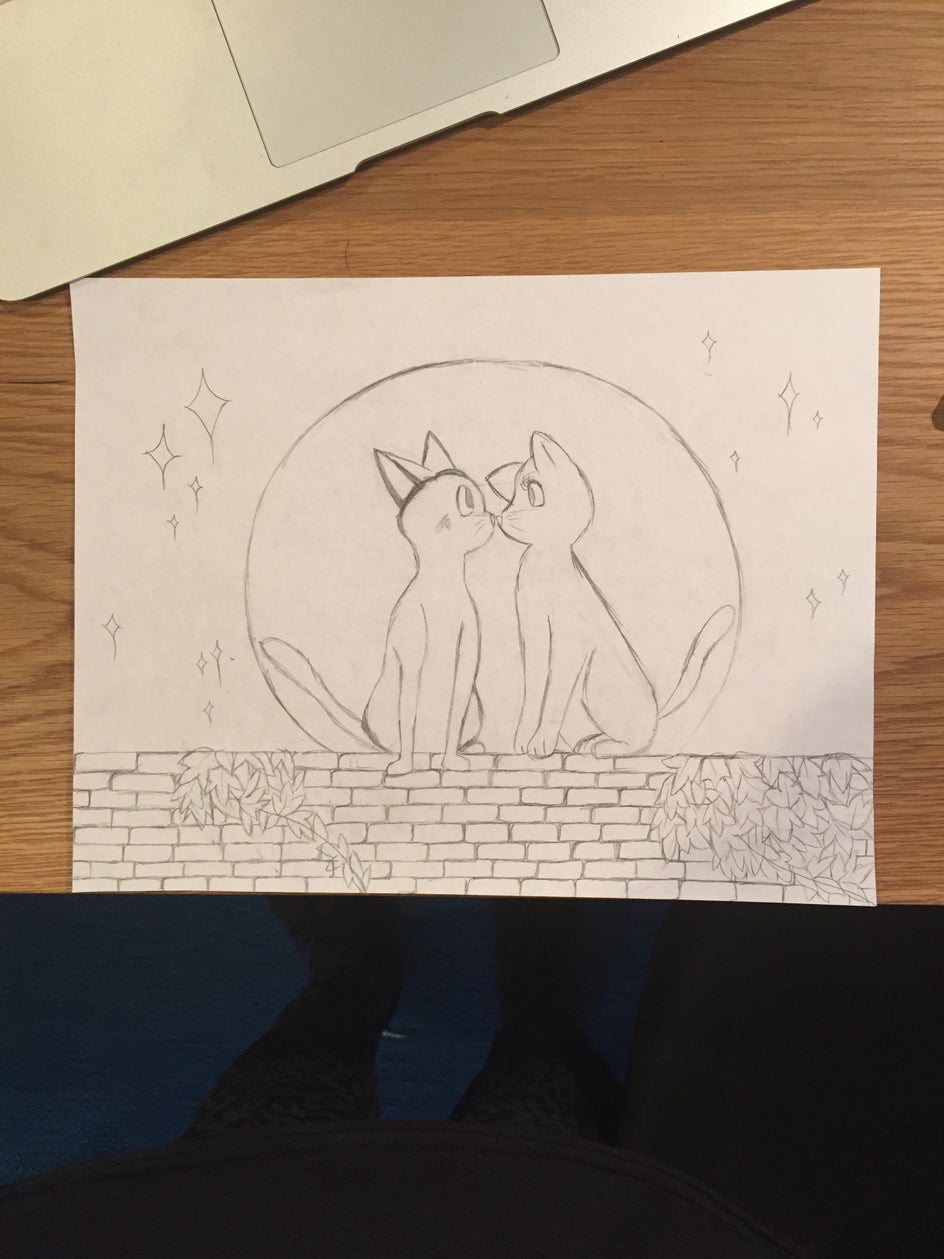
I thought my sketch looked pretty good but it was desperately lacking in style. BeFunky Photo Editor to the rescue! Now normally, I would have colored the animation in myself—but this time I wanted to experience the real Miyazaki animation process. I knew from a bit of research that all the Studio Ghibli movies were first hand drawn then meticulously painted on a computer, so I sought out to emulate that, too.
I scanned my creation onto the computer and opened it up in the Photo Editor:
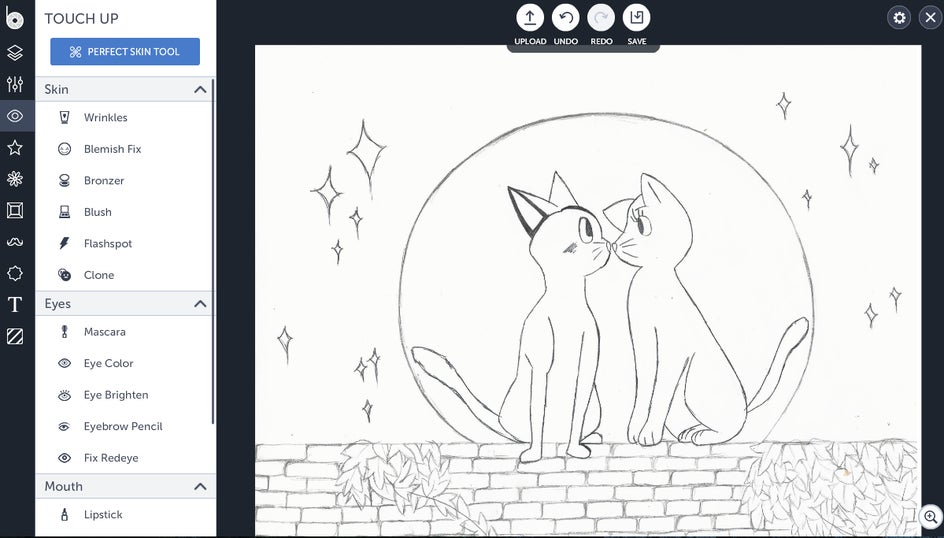
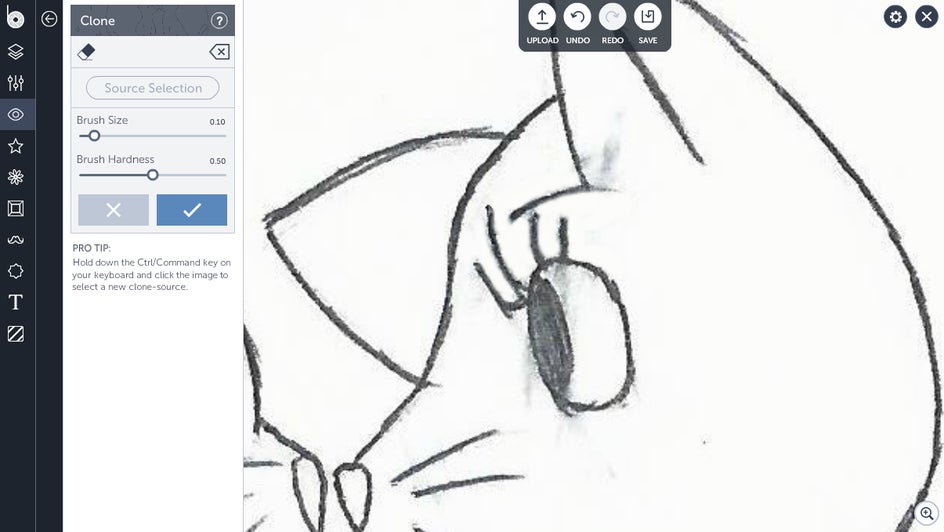
You can see there’s a rather unfortunate smudge near my lady cat’s noble eye. Now, while this was enough to nearly break my little artist heart, I discovered that I could merely use the Clone tool to hide my mistake. All I had to do was select the white space as my source, then simply go over all the smudged areas (in some detail, I might add) with the brush.
The next step was to color in the outlines. There were certainly a couple of different ways I could achieve this—using the Lipstick tool as a makeshift paintbrush certainly came to mind—but settled on the Background tool in the end.
You see, when properly utilize the Background tool is pretty crazy powerful. Find it under the Edit panel and then uncheck the mark to deselect the transparent background. You’re going to then want to choose a fill color, click on Paint, and hit the ‘Reverse’ button. Voila! Suddenly you’re painting up a storm.
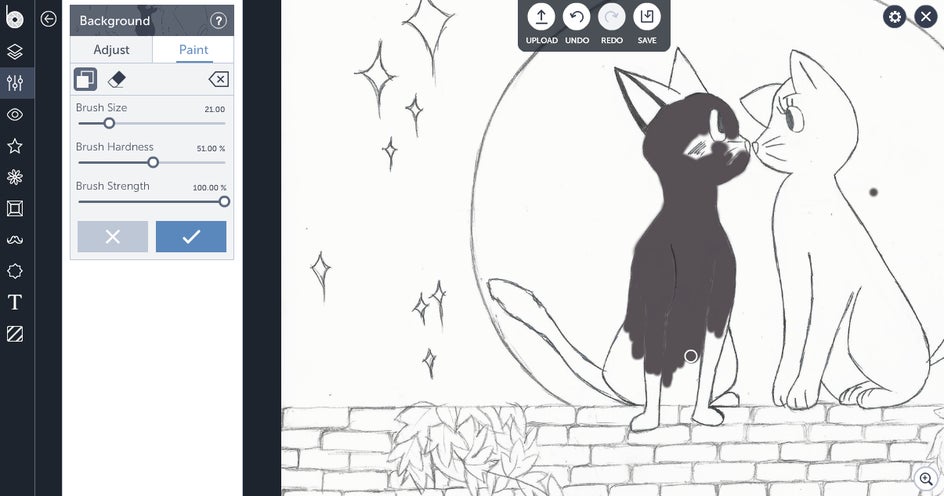
I had to go over some of my initial outline again with a very small brush in black to bring back the lines, but after that it was pretty smooth sailing.
Once I had my darling love cats painted in, it was time to color in the rest of the picture. What better way to paint a brick wall then with an actual brick texture? I nipped down to the textures tab and chose Brick 1, filling in the wall with the paint tool:
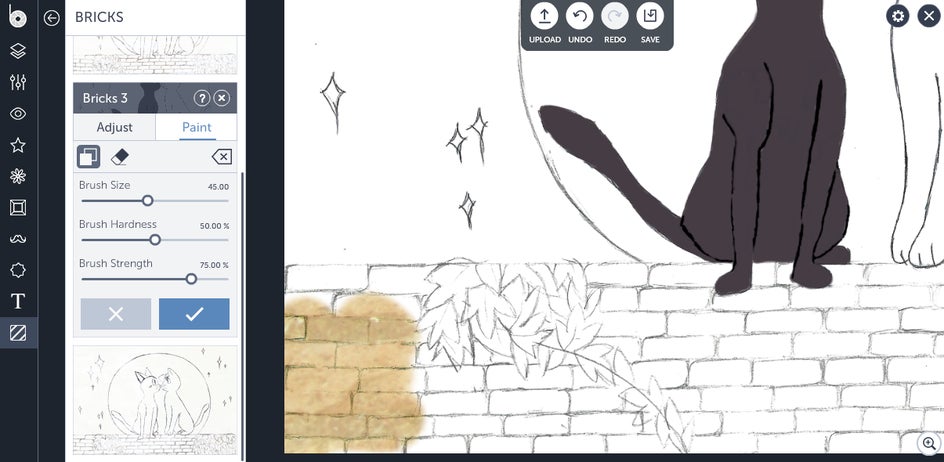
To my great surprise, the Brick 1 texture looked just like the sort of texture I wanted to use for the moon, so I went ahead and painted that, too.
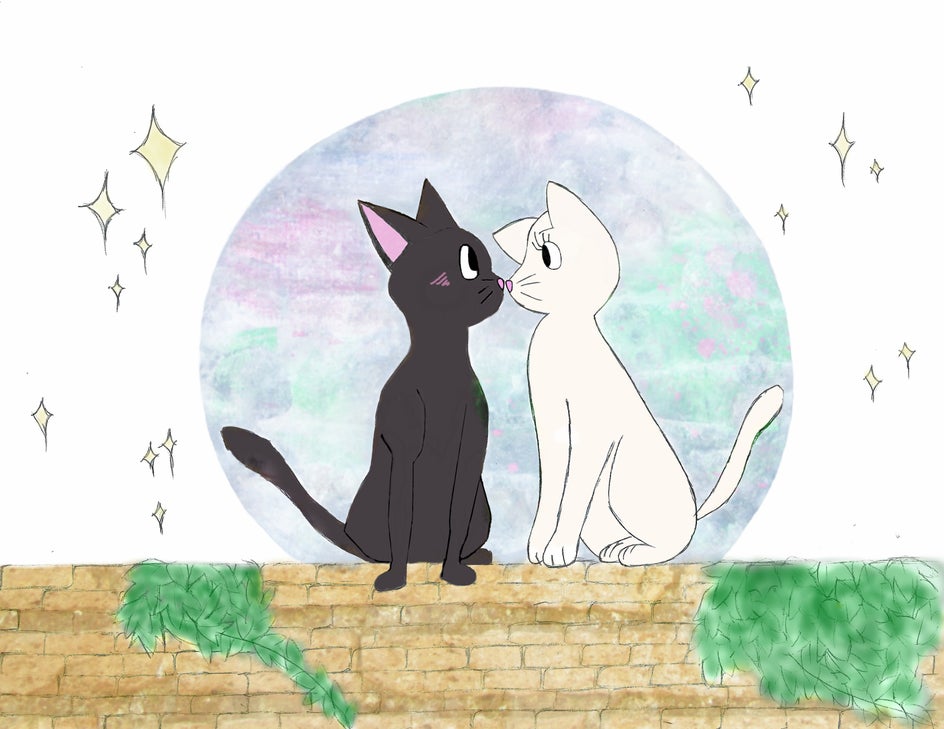
I then colored in the leaves with the Background tool, turning the exposure up to max:

And then ran the image through the Cartoonizer, settling on Cartoonizer 2 with the clutter cleaner function at max and painting only over the cats and the moon:
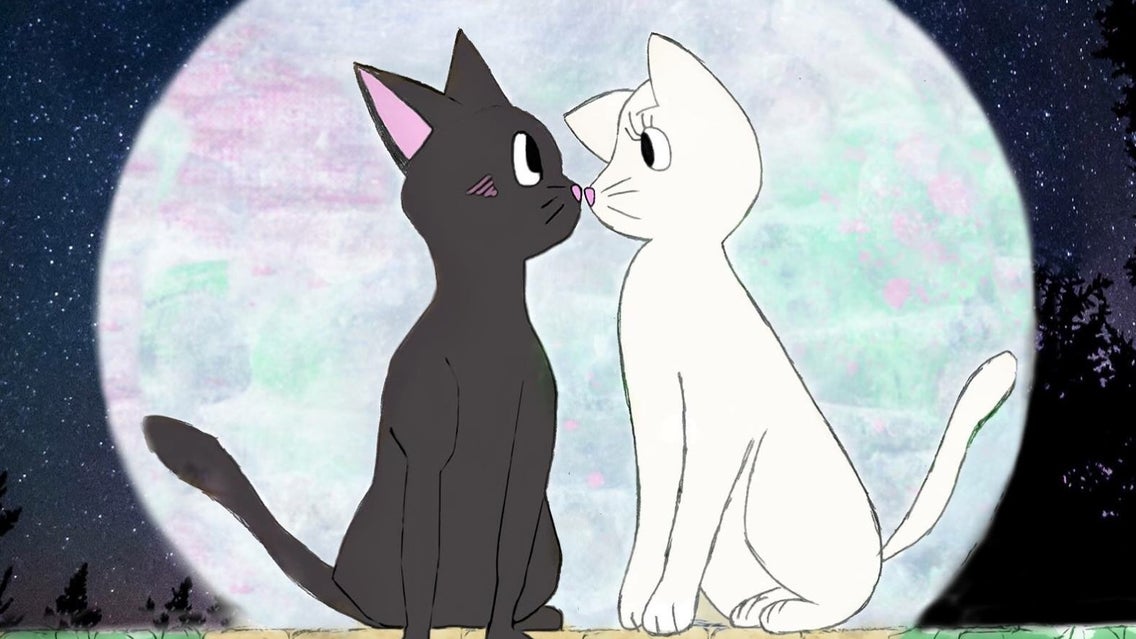
The next step was to layer this over another image—an actual photograph—so I went in and used the Cutout tool to cut out the outline of the cats, moon and wall, saving it as its own image. Finally, I used the Layer Manager to layer the image over a stock photo I found from Pixabay:
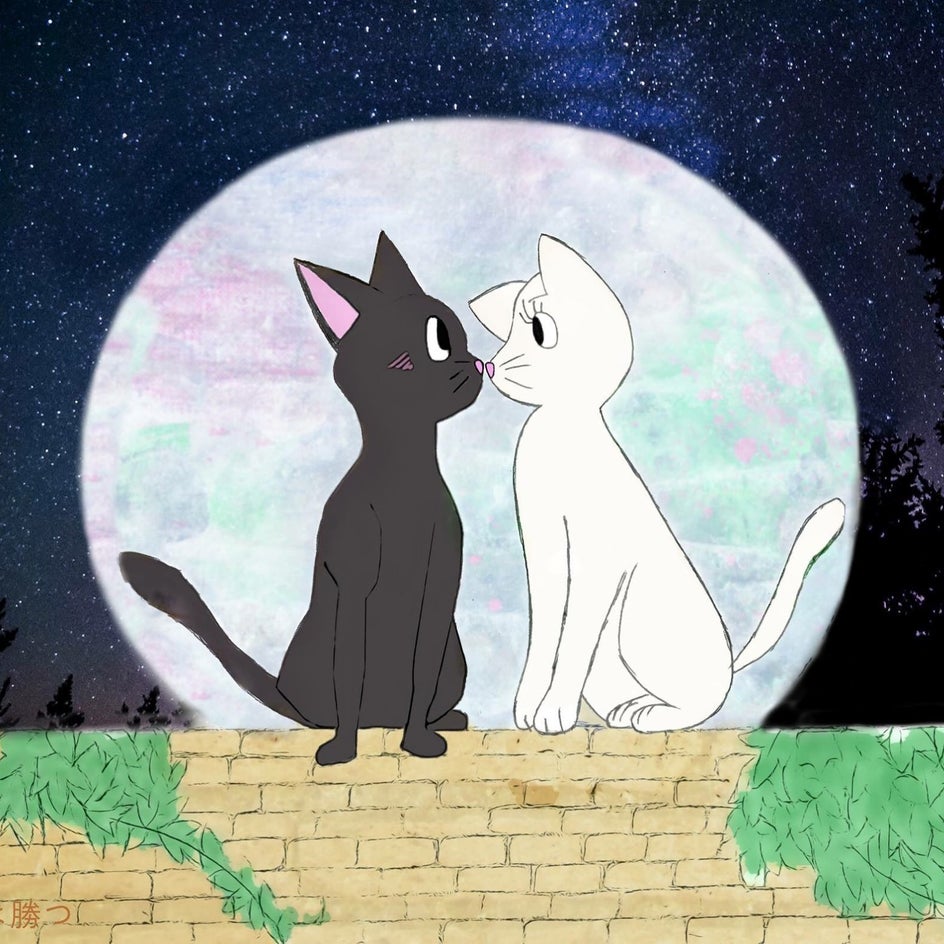
Think I nailed the Miyazaki feel?
Either way, who knew playing with mixed media could be so much fun?