Top Tools for Editing Photos While Traveling

Taking photos is the best way to capture memories when you are traveling. And with the help of BeFunky’s Photo Editor, you can make some simple adjustments to your travel photography that make them stand out!
In this article, we've compiled five ways to edit photos from your adventures – with every traveler in mind.
5 Ways to Edit Your Travel Photography With BeFunky
There are many subjects of travel photography, however, these five are the most common, and we have just the tools to help them stand out!
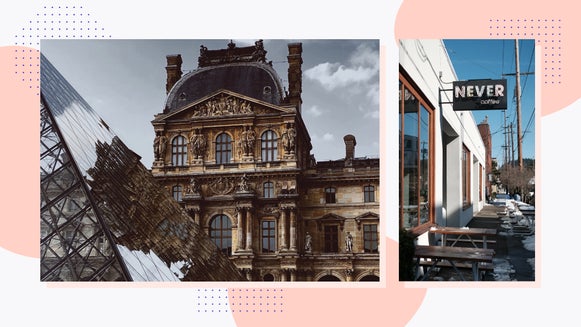
1. Use the Sharpen Tool on Landmarks
Pictures of monuments are quintessential travel photography, but oftentimes they can become muddled under all the details. BeFunky’s Sharpen tool in the Photo Editor is a perfect way to bring out the details of these iconic places in just a few simple clicks! Use the slider to create the perfect level of sharpness for your image. The Erase function is great for when you only want the monument to be sharpened and not the background.

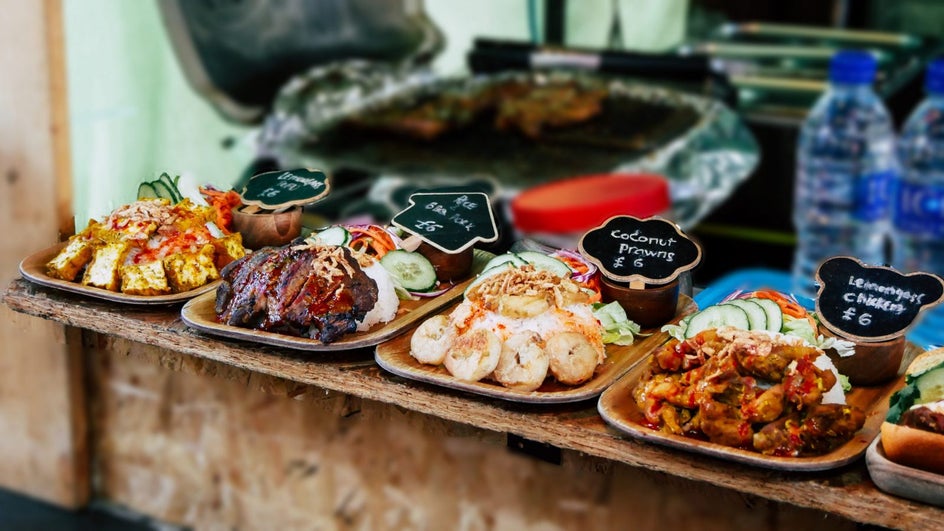
2. Blur the Background of Food Photography
Food photos are a travel staple! From trying local favorites, to experiencing new cuisine, capturing it all is a must! The Blur tool is a perfect pairing for food photography so that you can highlight the food and blur the background. The Erase option allows you to use your cursor as a paintbrush so you can remove the blur from what you want to highlight. It is a subtle change, but it really highlights your trip's best part, the food.
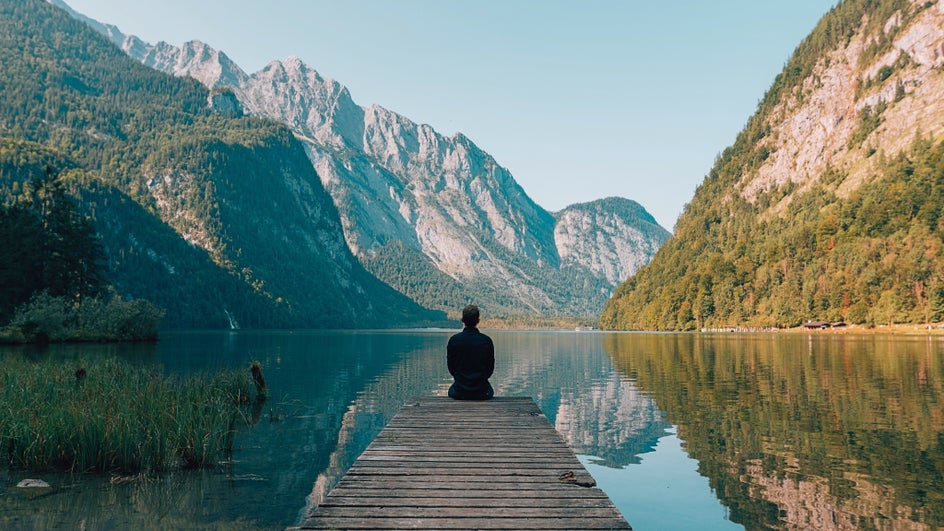
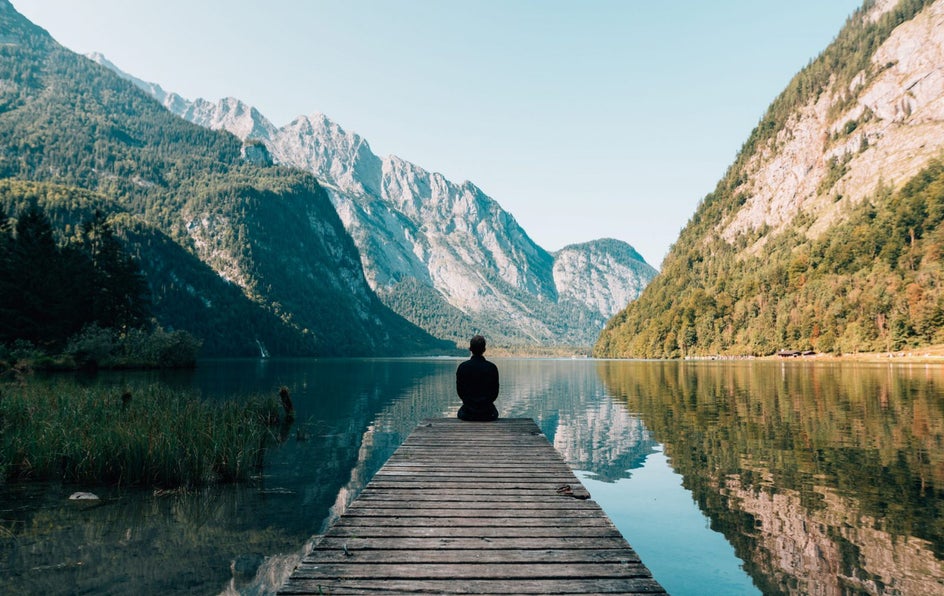
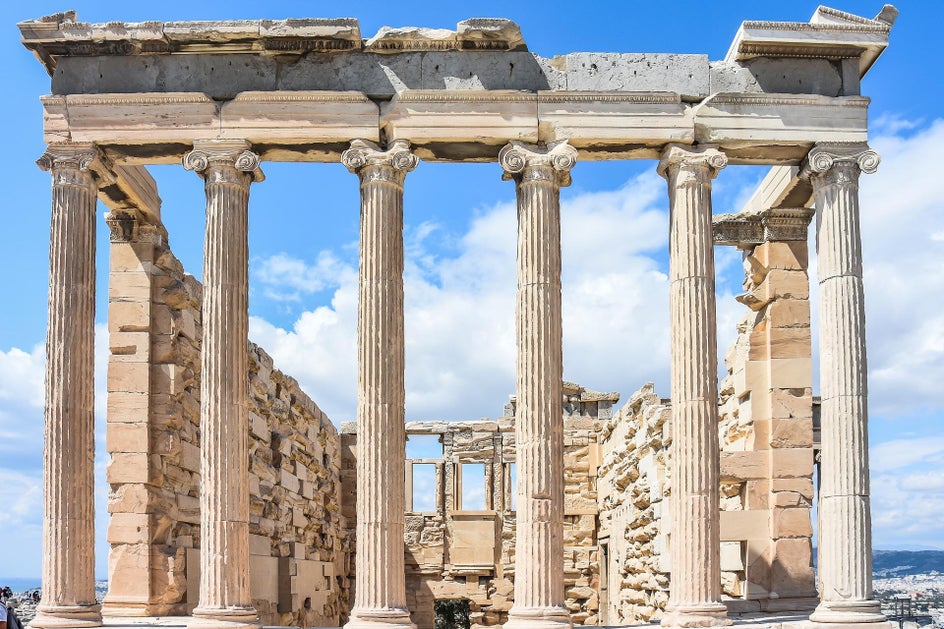
3. Use the Exposure Tool on Landscape Images
When it comes to the beautiful scenery you see on your travels, capturing it behind the lens doesn’t always meet the expectations of the naked eye. The Exposure tool is a great way to achieve the perfect lighting after the image is taken. By using the sliders for Brightness, Contrast, Highlights, and Shadows you are able to manipulate the image to fit the exact mood you are looking for. You can bring out things in the background that were not so easily seen in the original image!

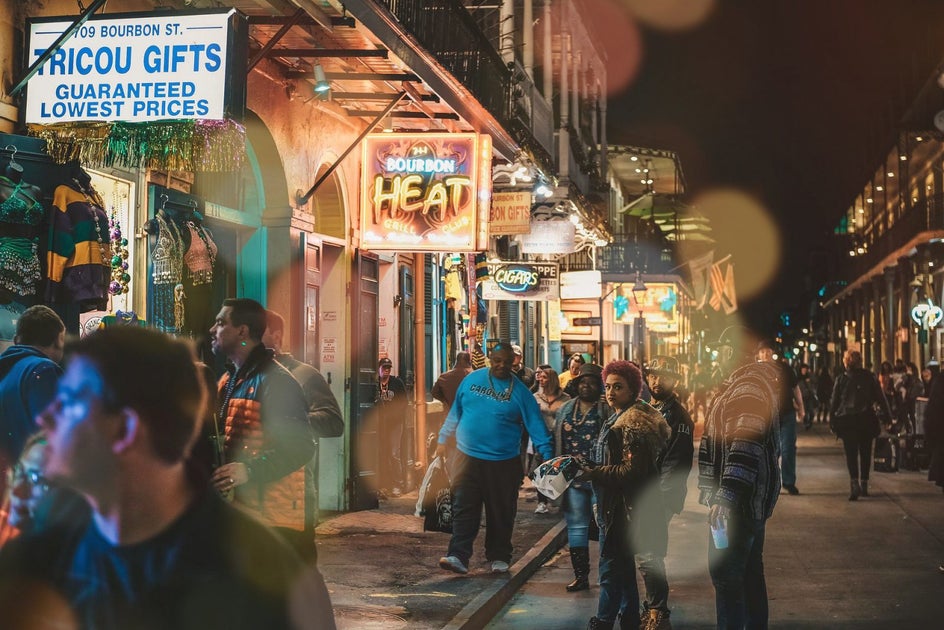
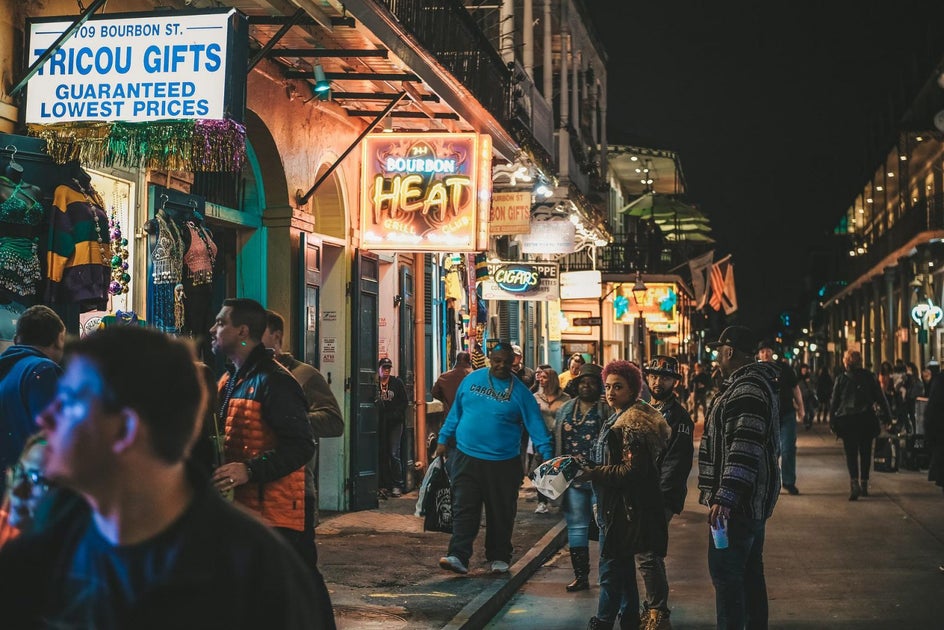
4. Add a Bokeh Texture to Nightlife Pictures
The textures feature has lots of cool options for adding textures to images, but a favorite to add to nightlife photos is a Bokeh Texture. Since photos out on the town at night usually have low lighting with neon lights in the background, adding bokeh is a natural feeling texture that really enhances the vibe. There are several types of bokeh textures, and each has a slider that allows you to adjust the amount of the effect applied.
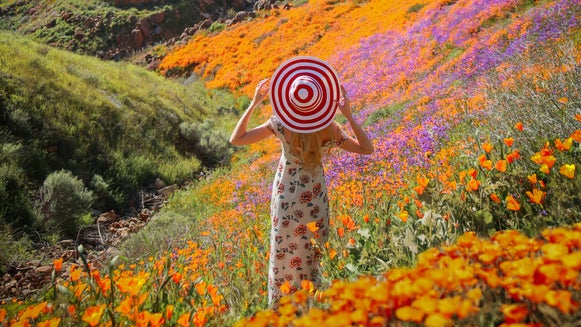
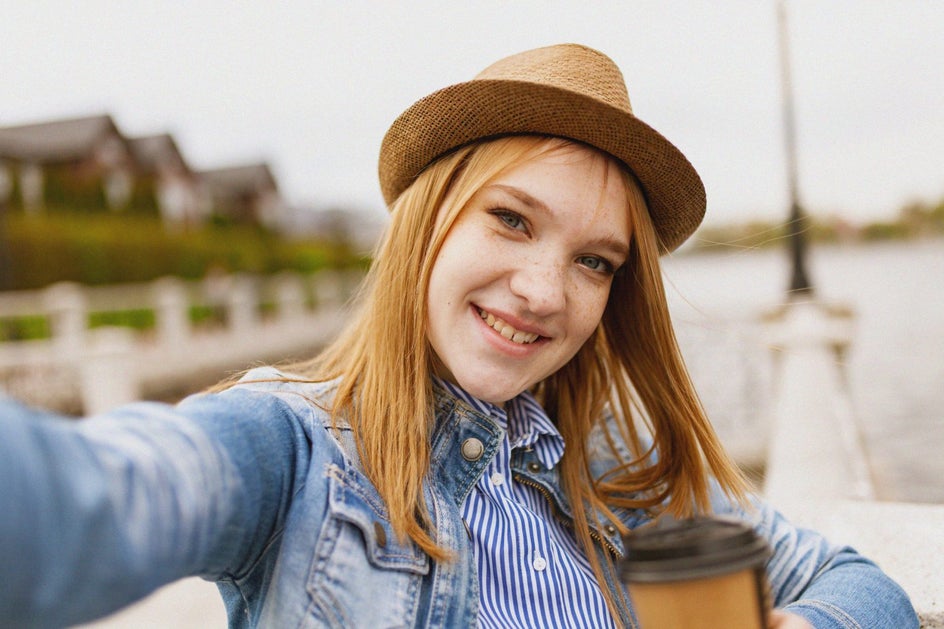
5. Apply an Artistic Effect to Selfies
Effects are a really easy way to make your image memorable! You can turn your photo Black and White, or do something artistic like using the Holga Art filters to make it pop. If you want something more subtle, like in the example below, try a Cinematic Effect.
Edit Your Travel Photos With BeFunky
These are just five examples of how you can use the BeFunky Photo Editor, there are countless ways to make your travel photos stand out! Try your hand at editing photos from your favorite travel spots, get started here by uploading your own images!