How to Create Custom Pinterest Board Covers
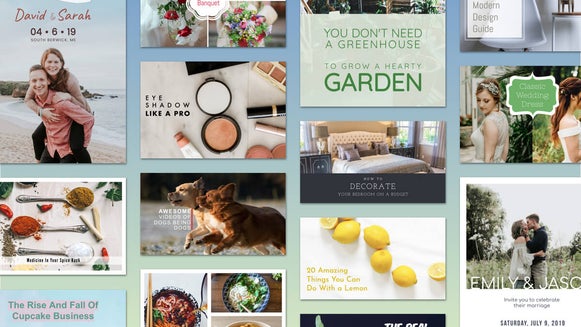
If you’re trying to drive more traffic to your blog or business website, it’s no secret that Pinterest is a valuable resource. There are currently over 478 million Pinners, and 77% of them have discovered new brands on Pinterest. If that’s not enough to convince you of its importance, read this case study of one blogger who grew her traffic by 400% in just one year, all from Pinterest (and a little help from BeFunky). There are over 5 billion boards on Pinterest, so it’s important to create board covers that are eye-catching and reflective of your brand!
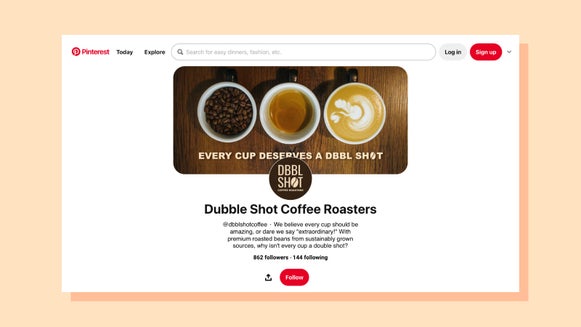
With custom boards, not only will your main page be more organized for viewers, but you will look more professional. We’ve talked about the importance of establishing a consistent brand identity before, and the same rules apply to your Pinterest presence.
Let’s Make a Pinterest Board Cover!
Now it's time to pick our base template to start the editing process.
Step 1: Start With a Square Template
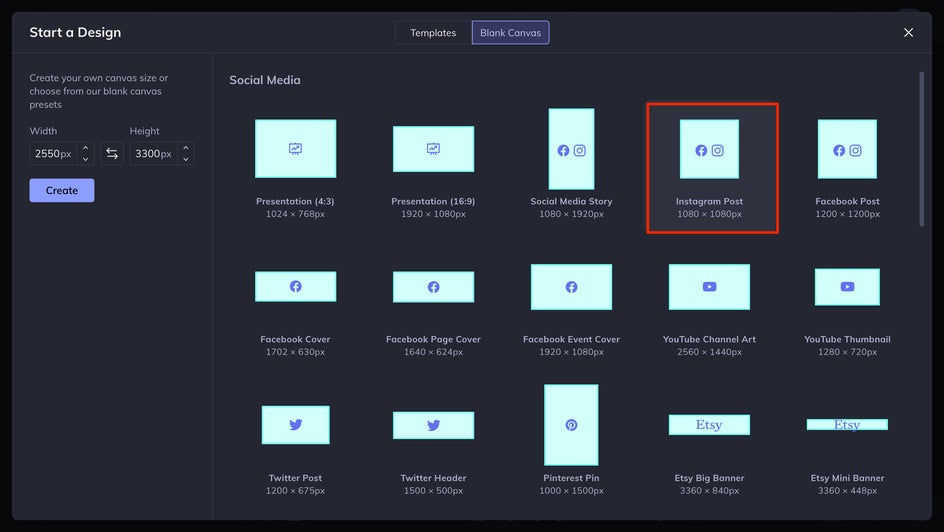
If you’re not there already, head to BeFunky’s Designer by clicking on this link. You'll end up in the Instagram Posts template section. As Pinterest Board Covers are square, this format works best.

Our templates are designed in-house for easy customization. But if you'd rather start with a blank canvas, just select Social Media and choose a square template from the Instagram or Facebook templates.
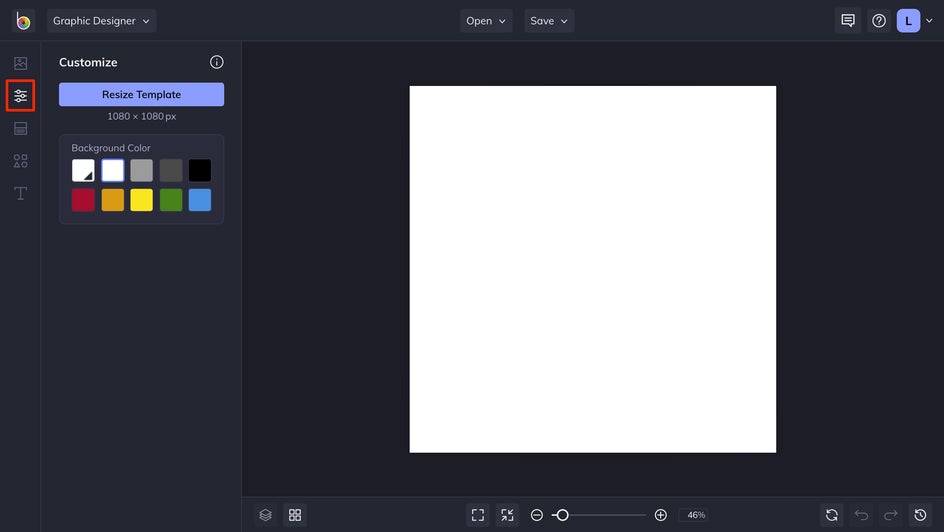
Step 2: Customize the Background
If you’re designing a graphic Pinterest board cover, then start by clicking on the Customize icon and select a background color.
You can also start with an image by clicking the Image Manager icon. Insert an image from your computer by clicking Computer to browse. Or, you can search the millions of stock images in BeFunky’s catalog to use. Not sure what image you want to use? Select a few options and they will be added to your photos to access easily.
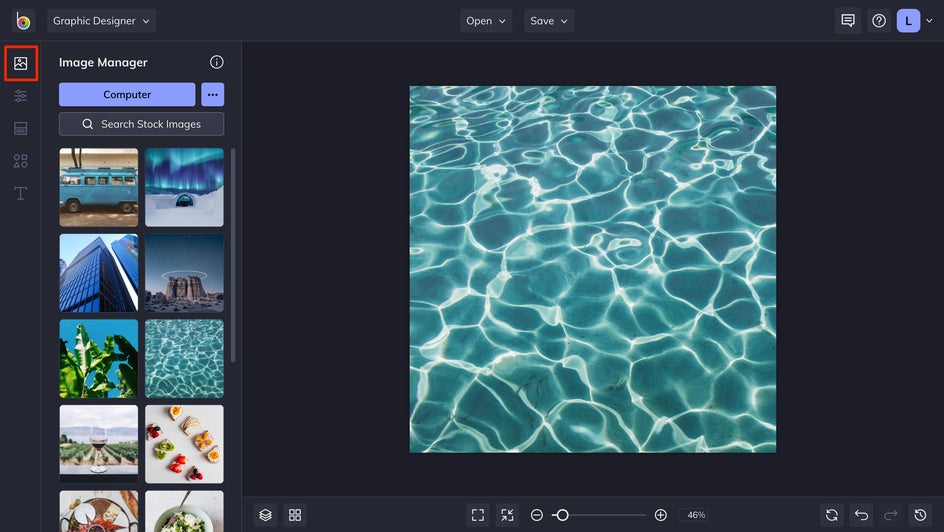
Drag the image to the template and resize by clicking the blue circles around it. Selecting your image within the template will bring up an Image Properties toolbar that you can use to customize the Color Overlay, Opacity, Tint, or even choose to open the image in BeFunky's Photo Editor for streamlined editing.

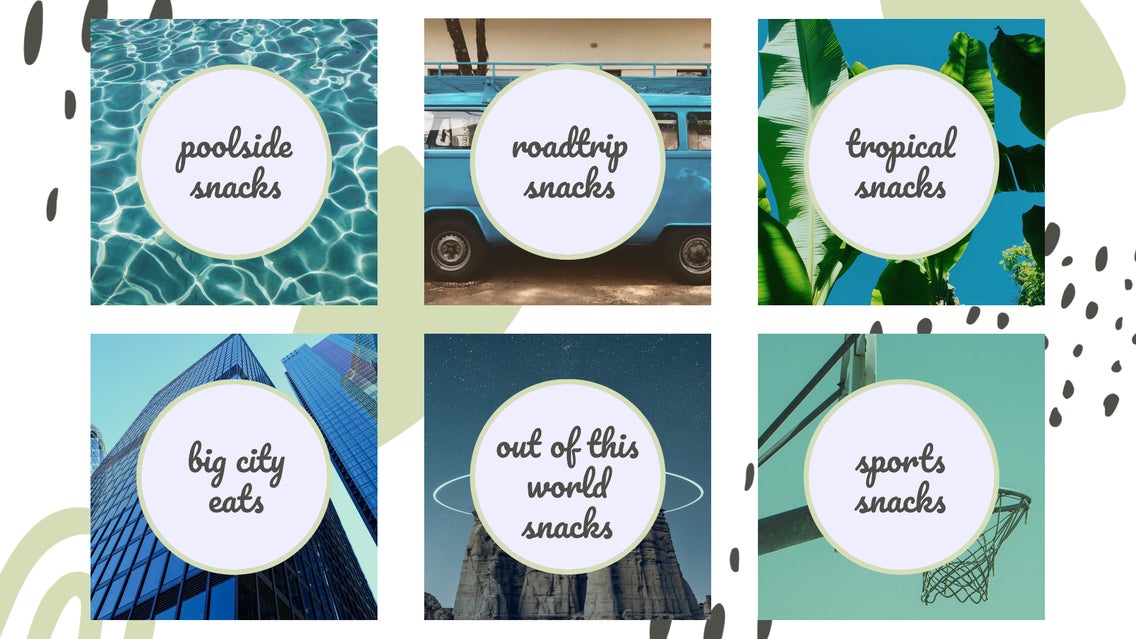
Step 3: Add Graphics
If you want to add a graphic to your Pinterest Board Cover design, we've got you covered! Click on the Graphics tab (the icon with four shapes) in the menu on the left and search a vast library of totally customizable graphics, or just start with a basic shape. When you find one you like, click on it and it'll be added to Your Graphics.
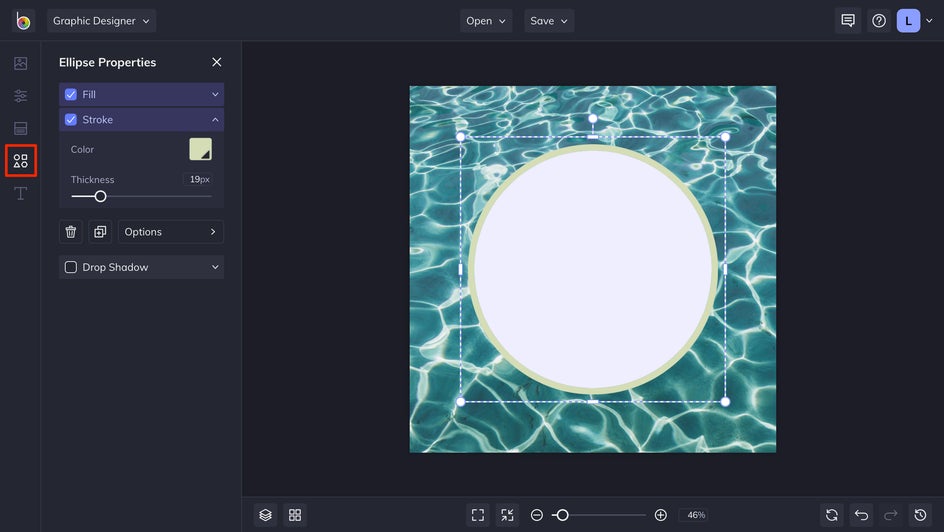
Click on a graphic and drag it to your template. You can resize graphics by using the blue circles around it. Or, use the Graphic Properties toolbar to customize the Color, Tint, Opacity, and more! For this Pinterest Board Cover, we've chosen a Circle from the Shapes category and gave it a colored stroke. While resizing, you can also hold the Shift key when dragging the blue circles to resize in freeform mode, meaning you can turn the circle into an oval or a square into a rectangle.
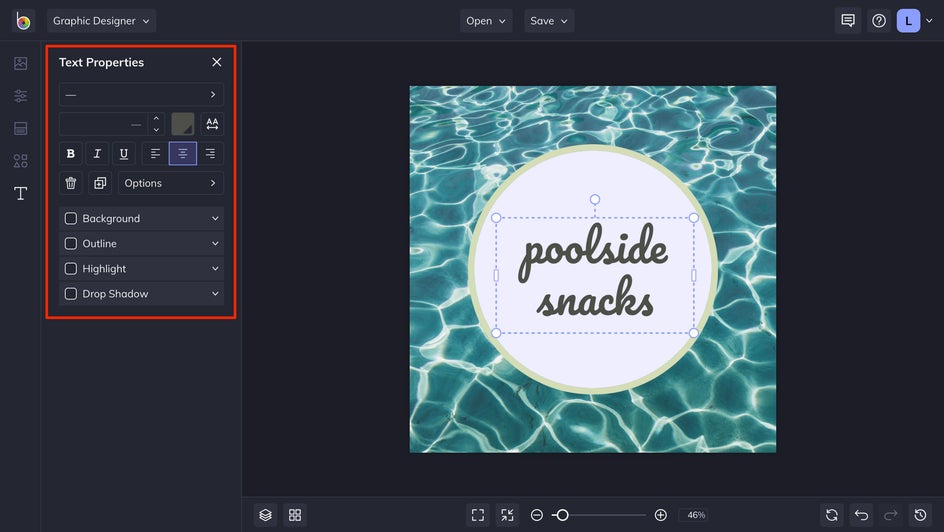
Step 4: Add Text
Now that you’ve got the background looking just right, it’s time to add the text that states what your Pinterest Board is all about. If there are existing text boxes within your template, you can click on them to edit what they say.
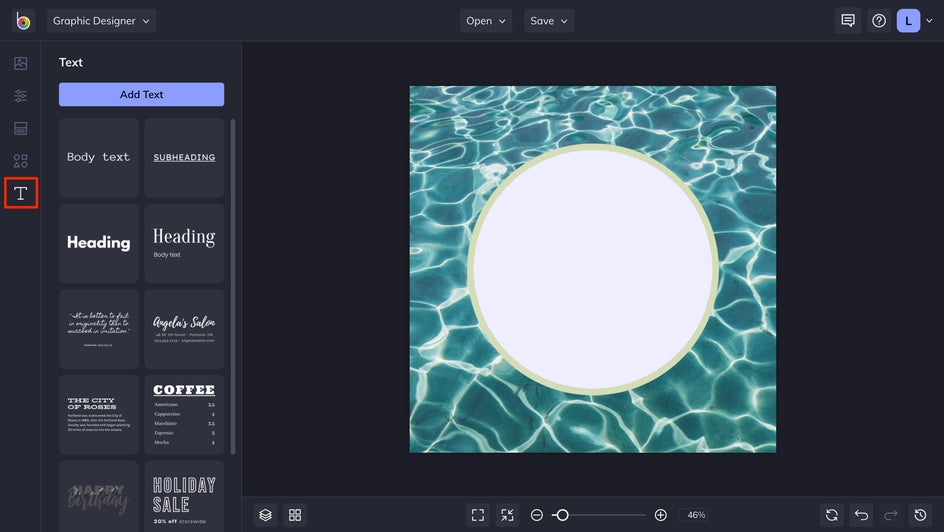
Type your new messaging and use the Text Properties toolbar that appears to change the font, typographical emphasis, letter spacing, and more! Alternatively, you can navigate to the Text tab in the menu on the left and click the Add Text button for adding a new textbox.
Step 5: Save as a Project
Once your first Pinterest Board Cover is looking perfect, it’s crucial to save your template as a project so you can use it as a template for future board designs. After saving your final design to your computer for uploading to Pinterest later, click the Save tab at the top of the Designer again and select Save as Project. This will allow you to save your design to your Computer or BeFunky account as a .BFD file, which means it will be in editable format.

This way all the design work is already done, and you can re-upload your template any time you want to start designing new covers with all the same design properties. If you’ve saved your project to your BeFunky account, just click the Open tab at the top of the Designer before selecting BeFunky and your project will reload whenever you want. If you’ve saved the project as a .BFD file on your Computer, simply drag-and-drop that file into the Designer interface to keep working on it.
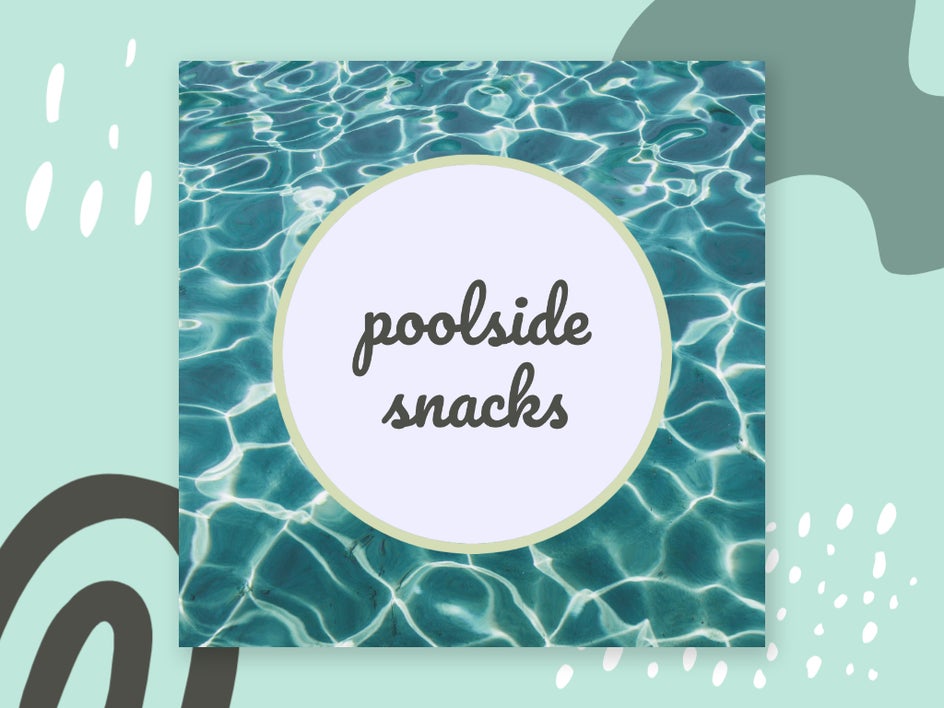
Represent Yourself With Pinterest Board Covers
When your covers are designed, save the image to your computer and upload them to Pinterest. Voila! Now your Pinterest page will look absolutely professional, reflecting the brand you’ve established. Now all you have to do is keep up with designing Pins that go viral and watch that traffic soar!