Playing With Shapes: How To Funkify Your Photo Framing
(Read this first paragraph in the voice of a professional infomercial salesman.)
Are you tired of posting the same 3:2 rectangular images on your blog? Are you ready to get downright funky with your visual content? Follow these simple steps and you can say goodbye to repetitive photo layouts forever!
(Return to your regular reading voice, now.)
As a travel blogger, I'm always on the lookout for new, quick ways to enhance my content. And I’ve found one recently that’s not only easy to do, but also really fun. I’m technically combining overlays and frames on BeFunky’s online photo editor to showcase my imagery but it feels more like I’m just playing around with shapes and colors.
In the digital world, the only limit to framing your images is your imagination. Added framing doesn't only just make your images pop, but it also demonstrates your aesthetic as a designer and (bonus!) it can uniform a whole grouping of different images into a single style. Embrace the geometric world of framing with these tips.
Step 1: Find Your Focal Point & Highlight It
Every photograph tells a story, whether it’s of a bustling street scene or a close-up of a leaf’s slender veins. When you look at an image, whatever your eyes focus on first and take in direct the way you interact with the piece. The first step in framing your image is knowing what you want people to focus on. What’s the central subject of your photograph? This will be your focal point.
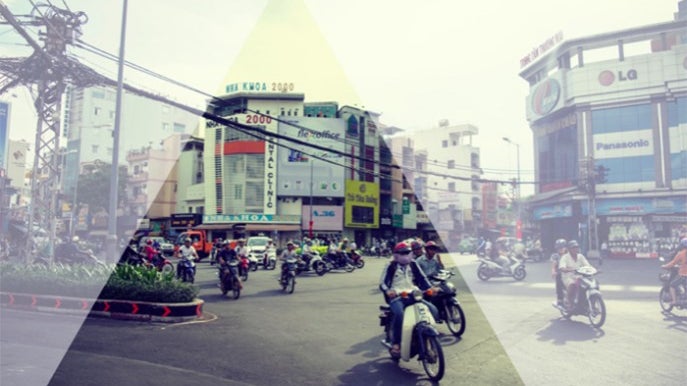
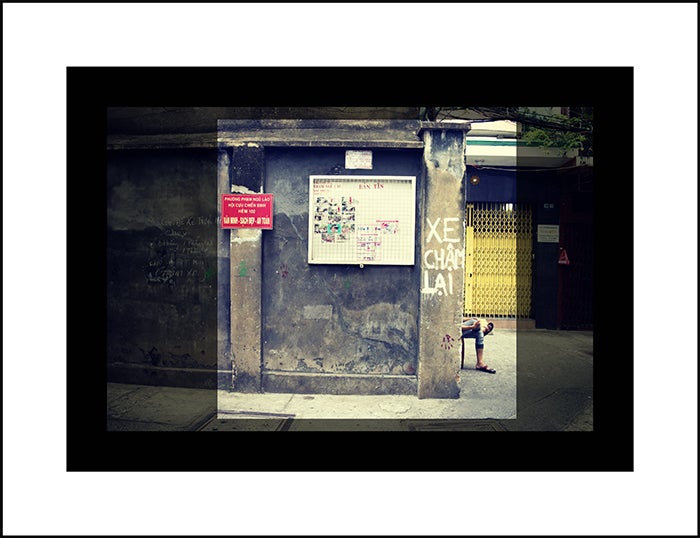
The image below is from a shoot I did in Saigon, Vietnam on street scenes and traffic. When I look at the photo, my eyes focus first on the man on the white motorbike in the immediate foreground. So that’s my focal point.
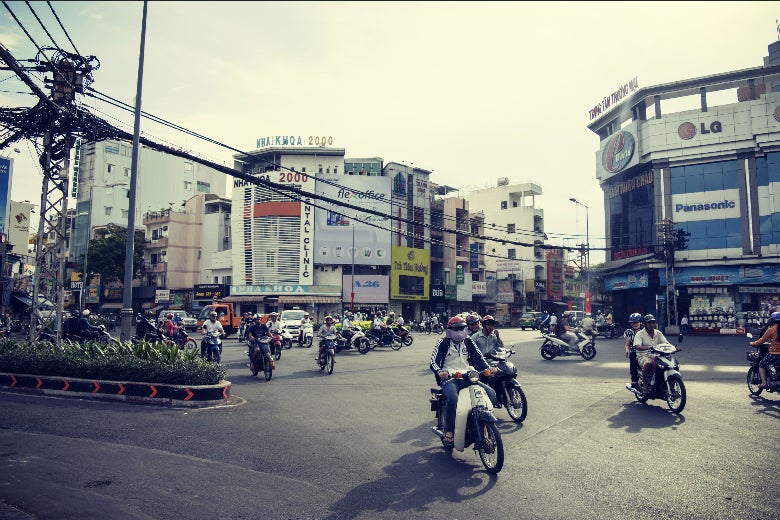
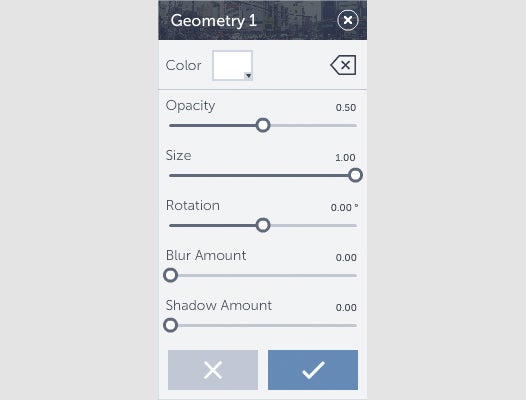
Now, there’s a lot going on in this shot: bikers, buildings, and power lines. I want to decongest the space in my photo and highlight the biker. I’m going to do this using BeFunky's photo editor Overlay section and by creating a frame within my image.
I think a triangular overlay will work best on this particular shot because I can capture a bit of the background while still drawing the eye toward the figure in the foreground. I move the overlay so it covers just the area that I want to enhance.
Now that I’ve placed my overlay, I need to lessen the opacity so the rest of the image is still visible, but becomes more of a background to the new, triangular foreground.
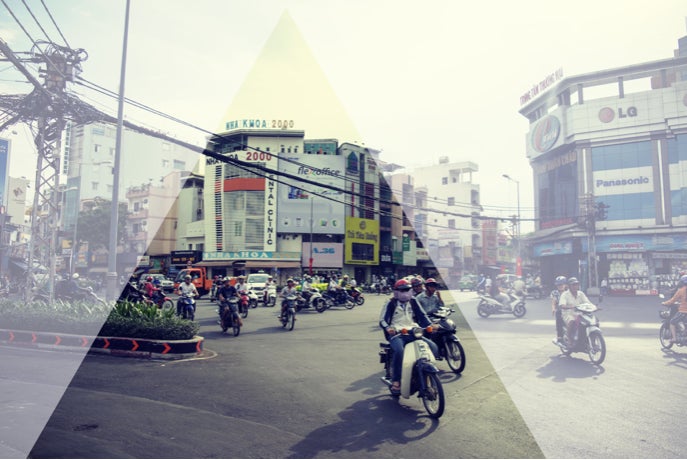
Looks good to me! Now that I’ve framed my focal point, I can move on to the next step.
Step 2: Balance the Image with a Frame
After you set your overlay, it’s time to frame the full image. There are two basic parts to framing that can guide the process: the inner frame and the outer frame.
If you have a simple, colorful, close-up image, you want to create a larger inner frame between the outer frame and the photograph. This will make the image seem less like it’s coming out of the frame at the viewer and more like a cohesive picture. Your audience will be able to look at the subject all at once instead of trying to find the proper focal point. So:
Simple Image + Larger Focal Point = More Space
If you have a more complex image with a smaller subject, however, you'll want to do the opposite, making your focal point larger and more visible for your viewer. So:
Complex Image + Smaller Focal Point = Less Space
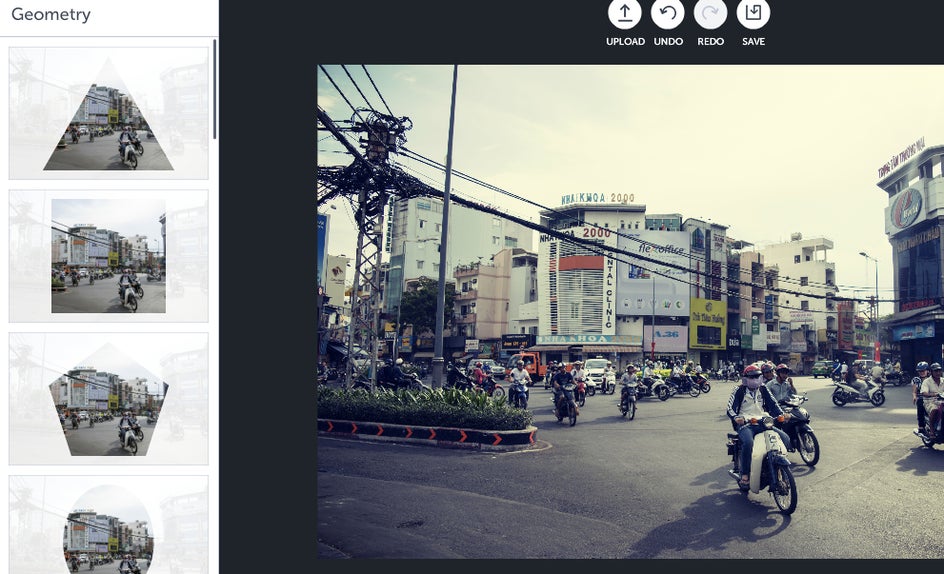
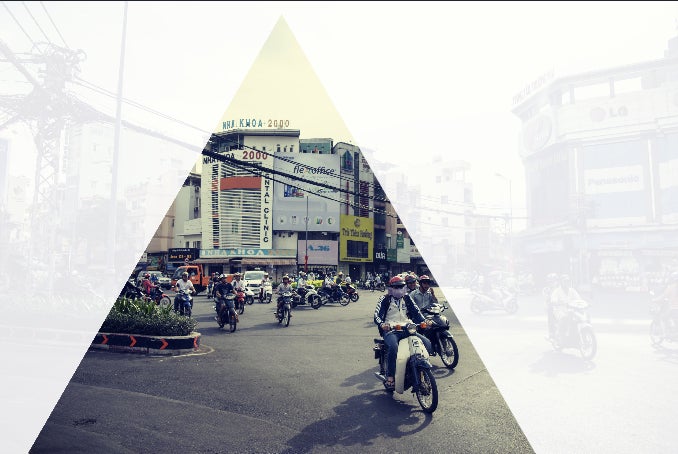
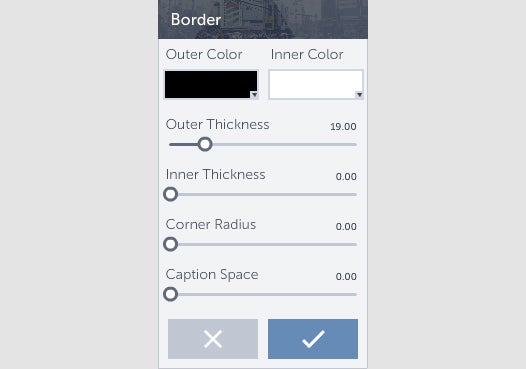
My example image is pretty complex and has a smaller focal point, so I know I need less space between the inner and outer frames. I choose BeFunky's photo frames section and click the Border category.

I mess around with the frame’s outer thickness and inner thickness for a moment before finally deciding to remove the inner frame entirely and leaving only a thin outer frame.
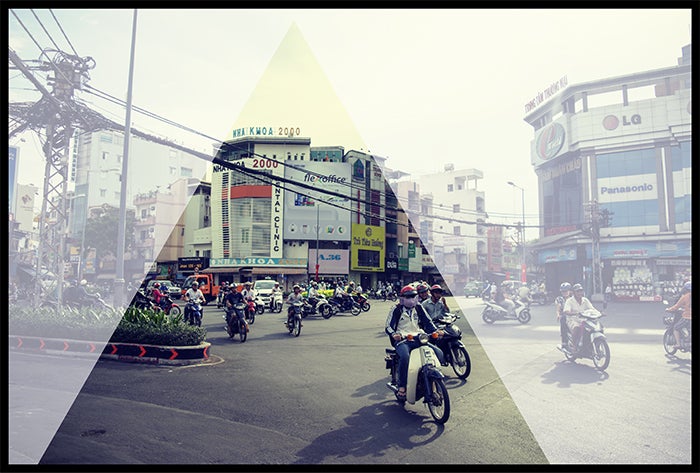
And just like that, I’ve taken a simple image and transformed it into a piece of unique, styled content for my blog.
Step 3: Funkify
So now that you have the basics down, it’s time to step it up a notch. What’s funkier than a frame within a frame? A frame within a frame within a frame of course! BeFunky's photo editor doesn’t limit how many frames you can add to an image, so just click the checkmark after you’ve set your first frame, pick out a new frame and let your imagination go wild!
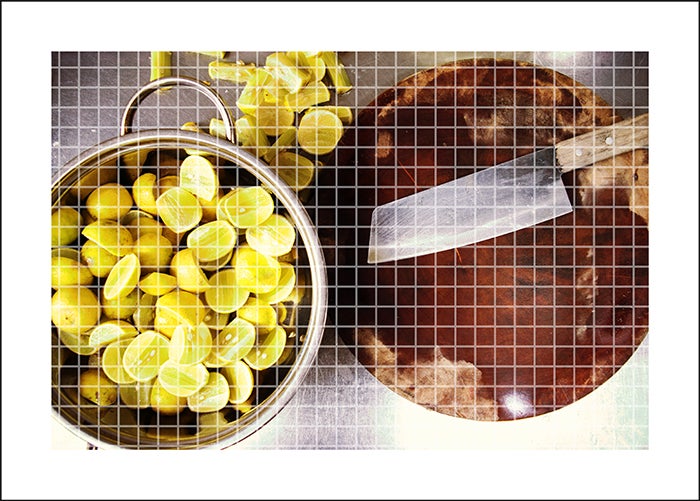
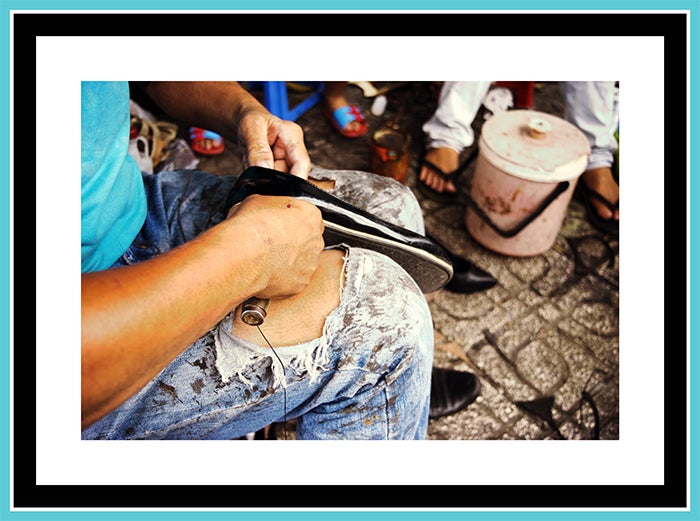
Below are a few examples of images with different overlays and framing styles for your inspiration:
Want to try your hand at framing up your very own masterpiece?