5 Product Photography Tips for Beginners
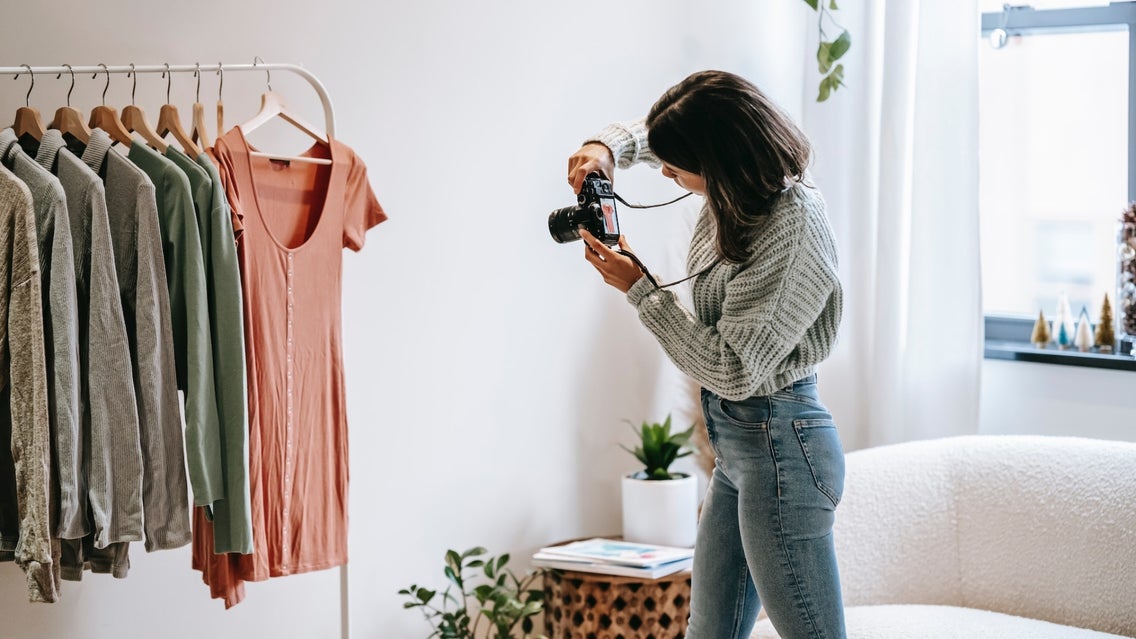
In the competitive world of eCommerce, product photography plays a crucial role in attracting customers and driving sales. When customers are unable to physically touch or see the products, they rely on images to make purchase decisions. Therefore, it’s essential to present your products in the best possible light.
You might be wondering: what makes a great product photo? The aim is to capture images that effectively showcase your product, capture the viewer's attention, and compel them to take action.
If you’ve never taken ecommerce product photography before, however, you might not know where to start. Don’t fret, because we’re rounded-up our top 5 product photography tips and tricks for beginners to help you out. Trust us – you’ll be creating captivating product photos that drive more sales in no time!

What Do I Need for Basic Product Photography?
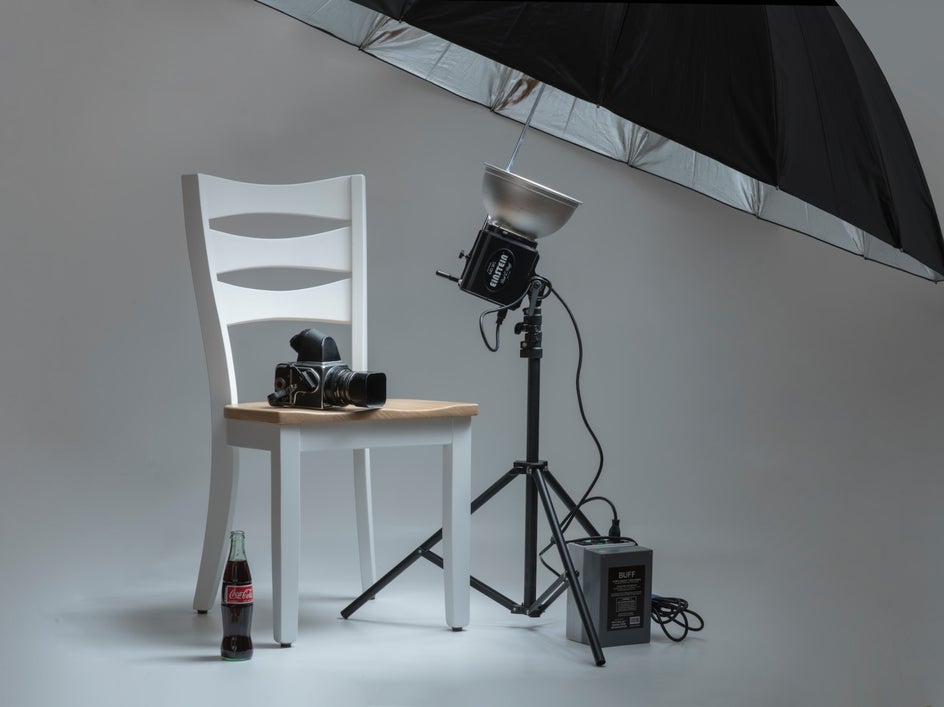
Before we get started, let's first discuss the essential equipment you'll need for your own product photography setup at home. The good news is that you don't need to break the bank. With a few simple tools, you’ll have everything you need to capture your best eCommerce photos yet.
- Camera: While a professional DSLR camera is ideal, you can still achieve great results with a smartphone. The key is to understand your camera's capabilities and learn how to use it effectively.
- Tripod: A sturdy tripod is essential for keeping your camera steady and avoiding blurry images. Invest in a tripod that suits your camera's weight and offers adjustable height and angles.
- Lighting equipment: Great images start with effective lighting. Natural light is optimal, but there will be times when you need artificial lighting to optimize your shot.
- Reflectors: Reflectors help bounce and manipulate light to reduce harsh shadows and add dimension to your product images. You can use white, silver, or gold reflectors depending on the desired effect.
- Backgrounds and props: These are a must-have in your product photography toolkit, as they allow you to showcase your product in a way that makes it stand out, while conveying your key messages.
Our Top 5 Product Photography Tips and Tricks
Follow these product photography tips for beginners to master your eCommerce photos.
1. Familiarize Yourself With the Optimal Camera Settings
These camera settings and shooting techniques will help you achieve professional-looking product images for your eCommerce store:
- Aperture: Choose a smaller aperture (higher f-stop number) to increase the depth of field and ensure that your entire product is in focus. This is especially important when photographing products with multiple elements or intricate details.
- ISO: Keep your ISO as low as possible to reduce noise and maintain image quality. Start with the lowest ISO setting and increase it if necessary, but be mindful of introducing noise into your images.
- Shutter speed: Use a tripod to keep your camera steady and experiment with longer shutter speeds to capture more light. This is particularly useful in low-light situations where you want to avoid using high ISO settings.
- White balance: Set your white balance correctly to ensure accurate color reproduction. Use a gray card or the auto white balance setting to get started, and adjust as needed during post-processing.
- Focus: Use manual focus or autofocus with a single-point focus mode to ensure sharpness and accuracy. Focus on the most important part of your product or the area you want to draw attention to.
2. Experiment With Different Product Photography Techniques
Wondering what techniques are used in product photography? Professional product photographers use techniques like layering, stacking, or arranging products at different heights to create depth and dimension in their images. This adds visual interest and makes the products more captivating.
You should also apply the rule of thirds or other composition techniques to create visually pleasing images. Avoid simply placing your products in the center of the frame and try to experiment with different placements to find the most appealing composition.
Finally, consider your product angles. Experiment with different angles to showcase your products' unique features or perspectives. If you're photographing a piece of jewelry, for example, consider capturing it from different angles to highlight any special details that sets it apart from others.

3. Select the Perfect Backdrop and Props
The backdrop and props you choose play a significant role in the overall look and feel of your product images. They help create a visually appealing composition that showcases your products in the best possible way.
Solid-colored backdrops, such as white, black, or gray, are versatile and timeless. They allow your products to take center stage and provide a clean and professional look. Consider using different colored backdrops to match your brand or product theme.
Textured surfaces, on the other hand, can add depth and interest to your product images. Consider using materials like wood, fabric, or stone to create a visually appealing background. You can even replace a background or make it transparent by using BeFunky!
Props can enhance the visual appeal of your products and add context or storytelling elements. Choose props that complement your products and help create a cohesive composition. For example, if you're photographing kitchenware, for example, you might use ingredients or cooking utensils as props.
When it comes to product photography, less is more. Embrace minimalism by using a simple background and minimal props to draw all the attention to your products. This approach works well for products that have intricate details or unique features.

4. Focus on Optimal Lighting
Good lighting is crucial for high-quality product photography. Where possible, always take advantage of natural light sources like windows. This is because natural light provides soft and diffused lighting, which is ideal for most types of product photography.
Alternatively, you could consider investing in a continuous lighting kit or studio strobes with softboxes or diffusers to achieve evenly dispersed lighting. Balancing the lighting will help you to avoid overexposure or underexposure. Experimenting with different angles and distances will also allow you to find the best setup for your products.

5. Maintain Consistency Across Your Product Photos
If you are photographing multiple products in a series, maintaining consistency in terms of lighting, composition, and background helps create a cohesive and professional look.
Product photos should also align with your brand's style and message. This includes using your brand's colors, fonts, and overall aesthetic.

Get Started With eCommerce Product Photography
By following these product photography tips for beginners, you’ll soon be taking high-quality and captivating images that instantly boost your sales. Once you’ve shot your product photos, you’ll also want to edit them before uploading them to your eCommerce site - whether that’s Etsy, Depop, Amazon, or more.
Thankfully, BeFunky’s Photo Editor has everything you need to polish a product photo within just a few clicks. Check out the Photo Editor for yourself to see just how helpful it is!