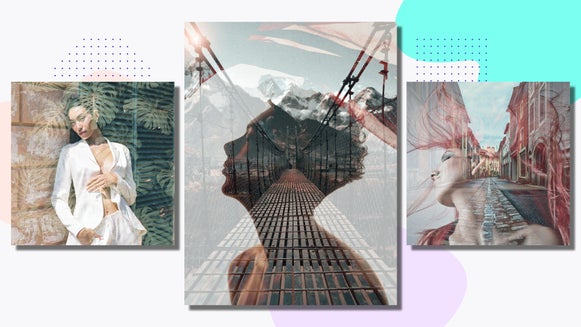
Double Exposure Photography: Rainbow Edition
It should come as no surprise that I’m kind of a double exposure photography junkie. It was the kind of thing I used to dream of doing with my photos (especially those street art and travel ones), but lacked the know-how. I mean, who wants to shell out money for a Photoshop subscription each month when you can do it for FREE?
So, today while I was experimenting with double exposure in the BeFunky Photo Editor, I had an epiphany. Now epiphanies normally strike me at funny times (In-N-Out drive thru's, bus stops and bathrooms all generally have their moments), but today it just so happened to hit me dead on while editing photos. What if I could do a rainbow double exposure portrait?
And thus, this tutorial was born.
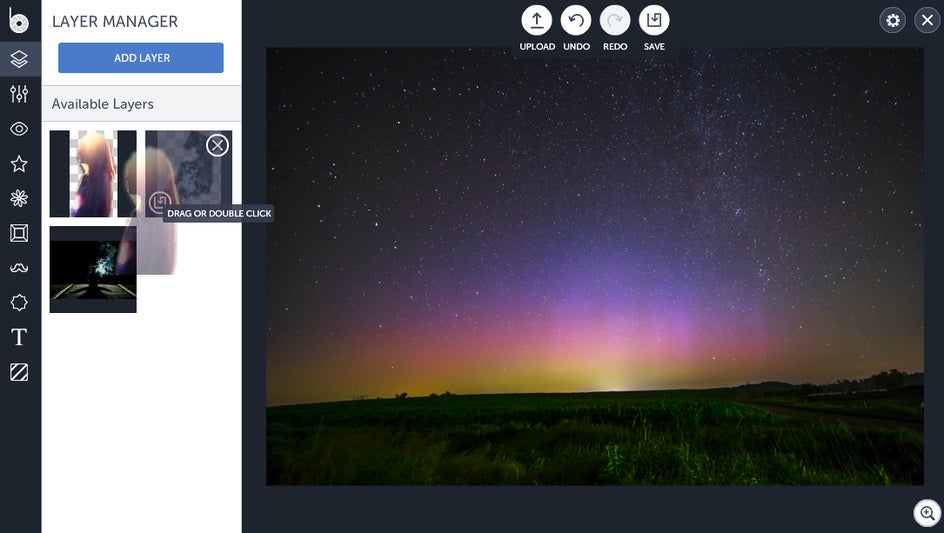
I decided to start off with the basics: a gorgeously colored night sky.

I then popped over to Pixabay to find a suitable portrait shot:

Excellent.
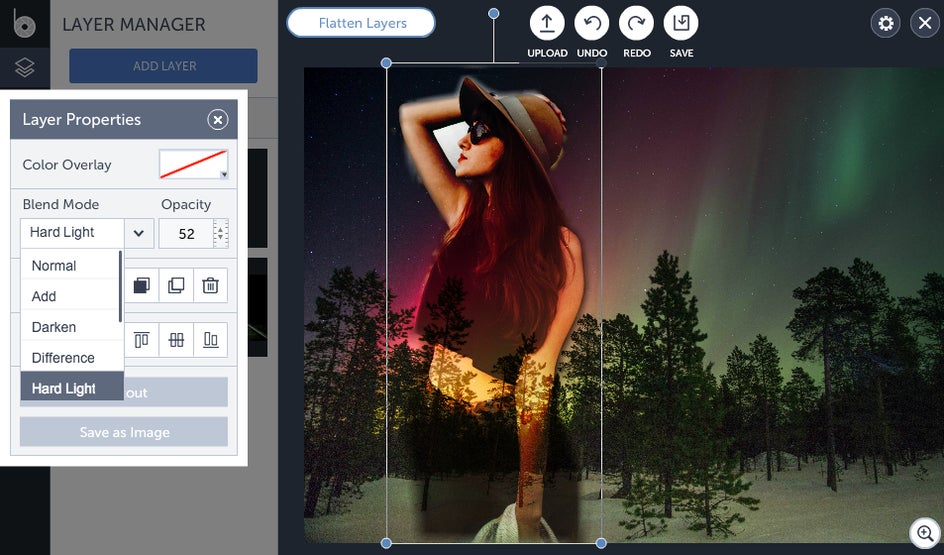
The next step was to open up the Photo Editor and upload the night sky picture for the bottom layer. Once that was done, I used the Layer Manager to add on another layer, the portrait photo. I then used the Cutout tool and exported the photo as a layer to add it onto my background image:
Pro Tip: Want to quickly cut an object out of your image? Hold the Alt/Option key to make your selection.
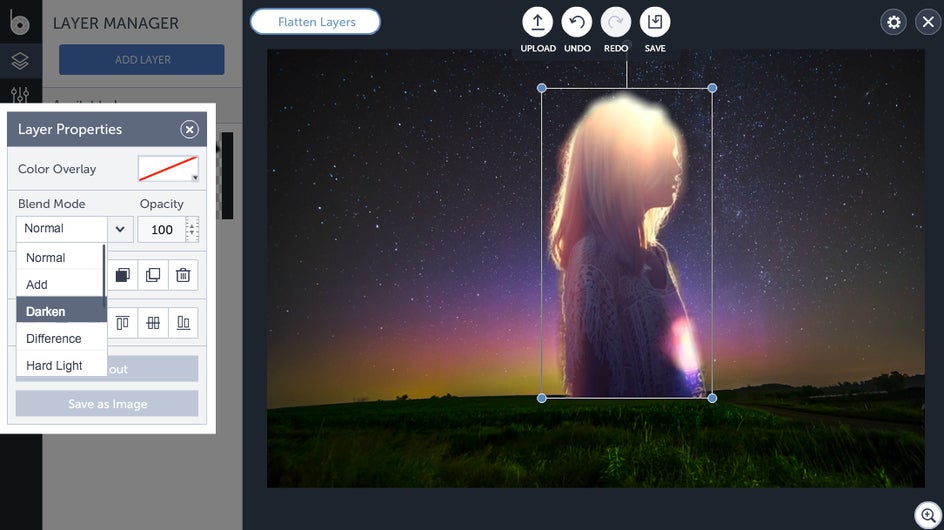
From this point all I had to do was change the opacity and decide on a blend mode. I turned down the opacity to about 50%, changed the blend mode to Difference and decided to add some color by hitting Color Overlay, and choosing a dark red tone.
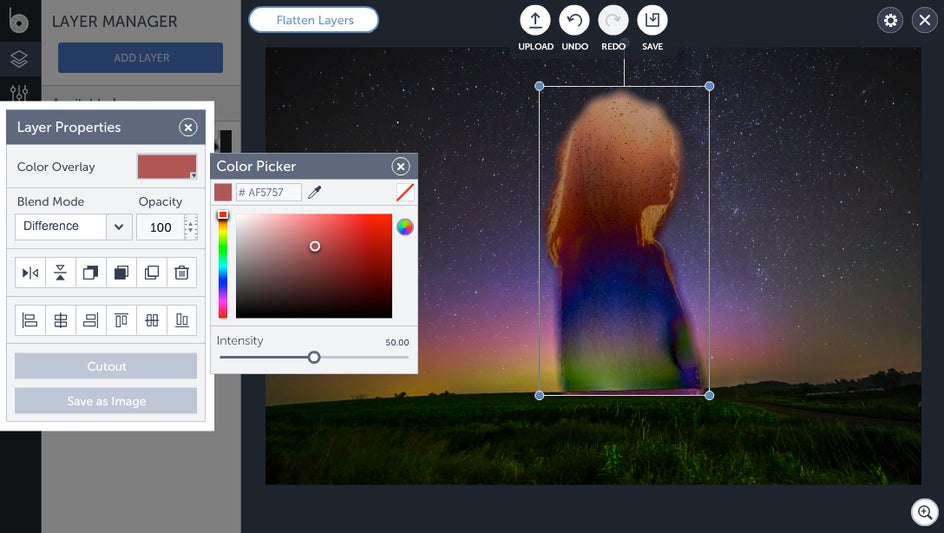
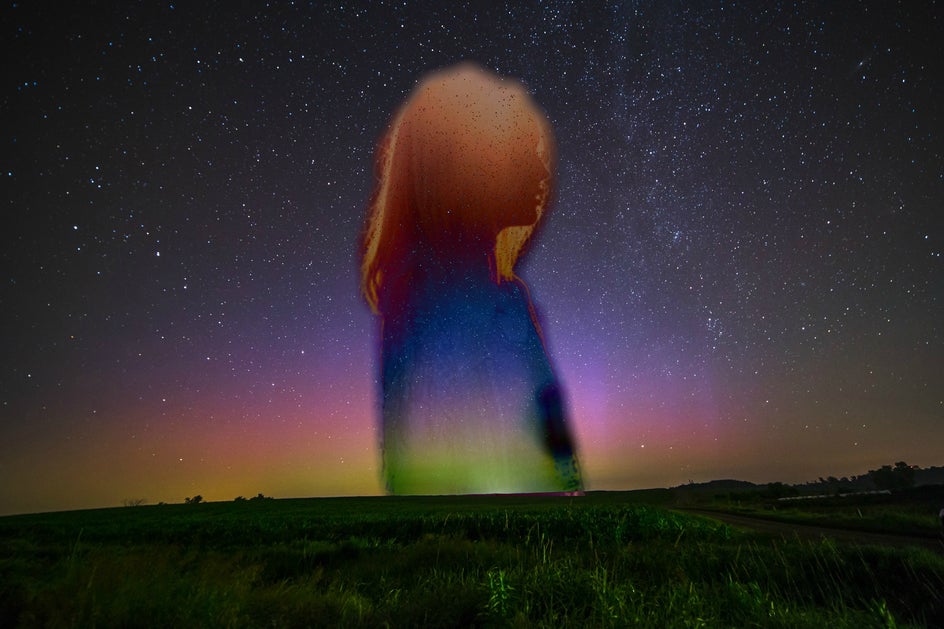
Now, just hit that snazzy ‘Flatten Layers’ button, and BAM! A rainbow silhouette that looks all too dreamy against a starry night.
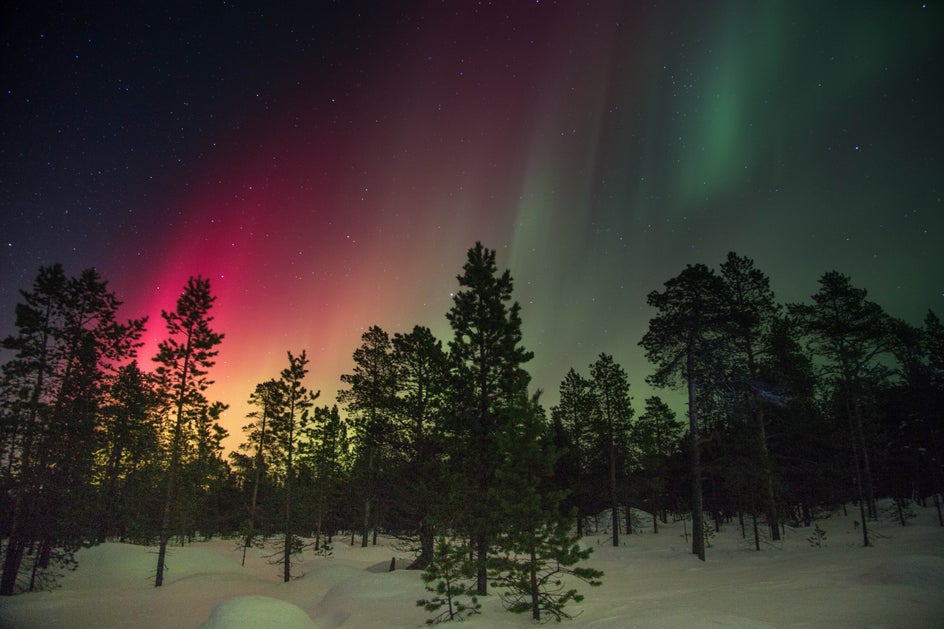
For funsies I decided to repeat the process with a different photo, this time of a girl against the Northern Lights.
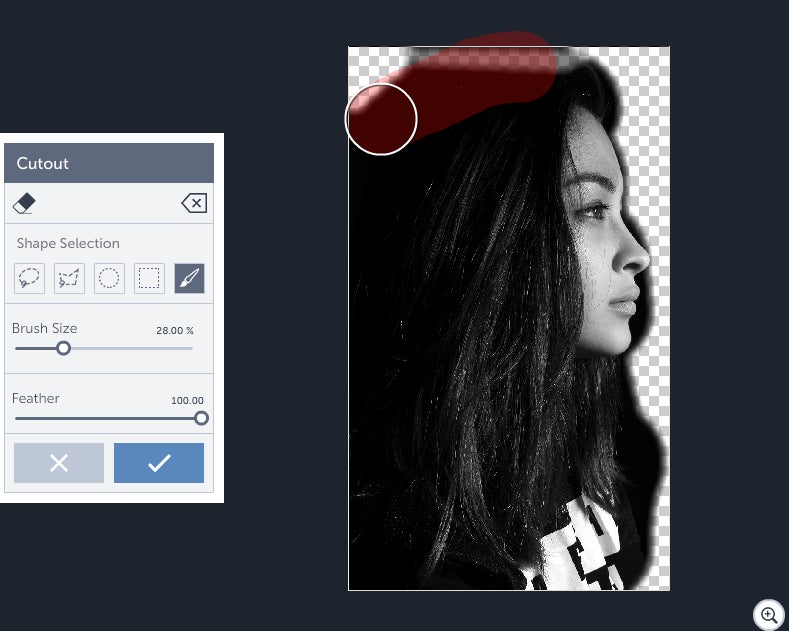
Start with Cutout (I tend to use the Lasso or Paint shape selection as these are easiest to work with for me, but hey, go nuts):
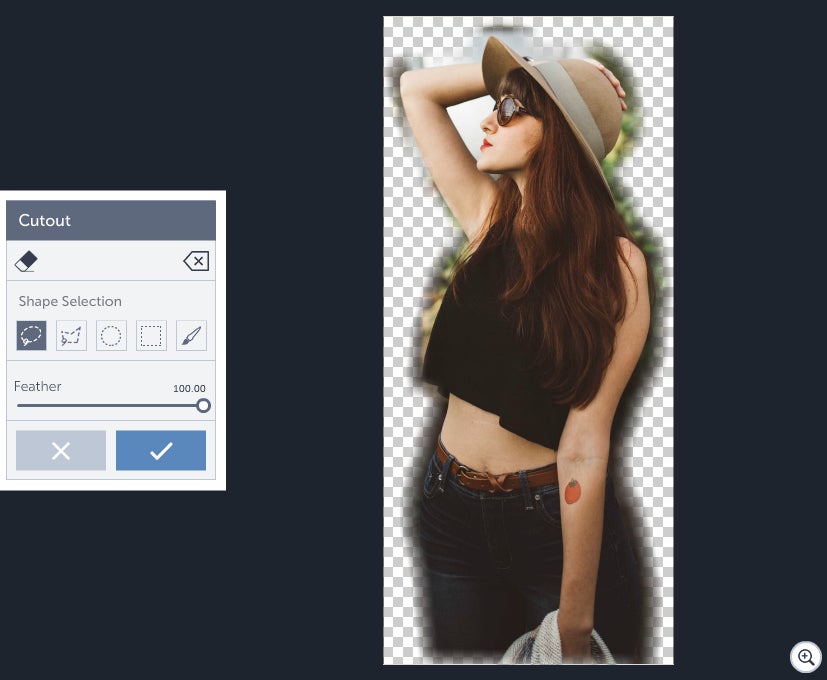
Pro Tip: You can delete away those pesky unwanted fringes in your photo by holding down the Option key while selecting your area.
And we repeat again, adding on the image as an additional layer and playing around with the Blend Mode:
to yield…
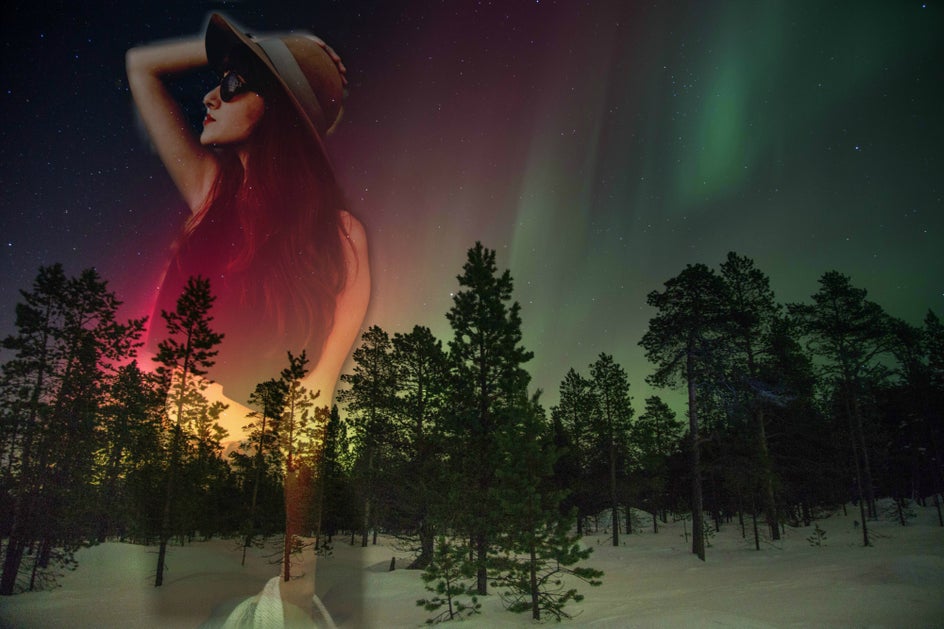
Oh so lovely. The sky is all the rainbow we need here, and it took me all of 2 whole minutes to make.
But it wasn’t enough, damn it. I wanted an actual rainbow in there, so I decided to take things up a notch by introducing a triple layer exposure. Say whaaaa?
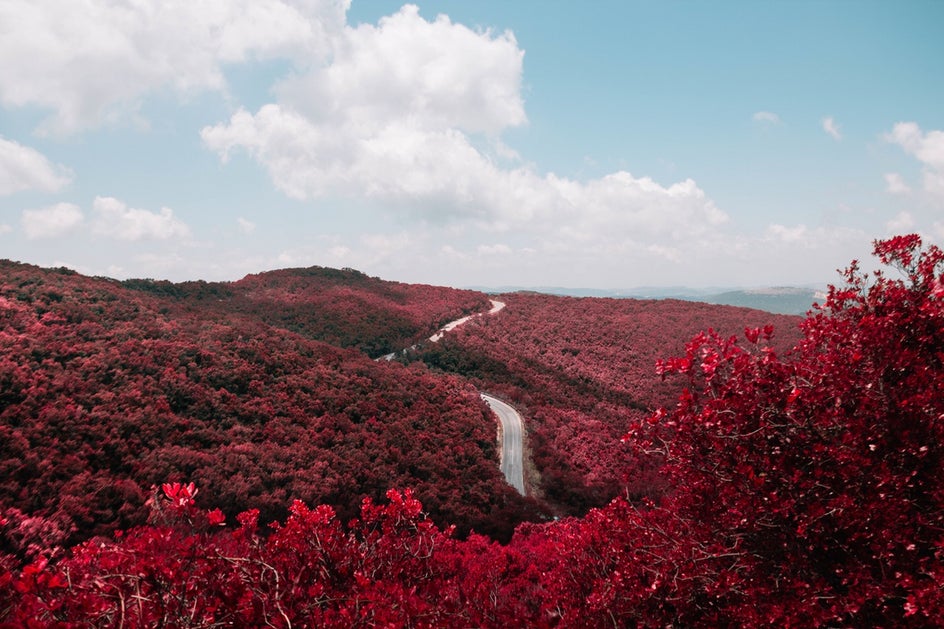
Start with opening up layer 1. This is what I decided on as my base layer since I loved all the pink shades in it:
And for layer 2 we’d need an actual rainbow, of course:
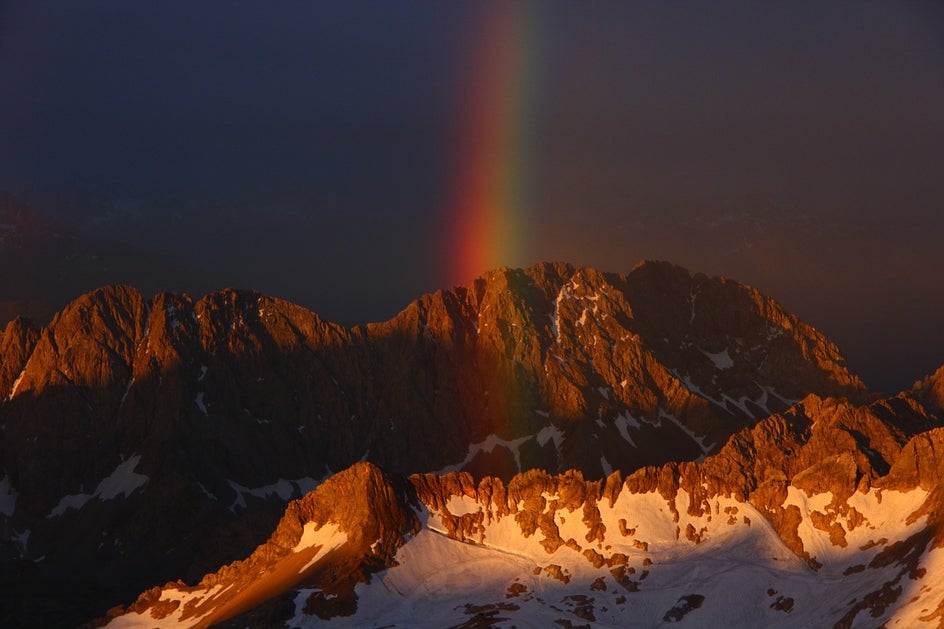
Very nice.
Add in your second layer with the Layer Manager and resize it so that it’s the same size as Layer 1:
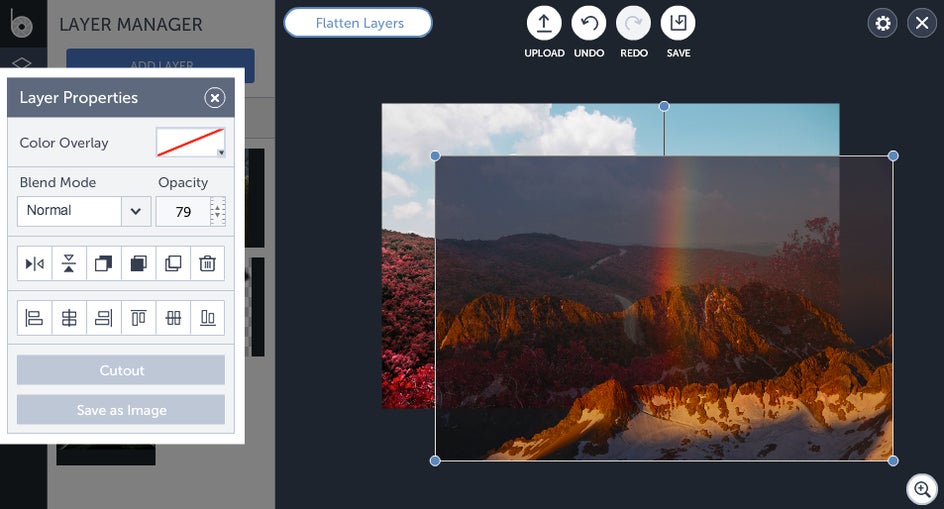
You’ll notice I turned down the opacity here to about 79. Once the two images overlap hit your friendly Flatten Layers button.
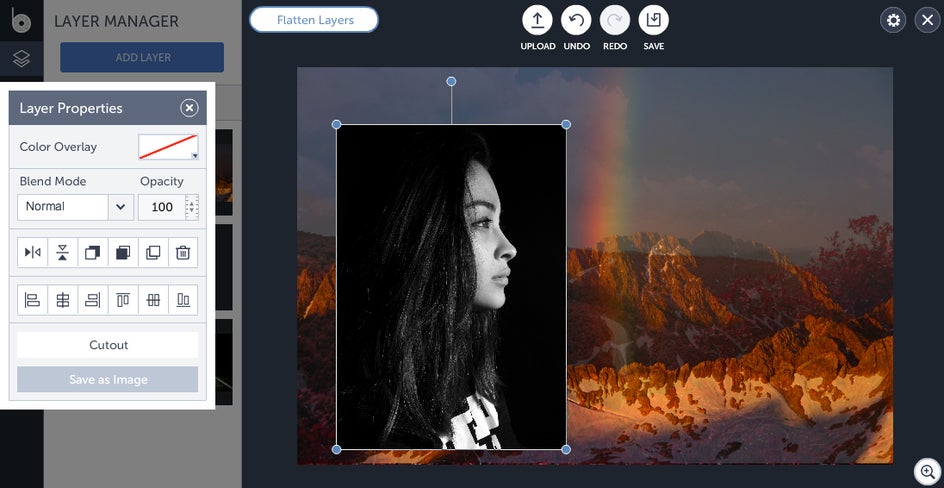
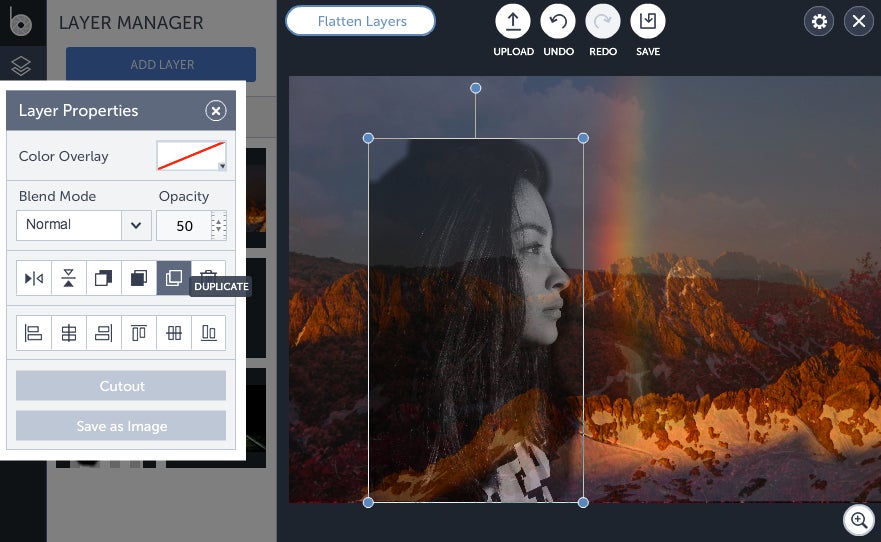
Next is adding in your third layer—the profile photo. Add in the image and cutout the silhouette, turning the feathering up to max, then place it over your background:
Turn down your opacity to about 50%...
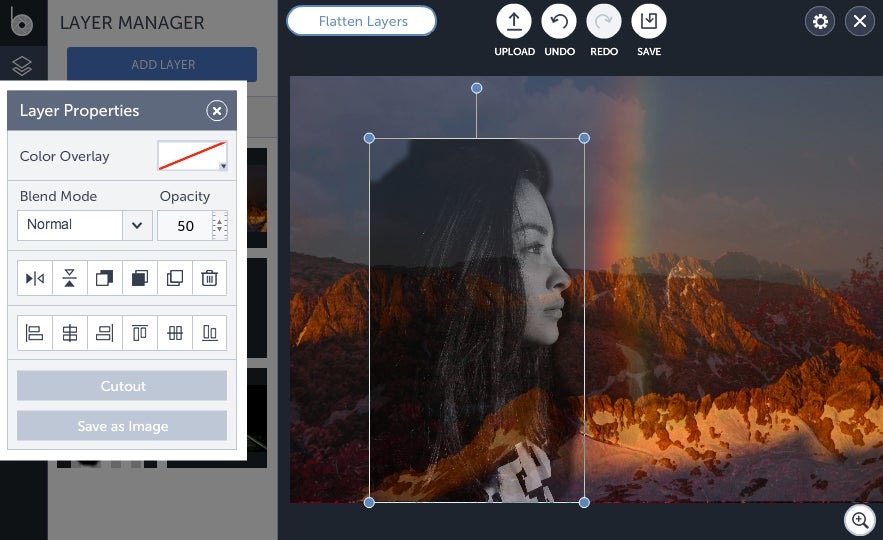
Then hit that glorious little ‘Duplicate’ button in the Layer Properties box…
You’ll now have two of the same photo. Turn down the opacity on the other and then flip it horizontally using that arrow button on the far left, then adjust the location of both silhouettes and resize as necessary:
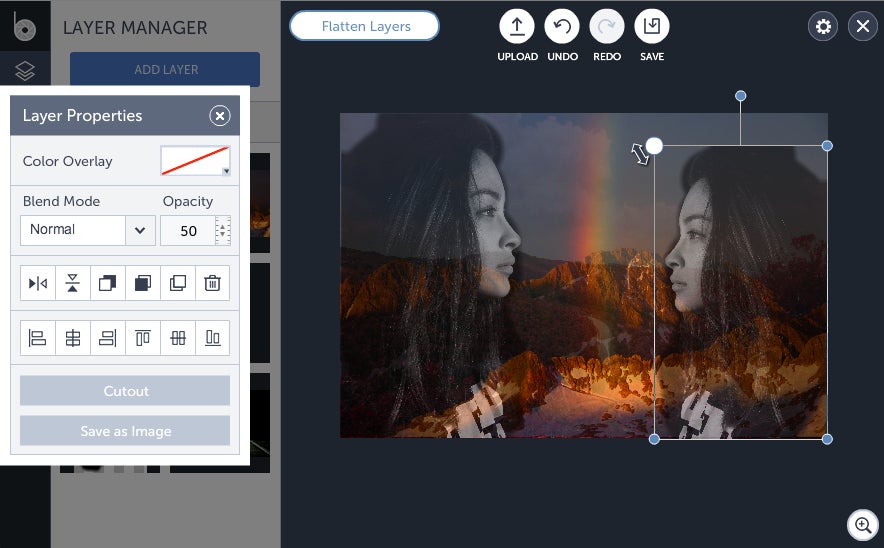
Don’t forget to hit Flatten Layers to merge them all together!
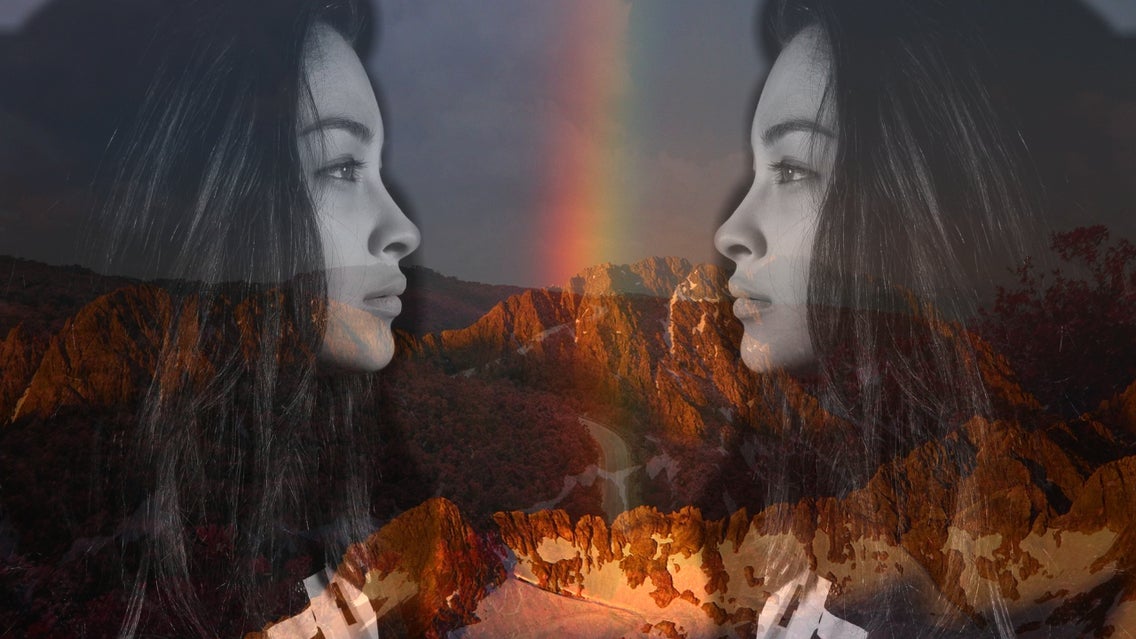
The final result?
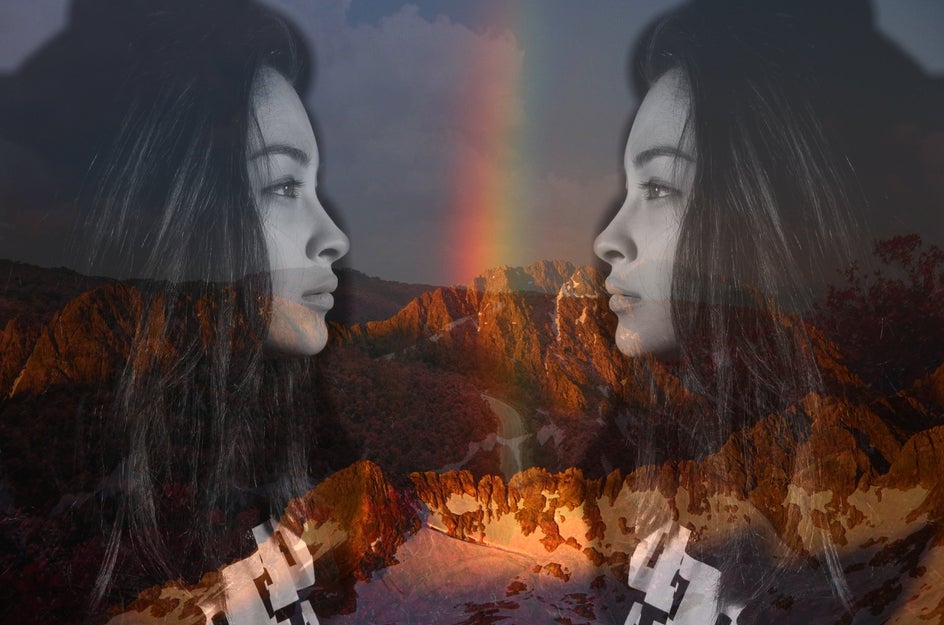
A photo chock full of beauty, personality AND rainbows. Is there anything you can’t do with a little resourcefulness?