How to Restore and Recolor Photos
It’s a question that’s been asked time and time again: can you restore faded photos? Many of us have cherished vintage photographs of our ancestors that we’d love to recolor online to bring back to their former glory. Yet, the task seems close to impossible without professional photo editing skills or expensive software.
Thankfully, BeFunky’s Photo Editor lets you correct the color of your photos automatically – all in just a few clicks of a button!
How to Restore Faded Photos
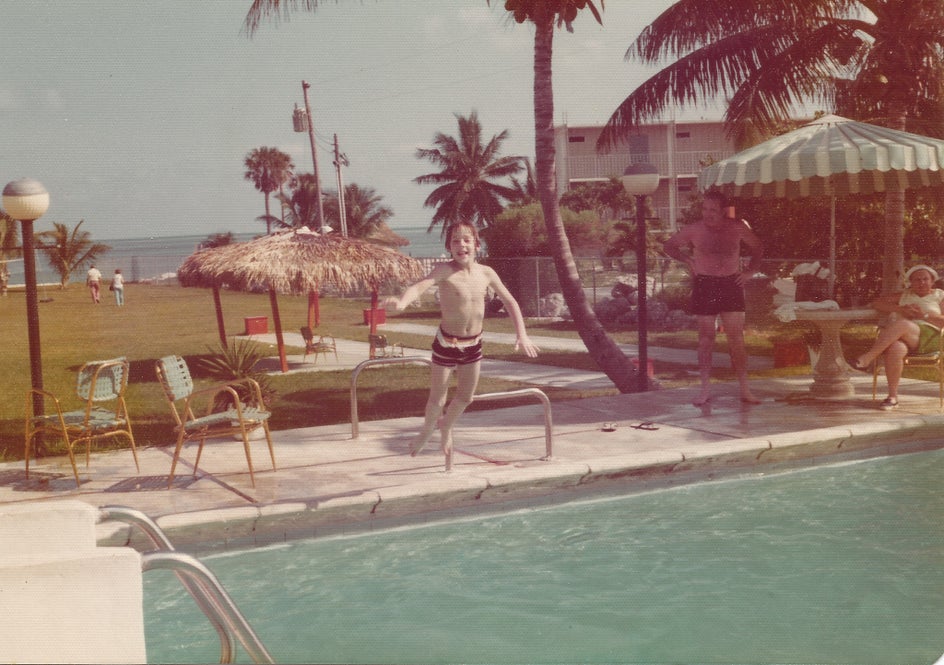
While those softly-hued film photos from decades gone by have a retro feel about them, you don’t want them to continue fading into oblivion. To get them looking sharp and colorful once more, simply head to the Photo Editor and open the photo you wish to restore.
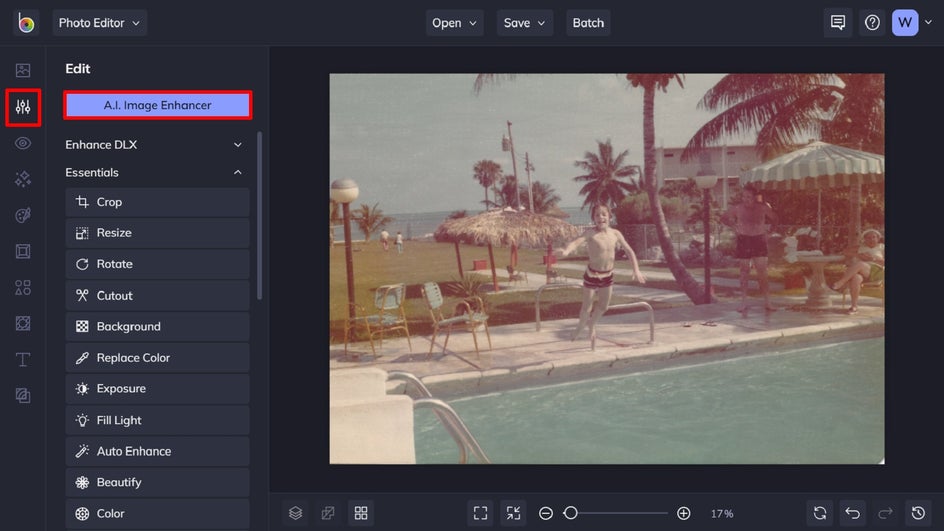
Step 1: Apply the A.I. Image Enhancer
Navigate to the Edit section in the main menu on the left, then click the A.I. Image Enhancer button, which is located at the top. You can adjust the effect using the Amount slider, if necessary. To apply your changes, just click the blue checkmark button.
Step 2: Apply Vibrant Colors DLX Effect
To ramp up your old photo’s color even more, we recommend navigating to the DLX Effects in the Edit menu, which is located directly underneath the A.I. Image Enhancer. Select the Vibrant Colors DLX Effect, then adjust the Amount and Color Amount sliders to get your perfect look. Once you’re happy with your changes, click the blue Apply button.

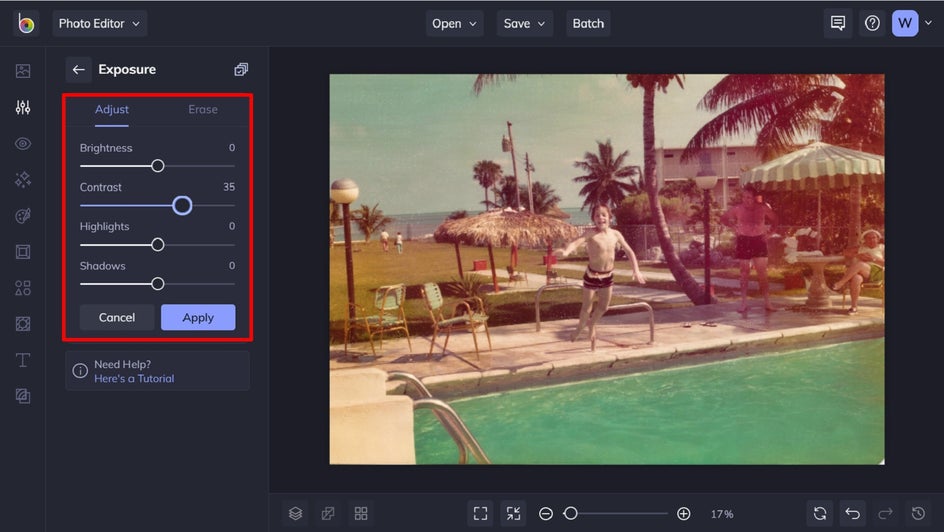
Step 3: Boost the Contrast
Now that your colors are looking on-point again, it’s time to boost your vintage photo’s contrast, if necessary. In the Edit menu, navigate to Exposure, which you’ll find in the Essentials section. Then, use the slider located underneath Contrast to increase this effect. Then, click the blue Apply button.
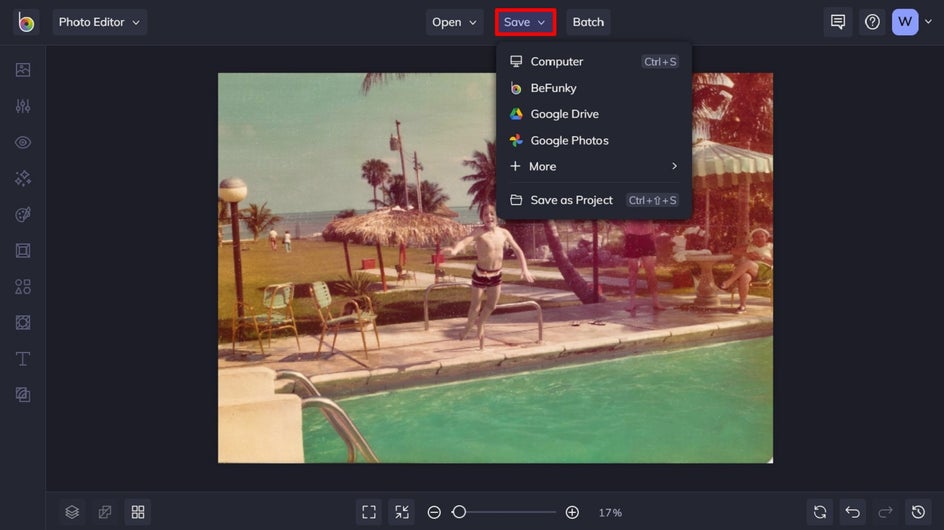
Step 4: Save Your Recolored Photo
To save your color restored photo, click Save at the top of the screen and select your desired save location and format.
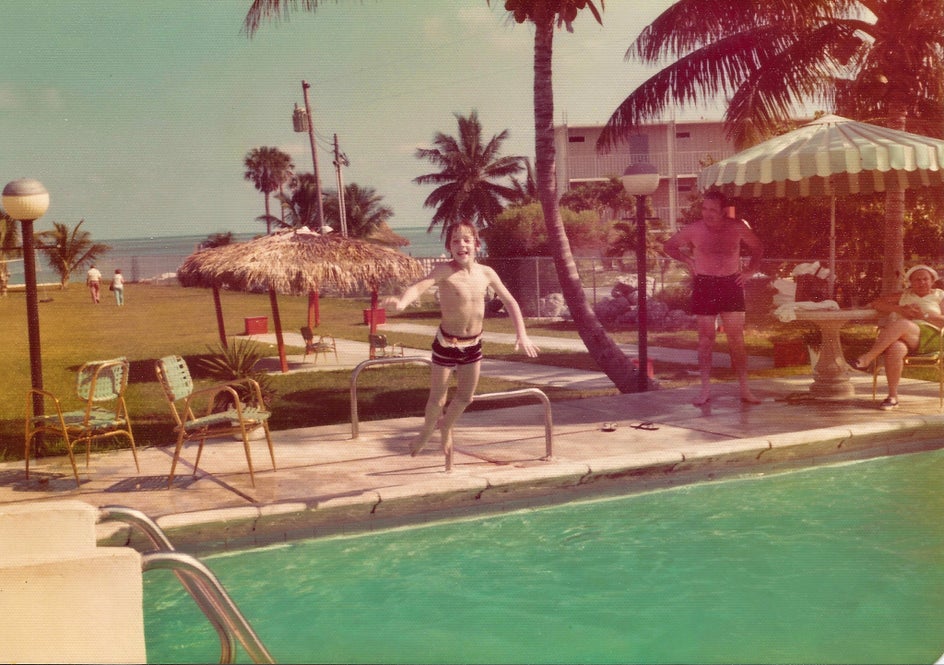
The final result still has that unique, vintage flair – but it is a much more vibrant and clear image.
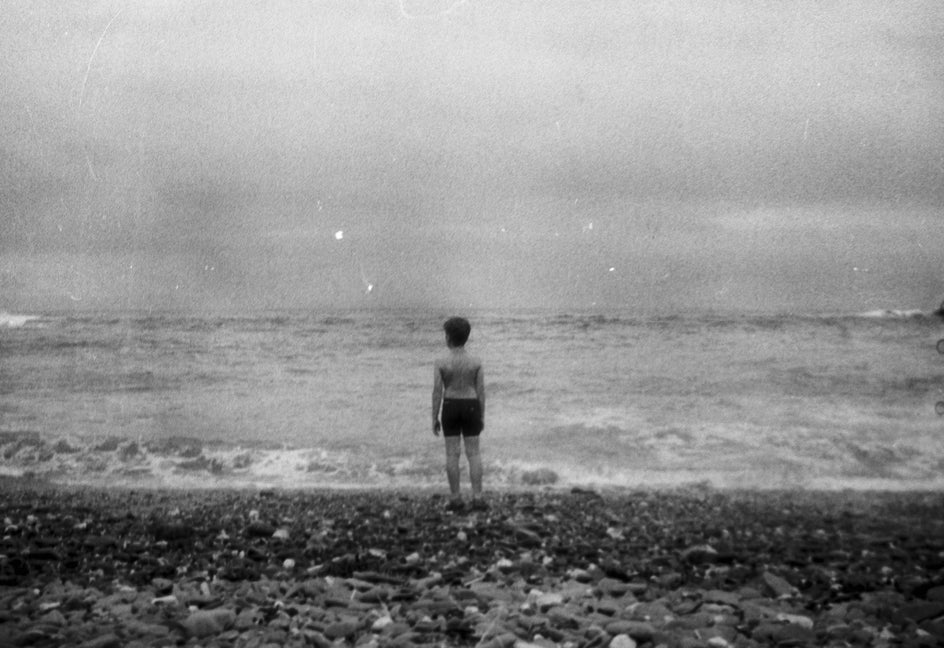
How to Recolor an Image Online Using the Paint Tool
Not only does the Photo Editor let you correct the color of your photos automatically, but it also has the easy-to-use tools necessary to recolor old black and white photography. To get started, open your desired photo.
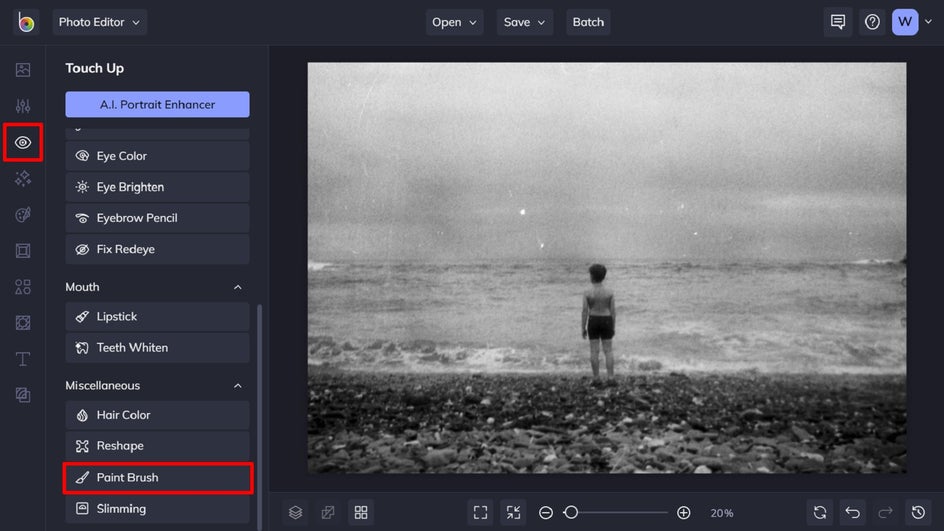
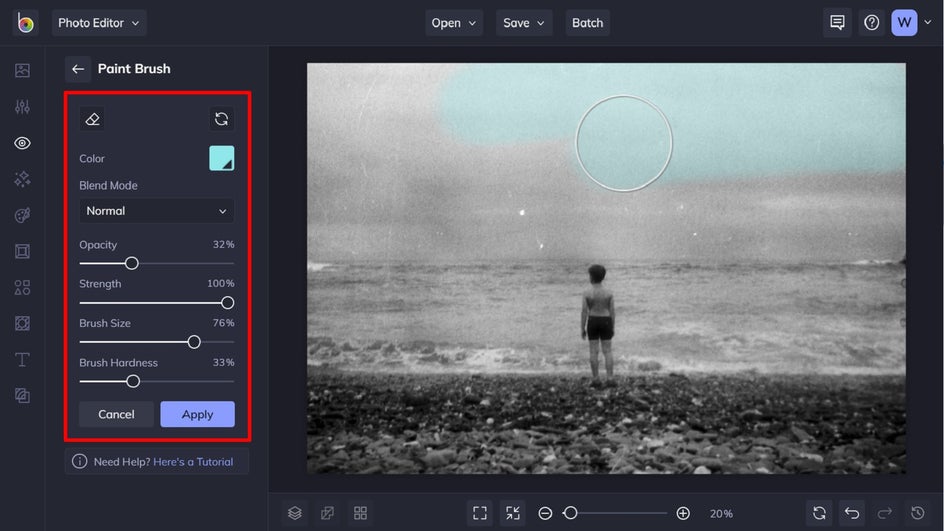
Step 1: Navigate to the Paint Brush Tool
You can find this in the Touch Up section, towards the bottom and under Miscellaneous.
Step 2: Start Painting
Select the color you wish to paint on by clicking the square next to Color. Then, adjust the Blend Mode, Opacity, Strength, Brush Size, and Brush Hardness as you see fit. Simply use your cursor to click and paint the color onto selected areas of your photo. Finally, select a new color when desired and continue this process until you’re happy with your results. Then, just click the blue Apply button to apply your changes.
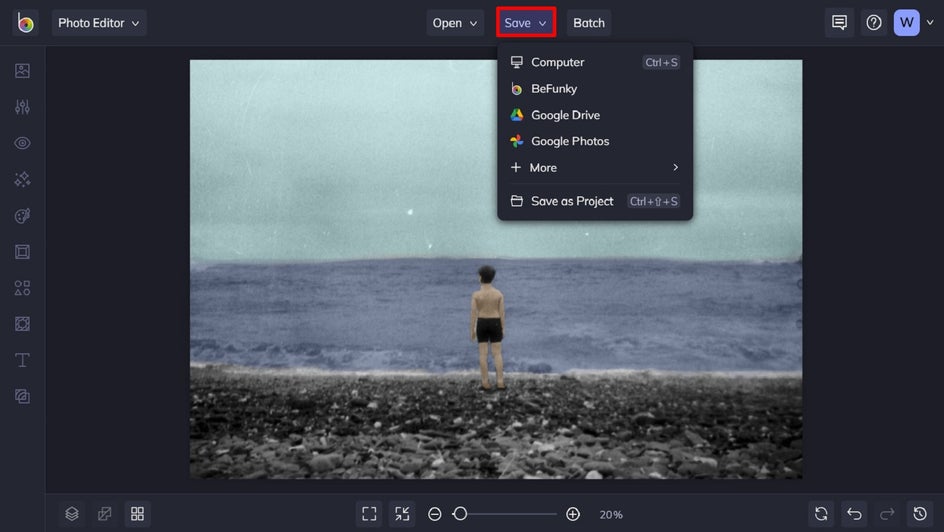
Step 3: Save Your Recolored Photo
Click Save at the top of the screen and select your desired save location and format.
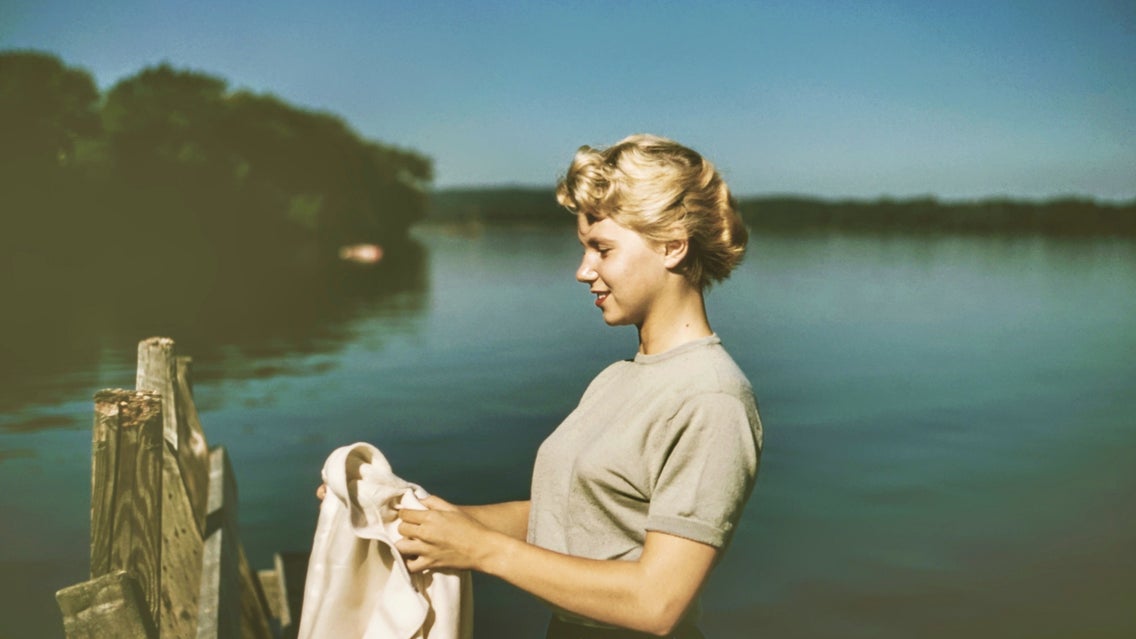
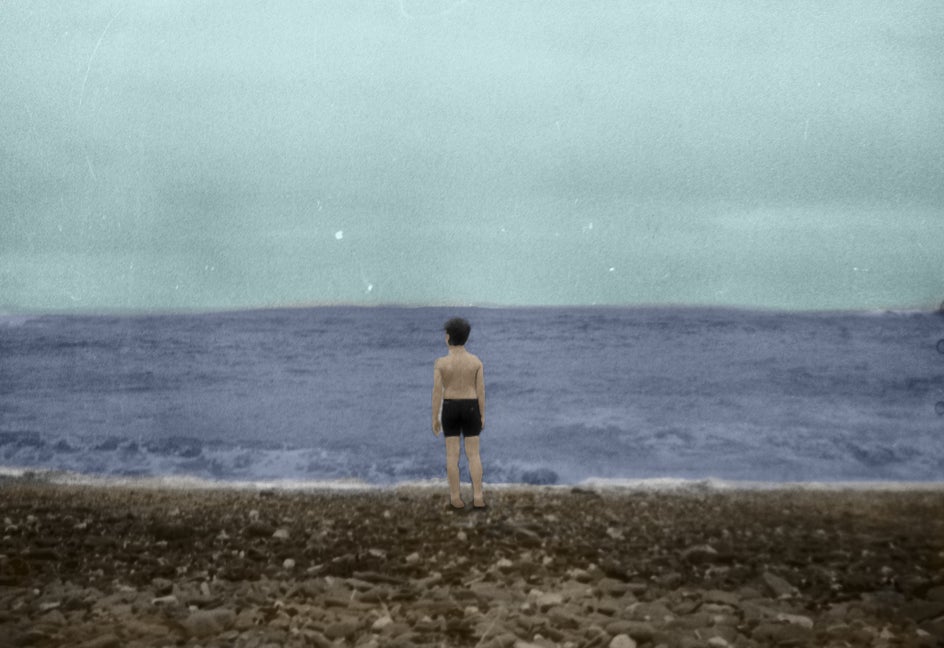
With this image, we've recolored the sky, water, and subject, but left the foreground in black and white. This creates some interesting contrast and draws the eye towards the horizon.
Restore and Recolor Your Image Online With Ease
With easy-to-use tools available in the Photo Editor, such as the A.I. Image Enhancer, DLX Effects, and Paint Brush, you can recolor an image online in just a few clicks! Are you ready to recover your old and faded photo’s past? Try our photo color restoration tools for yourself!