How to Resize an Image With BeFunky
Having the ability to change the pixel size of your image without risking distortion is crucial for both the casual selfie snapper and the professional photographer. Whether you need to resize images for uploading online or downloading for print, BeFunky's Resize tool allows you to do just that in seconds.
How to Resize Any Image
BeFunky's Resize tool is just what you need to resize images quickly and accurately. This tool will help you achieve the picture size you want without warping or losing details thanks to a lock aspect ratio feature and pixel-by-pixel control. This gives you professional quality results while making it easy to resize images unlike some other software out there. Read on to learn how to achieve this with BeFunky.
Step 1: Get Your Photo Ready
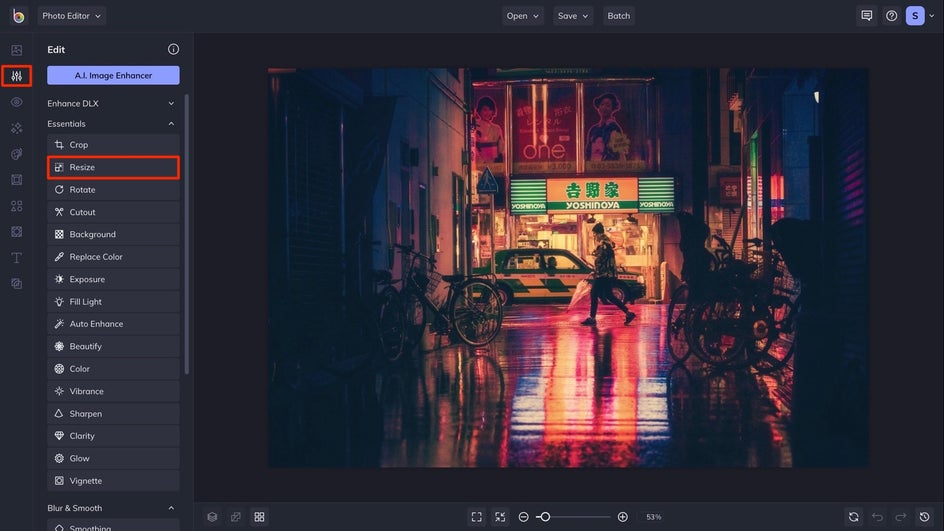
To get started, upload your image to the Photo Editor by selecting the Open button, or drag-and-drop an image right into the interface for even quicker uploading. In the Edit menu on the left, select Resize.
Optional: Lock Aspect Ratio
Now you need to decide whether to use the Lock Aspect Ratio feature or not. This feature will keep the dimensions of your photograph proportional to one another and therefore avoid distortion. When you increase height, the width will grow right along with it. If you adjust the width, the height of your photo will automatically change as well.
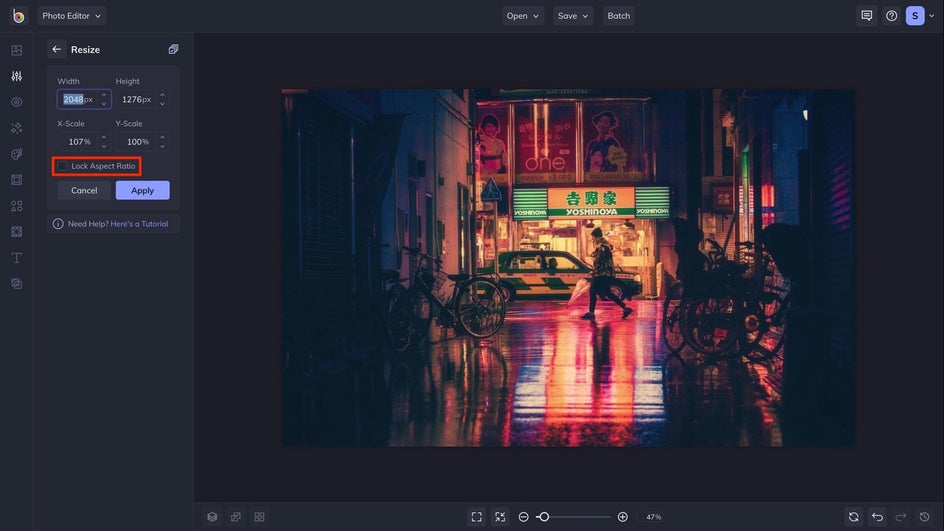
Note that the Lock Aspect Ratio will automatically be checked when you begin editing. If you want to use it, do nothing! If you would like to turn it off, just uncheck the box.
Pro Tip: Although unchecking Lock Aspect Ratio gives you creative freedom, images can become distorted and appear squished if stretched too much. Use this feature with caution!
Step 2: Change the Pixel Size
Now it's time to adjust the scale and or pixels of your image whether you want to increase the size of your image or decrease the image size.

To do this, click the up and down arrows under Width and Height to adjust the size on a pixel-by-pixel basis, or under X and Y if you prefer to work with percentages.

If you know the exact dimensions needed, you can click on the number in the box and type in your new measurements. It's super easy to get the perfect dimensions for all your needs whether you’re preparing the perfect Facebook profile pic, adjusting an image to fit that picture frame you’ve been meaning to fill, or resizing for any other photo-specific needs.
See Resizing Images for a live demonstration.
Pro Tip: Increasing the resolution of a low res photo is called unpressing. If you do this, it will most likely cause distortion and blurring. So even though it can be tempting, don't increase resolution beyond a photos capacity.
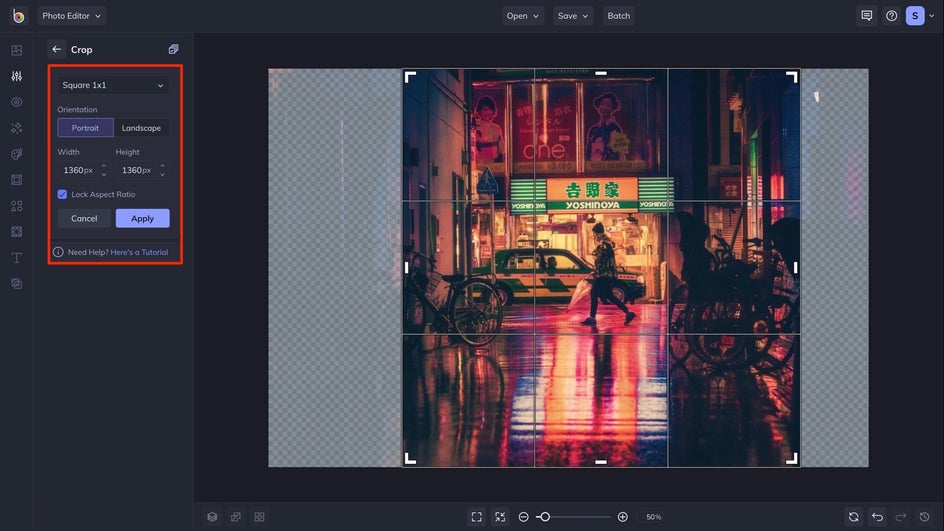
Step 3: Crop as Needed
If the image is becoming distorted, you can use the crop feature before resizing it into the desired pixels. For example, for a 1x1 square for Instagram, head to the Crop tool and select the appropriate preset. Then, change the pixel size to your desired resolution.
Resize Your Photos in Seconds
With BeFunky's Resize tool, it's easy to size your photos without the risk of distortion. And when paired with the Crop tool, you'll be able to format your photos in just seconds. Try them both out in the Photo Editor! Or, read about some of our other photo editing tools that can be used to polish up your images.