Design Custom Save the Date Cards

A Save the Date for your wedding marks the beginning of a beautiful celebration with all your friends and family. This little card must contain a lot of important information: the couple, venue, date, time, and more. You want to use an image that captures the love in your relationship while keeping the card simple and elegant. BeFunky’s Graphic Designer offers stunning templates to help you create impressionable Save the Date cards.
How to Design Your Own Save the Dates
BeFunky’s Graphic Designer is easy and intuitive to use. You can customize your Save the Date card with colors and icons that make it look as unique as you and your partner. Keep reading for a deep dive into how to design a stunning Save the Date.
Step 1: Open BeFunky’s Graphic Designer
First, open BeFunky's Graphic Designer. You will find yourself on the Start a Design page in the Templates section. This space is filled with fun and unique templates.
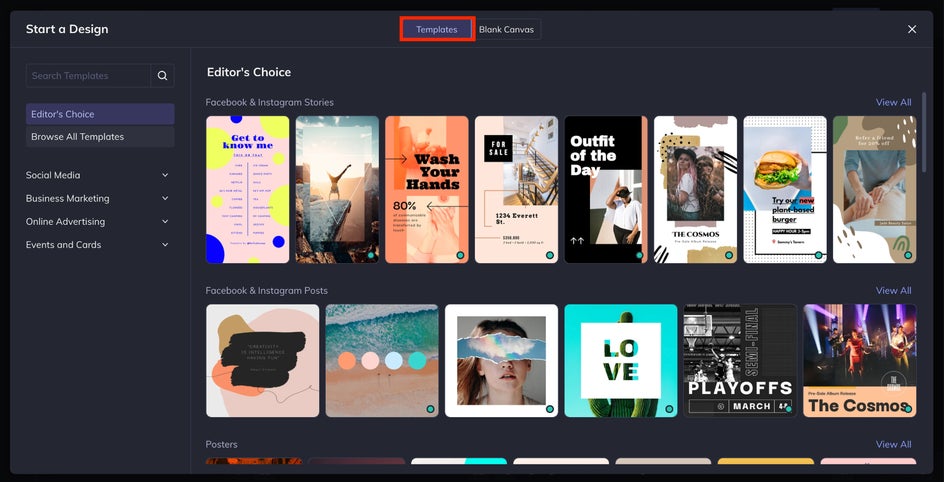
Take a look at the column on the left side of the screen. You’ll see different template categories. Click on the Events and Cards category, followed by Wedding Sets.

Step 2: Choose Your Layout
Next, you will see our suite of Save the Date templates. You can choose one with a single photo and unique design elements, or make your card into a photo collage. Either way, you are free to flex your creative muscles.

Once you’ve chosen your template, select the blue Use the Template button to begin editing. For this example, we chose a simple design with a photo and text.
Step 3: Make Your Save the Date Unique
After choosing a template, you can start the customization process. The first step is to upload the photo you want to use. Navigate to Image Manager. This is the top icon on the left sidebar menu. Click the blue Computer button to upload your photo.
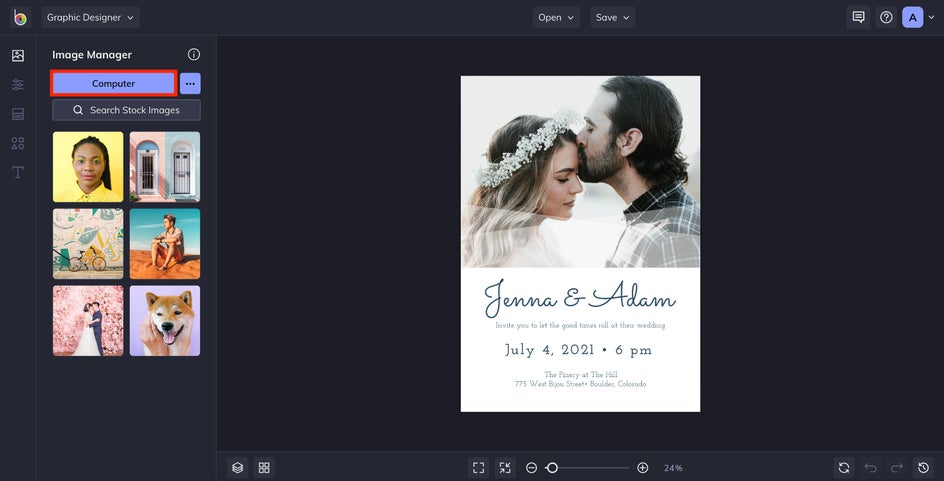
Your photo will now appear in the Image Manager. You can drag and drop the image to paste it directly into the preset image field.
Now that you have your template selected and a photo added to your Save the Date. Let’s play around with the text and graphic elements.
Step 4: Add Text
Each template comes with unique text combinations. However, you have the freedom to create your own blend of fonts.
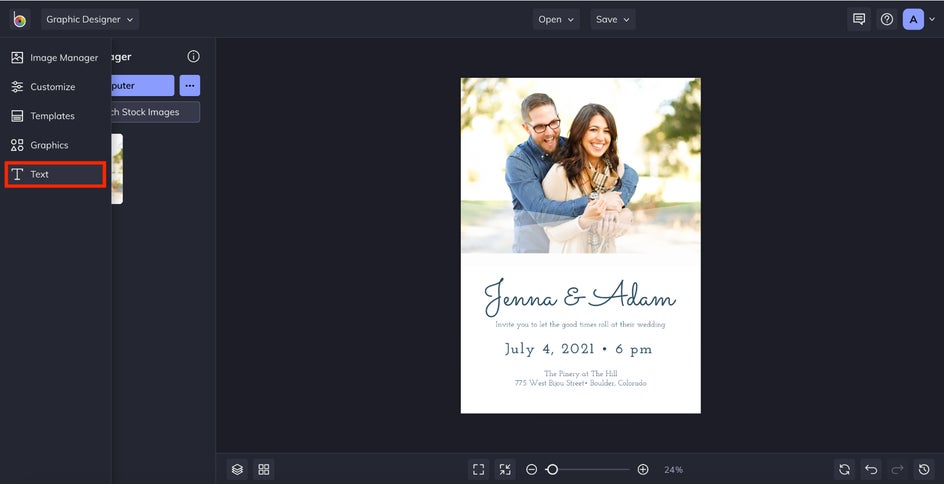
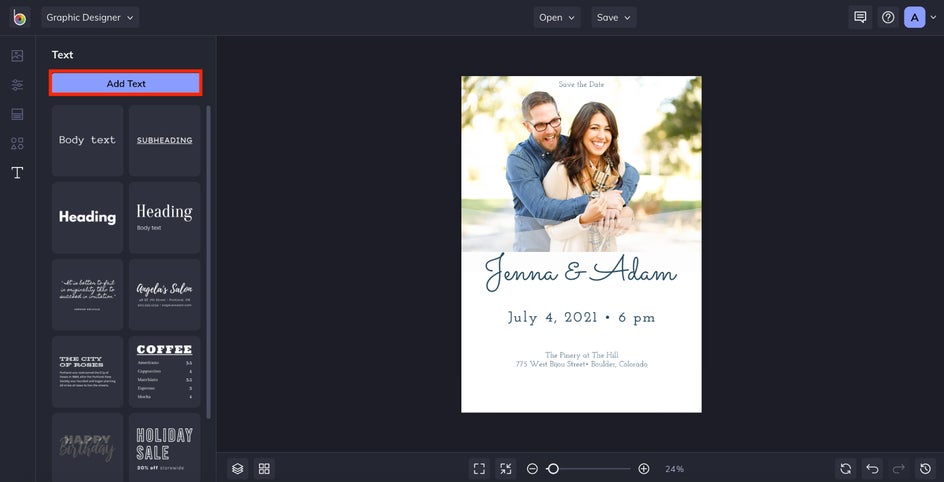
First, take note of all the information you need to add to your Save the Date. Date. Then, navigate to the left icon menu and click the bottom icon that looks like a capital T. This is the Text Editor. Either select the blue Add Text button or choose a font from the options below to add text.
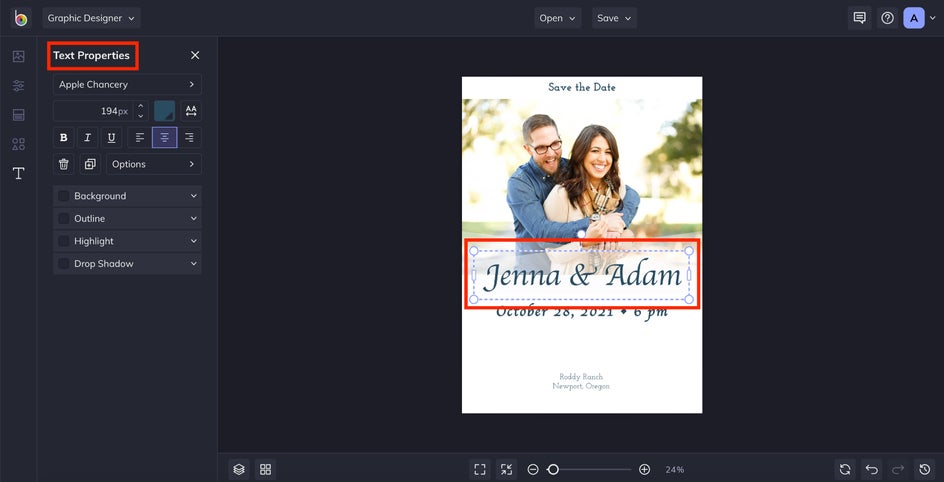
When you’ve selected a font, you can choose its size by clicking into each text box on the template. This will open a panel that allows you to make the text bold, italicized, and more. You can also play around with adding a highlight or shadow to the text.
Step 5: Add Visuals
Along with your photo and text, you might want a few dainty visual elements on your Save the Date. Many templates come with these features already in place. Feel free to move them around or change their colors to match your photo. However, if you want to add graphics from scratch, here is how you do it.
Second, from the bottom of the icon bar is Graphics. Click this icon.

You can choose to upload your own graphics, add basic shapes, or peruse BeFunky’s graphics library. In this example, we’re going to select from the graphics library. Click Search Graphics and you will land on a page with a huge range of graphic options. Here, we selected Geometric Shapes in the left-side menu.
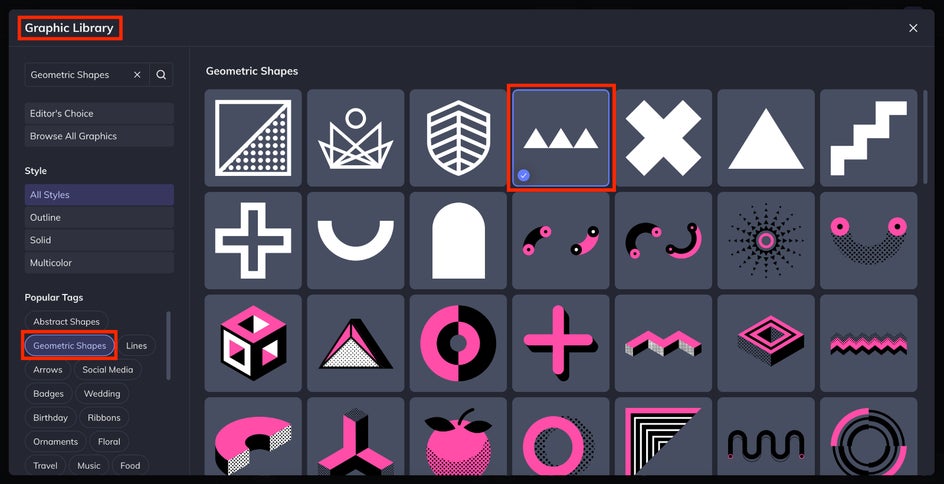
Next, it's time to select which graphics you’d like to add. After confirming that all of your selections are outlined with blue checkmarks, simply close out the Graphics Library.
The graphic you chose will now appear in the left column under Your Graphics.

Double click or click and drag the graphic for it to appear on your Save the Date. Use the dots at the corner or drag the dotted lines surrounding the graphic to adjust its size and shape. To change the color, click on the graphic, followed by Graphic Colors, found under the Graphic Properties menu on the left.
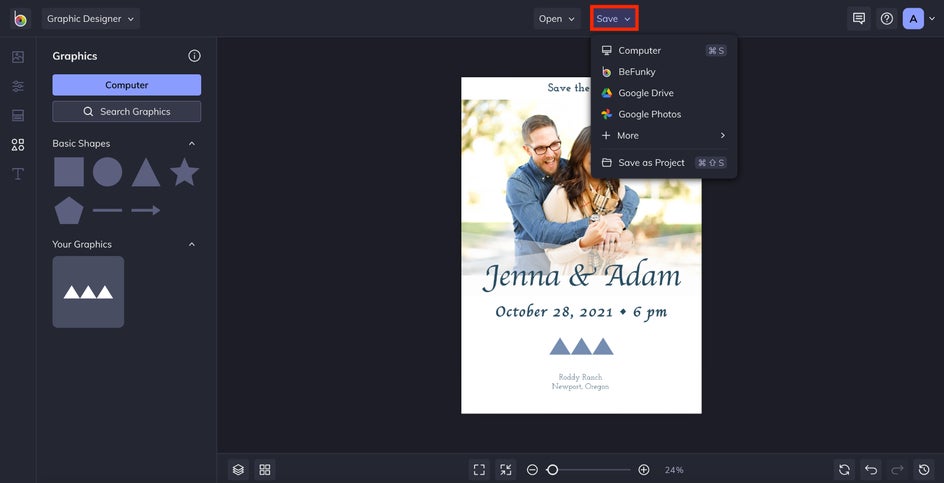
Step 6: Save Your Card
The final step is to save your Save the Date card to your computer. Click on the Save dropdown menu at the top of the screen and save it to wherever makes the most sense for you.
Create Your Own Save the Dates
By combining different fonts, graphics, and photos, you made a Save the Date card that your friends and family will be excited to receive. Designing your own save the date is easy with BeFunky’s Graphic Designer. Its features are easy to use, which makes designing Save the Date cards for your wedding a breeze. Take this step-by-step with you as you design your stunning and creative Save the Date.