Spruce Up Your Food Photos
I've written about some of my guerrilla food photography methods before. In case you missed it, here is a link to some of my unconventional, not-a-professional-photographer tips and tricks: Food Blogging: Photography & Styling Tips
What I didn't mention in that post is how I like to use photo editing apps to spruce up some of my not-so-well-lit photos. Lucky for all of us, the BeFunky mobile app, as well as the BeFunky Editor, allows us to do all of the below with ease—on the go or at home on your computer.
My tips will help you create subtle improvements and enhance your already awesome food photos...
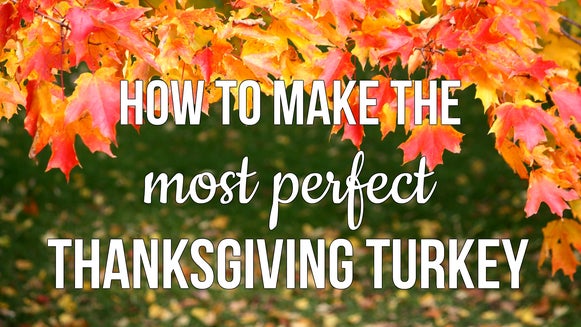
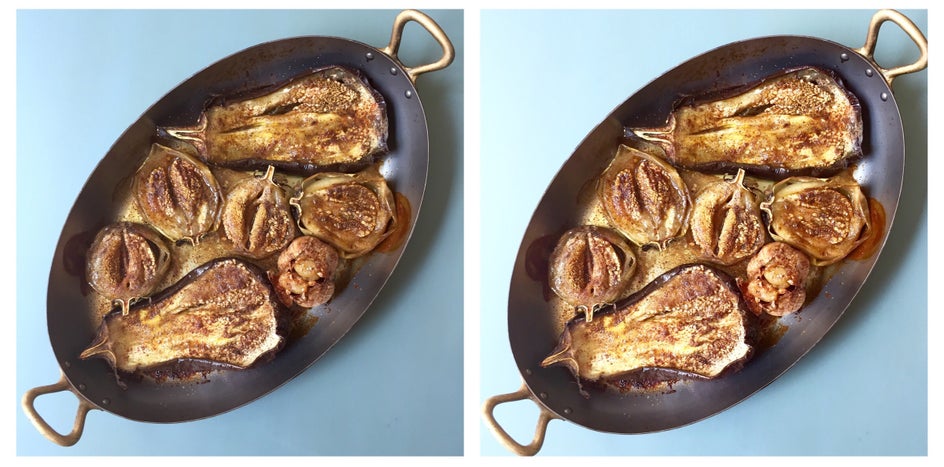
...like this!
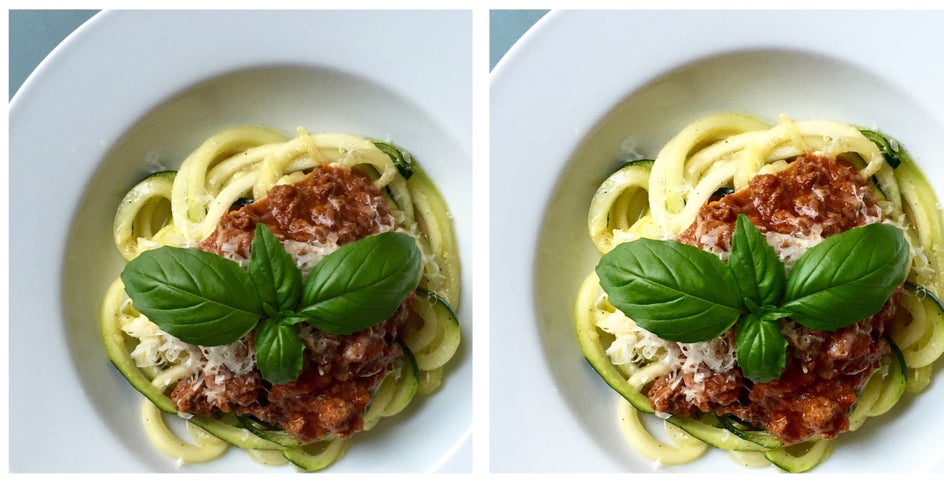
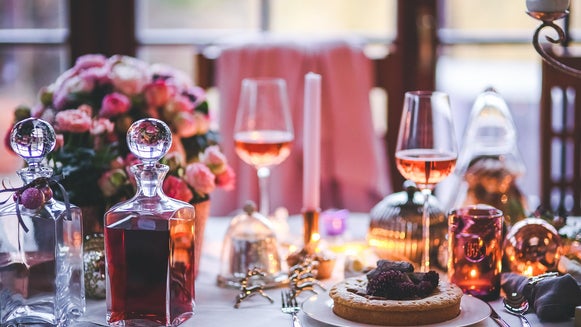
and this:
Here's how to make it happen:
1. Brightness
I use this on almost all of my photos. I am an advocate for natural light in food photos, but sometimes mother nature doesn't cooperate. Thankfully, every photo app has a brightness adjuster--heck, for that matter, every smart phone does in its camera settings. Don't go overboard here, just bump up the brightness a bit, and I'll tell you how to make it even more perfect in my next step.
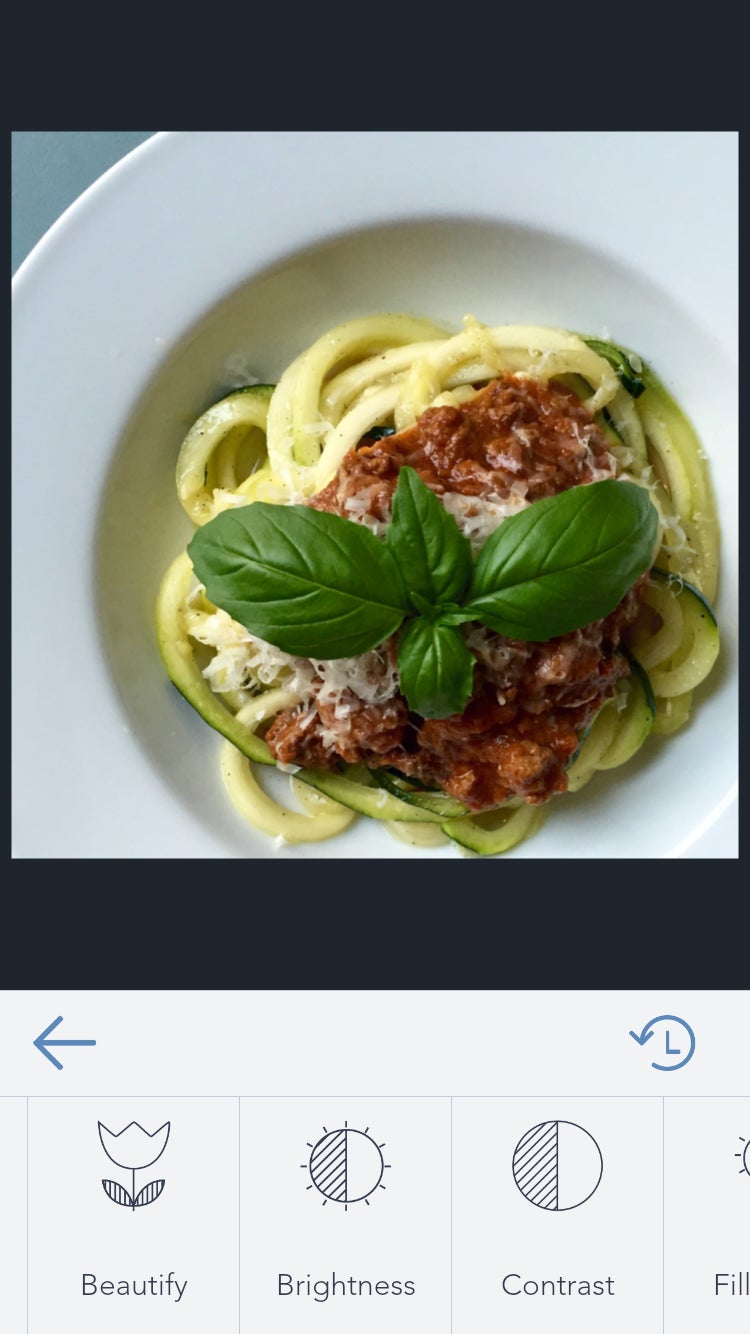
2. Contrast
Once you brighten your photo, don't worry if it looks a little washed out. You can easily fix this by adjusting your contrast. I use the brightness/contrast combo almost exclusively. It really enhances food photos and avoids harsh filters that, in my opinion, just don't belong with food.
3. Sharpen
This is the final step, the shiny top coat, the magical sprinkling of fairy dust. Don't slide it all the way over to the right though or your photo will look grainy and artificial. Just with the brightness and contrast, just bump it up a little. Use your instincts here, You want it to do just what it says: sharpen. You will see it coming into sharper focus, you will notice details coming out of the shot. Once you see that, and it looks natural, STOP. Something neat with BeFunky app is the "Smart Sharpen" feature. It is just what it sounds like--an auto sharpen tool that takes the guess work out for you.
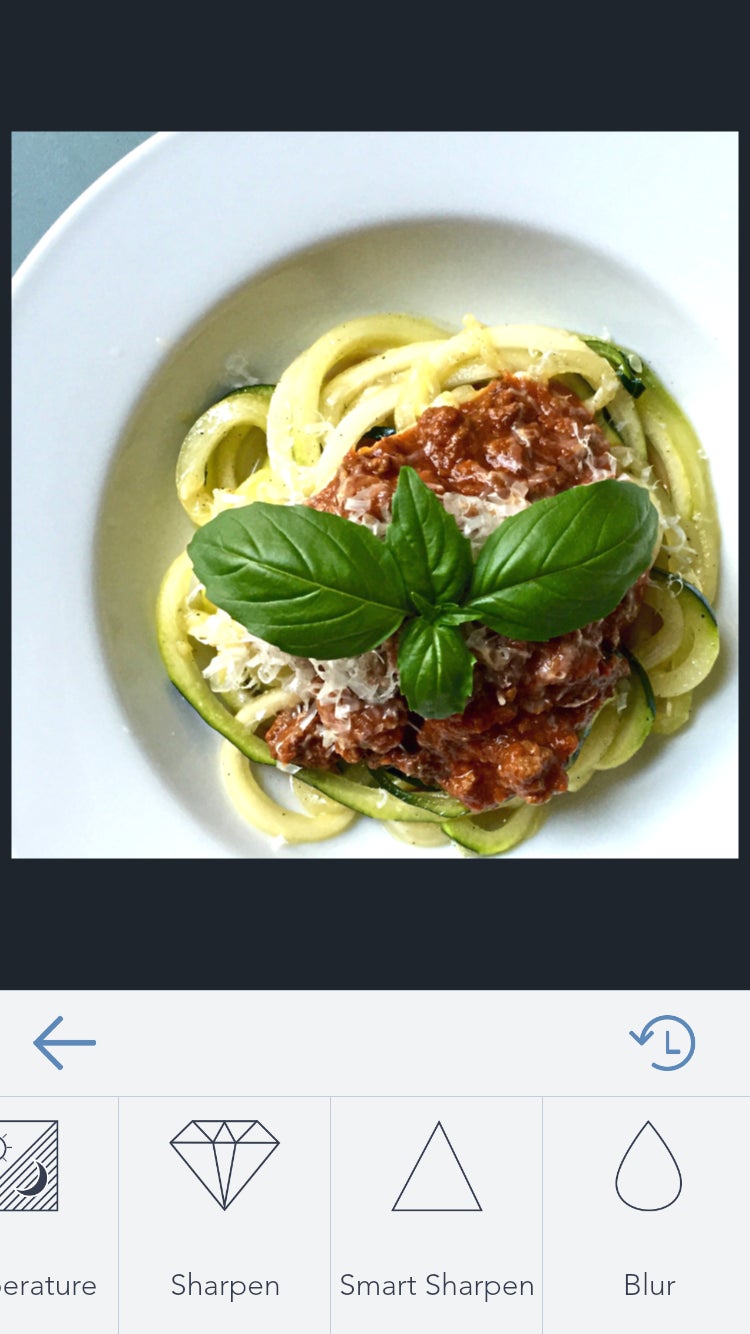
4. Soften or Blur
This is optional, but depending on the angle or how much stuff/props/ingredients you have in your frame, this can be a really nice touch. For example, if you have one main dish and maybe some ingredients in the background, it can draw the eye to what your main dish is if you allow the background to blur or soft focus a bit. I rarely use this, but I have admired many photos where it is used quite beautifully.
5. Take a little help from the app
As much as I do encourage you to use your instincts and think on your own, it's fun to let the BeFunky app help you out. I mentioned the Smart Sharpen feature, but all of the other features I mentioned here will automatically "correct" for you.
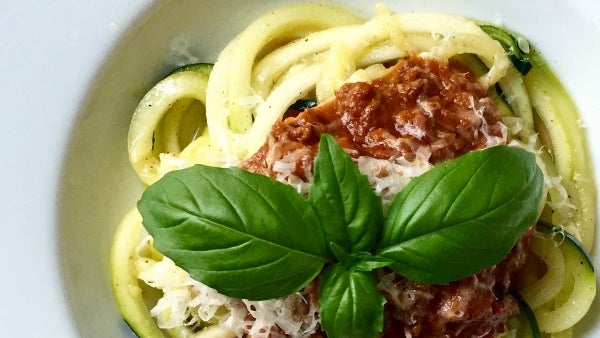
I hope you love my tips, now go make yourself some zoodles (or is it vasta? Vegetti?) and snap a few gorgeous pics while you're at it!