An Introduction to BeFunky’s Textures
Editing photographs is hard work. Easier with BeFunky’s Photo Editor, but still, it can take time to adjust the color, lighting, cropping, and other aspects of an image until you have it just right. And at the end of all that, it sometimes still feels like something’s missing!
If you’re ever unsatisfied with the end result of your editing, the Textures tool has your back. These subtle overlays allow you to add finishing touches that complement your image perfectly. When used correctly, Textures can lend your photography that je ne sais quoi that it was missing, giving the impression of a more complete image.
What Is a Texture in Photography?
We know the word “texture” generally refers to the touchable qualities; to determine an object’s texture, just imagine what it would feel like under your hand. In photography and editing, the idea is similar. Textures are images that can be overlaid with your original photo to add a physical quality. Many texture overlays mimic a real-life texture, like the roughness of paper or the weave of fabric. Others add light leaks and other effects that are usually only achieved during the photographing process.
Getting started with Textures is a simple, if experimental, process. We’ll give you a run-down on how to use them and what they look like in finished edits, but feel free to play around with them on your own! You’ll figure out which textures work best for you, and what contexts you’d prefer to use them in.
How to Add a Texture to Your Photos
There are 10 different Texture categories available to you in BeFunky, and each one can be customized to your needs. Just open up an image in BeFunky’s Photo Editor and click the Textures tool available in the sidebar.
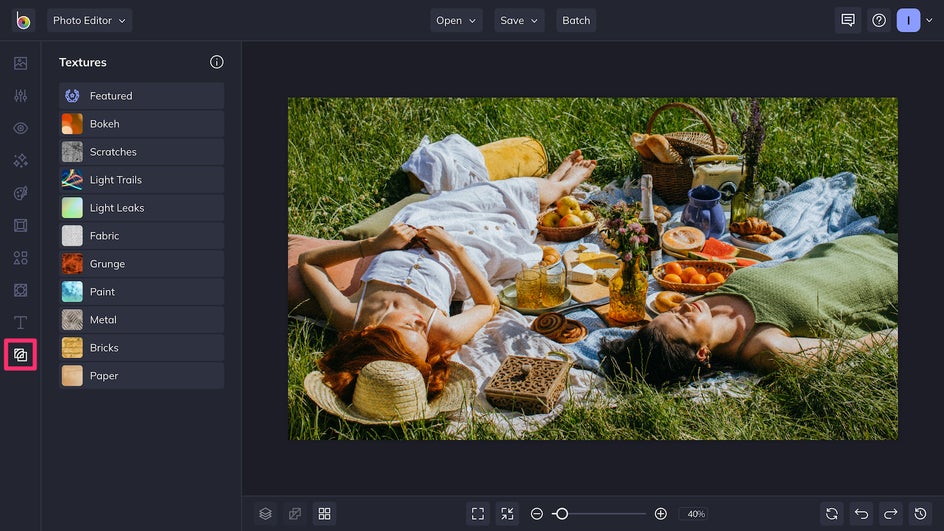
First pick your category, then the exact Texture you want, and voila! You can adjust the opacity of the Texture right here, and if you’re satisfied just click the Check Mark to apply. If you want to customize your Texture further, click the Adjustments icon on the left.
Rotate or flip a Texture to get a slightly different look, or to make sure your subject stays in focus. Scroll through the Blend Modes to make sure the Texture blends seamlessly with your original image.

Once you’ve adjusted the Texture to your liking, don’t forget to Apply the effect. Then, just Save the finished product to your computer or BeFunky library!
10 Textures for All Your Editing Needs
Different Textures work better in different contexts. Not all 10 types of Texture will look great on the same image, but three or four (or more) definitely will! What Texture you use also depends on what kind of mood or effect you’re trying to achieve. Here, we’ll give you a run-down of each type of Texture and give you some general advice on how and when to use it.
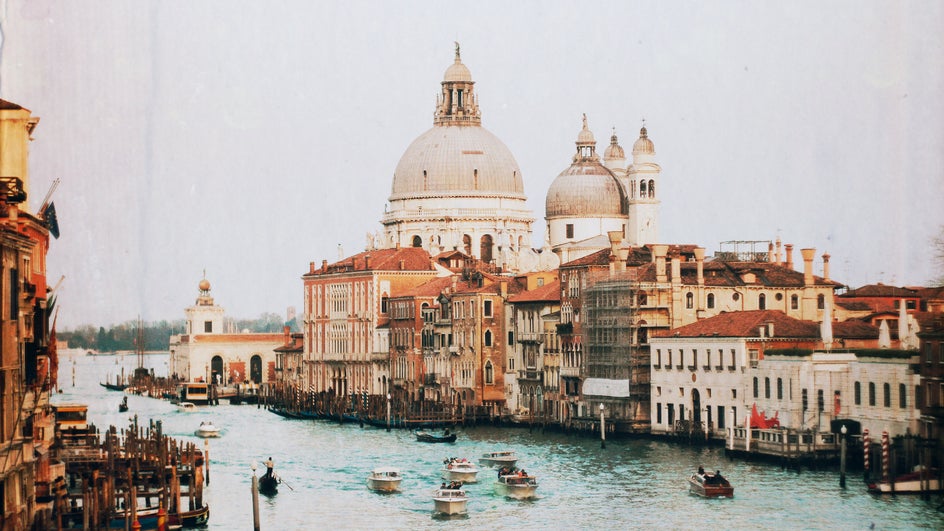
Bokeh
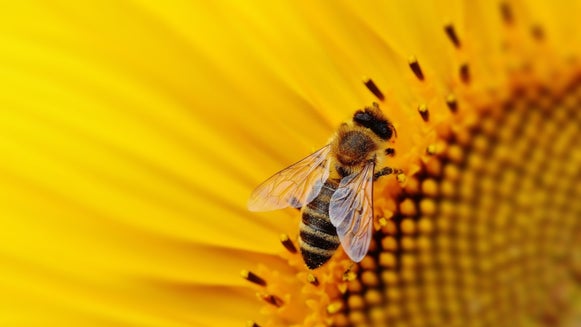
Bokeh, from the Japanese word meaning “blur,” is usually used to describe the big, soft circles of light that sometimes appear when a photo is partially out of focus. Using a Bokeh Texture on top of a city shot looks natural but adds a certain dreaminess. Use Bokeh whenever you want to mellow out a photo or make an image more romantic.

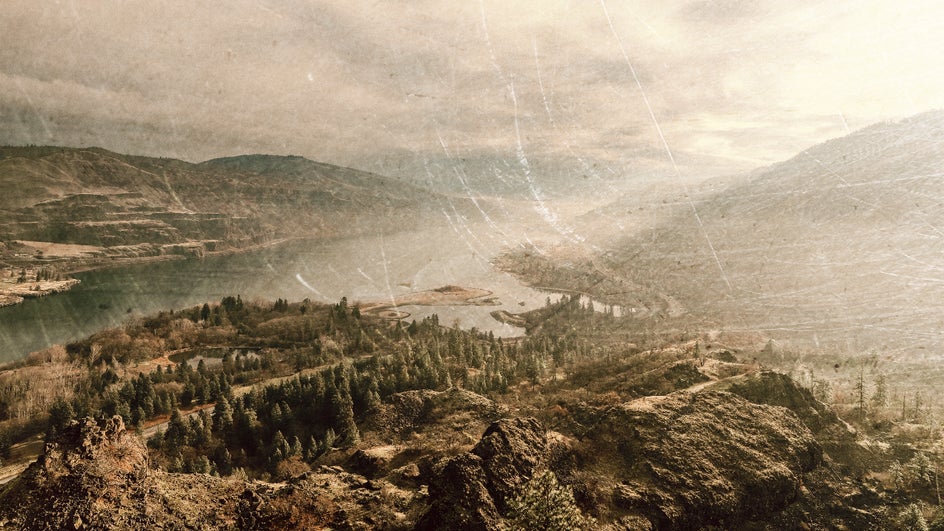
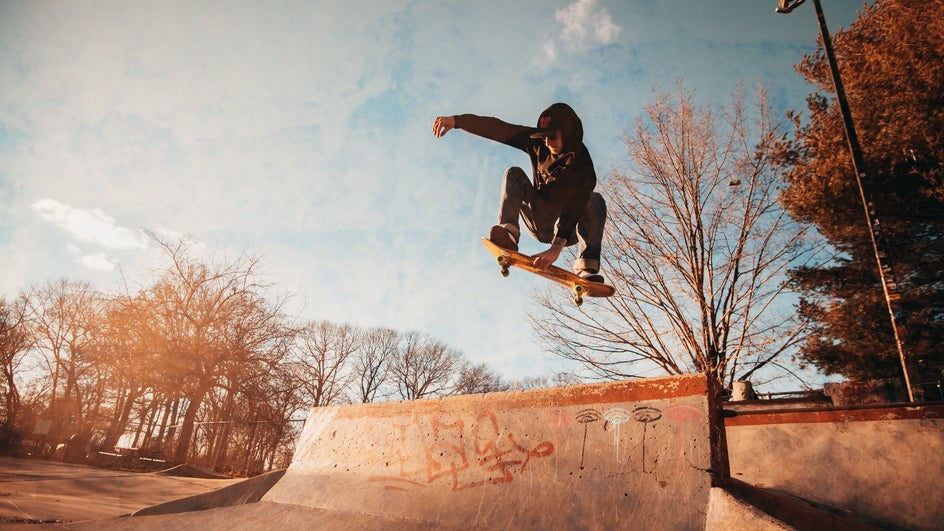
Scratches
Scratches give an image some wear and tear, making it feel more familiar and nostalgic. Try using it with the Sepia Effect to emulate the look of an old film photograph.
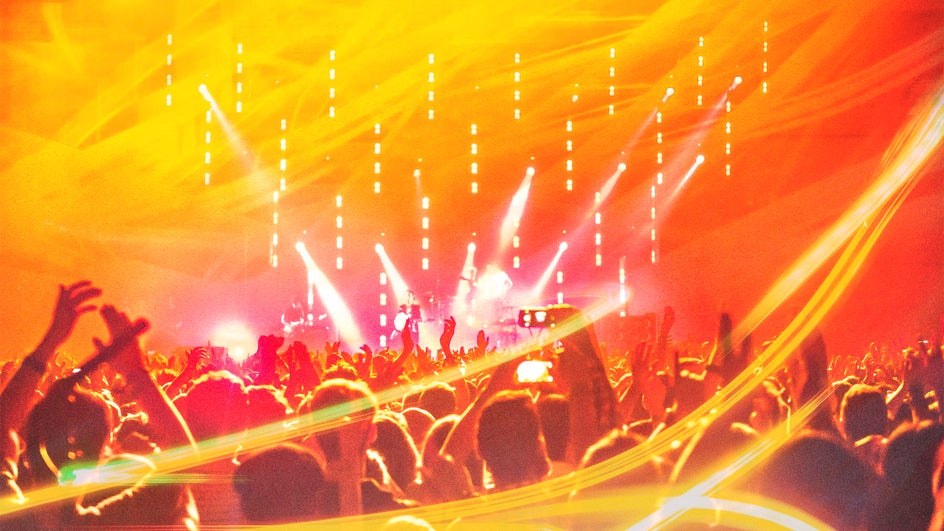
Light Trails
Light trails are typically the result of a photographer using long exposure to capture an area of moving light, such as a highway or the night sky. With Light Trail Textures, you can add this same intriguing effect to any of your photos.
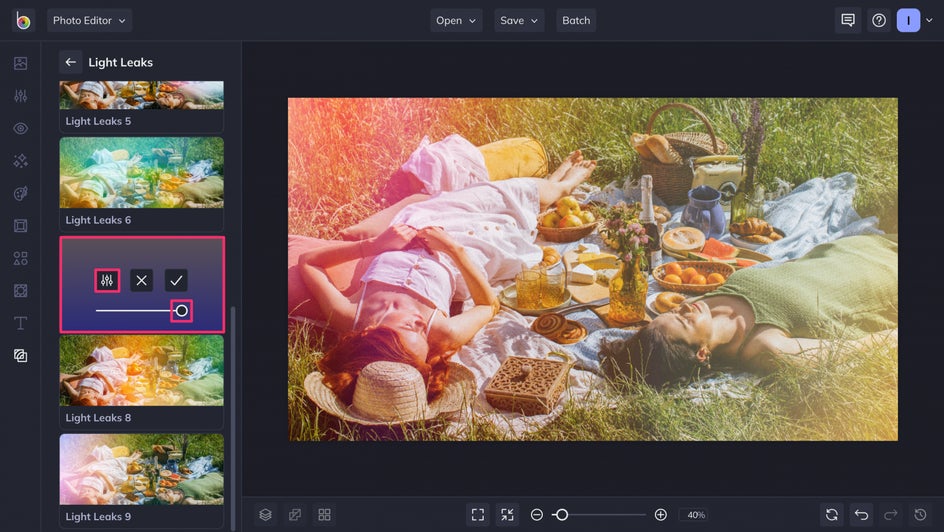
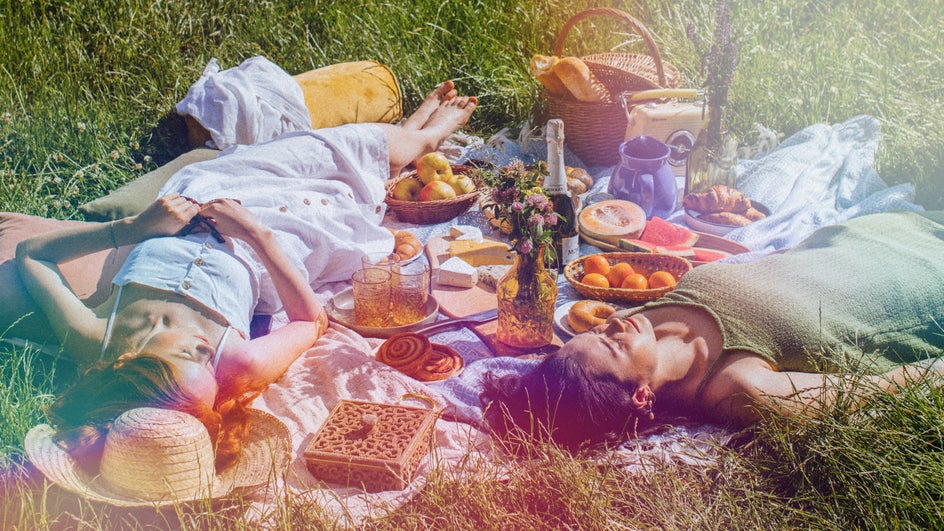
Light Leaks
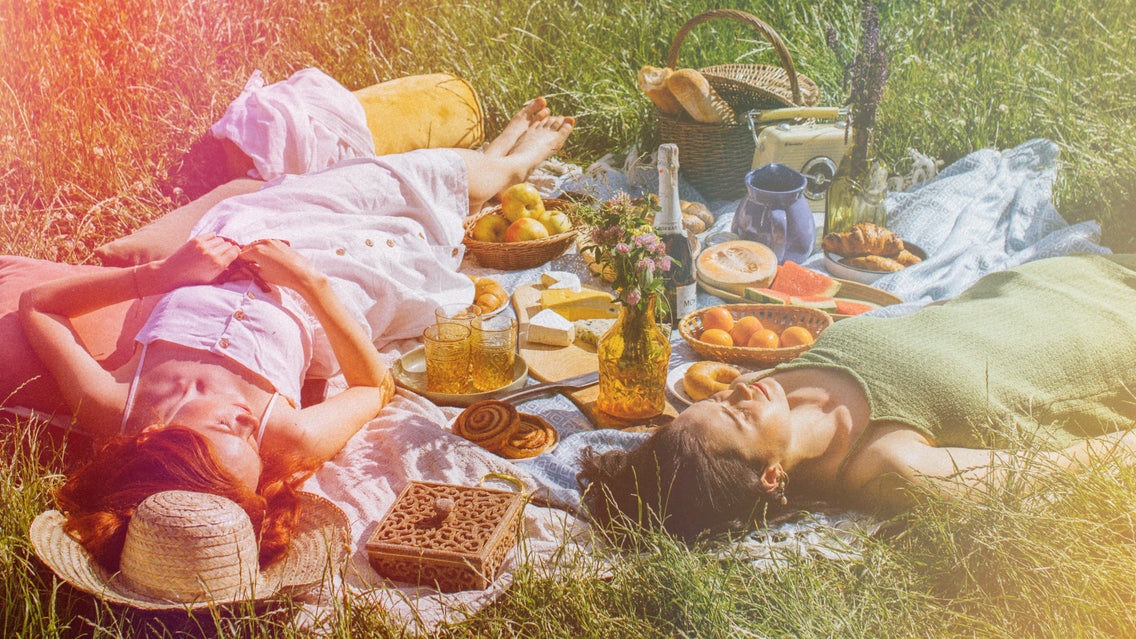
Light leaks are usually found in the realm of film photography, as they’re the result of rolls of film being exposed to light too early. But when used intentionally, a Light Leak can add a beautiful sense of color and vibrance to a photo.
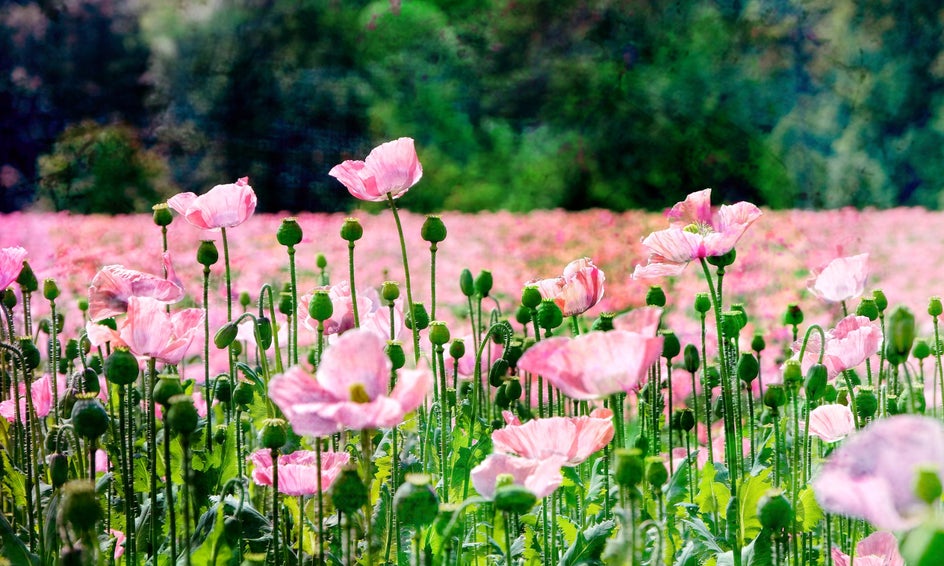
Fabric
Using Fabric will add a physical softness to your photo. You can almost imagine rubbing this Texture between your fingers. While the default Blend Mode for this Texture is set to Multiply, you can always change it to Screen or Soft Light for a gentler effect.
Grunge
Grunge uses gritty textures and intense colors to give your image a distressed punk look. Going for a vibe that’s a little rough around the edges? These are the Textures for you.
Paint
Paint Textures give the illusion of brush strokes and painted colors. Use them with your favorite landscape shots to bring their natural beauty to the forefront.
Metal
There are a variety of surfaces to choose from in the Metal category, but all of these Textures can add a strong physicality to your images. Their shine and texture are quick to attract the eye, adding character to any photograph.
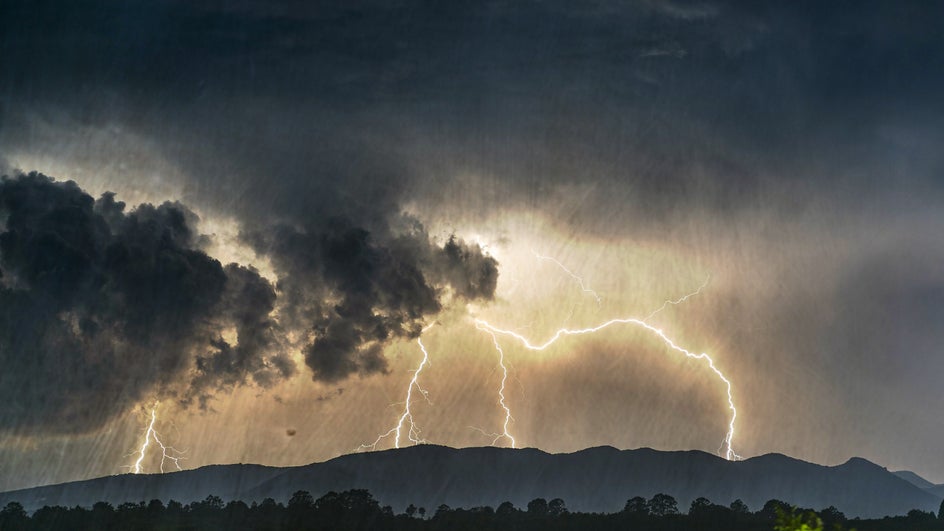
Bricks
The Textures in the Bricks category work best with harsher, more intense images. They add a roughness that pairs well with blank spaces and areas of high contrast.
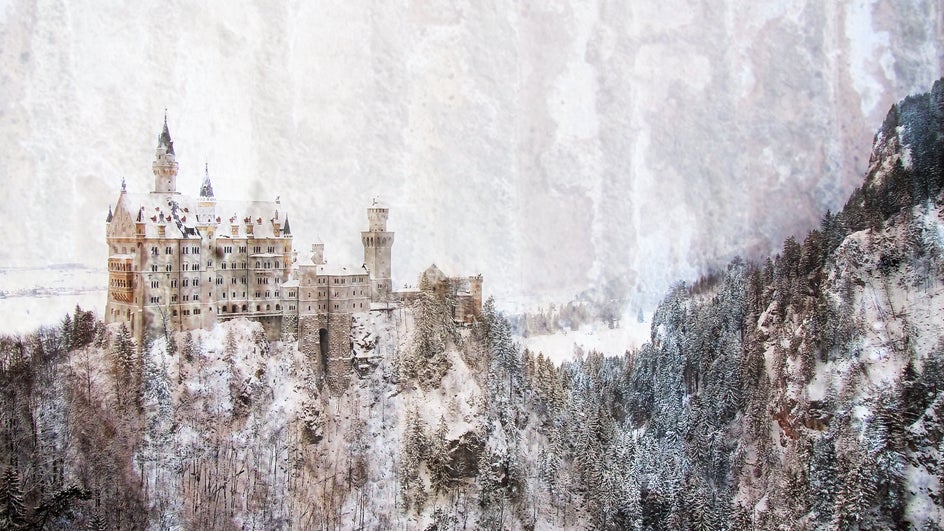
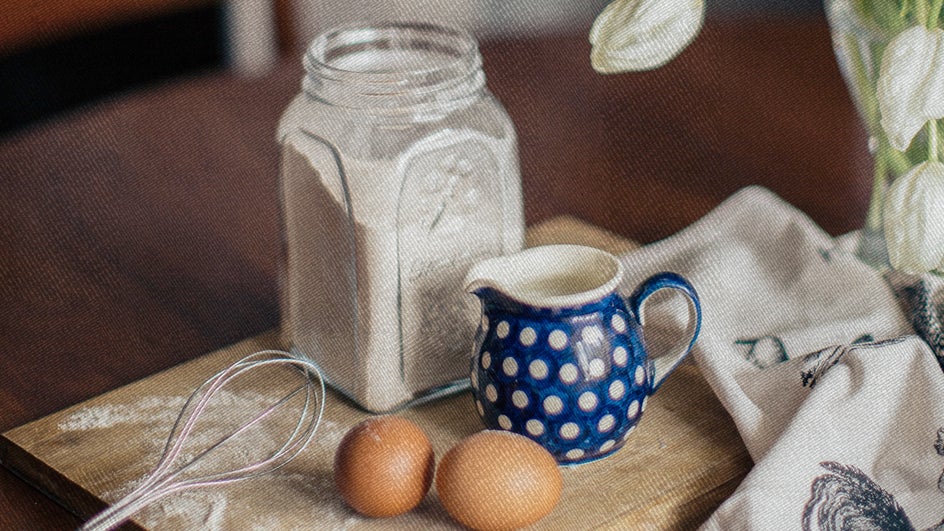
Paper
Paper is one of the most classic texture overlays. Much like Scratches, it gives your image a nostalgic, worn-down feel. It also adds a layer of realness that can lead to your viewer interacting with your photography on a deeper level.
Add Finishing Touches to Your Photography with Textures
We’ve given you some ideas on how to use Textures to make your photos look more polished, but there’s nothing better than experimenting with them yourself to find out what works best for you. Within these 10 categories, there are dozens of Textures total, all capable of adding a new level of visual interest to your edited photo. Don’t forget, you can always customize a Texture to your liking, or even use more than one to achieve the exact look you want. There’s an endless array of combinations to discover. Just upload an image to the Photo Editor to get started!