The 10 Best DIY Photo Projects
We all love to take photos to capture special memories, loved ones, or even our beautiful surroundings. While a framed photograph can be a quick way to showcase your favorite images, why not create something that is so much more unique?
The following projects are not only some of the most fun (and easy) DIYs I’ve come across on the web, but they also feature the most genius ways to turn your photos into displayable works of art. The best part is, you can also use the free BeFunky Photo Editor to get your images ready for their big transformation!
1. Photo Coasters Tutorial via One Good Thing by Jillee

With very few materials, you can turn your most treasured photographs into Polaroid style coasters that your family and guests can admire for years to come.
Photo Editor Tip: Achieve that lovely vibrant coloring in your own images before you print them by using the ‘Beautify’ tool in BeFunky’s Photo Editor. This will really make your coaster images pop!
2. Photo Collage Tutorial via Michelle's Party Plan It
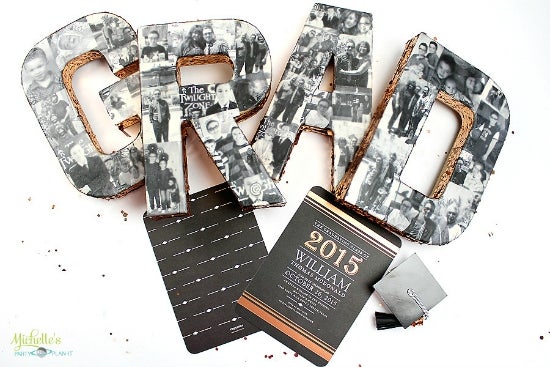
Celebrate your own (or a loved one’s) graduation with a bang, thanks to these eye-catching photo collage letters from Michelle's Party Plan It. These can also be displayed well-after the ceremony is over, as they make wonderful centrepieces to reminisce about.
Photo Editor Tip: This tutorial recommends using black and white images only, because they work harmoniously and compliment the gold foil design. Change your chosen images by selecting the ‘Black and White’ option under the Effect menu in the BeFunky Photo Editor!
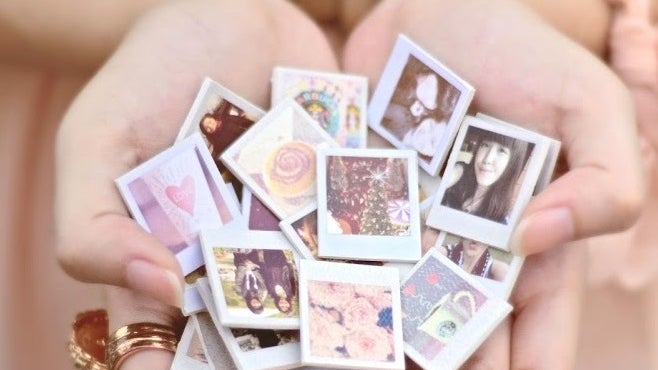
3. Photo Magnets Tutorial via Sundae Sins
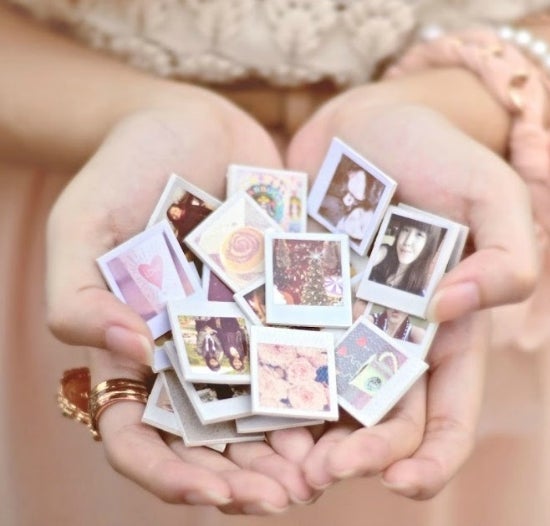
How great are these DIY photo magnets using your favourite images? They look just like mini Polaroids and also make the cutest gifts.
Photo Editor Tip: Did you know that you can also turn your photos into Polaroid look-a-likes by selecting the ‘Instant’ option underneath the ‘Frames’ menu in the BeFunky Editor? Too easy!
4. Tumblr Notebook Tutorial via Life Ann Style
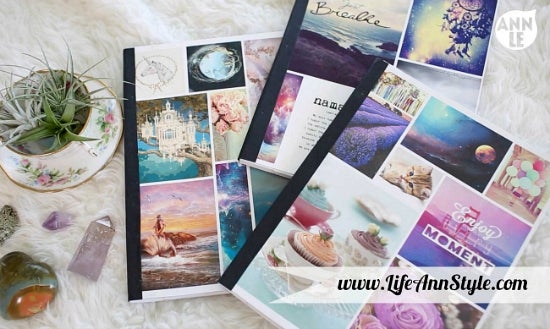
We all tend to use notebooks for various things, whether it be as a journal, for work, or even at school. This DIY project teaches you how to add some fun and flair to your notebooks using images which captivate and inspire you!
Photo Editor Tip: Create stunning and colorful overlays on your own images through using the various textures BeFunky has on offer – Light Leaks are my personal favorite!
5. Glowing Family Luminaries Tutorial via Our Best Bites

Not just for Christmas, these photo luminaries will provide awe in your home all-year-round. You can also do what Our Best Bites has done and create a collection of them featuring your loved ones.
Photo Editor Tip: This project works best using images with a lighter colored background. You can add some extra light to your images through using the ‘Exposure’ tool in the Edit menu.
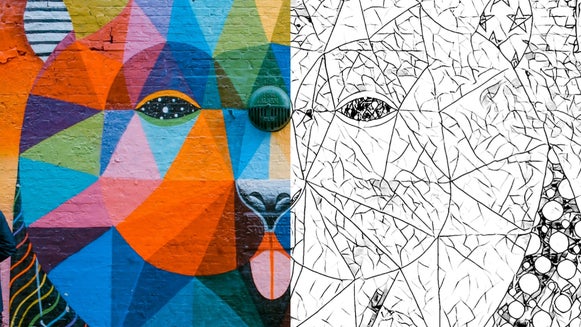
6. Instant Photo Transfers With Blender Pens Tutorial via Free People Blog

Take your scrapbook or journal to a whole new level by transferring your images onto your page, rather than simply cutting and gluing them. This gives your journal a beautifully nostalgic theme, don’t you think?
Photo Editor Tip: Before you print your selected images, edit them in the BeFunky Photo Editor to enhance their clarity and shadows. Both of these elements will allow your images to be that little bit clearer when you transfer them.
7. Photo Blocks Tutorial DIY via Craftibilities
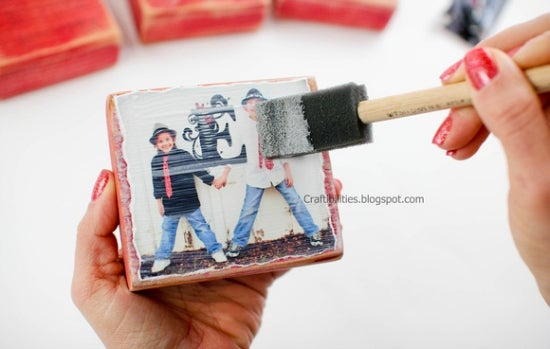
Kids love playing with wooden blocks, so imagine if their very own faces were on them too! Another fantastic use for this project would be to display the wooden block images, adding a rustic aesthetic to your décor.
Photo Editor Tip: You’ll want images which really ‘pop’ for this project, so be sure to edit them in the BeFunky Photo Editor first! Play around with options such as sharpness, contrast, and shadows to ensure they’re eye-catching.
8. Photo Clock Tutorial via Better Homes & Gardens
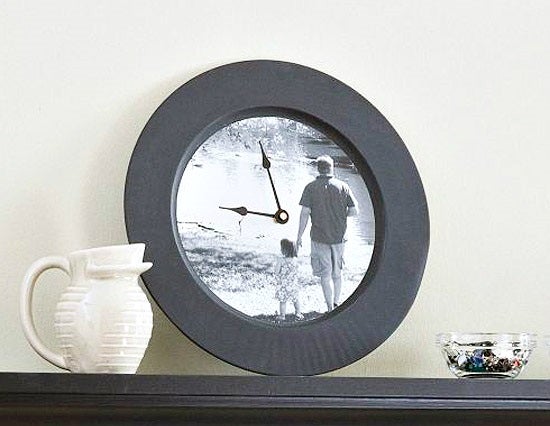
What could be better than preserving a precious moment in time (literally), by including it on your clock face? Now every time you check to see what time it is, you’ll be reminded of those special memories.
Photo Editor Tip: You can easily give your image a tint to ensure that it perfectly suits the color and design of your clock. Using the BeFunky Photo Editor, simply click on ‘Edit’ and then select ‘Color Filter’.
9. Photo Necklaces Tutorial via Lil Blue Boo
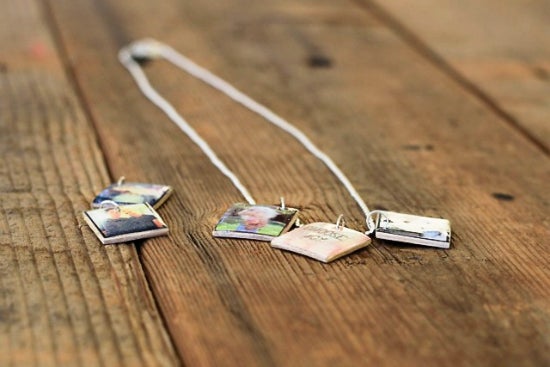
This genius tutorial from Lil Blue Boo teaches you how to turn your favorite images into mini pendants to hang on a necklace! This one is another great gift idea too.
Photo Editor Tip: This tutorial uses images featuring a black border to really make them stand out on the pendants. To achieve this look, select ‘Frames’ from the Photo Editor menu and have a play around with the different styles to see which take your fancy!
10. Transfer Ink to Wood Tutorial via eHow
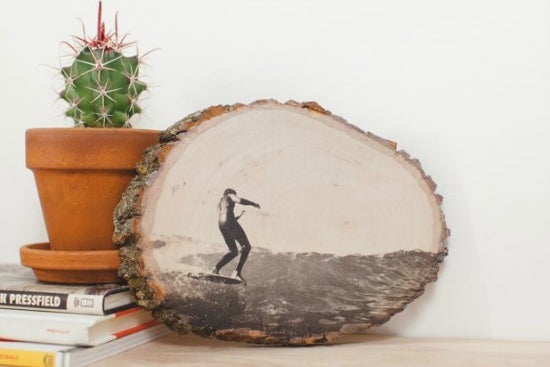
Rustic elements have made a huge comeback in home décor, and now you can celebrate this trend whilst showcasing your own images. Now this is a lot more creative than a simple photo frame!
Photo Editor Tip: If you love that sepia tone that the image in this tutorial contains, then you can easily achieve this using the BeFunky Editor! You’ll just need to click on ‘Effects’ before selecting ‘Sepia’.
Has this article got you in the mood to create? You'll also love reading about these top 5 favorite BeFunky tutorials!
Why not edit some of your favorite images so that they're ready to turn into displayable masterpieces? You can get started here: