The Science of the Selfie: How to Take the Perfect Photo

Whether you’re snapping a shot of your best Coachella look or trying to capture your new outfit in all its glory, there’s no denying the fact that there’s an art to the selfie. Born in an Australian chat room back in 2002 (seriously), the word ‘selfie’ itself is so much more than just a gorgeous photo snapped up here and there—it’s also a form of self-expression. With so many factors to consider including lighting, angles, the dreaded red eye and more, it’s no wonder why capturing the perfect selfie is a thing of wonder, an idea conjured up in a place far, far away.

Luckily, we’re here to help. While you can definitely whip up a masterpiece on the BeFunky online Photo Editor, today we’re going to show you how to create the perfect selfie with the help of the BeFunky mobile app (you darling perfectionist, you) and our Touch Up tools.
Step 1: Lighting
Any photographer worth his salt will tell you that lighting can make or break an otherwise great photo. Natural light is best: try and face directly into the sun when you can, utilizing that great light to prevent any shadows from forming across your face. Try and shoot during the “golden hour” at sunrise or sunset when light is abundant and most flattering to your face.

If your lighting is less than stellar, however, there’s a quick fix for that. Under ‘Effects’ you’ll find a tool for Brightness as well as Fill Light. Start with the ‘Fill Light’ tool to adjust darkened areas without affecting other portions of the image.
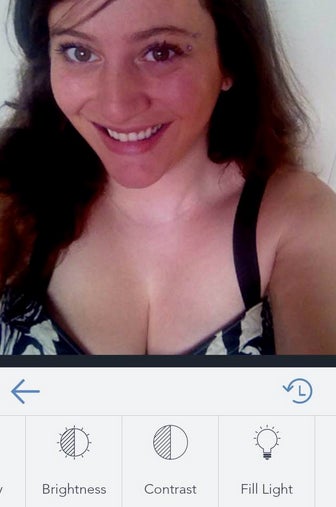
You can then play around with the brightness and adjust to your desired level.

Step 2: Find a suitable backdrop
You’d be amazed how much a good backdrop can add to the quality of your photo. Think of how your backdrop will frame your selfie (how does it affect the scene?) and try and look for a space that’s free and uncluttered. Any surfaces that are textured or have color are just added bonuses.
Step 3: Strike a pose
It’s called a selfie for a reason—it’s meant to communicate the real you! Be sure to always try and keep the most flattering angle in mind for your face. Playfully dubbed the ‘Myspace’ angle, shooting from above is always a good practice to have in mind. Raise the camera above you and look up to accentuate and slim your jaw, crack a smile and let the camera do the rest.
Now that you’ve got a good selfie to work with, let’s see how we can help you take that photo to the next level with just a few quick edits.
Step 4: Touch Up
Didn’t quite have time to adjust your makeup? BeFunky can take care of that for you, courtesy of a few bangin’ tools under ‘Touch up’. You can fix things like red eye removal, blemishes, and even wrinkles here. Let’s take a quick look at how to utilize the Touch up tools.
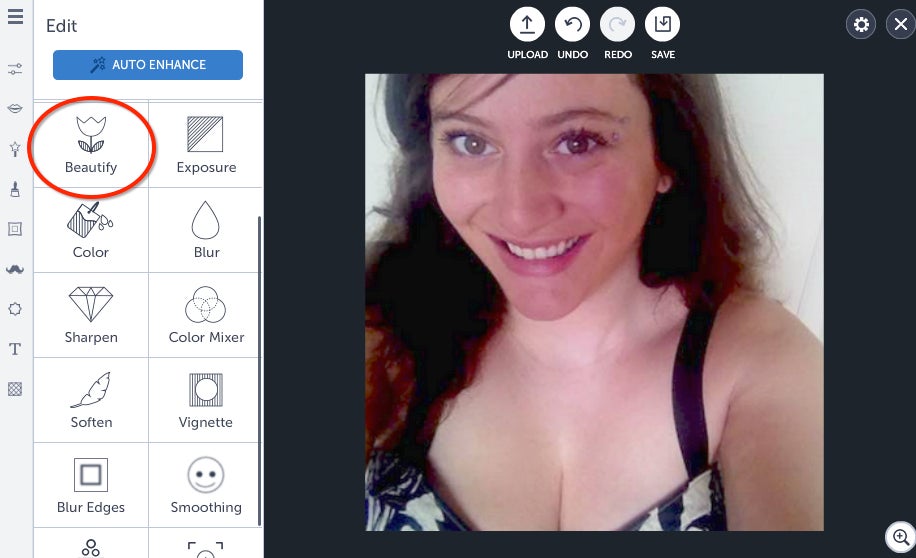
If you’re looking for a quick splash of color, you can start with the ‘Beautify’ tool under ‘Edits’ to get the party going and add a nice hint of a tan. You can alternatively select a bronzer tool for that purpose, too—more on that later.
Teeth whiten is a great, easy to use feature that’s guaranteed to make your features pop. Zoom in to the shot to close up on your teeth and adjust the size of the brush with the sliding bar below, then simply point and click:

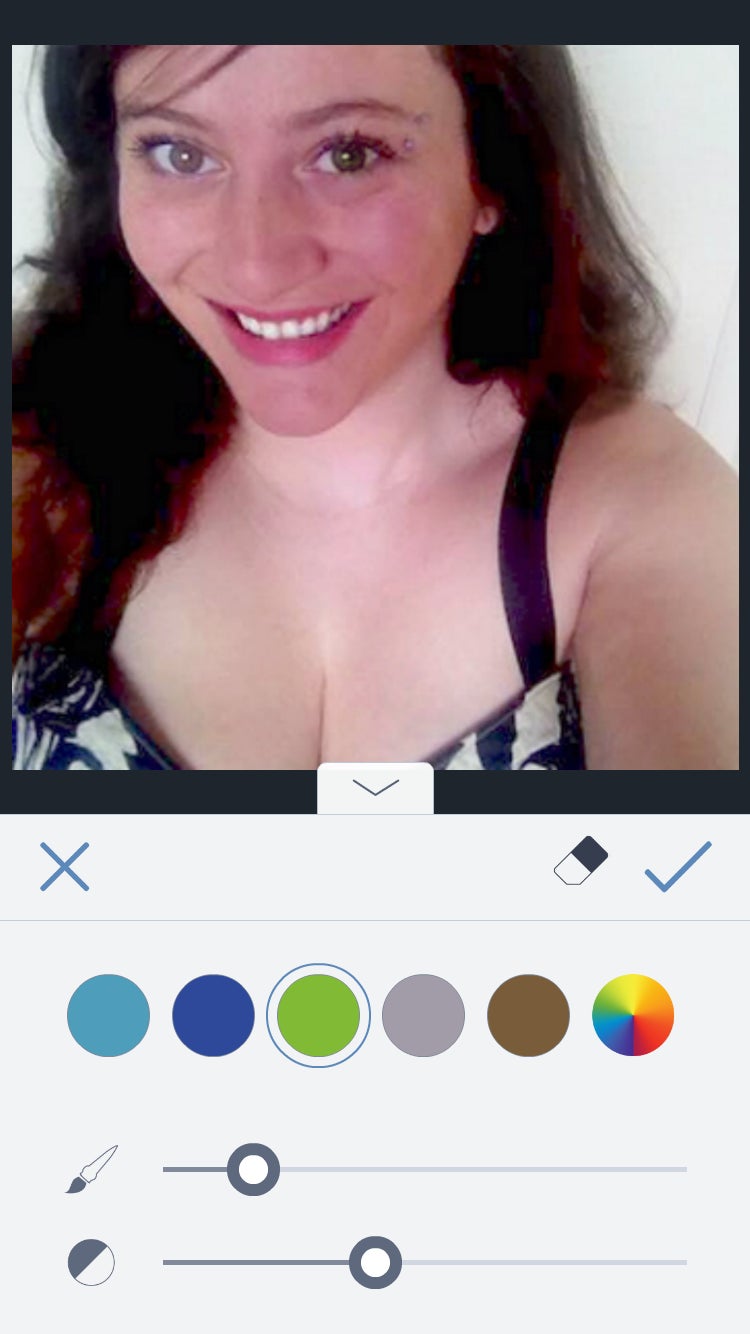
Eye color feeling blah? Select the eye color tool and pick either a pre-set color or choose a custom one from our color wheel. You can then adjust the size of the paintbrush along with the opacity using the sliding bars below. Click on the area you want to color in and fill.
Same goes for lipstick: choose one of our fabulous set colors or your own and fill in. You can undo any edit by simply pressing the undo arrow at the top right and selecting the last layer before your edit.

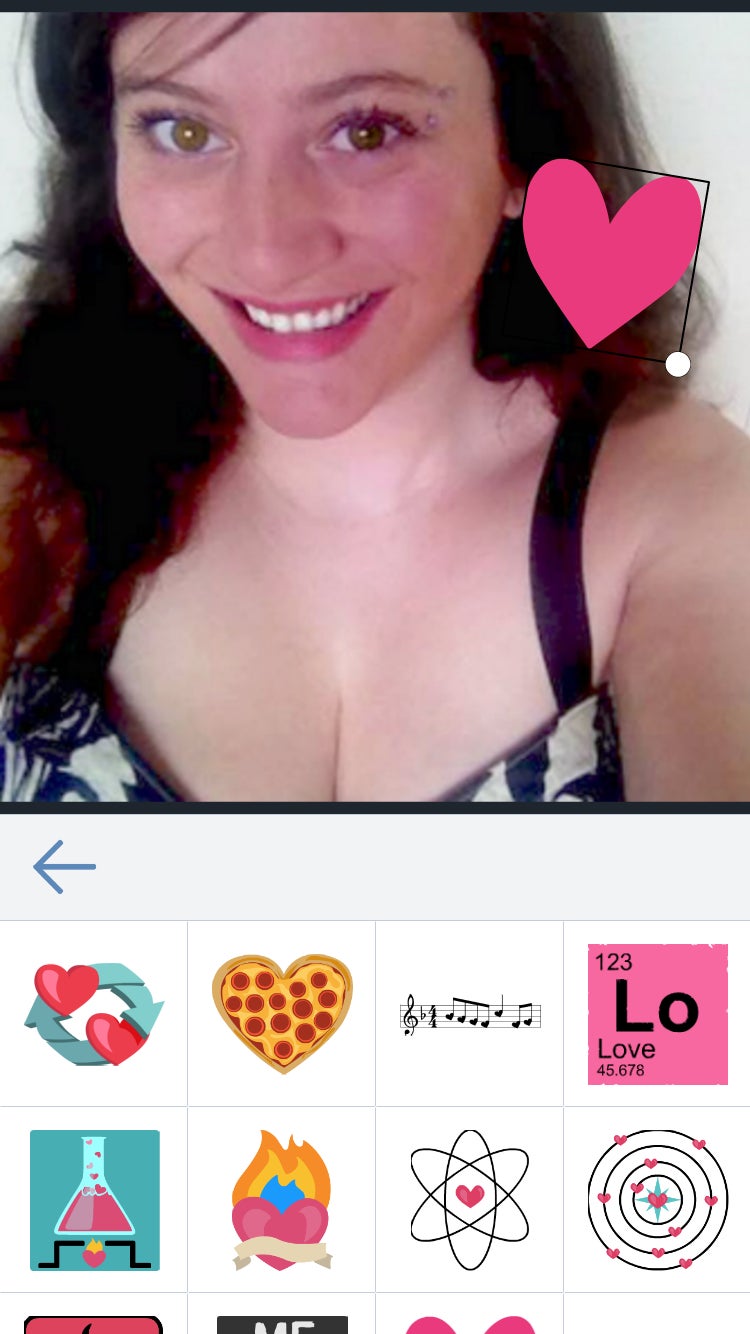
Add extra hints of glamor with the bronzer and blush tools to get some more of that rosy color if you like. Finally, if your backdrop is a little ‘meh’, spice it up with one of our goodies and add a sticker or two into the mix:
Voila—you’ve got it! The perfect selfie, as explained through science and achieved with a little help from your friends over at BeFunky.

Take pride in your new creation and upload it to Instagram, share it on Google Drive or even submit it to our Explore gallery. The choice is yours, so smile, take a deep breath and get to creating—we can't wait to see what you come up with next.