Time For Some Very Merry Updates: Cutout Tool, Funky Focus
Hey there you. Yeah, you. You’re lookin’ mighty fine today.
Now that I’ve got your attention (and hopefully a smile on your face, too), allow me to tell you about a couple of updates we’ve made to make the BeFunky Photo Editor to help make it just that much better.
Who says you can have too much of a good thing?
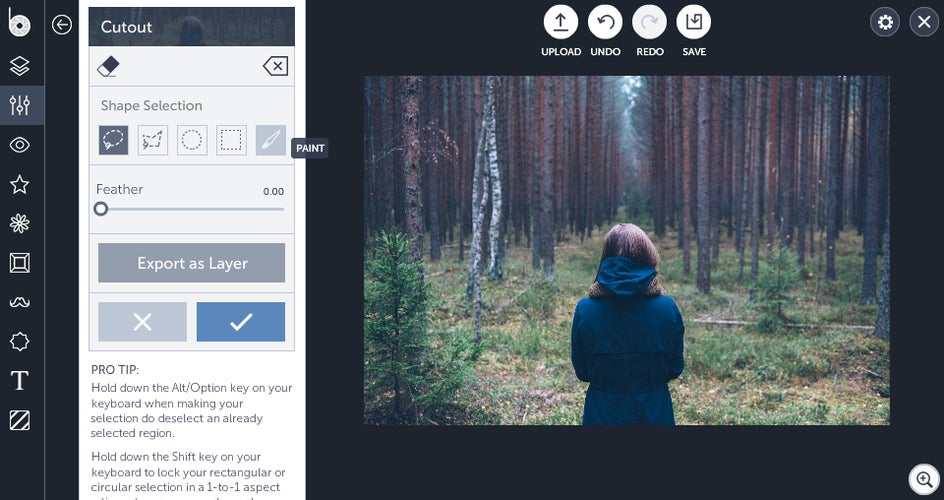
Cutout update: The new paint tool!
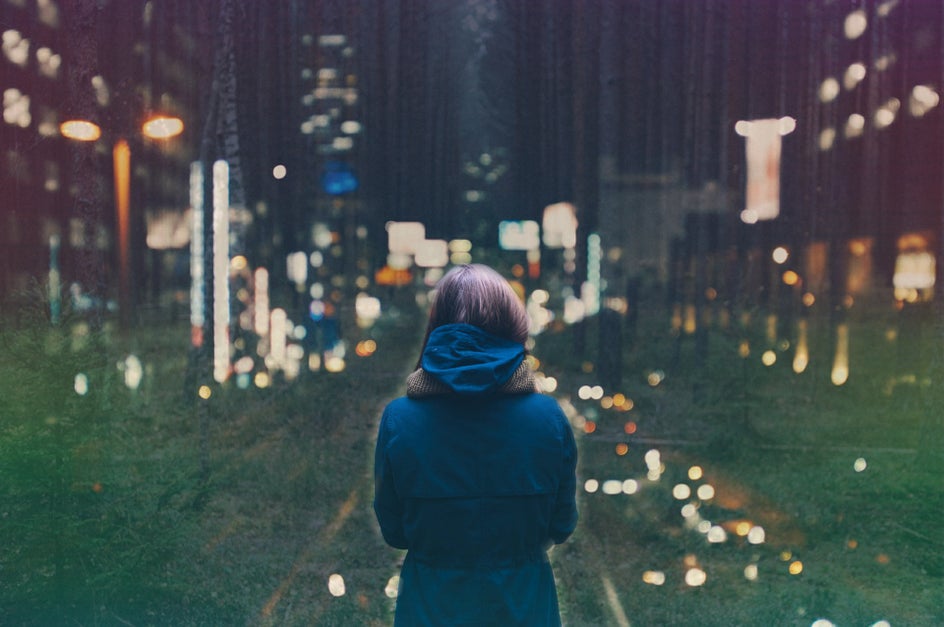
While I don’t know your exact business per se, I know that armies of you creative little geniuses use the Photo Editor for some pretty detailed creative work. What with the double exposure photography trend and all, if you haven’t gotten your hands on the Cutout Tool by now you must be trapped under some kind of giant rock. Say hi to Patrick Star for us if that’s the case.

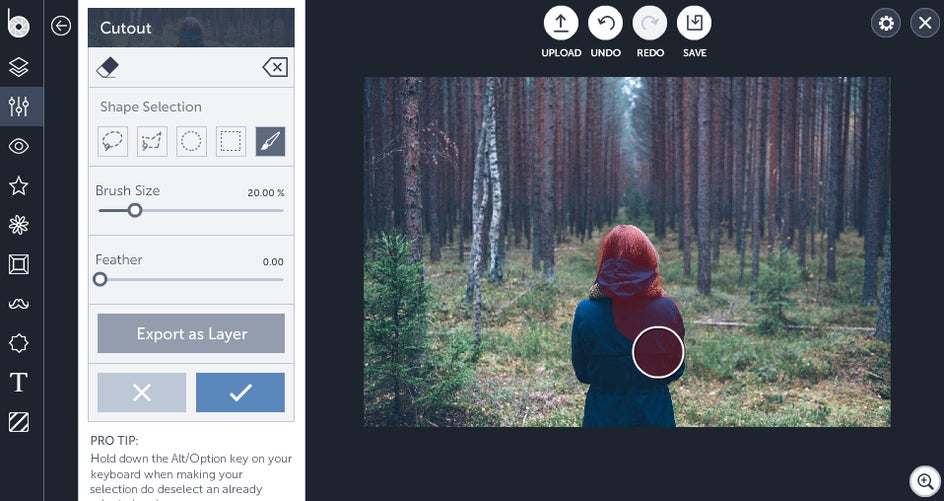
Because using the Lasso or Polygonal tool just doesn’t cut it when you’re working with something intensely detailed, we decided to find the method in the madness and added a new paint tool to Cutout. It works pretty simply: select it and just paint over the areas of your photo you want to cut out. No muss, no fuss.
Funky Focus
You all know and love Funky Focus as that epic tool which allows you to highlight a specific part of an image by blurring around its edges, but did you know just how much it could do?
We set out to revamp an old favorite, and I think we did a pretty bang up job of it. Lo and behold the newly improved Funky Focus:
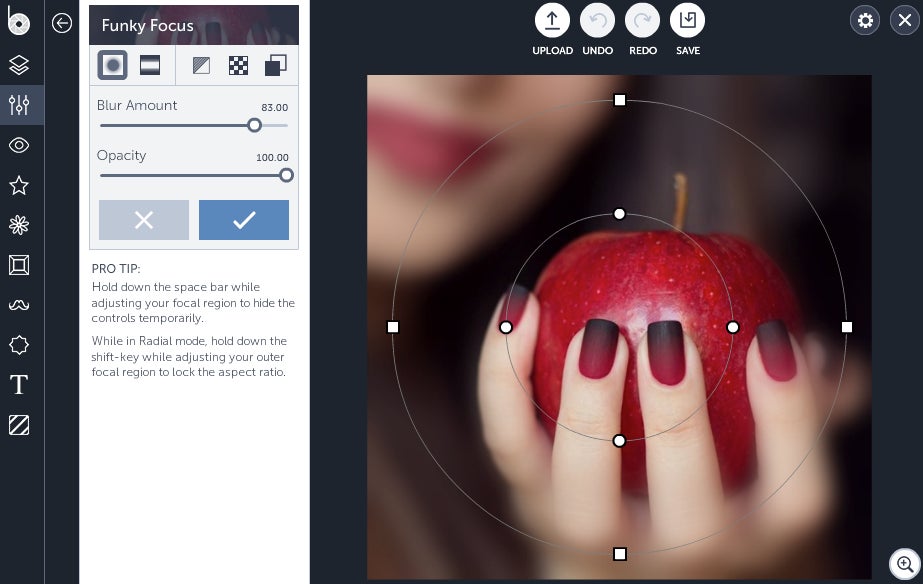
Let’s break it down a little, Fresh Prince style.

From left to right, you have 1) Radial mode (concentric circles) 2) Linear mode (lines, duh) in terms of the shape you’d like to use when blurring your image. I find that radial works well for instances in which you’re trying to highlight a specific area of the photo—product photography is a great example of this in action—while linear tends to favor landscape shots.

But hey, the fun of all this is that you’re the crafty wizard that gets to decide what’s what. Play around and find your niche, man. You’re the king of this castle.
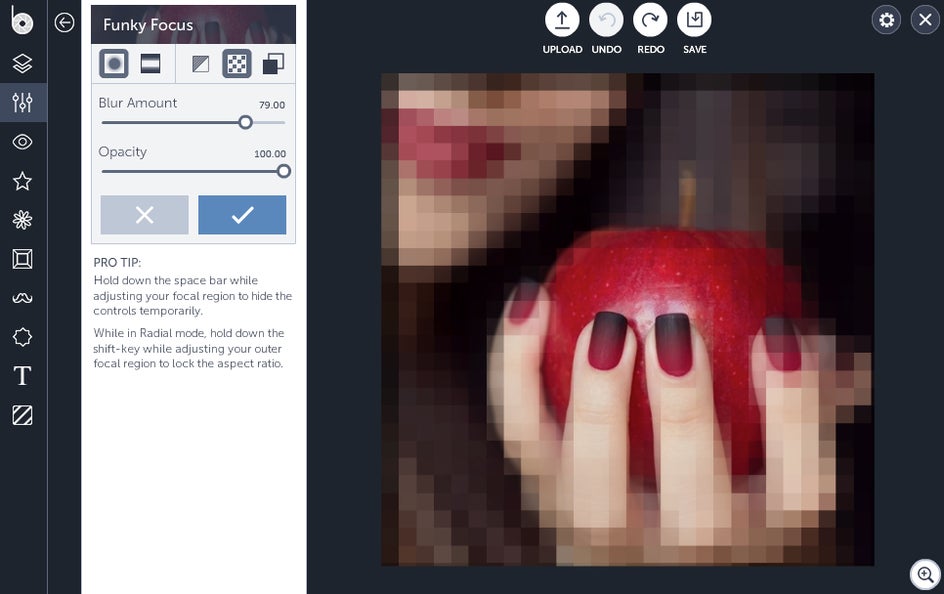
Once you’ve got your shape down, you’ll then want to think about what kind of blend mode you’ll want to use. From left to right again, you have: 1) black and white 2) mosaic and 3) reverse. Let’s take a look at each in action, just for funsies.
For life in 8-bit, try the Mosaic effect.
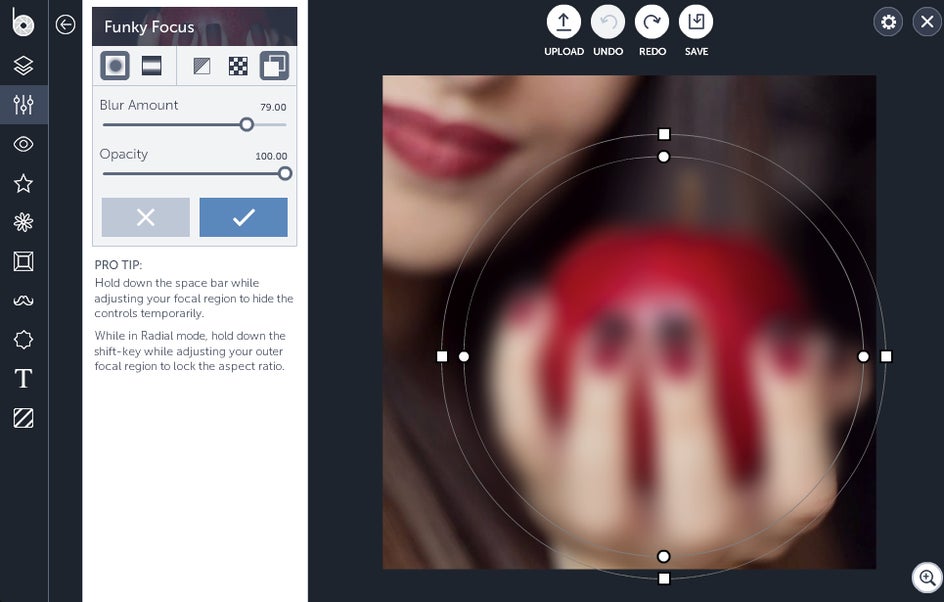
When utilized correctly, the Reverse tool can be a formidable ally. Click and drag your mouse to adjust your radius, then apply the effect only over selected areas rather than the entire photo:
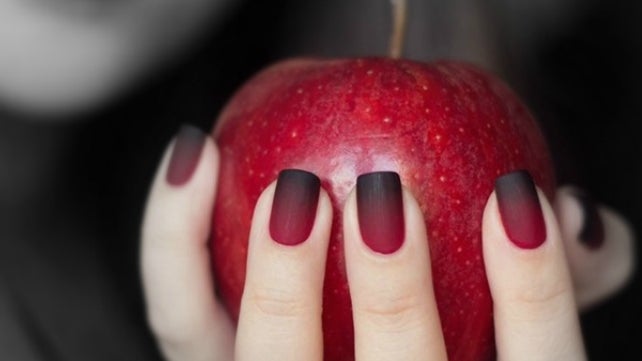
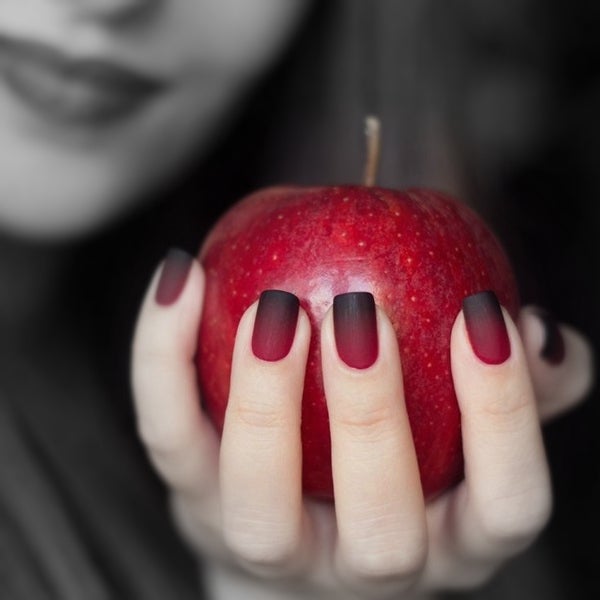
However, I think it’s clear to all that the black and white is clearly my favorite. The contrast of color between red and gray just yields this gorgeous, dramatic shot that I positively adore:
Show us what you've got.