5 Tips for Great Concert Photos

Concerts can be a lot of fun, so it’s only natural that you’d want to take some incredible photos to document the event. With their high movement, dramatic light changes, and low lighting, however, photographing concerts can be tricky – even for the pros.
Thankfully, it’s easy to improve your concert photography with just 5 simple tips. Ready to learn what makes a good concert photo? Keep reading!
1. Use a Low Aperture Number and a High ISO Setting
One of the major difficulties of concert photography is low light, as you'll most likely be photographing bands in a dark theater. To counteract low lighting, set your camera’s aperture to the lowest number on your lens, such as f/1.8. This will enable the maximum light to reach your sensor, allowing you to shoot with the lens wide open.
Keep in mind that you might need to modify your aperture setting as you move in and out of various lighting settings, such as strobes or flashes on stage during the performance. Starting at the lowest level offers the most flexibility, however, as you can simply increase the aperture when needed.
Additionally, the ISO setting on your camera controls how sensitive it is to light. A higher ISO increases light sensitivity and helps your camera sensor to respond to light faster. A high ISO is essential for photographing in low light since it helps to guarantee that your photographs are appropriately exposed and are not too dark or blurry.
During a concert, start with an ISO of 1600 and gradually increase to no more than ISO 3200 to compensate for poor light. Remember that using a higher ISO will result in additional noise or grain in your concert photos. However, it is typically better to have some grain and a fantastic image than a blurry or poorly lit shot.
2. Use a Fast Shutter Speed
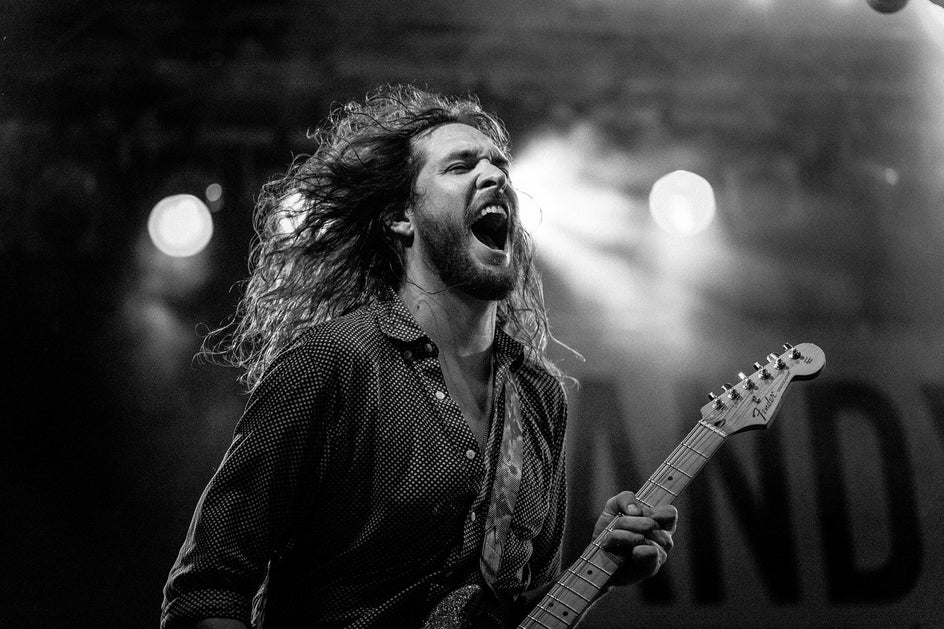
It’s also vital that you use a fast shutter speed for your concert photography to ensure you get sharp concert photos. Shutter speeds of 1/250 or quicker allow you to capture the action without blurring the image. This way, you can document the performers’ and the audience's energy while also accurately freezing any movement with your camera.
If the venue has low light but the band isn't super active on stage, you can consider switching to slower shutter speeds of 1/250 or less and still capture clean and crisp shots.
3. Avoid Flash Photography
For good reason, most concert venues don't allow flash photography. It not only irritates the musicians and blinds them as they attempt to perform, but it's also unflattering because it overexposes faces and creates an unbalanced photo.
Rather than using the flash, address low-light conditions by using your camera settings to ensure you capture the best concert photography every time.

4. Post-Processing Is a Must
Once you’ve captured your concert photos, the fun doesn’t stop there. In order to truly perfect your images, you’ll want to edit them using the must-have tools in the Edit tab of BeFunky’s Photo Editor.
The Crop and Resize tools are the easiest ways to adjust the composition or size of your photos. Additionally, you can adjust the Exposure of your image to ensure it’s neither under- nor over-exposed. You can also bump up the color and vibrance or use the Sharpen and Clarify tools to get sharp concert photos. There’s no limit to what you can achieve!
5. Make Your Photos Pop With Photo Effects
Whether it’s a warmer tone, black and white filter, or Holga art vibe – the right photo effect can truly transform your concert photography. During the post-processing stage, you also shouldn’t be afraid to experiment with different effects to see what makes your image pop.
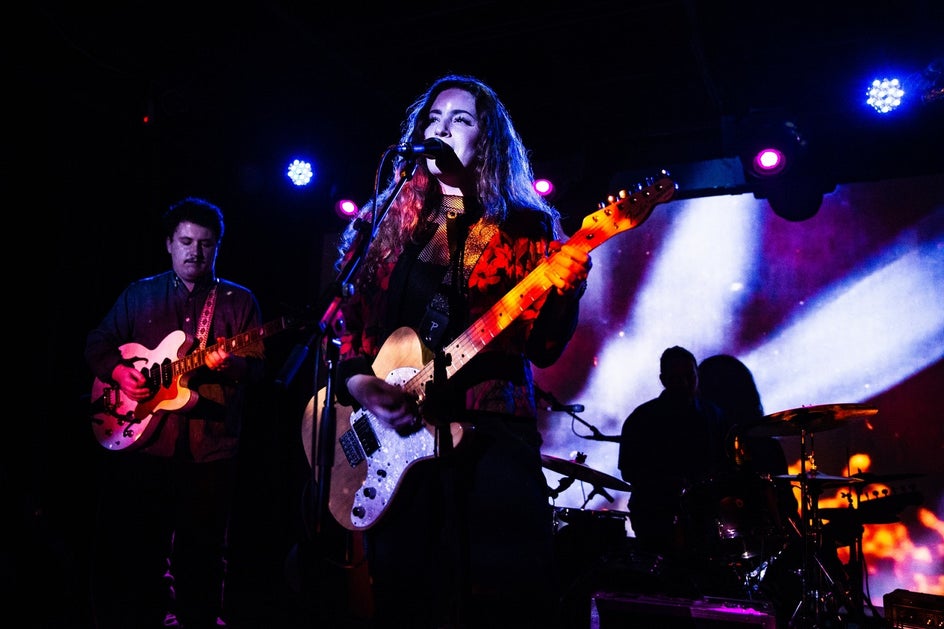
BeFunky’s Photo Editor is home to plenty of amazing Photo Effects that can transform your photo in just a few clicks. Take this image, for example, which has Warmer Tones 5 added to it to compliment the singer’s colored smoke background.
Simply adjust the Amount slider to increase or decrease the Photo Effect, depending on how subtle or bold you want it to be.

Improve Your Concert Photography With BeFunky
Now that you know how to improve your concert photography, you’re well on your way to capturing your most incredible concert photos yet! All it takes is the right camera settings, whether on a smartphone or a digital camera, as well as the easy-to-use tools in BeFunky’s Photo Editor.
Ready to turn your concert photos into perfection? Try the Photo Editor today to up your concert photography game.