Turn Your Photo Into a Charcoal Drawing
We have all walked by a charcoal artist at an outdoor market and marveled at their skills, only to be shocked by the time and money it takes to have your own portrait done. Charcoal drawings are a staple of amusement parks and tourist attractions. They are simple and beautiful, but can easily be smudged, ruining a piece of art you spent money and time on.
Instead of sitting still for hours, you can have your own portrait in a matter of minutes with BeFunky’s Photo Editor.

Choosing the Right Photo
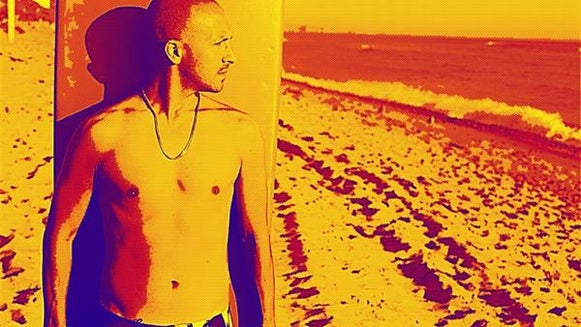
When it comes to photo selection for your charcoal drawing, you want to select something that has a prominent main subject and a very simple background. If there is too much going on in the background, it makes the final result of the charcoal drawing cluttered and a bit distracting. If you have a photo you love, but the background is too busy, try the Background Remover to isolate the subject!
How to Turn Your Photos Into Charcoal Drawings
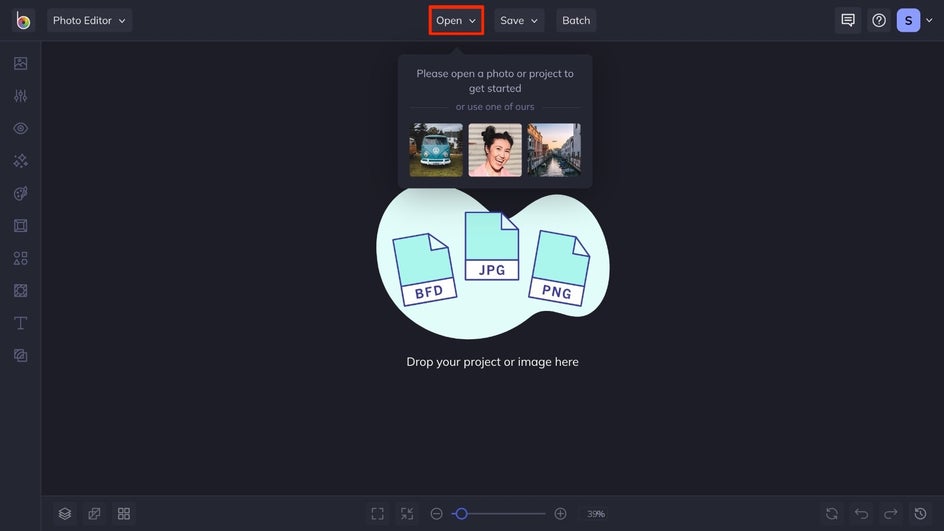
Once you know which image you want to transform into a charcoal drawing, get started by opening it in the Photo Editor. This link will guide you directly to the Effects tab, where you'll find the Charcoal effects.
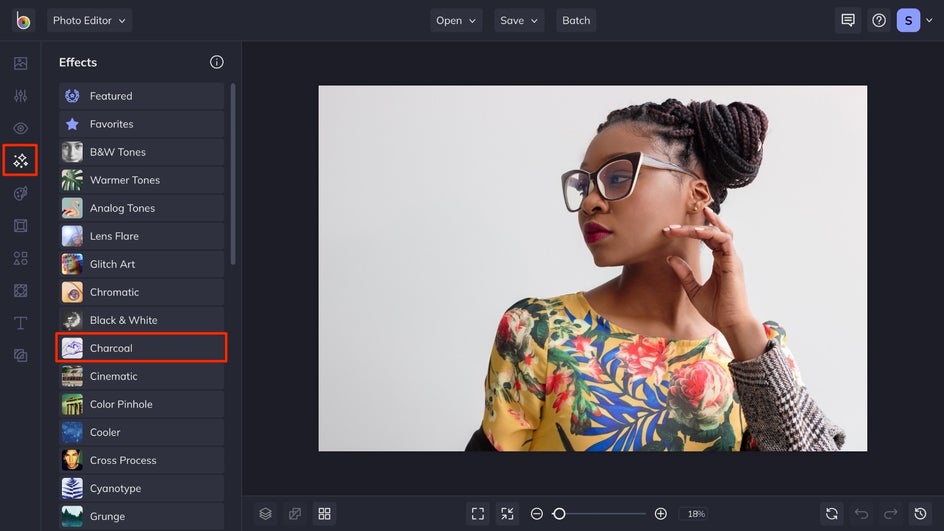
Step 1: Choose an Effect
You'll have a few options to choose from when you land in the Charcoal category. Choose whichever effect works best for your photo. You can preview each one before deciding by clicking on them. If you want to go with something else, simply click the next option or the X icon.
Step 2: Adjust and Apply the Levels
Once you have selected the effect that fits your desired outcome, use the slider to adjust the amount of the effect. If you want to make additional changes to how the effect is applied, click on the Settings icon.
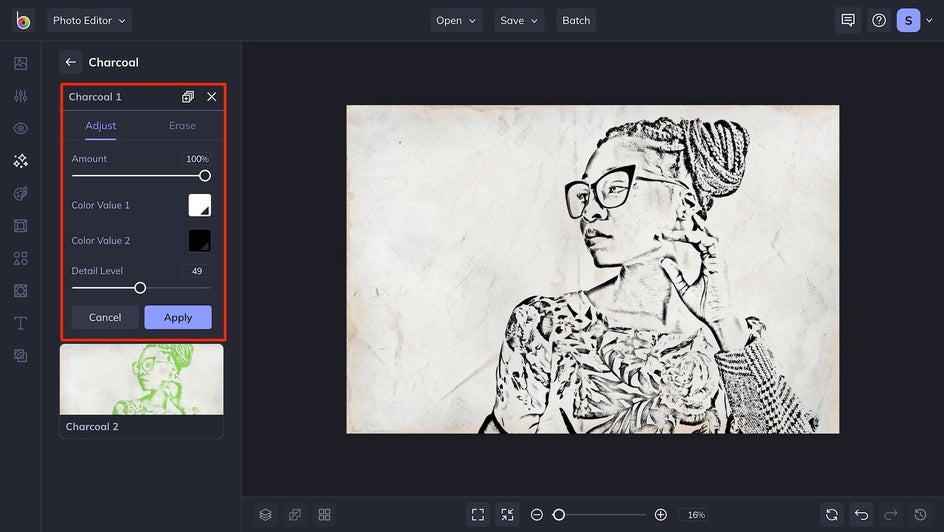
This will take you to more sliders. With the Charcoal effects, you can adjust the detail level and the amount of the effect that is applied to your image. You can also change the color values to affect the linework and the background. After you have achieved your desired effect, click the Apply button.
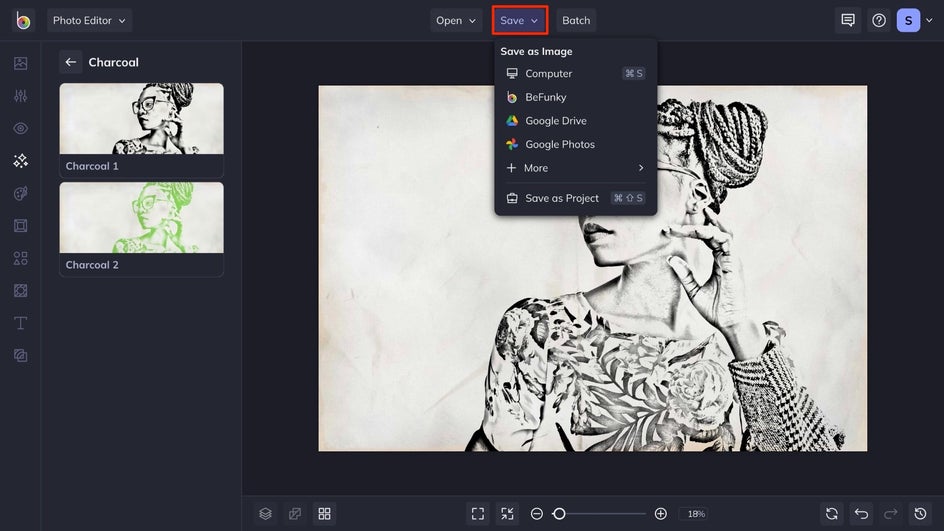
Step 3: Save Your Charcoal Drawing
To save your Charcoal drawing photo, click Save at the top of your canvas, followed by your desired save location. If you want to come back to your project to make more edits later, click Save as Project to do just that.
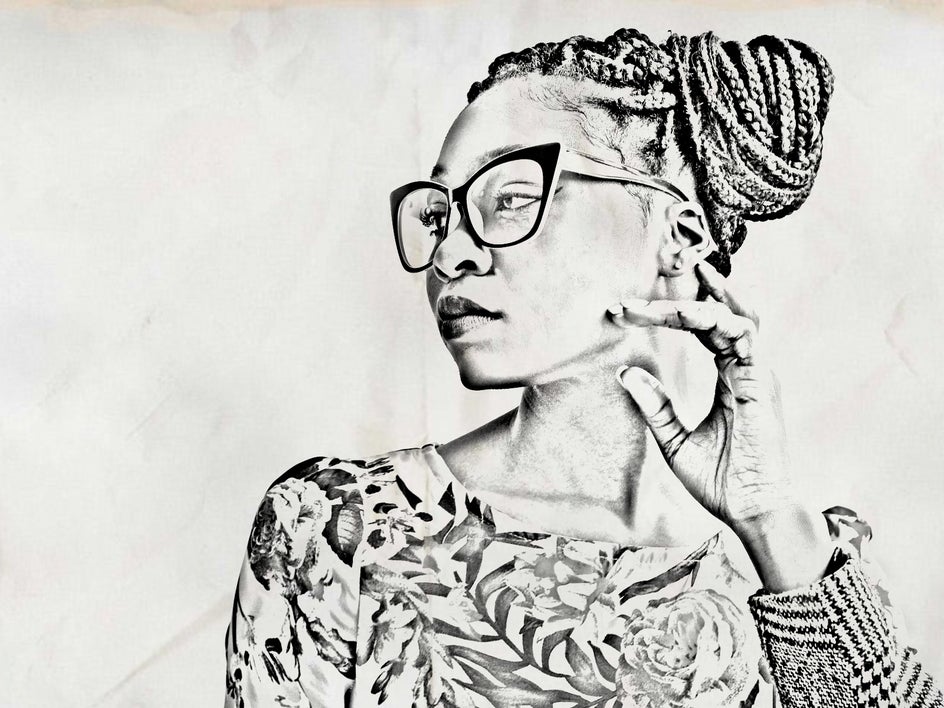
Final Results
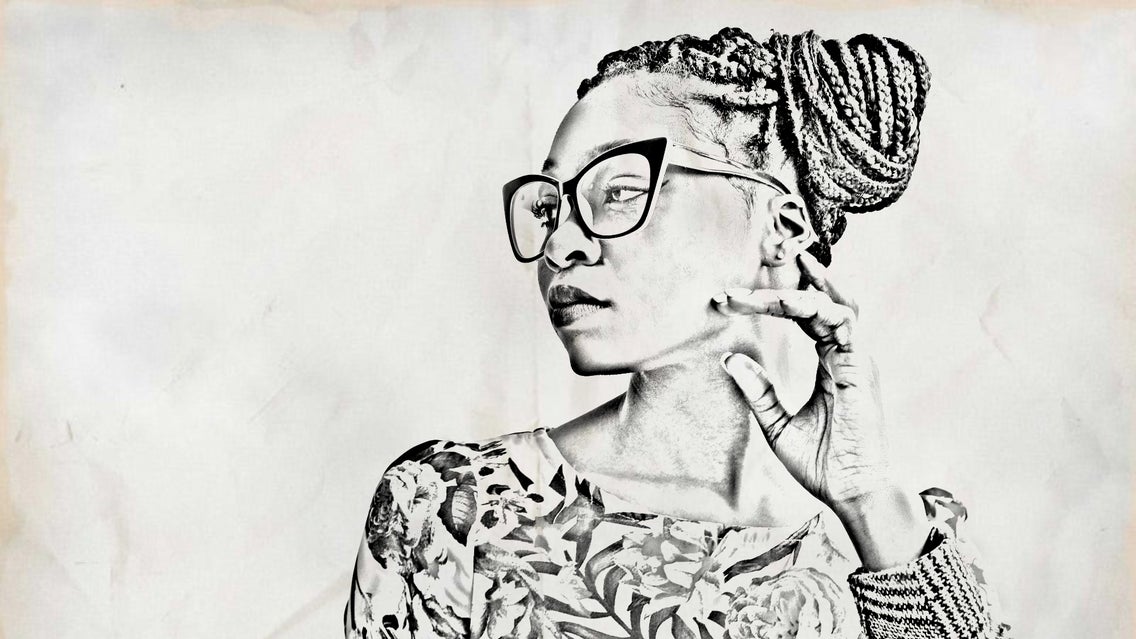
In just three simple steps, you can turn your images into original works of art. Take a look at how we transformed this image by accentuating the stark linework and adding texture to the canvas with a Charcoal effect.
Turn Your Photos Into Charcoal Drawings in Just a Few Clicks
Instead of having to pose for a charcoal drawing, create your own piece of art in a few simple clicks with BeFunky’s Photo Editor. These drawings will have the handcrafted look without the expense, or time commitment of a real charcoal drawing. Get started on making your own Charcoal drawing today!