Understanding the Art Of Exposure
Whether you’re an amateur photographer or a total pro, one of the most important elements to keep at the forefront of your mind is exposure. In fact, the first step in gaining control over how you can capture an image is to understand exposure. Yet, many photographers don’t understand this concept, nor do they know how to achieve the perfect exposure in their own imagery.
Thankfully, we’ve written this helpful guide to teach you everything you need to know about the term. We’ve even included our top photography exposure tips, as well as a tutorial on how you can correct low exposure photography!
What Is Exposure?
So, what is exposure in lighting? Simply put, it is the amount of light that reaches your camera’s sensor. Therefore, this exposure determines how light or dark your images look.
Achieving the proper amount of exposure is a delicate balancing act. Overexposure results in almost-white highlights and faded colors. Images that are underexposed, on the other hand, are too dark and difficult to see.
Why Is Exposure Important?
Ultimately, exposure determines the overall quality of your image. While you can shoot in Auto mode and allow the camera to do the guesswork for you, this method doesn’t allow your creativity to shine.
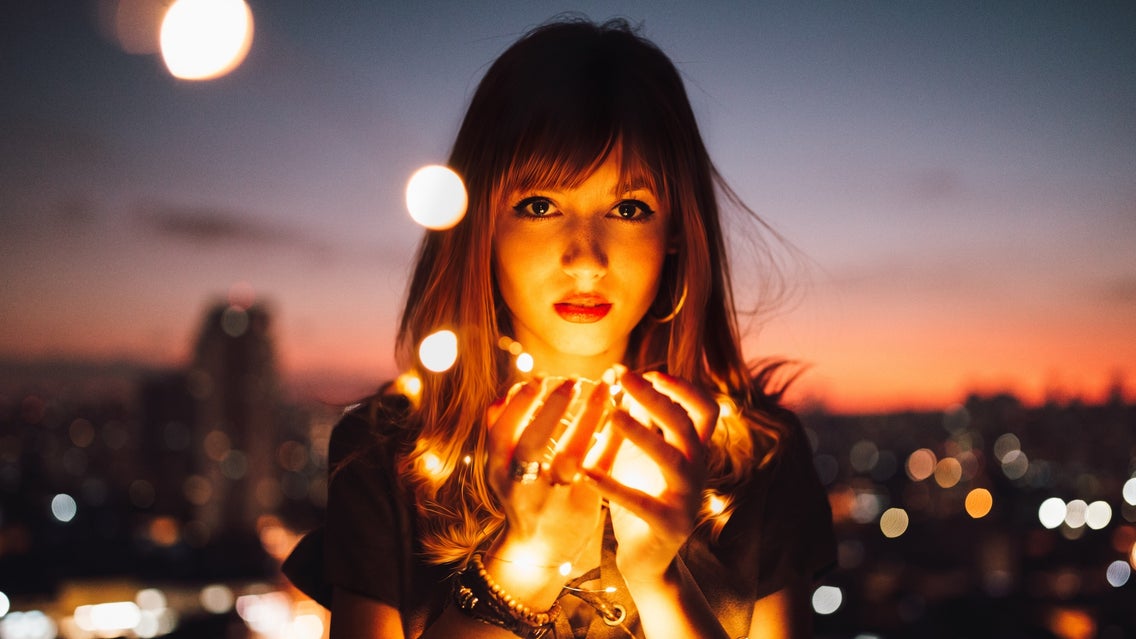
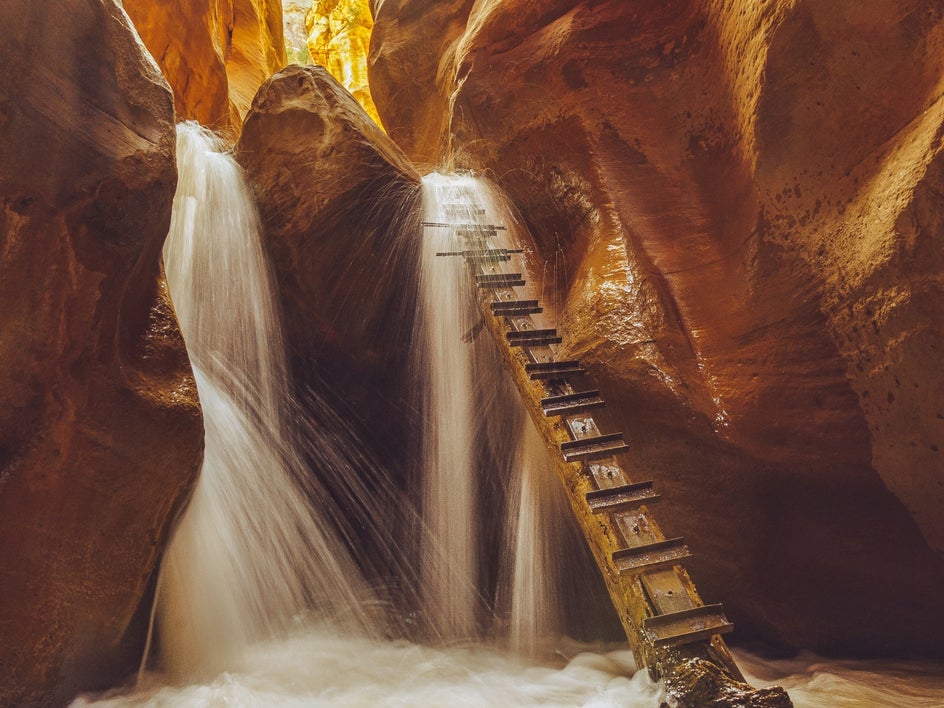
You see, different situations call for different settings. Let’s say you want to capture the light as it pours through a window in a dark room. Shooting in Auto mode will try to compensate for this darkness, and in turn, not capture those fascinating details you originally aimed for. Knowing how to master the perfect exposure manually, however, will allow you to achieve the perfect amount of detail in your image, while still capturing that ethereal beam of light as it streams in.
The Exposure Triangle
There isn't just one exposure setting on your camera. Instead, exposure is made up of three different settings referred to as “the exposure triangle." These include aperture, shutter speed, and ISO.
Let’s look at each of these in more detail below.
Aperture
Every camera lens has an aperture, which is a hole in the lens barrel, that adjusts in size based on the camera settings.
The smaller the hole, the less light that enters the lens. As the hole opens wider, however, more light is captured.
Your aperture setting is expressed as an f-number, commonly known as an f-stop. The larger the aperture, the lower the f-number, and the other way around. A lower aperture of f/8 represents a smaller aperture, but an aperture of f/2 opens significantly wider and lets in more light.
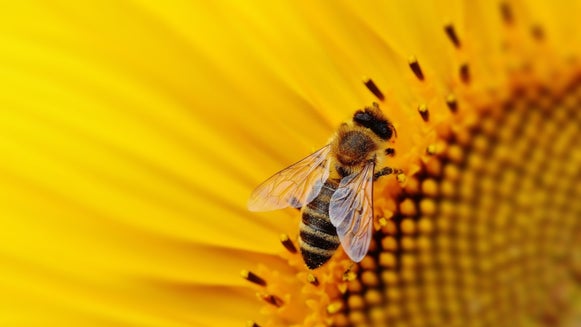
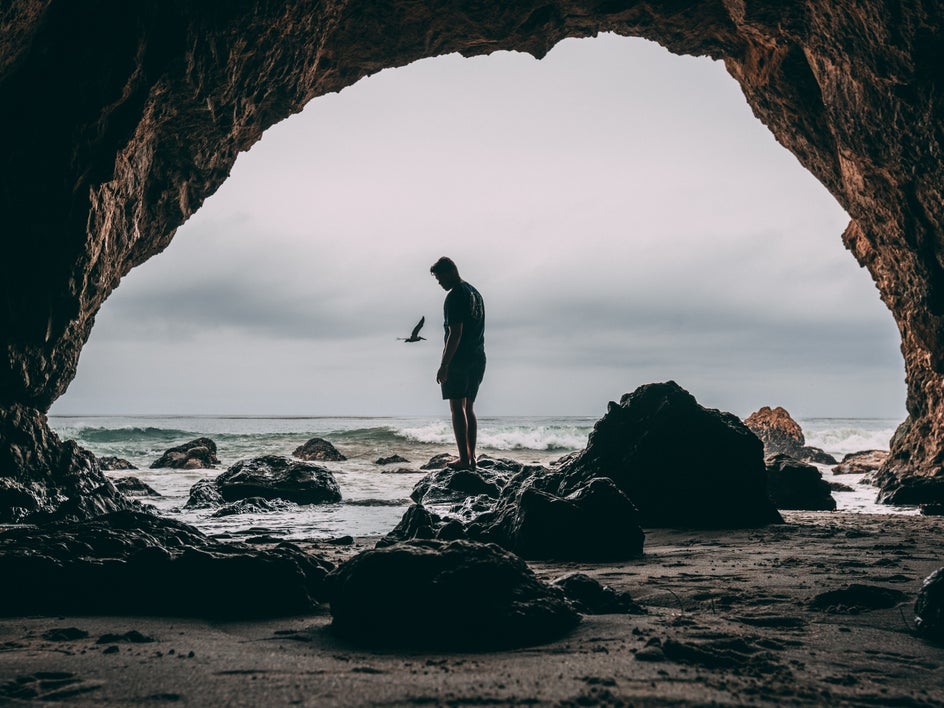
As well as controlling the exposure of your image, the aperture also determines how much of your image is in focus and how much is blurred. This is known as depth of field.
Shutter Speed
Shutter speed is the length of exposure measured by the amount of time the camera's shutter is open. Therefore, shutter speeds in digital cameras are measured in fractions of a second.
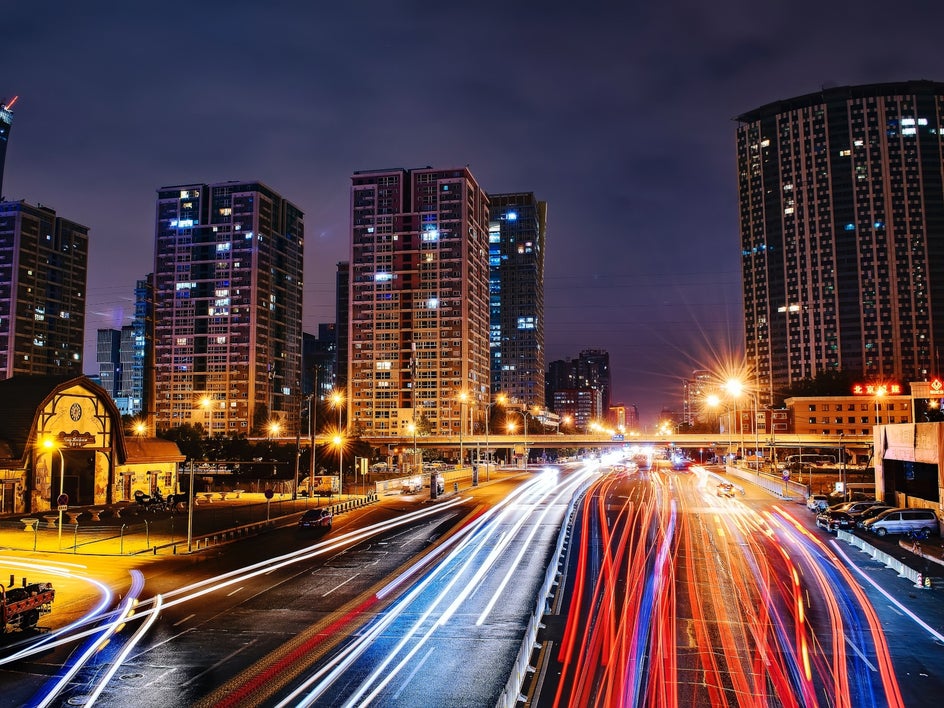
When capturing images in daylight, for example, shutter speeds will usually range between 1/1000 to 1/200 of a second. The ideal shutter speed will largely come down to the amount of light available, however, as well as the exact look the photographer is trying to achieve.
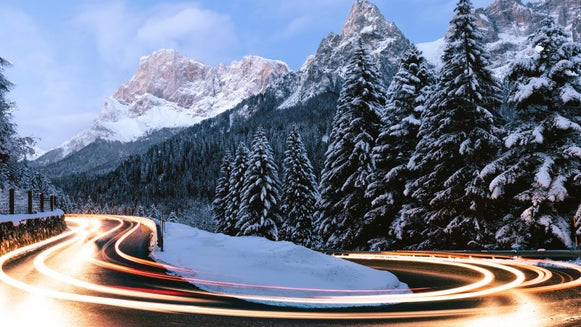
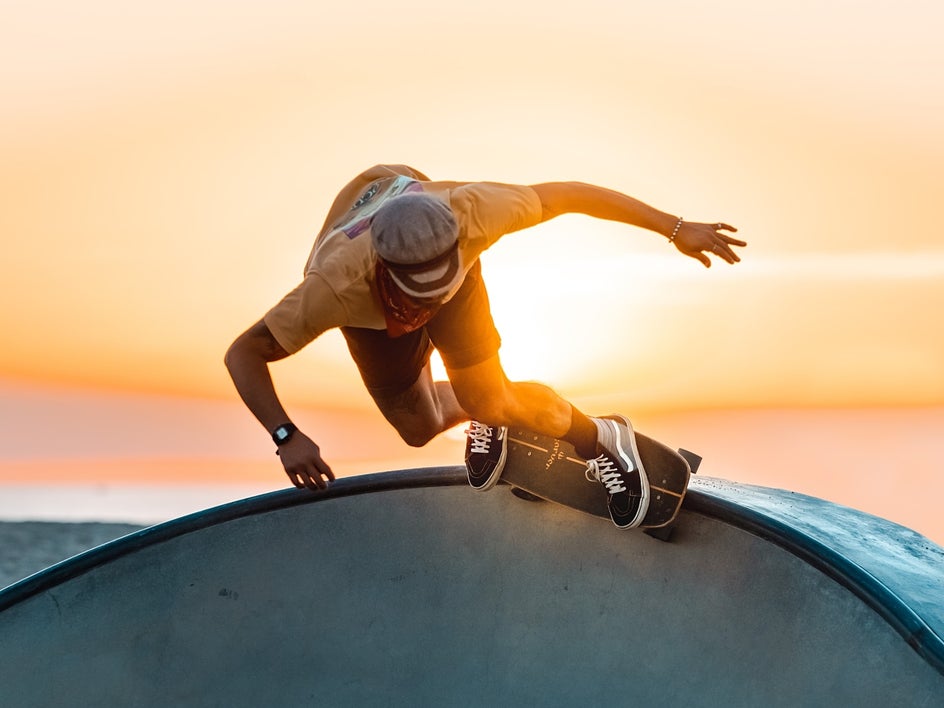
Faster shutter speeds are beneficial for capturing quick action shots, such as at sporting events. In these scenarios, photographers often use a shutter speed of just 1/1000 of a second.
In lower lighting, a slower shutter speed is needed. This is because the longer the shutter is open, the more light it lets into the lens. Bear in mind that the longer you leave the shutter open, the more motion blur you risk. This is where a tripod can come in handy!
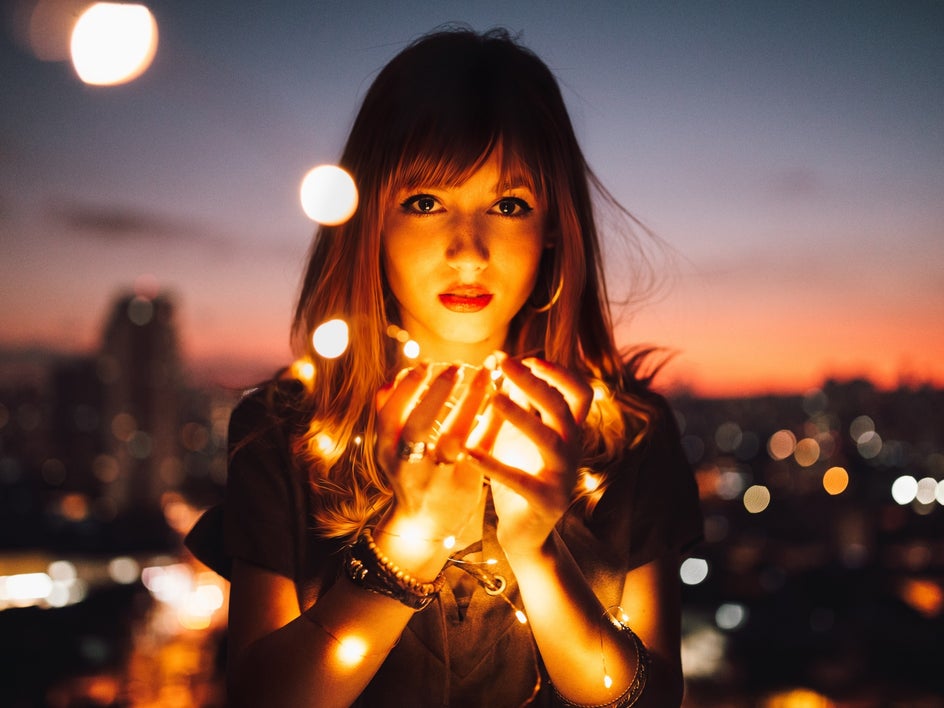
ISO
ISO represents the camera's sensitivity to light. Low ISO indicates that the camera's sensor is less sensitive to light, whereas high ISO indicates that it is more sensitive to light.
In photography, more sensitivity isn't necessarily a good thing, however. Higher ISO compared to shutter speed or aperture might result in grainy images that contain too much digital noise. If the ISO is set too low though, the photo may appear underexposed.
Even so, a higher ISO will be required if your exposure is too dark and you have no other option for capturing a bright enough shot. Therefore, raising your ISO is a highly useful strategy to learn in situations like these.
The ISO scale is simple to learn too. Your images will become brighter as the number increases, but you will notice more noise.
How to Correct Low Exposure Photography Using BeFunky
If you’ve captured a photo that you love the composition of, yet its exposure isn’t perfect, then all isn’t lost. You can actually correct low exposure photography within just a few clicks! Head to the Photo Editor and we’ll walk you through the next steps.
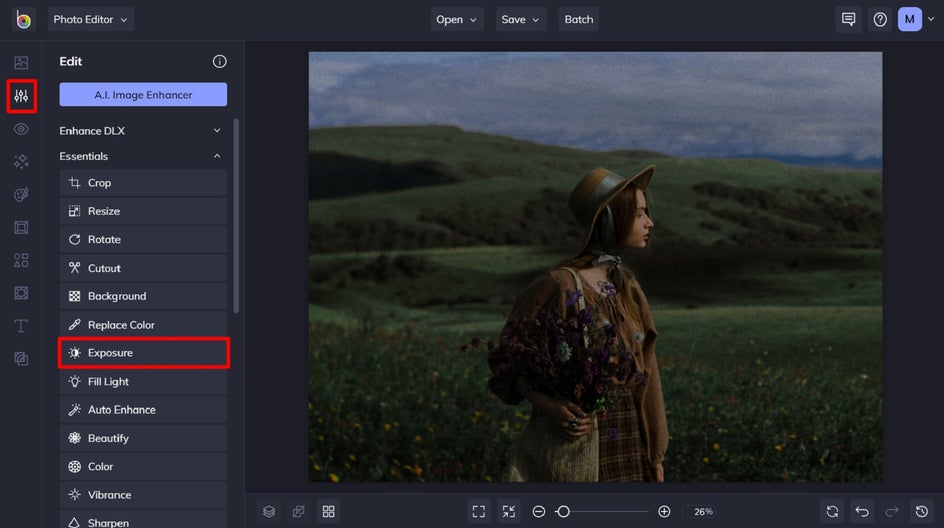
Step 1: Navigate to the Exposure Tool
Click on Edit in the main menu on the left, then locate Exposure. This tool lets you alter the Brightness, Contrast, Highlights, and Shadows of your image, each of which contributes to its overall exposure.
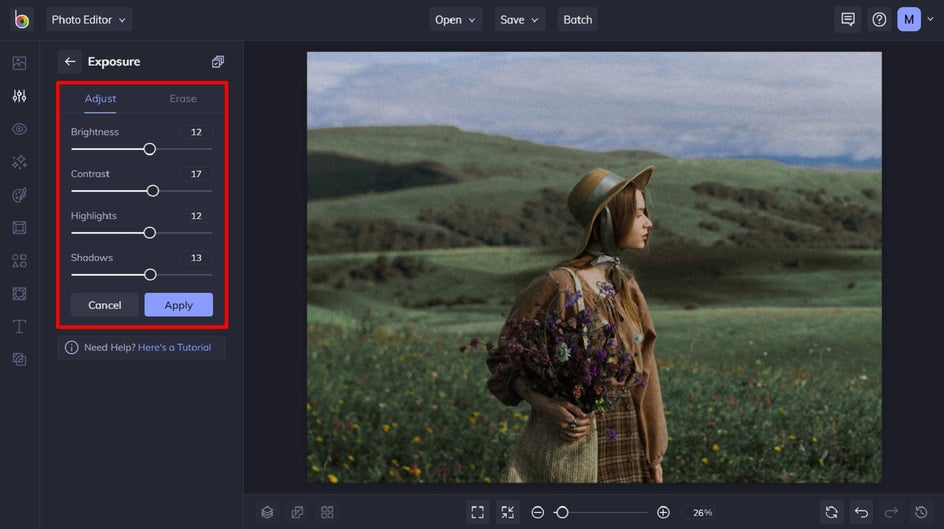
Step 2: Adjust Necessary Settings
Increasing Brightness will turn up the overall exposure on your image, while Contrast boosts both the lights and darks to make it really pop. Highlights make the bright areas of your image even brighter, while adjusting Shadows can pull out details from the darker areas of your images.
You can either tweak the exposure on the entire shot or use the Erase mode tool (found to the right of Adjust) to just improve the exposure on specific areas only.
Once you’re happy with how your image looks, click Apply.
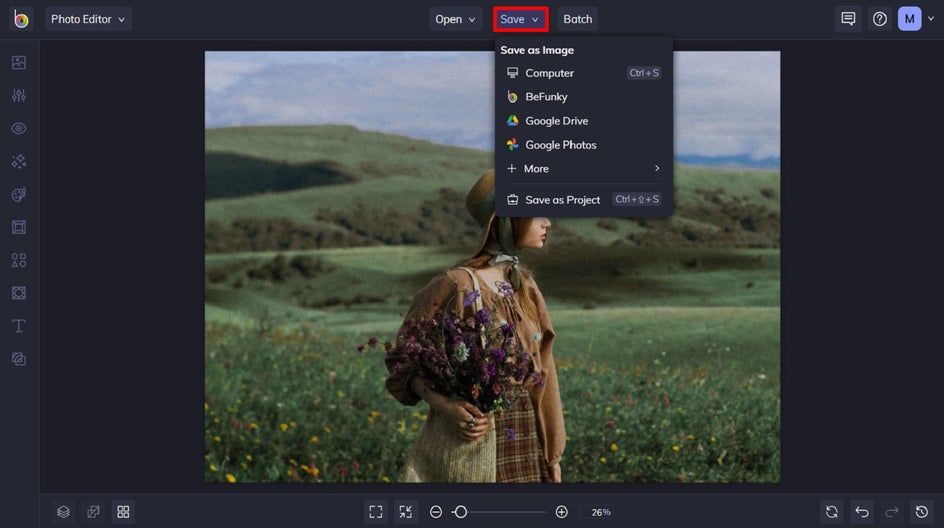
Step 3: Save Your Photo
Click Save at the top of the screen, then select your desired save location. Or, continue editing your photo with any of our handy tools!
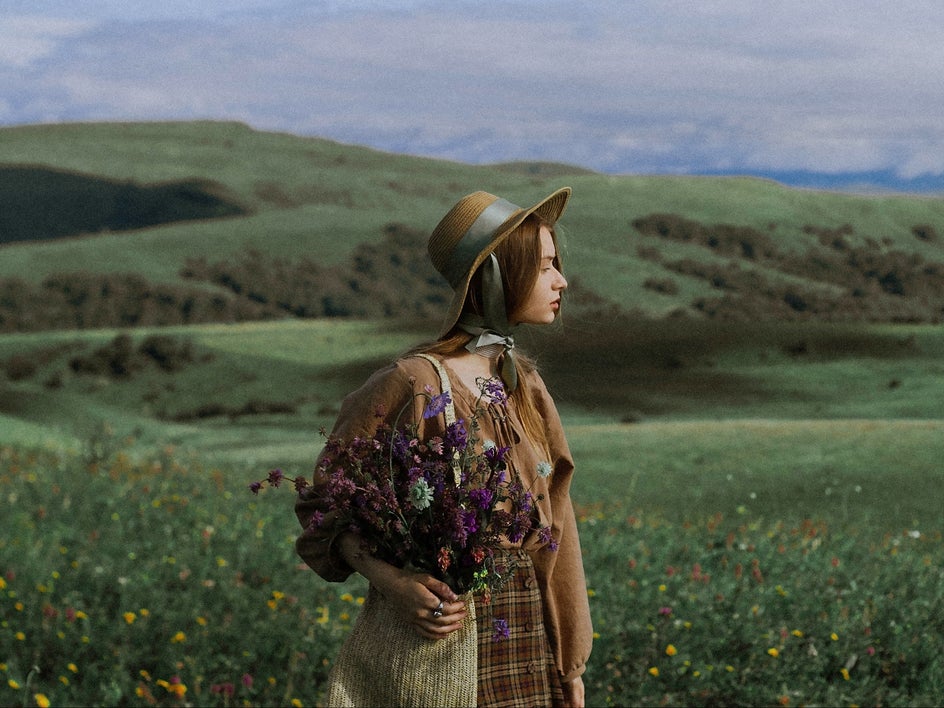
Final Results
There you have it; an instantly brighter photo that balances contrast, highlights, and shadows for the perfect exposure!
Achieve Correct Exposure Photography, Every Time
Achieving the right exposure while you shoot can be a complicated process, yet practice makes perfect. If you find that your images could still do with a boost, then the Exposure tool within BeFunky’s Photo Editor has everything you need to achieve the best results.
Try the Photo Editor today to see just how powerful it is!