Using BeFunky’s Collage Editor to Make a Film Strip
With their sequential nature and nostalgic vibes, it’s hard not to love the humble film strip. Whether to serve as a memento of a first date, a celebration of a special event, or even just for fun, film strips are a popular way to display and hold on to some of your favorite photos.
If you've ever wanted to try making your own, the Collage Maker’s editable film strip layouts, turning your cherished collection of images into one has never been easier.
Keep reading and we’ll show you how!
How to Create a Film Strip Using BeFunky’s Collage Maker
Ready to make your own photo film strip? To get started, head to the Collage Maker.
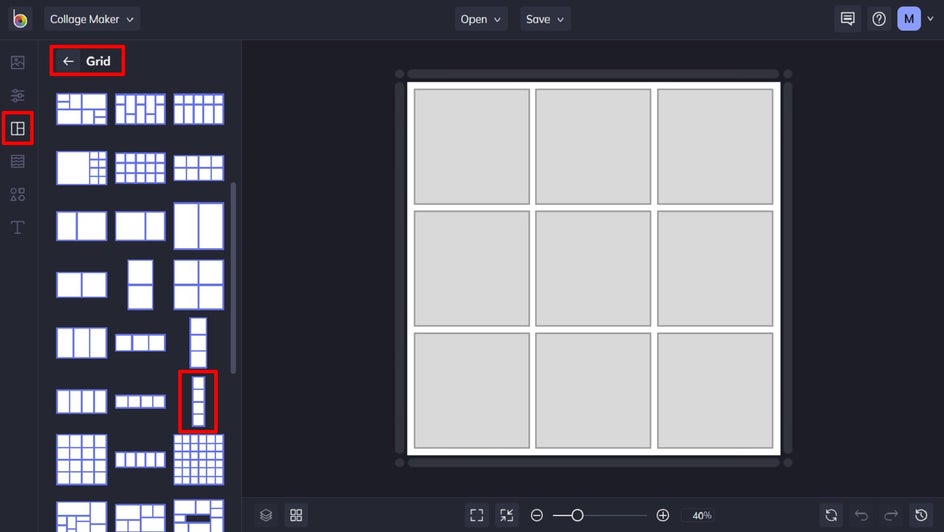
Step 1: Choose a Film Strip Collage Template
Navigate to Layouts in the main menu on the left, followed by Grid. Scroll down to select the layout featuring four vertical cells.
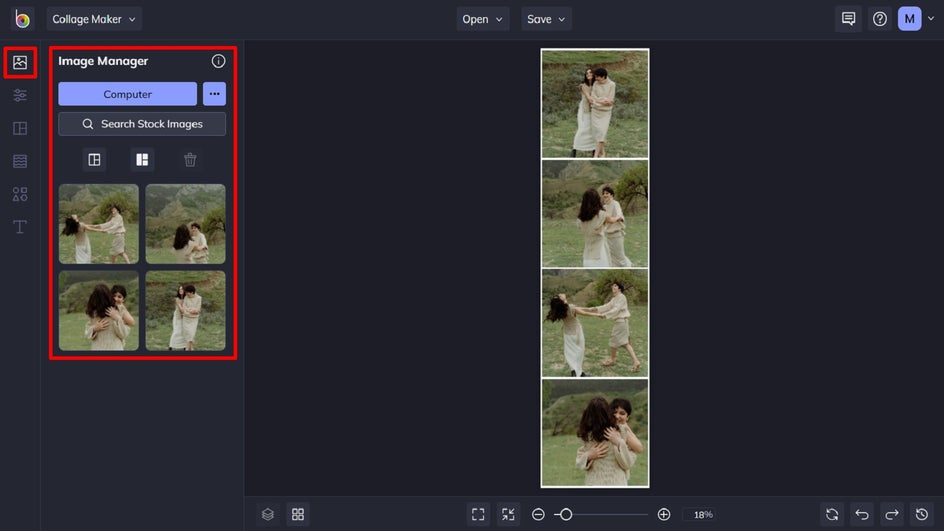
Step 2: Upload Your Photos
Next, you’ll want to upload your film strip photos to place into your collage template. Navigate to the Image Manager in the main menu on the left, then click Computer to select the images from your own files. Alternatively, you can click the three dots (…) to upload imagery from your BeFunky account, Facebook, or Google Photos.
Once uploaded, simply drag and drop each image into the desired cell.
Step 3: Add a Film Strip Photo Effect
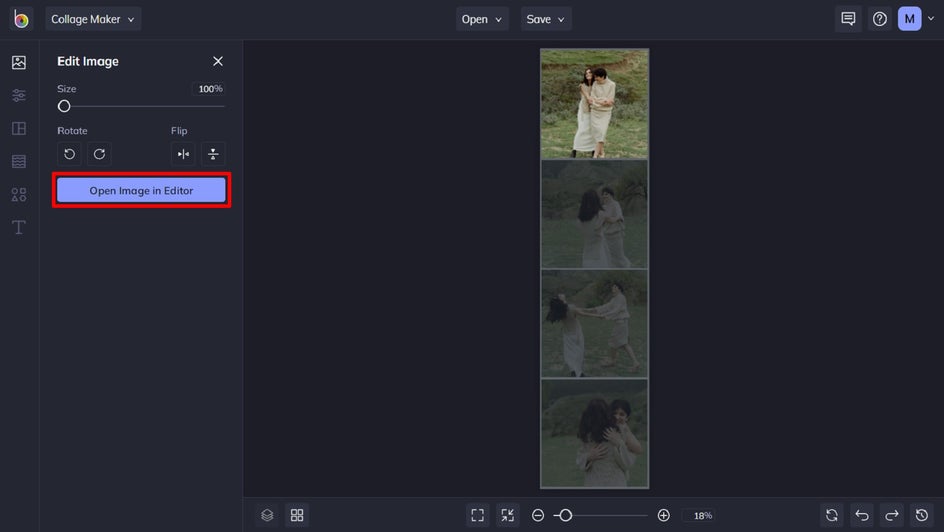
To make your film strip look even more authentic and old school, add a Grunge, Black and White, and/or Vignette effect. To do this, click on the image you wish to edit, then select Edit Image from the options which appear. Then, click Open Image in Editor.
Once in the Photo Editor, navigate to Effects in the main menu on the left, then select your desired Photo Effect category. You can also experiment with other editing tools to achieve the look you’re after. In this example, we’ve applied a B&W Tones effect to each image, followed by a Vignette (which you can find in the Edit menu).
Once you’re happy with how your image looks, click Back to Collage Maker in the top left of the screen. Simply repeat these steps for each image in your film strip.

Step 4: Change the Background Color
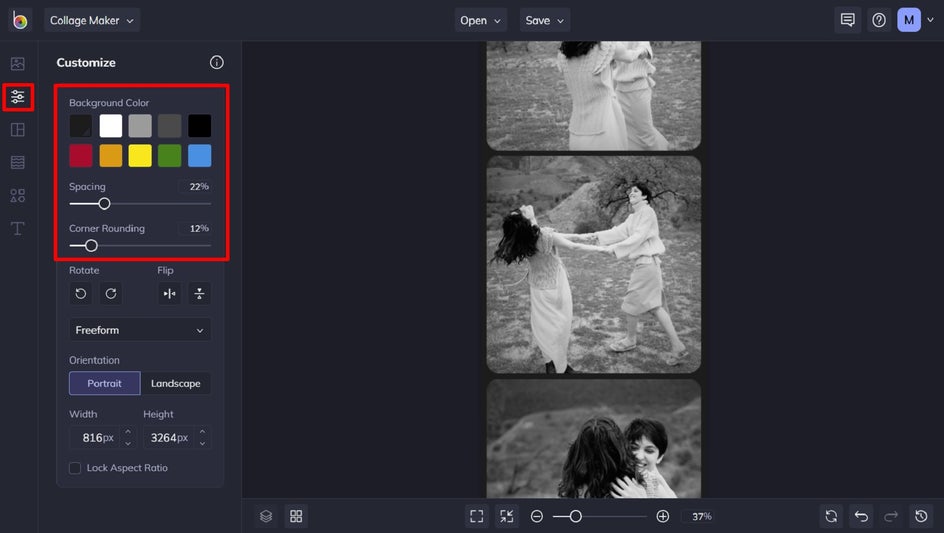
Next, you can change the background color of your film strip, as well as elements such as corner rounding, by navigating to Customize in the main menu. Adjust the spacers underneath Spacing and Corner Rounding to increase or decrease these elements. Additionally, you can select a background color from the existing color swatches, or click on the first swatch to choose your own color from the Color Picker. Here, we’ve used the Eye Dropper Tool to select a hue already present in our images.
Step 5: Save Your Film Strip
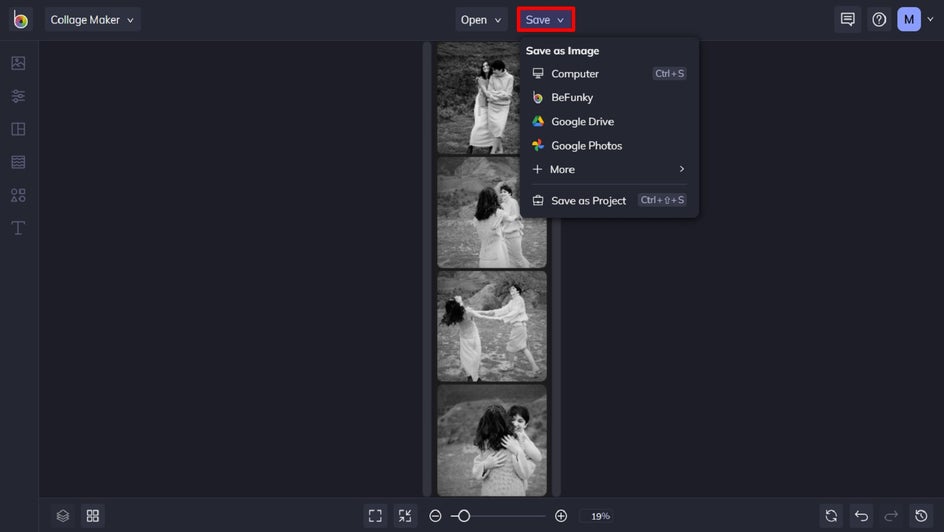
Once you’ve finished designing your collage film strip, all that’s left to do is to save it. Click Save at the top of the screen, then select your desired save location.
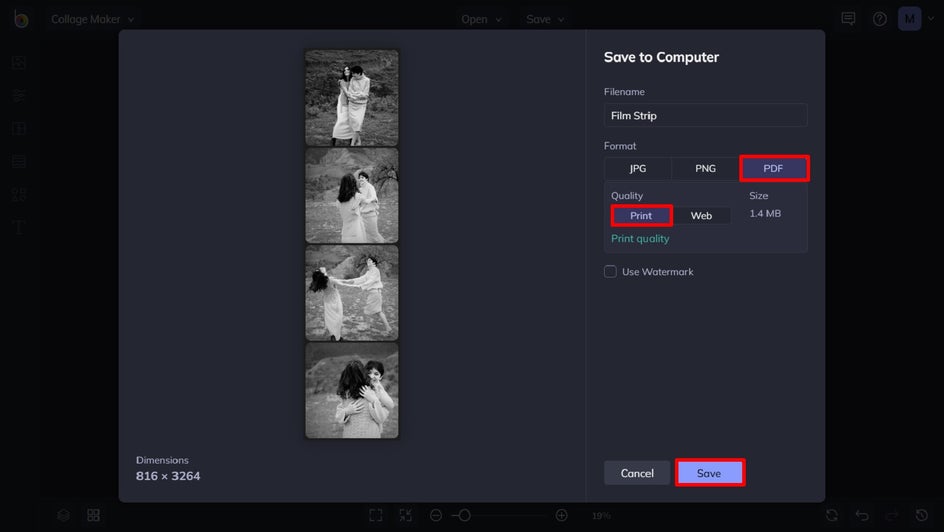
If you want to print your photo film strip, we recommend saving your image as PDF format in Print quality. This will give you the highest quality file that’s perfect for printing.
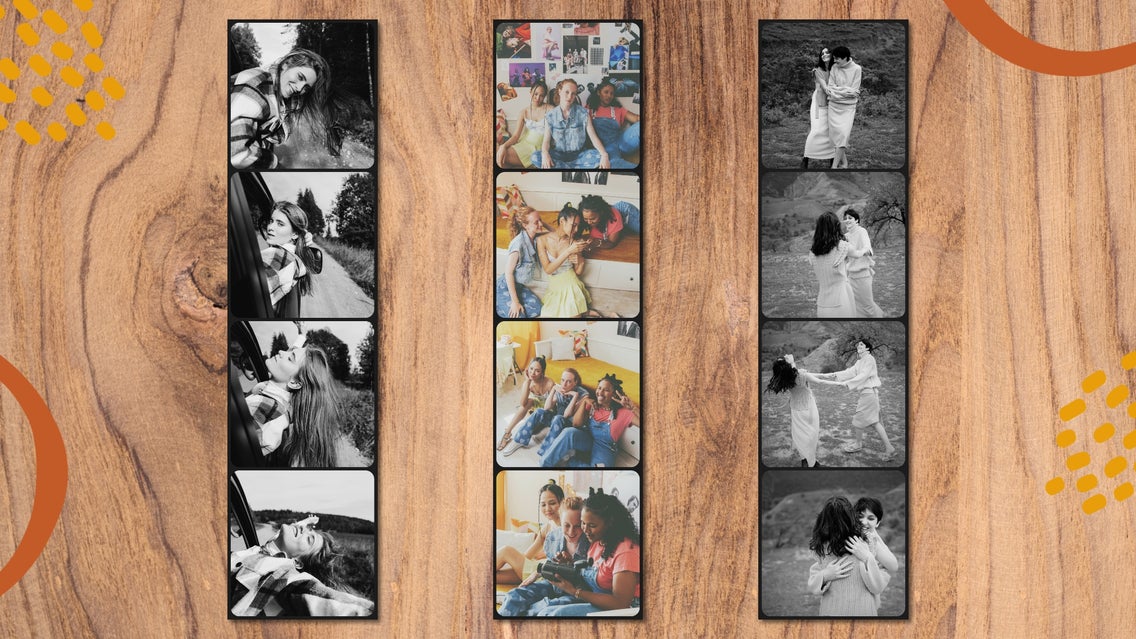
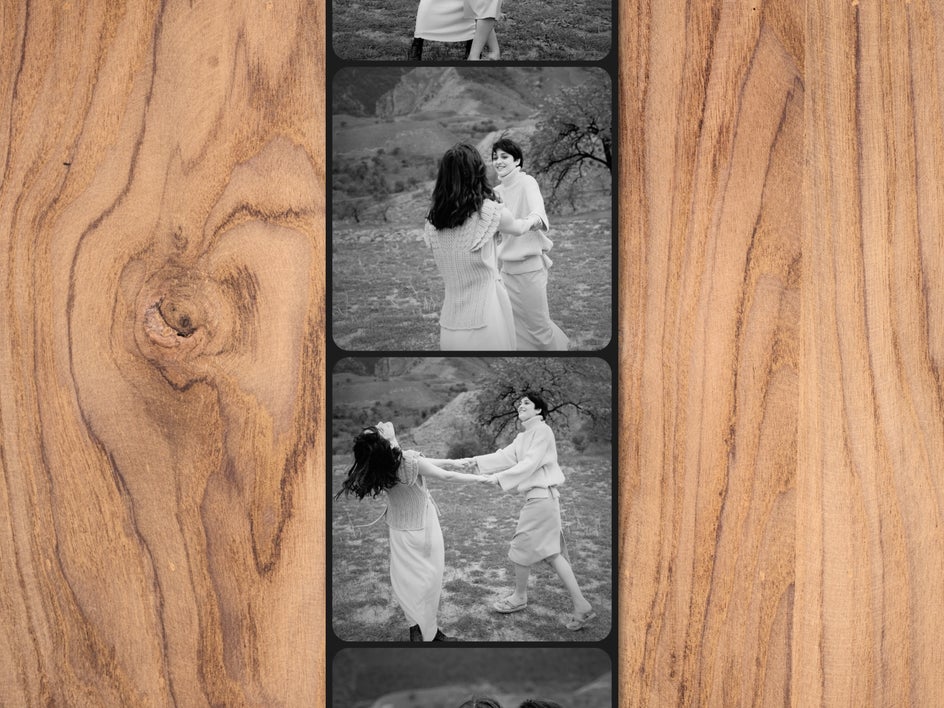
Final Results
There you have it – your very own photo film strip! These are perfect for uploading to your social media, gifting to friends, or even displaying on your fridge.
Ready to Make Your Own Film Strip Effect?
Now that you know how to make photos look like a film strip, there’s no end to your creativity! Thanks to BeFunky’s film strip collage templates, creating your own nostalgic series of photos has never been easier.
What images will you experiment with next? Head to the Film Strip Collage Maker to get creating!