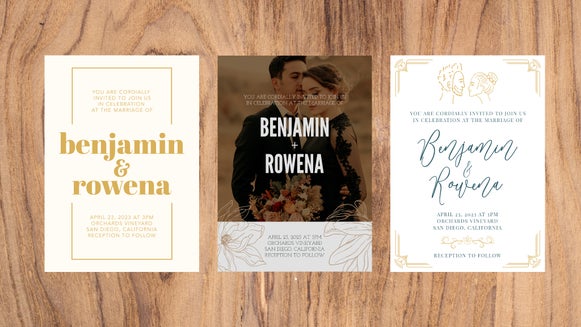
Design Your Own Wedding Invitations

Creating a beautiful wedding invitation that’s as unique as you and your partner shouldn’t be a stressful or expensive task. Wedding invitations set the stage for your upcoming wedding, they capture your relationship and excite guests for the approaching celebration. Invites designed by professionals can be expensive, so we have an option to cut costs and give you creative freedom over your wedding invitation.
Using BeFunky’s Wedding Templates, you can easily create your own professional-looking and inexpensive wedding invitations that friends and family will keep for years. BeFunky templates come in a variety of designs and they are fully customizable. Keep reading for a simple step-by-step on how to use BeFunky to design your wedding invitation.
Creating Your Wedding Invitation
Let BeFunky guide you to design a stunning and memorable wedding invitation. Capture the romance of the occasion through photos, graphics, and fonts. Don’t be afraid to flex your creative muscles. Keep reading to get started.
Step 1: Select a Template
BeFunky makes designing your own wedding invitation easy by offering several premade templates that are fully customizable.
Open the Graphic Designer. If you followed the link, you’ll land in the Wedding Sets section of our templates. Navigate over to the Events and Cards menu on the left side of the screen. Open this menu then scroll down to Wedding Sets and select it. Here you’ll find a huge variety of wedding invitation templates. They range from floral patterns to abstract shapes as backgrounds.
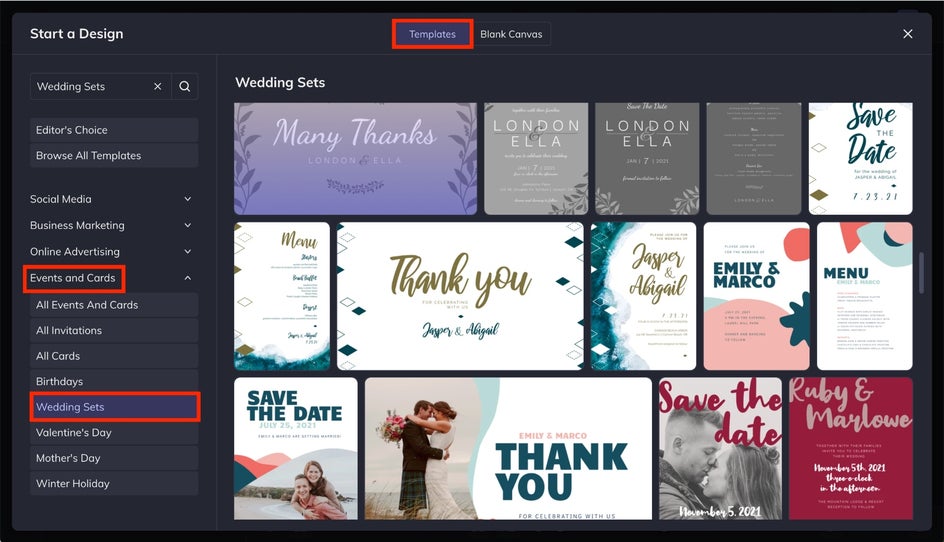
Click the template you want to use, keeping in mind that you can customize all its elements once it’s loaded into the graphic designer. Select the blue Use This Template button. Now, your template will appear in the graphic design and it’s time to start designing!

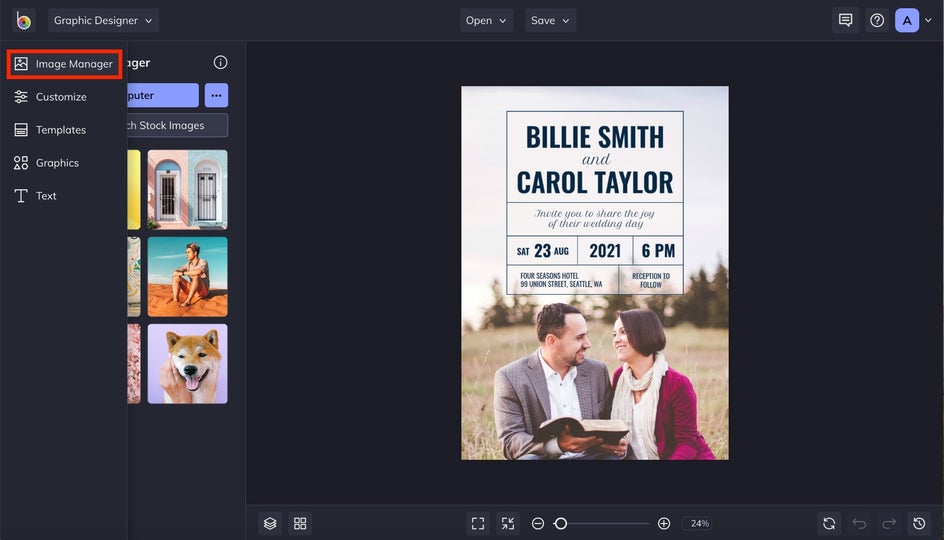
Step 2: Replace Images
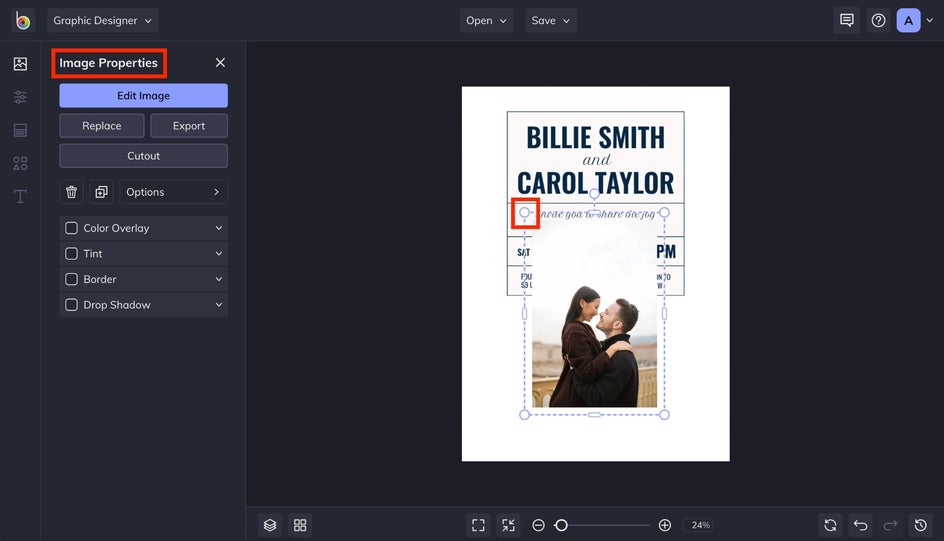
The first step when editing your wedding invitation is to incorporate your own photos or background images. Navigate to the vertical icon menu on the left side. Click on Image Manager, the topmost icon that resembles a small mountain in a picture.
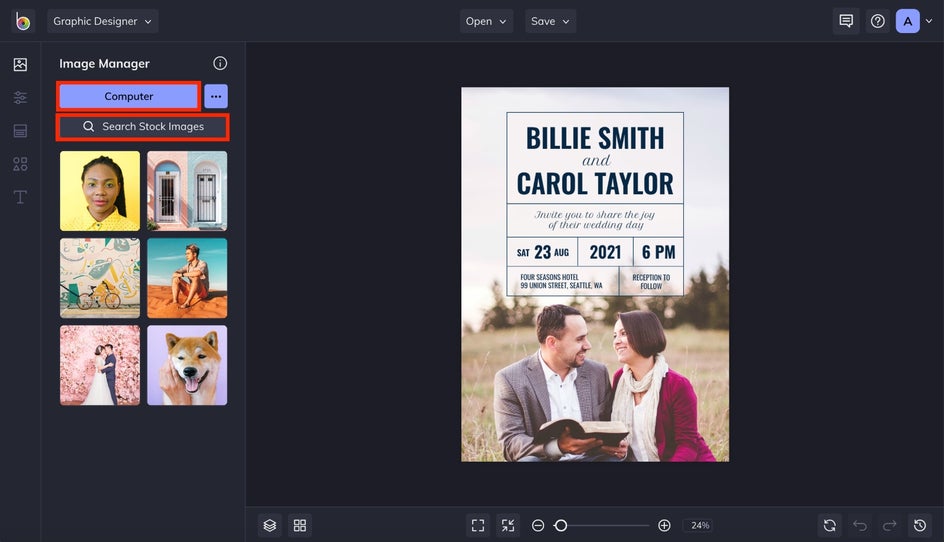
Here you can choose to upload a photo of your own from your computer by clicking the blue Computer button. You can also browse BeFunky’s extensive stock image library to find a background image by clicking Search Stock Library. For this example, we’ve selected a photo from the stock image library.
Your uploaded photo will appear under Image Manager on the left side of the screen. First, delete the template’s existing image. Now, you can either double click or click and drag your new image onto the template. Use the white circles at the corners of the selected image to resize it to your liking. Whether you’re using a single image or making a collage of photos, the process for uploading and resizing is the same.
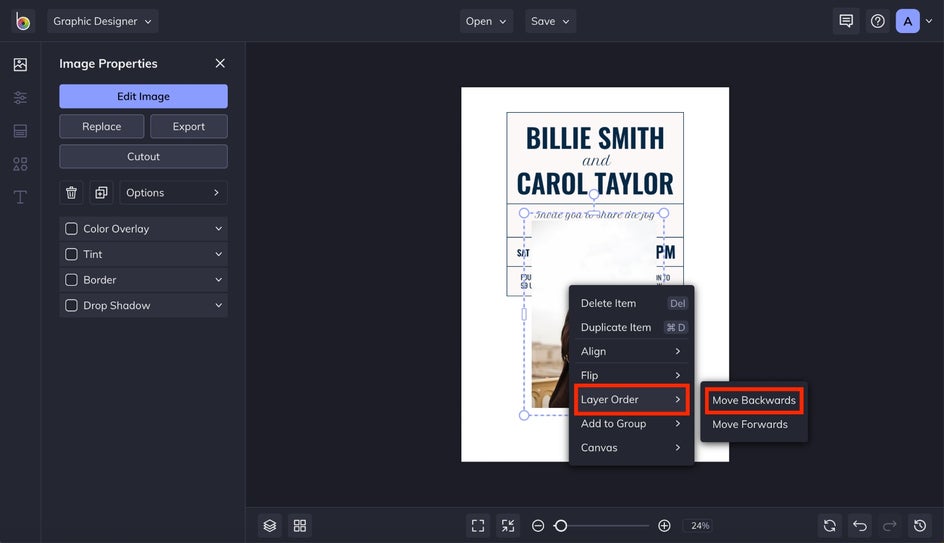
If you want it to appear behind the text, right-click on the image, hover your cursor over Layer Order, and click Move Backwards. You may need to complete this step more than once to place the image behind all the text elements.
Step 3: Add and Edit Text
One of the most important parts of your wedding invitation is the information. You need to inform wedding guests of the date, time, and location of the wedding. To add this information to your wedding invite, hover your cursor over the left icon menu. Click Text, the T icon at the bottom of the list.
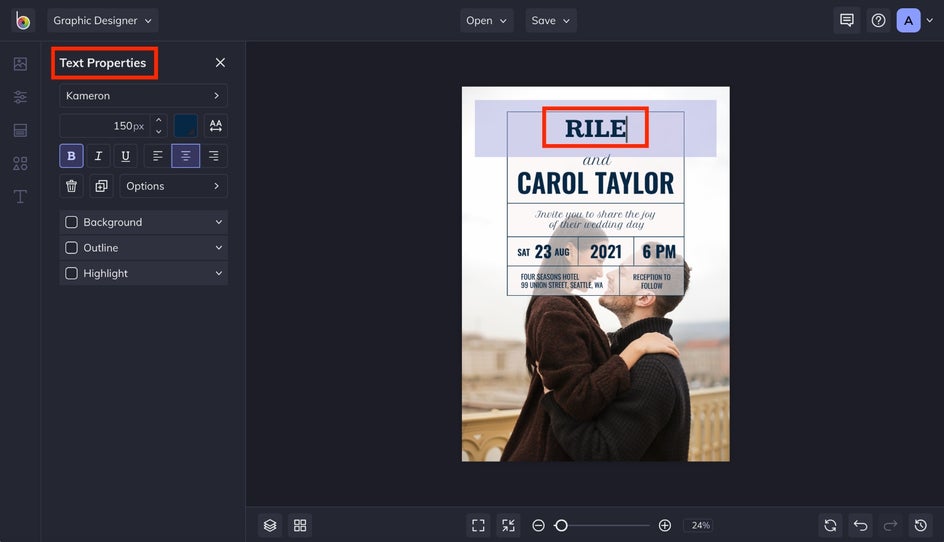
Feel free to get creative with adding new text. Explore the font options in the menu to the left of the screen. You can edit the text on the template by clicking it. When a text box is selected, Text Properties will appear to the left.
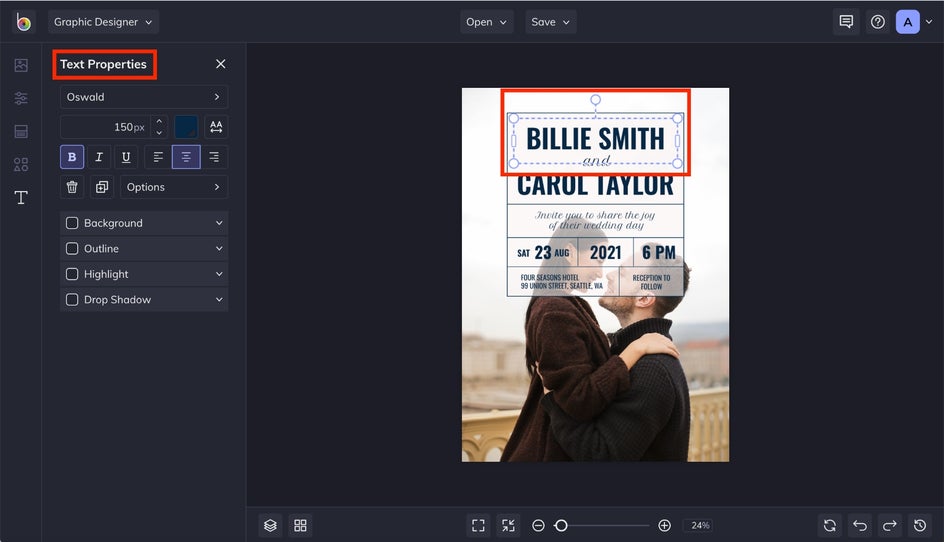
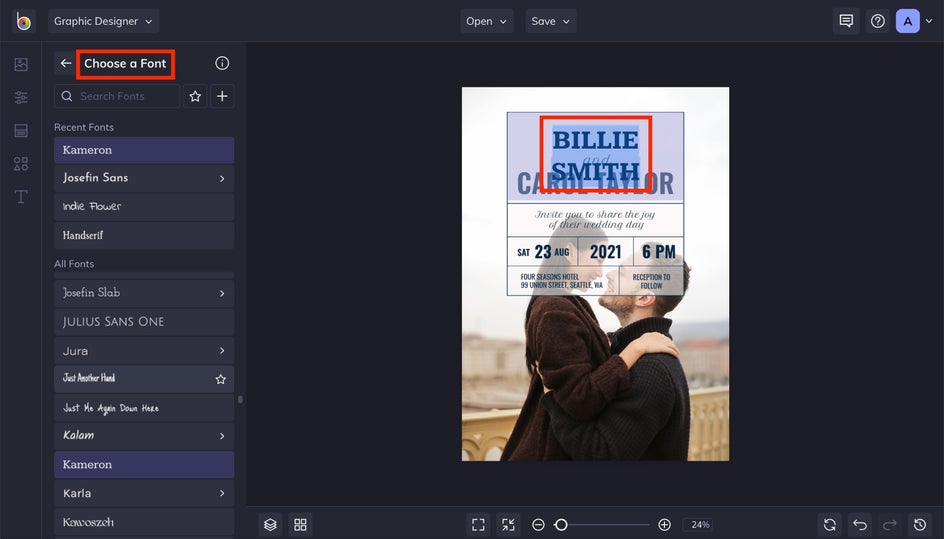
Here is where you can play with different colors, sizes, shadows, and styles of text. Scroll through countless options for fonts then arrange the text on your wedding invitation in your style. Try using the same font for all the text or mix it up.
Double click on the text to highlight it. Delete the existing text and add details necessary for your wedding invitation.
Pro Tip: Double-check your wedding information before finalizing the invitation. This will save potential headaches later.
Repeat this step until all the text on the invite matches the details for your event.
Step 4: Incorporate Graphics
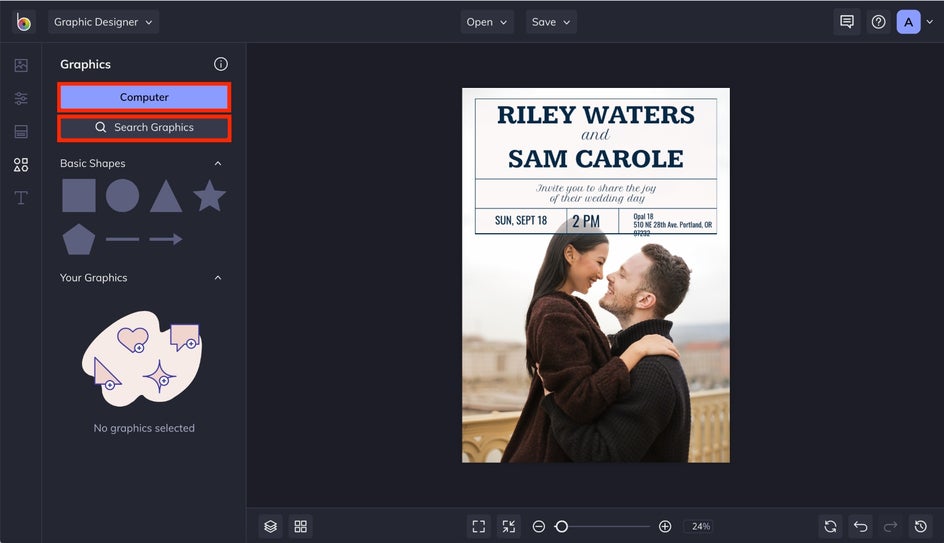
Return to hover your cursor over the vertical icon menu on the left side of the graphic designer. Click Graphics, the second icon from the bottom of the list.

Add shapes, small cartoons, or graphics to your wedding invitation by uploading them within Graphics. The steps here are the same as when you uploaded a photo at the beginning of the process. Choose from images saved on your computer by clicking the blue Computer button or choose from BeFunky’s graphics library by clicking Search Graphics.
Once you’ve uploaded a graphic, it will appear under Your Graphics on the left side of the screen. Here we added a curvy line from the graphics library to place between lines of text and add a little character to the invite.
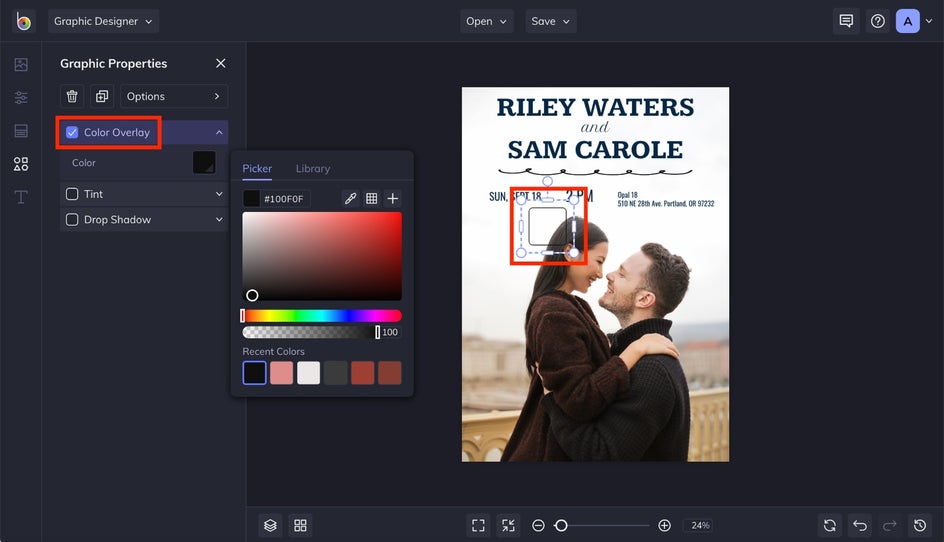
Double click or click and drag the graphic for it to appear in the template. Once the graphic is selected, you can use the white circles at its corners to adjust its size, shape, and angle.

Selecting a graphic will also open the Graphic Properties menu. Here, you can change the color, tint, and shadow of your graphic.
Pro Tip: Less is often more when adding graphic elements to wedding invitations. Avoid using too many or risk distracting from the main image and details of the invite.
Step 5: Save Your Wedding Invite
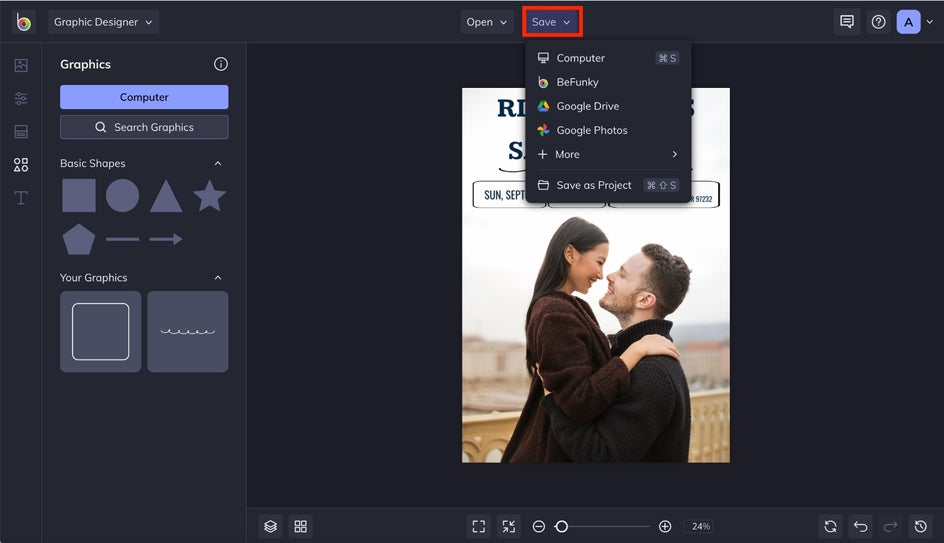
Once you’ve added all the graphics, made edits to the text, and adjusted the layout of the wedding invite to your liking, it’s time to save your creation. Click Save at the top of the screen. Save your invite to your computer for easy printing or save it to your BeFunky project folder if you want to continue editing it later.
Nice work! You’ve just created your own unique and stylish wedding invitation. In five easy steps, you added all the images, text, and graphics needed to make your wedding invite one your guests will remember.
Make Your Wedding Invitation Unique
Unleash your creativity and make your own wedding invitation masterpiece! By using BeFunky’s Graphic Designer, you can utilize tools that make creating a professional and beautiful wedding invitation easy.