Whip Up A Baby Shower Invite With The New Designer

So you’ve been showing off your BeFunky skills with snazzy barbecue invitations, infographics and artsy pics worthy of a hipster gallery showing. Suddenly you’re the go-to guru for all things graphic design, and your friends are calling for tips and tricks on how to whip up things like baby shower invites.
Sure, you could tell them that the effort involves amounts to a couple of clicks and a bit of text layering. Or you could maintain your aura of creative genius by selflessly offering to make their invitation for them.
Here’s how.
Off to the Designer
Head to the BeFunky Designer. In the Navigation Menu to the left, click “Templates”, then “Invitations”, and take your pick from the plethora of options.
I’ve gone with this one:
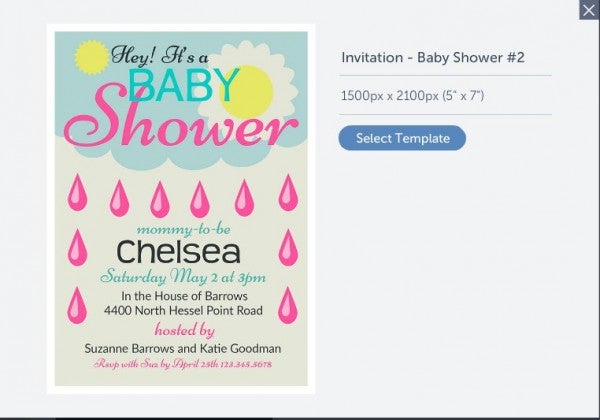
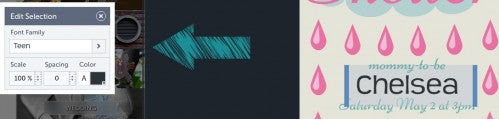
Really, it’s pretty much ready to go already. If you’re pressed for time, all you need to do is click on the various text elements and fill them in with your own text (it’s even easier if your friend happens to be called Chelsea).
But let’s have a bit of fun here.
Let’s get graphical, graphical
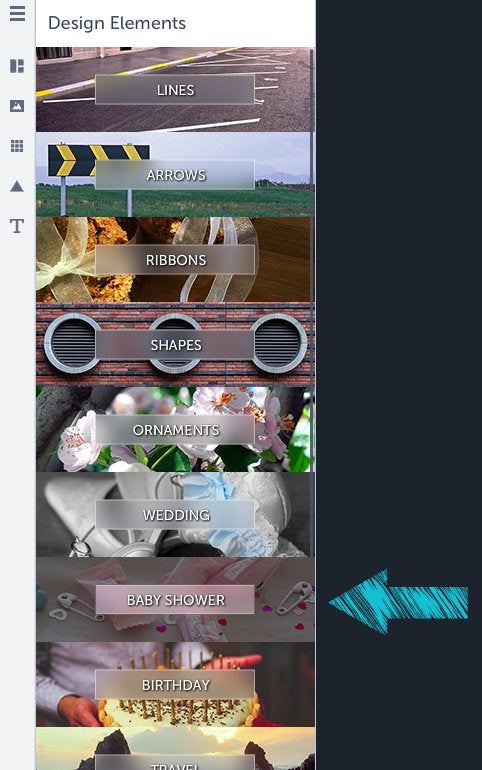
Navigate to “Design Elements” in the side bar, and select “Baby Shower”.
I live in Portland, which is famous for its perennially cloudy skies, so it only makes sense to delete the sun icons and replace them with an umbrella. (True Portlanders don’t carry umbrellas, but I’m a foreigner, so it’s okay.)
I’ve also added some rubber duckies, because we all know by now that I like ducks. To cap off the design elements here, I’ve used a line divider (found, oddly enough, under “Lines”), along with a location marker found under “Travel”.
Tip: since you’ll be working with layers, use the “move forwards” and “move backwards” icons in the toolbox to the left to re-order your layers.
Typing in text boxes
Next up, it’s time to start filling in the time and date details for our invitation.
Because the template already has placeholder text for pretty much all of this, you can just click on the text element you want to alter, and add the relevant details for your event.
I’ve changed the fonts and text justification on my invitation using the text editor; I’ve also moved around the text blocks using the Designer’s simple drag-and-drop functionality.
And to help tie together the overall color scheme, I’ve used the color picker tool to match the color of some of the text blocks to the beaks of the duck graphics.
That’s all, folks
Here’s the end result:

I’m pretty sure my imaginary mate Chelsea would be pretty chuffed with this.
Be a good friend and whip up a baby shower invitation using the BeFunky Designer: