5 Key Tips for Capturing Wildlife Photography
Have you ever wondered how you can become a nature photographer? If you love being outdoors and capturing photos of animals, then environmental wildlife photography could be your perfect job!
Like all photography disciplines, however, wildlife photography requires plenty of patience, not to mention the ability to take and edit eye-catching images. Thankfully, all it takes is practice and some wildlife photography know-how to be able to perfect your work.
If you’re thinking about pursuing a wildlife photography career, you’ve come to the right place. Here are our top tips to learn wildlife photography!
1. Get to Know Your Subject
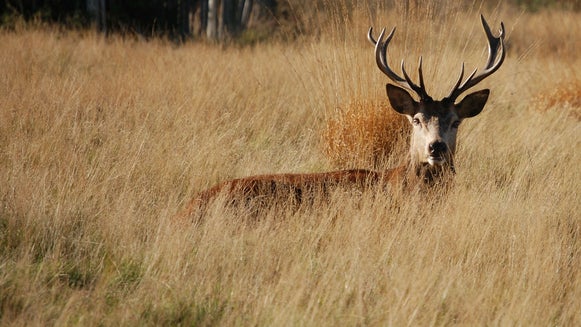
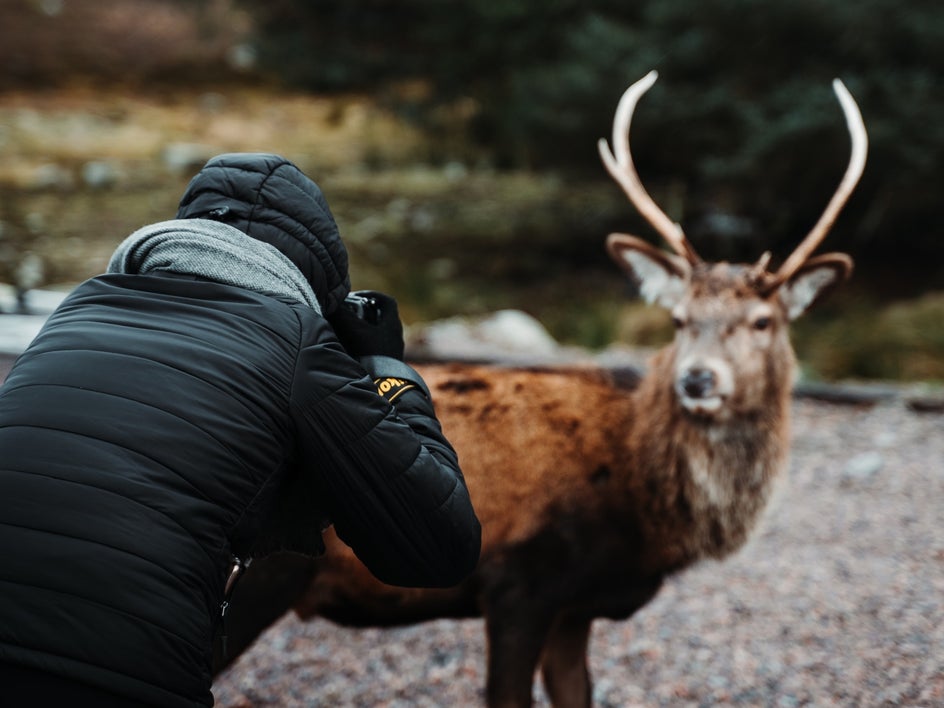
If you’ve ever thought “how do I prepare for wildlife photography?”, this is the best place to start. As you know, communicating with animals is near impossible, and you can’t exactly tell them how to pose. Therefore, you should always take the time to learn about the animals you plan on photographing, including their behaviors, preferred environments, and more. Most animals are creatures of habit, so they have daily routines just like humans.
If possible, visit the animal often and develop your own routine. Animals will become more comfortable around you and your equipment if you establish predictable behavior patterns that they don’t perceive as a threat.
The safety of the animal and yourself should always be taken into consideration when shooting, however. Approach animals with caution, and if they begin displaying any signs of aggression, it’s best to leave them alone or try to photograph them from a safer distance.
2. Have the Right Equipment on Hand
Professional wildlife photographers often carry a DSLR camera with them, along with a tripod and a series of camera lenses for different scenarios, such as a telephoto and wide-angle lens.
Nature photography novices, however, find that their trusty phone camera does just the trick. You can even buy different lenses for your phone to increase its photo-taking capabilities (minus the bulky equipment!).
So, which is the best camera for wildlife photography for beginners? The answer is simple: whichever you feel most comfortable using. Having the right equipment on hand can make capturing certain wildlife shots much easier, however, at the end of the day, your technique reigns supreme.
No matter what camera you choose to use, the photo editing process also remains vital. Thankfully, BeFunky’s Photo Editor is home to every tool or feature you’ll need to take your wildlife photography from average to incredible. You can crop and resize to perfection, as well as adjust exposure, add Photo Effects, and so much more.
3. Master Your Settings
Before setting out to photograph wildlife, it’s important to know what settings are going to get the best results. Animals can be unpredictable, not to mention very fast-moving! You may only get a single chance to get that special shot before the moment is lost.
There are plenty of ways that you can master the settings of your phone camera or DSLR. The first, and most effective, is to practice. Experiment with different camera settings, as well as various shoot locations and light conditions. See what looks best in different scenarios and be sure to take notes as you go.
You can also enroll in a wildlife photography course, or why not watch video tutorials so you can learn on the go?
Here are some must-know tips to help you get started with your settings:
- Aperture priority mode works best for shooting animals that are less active
- Shutter priority mode gives users the best chance for capturing animals on the move
- Continuous (Burst) mode is perfect for capturing a series of images of an animal in action
- For close-ups of animals, you want to focus on the eyes. Select a single auto-focus point and try for the eye closest to the camera
- The closer you are to an animal, the higher the shutter speed will need to be to freeze movement
- If you want to create a motion blur instead, then you can lower the shutter speed and pan the camera with the animal’s movement
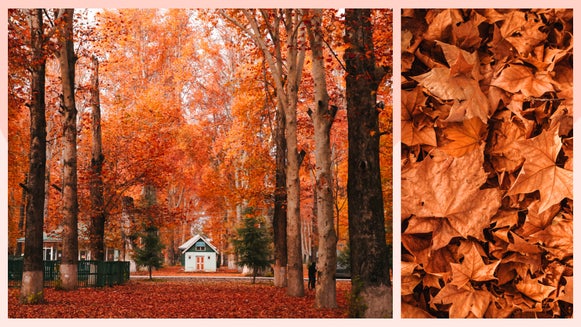
4. Utilize Golden Hour
In photography, the golden hours refer to the first hour of light in the morning and the last hour of light before the sun completely sets.
You might’ve already heard of the importance of golden hours when it comes to capturing the most perfect lighting. However, golden hours are particularly important in wildlife photography, especially since these are the times of the day when animals are most active.
Sometimes it isn’t always possible to shoot during these periods of the day. Additionally, there will be times when you stumble upon the perfect wildlife encounter in less-than-ideal lighting. If this happens, don’t fret.
BeFunky’s Photo Editor has a number of tools to fix your photo’s lighting, while still keeping your wildlife subject crisp and clear. Fill Light, the A.I. Image Enhancer, and the Exposure tool are all ideal for fixing low lighting.

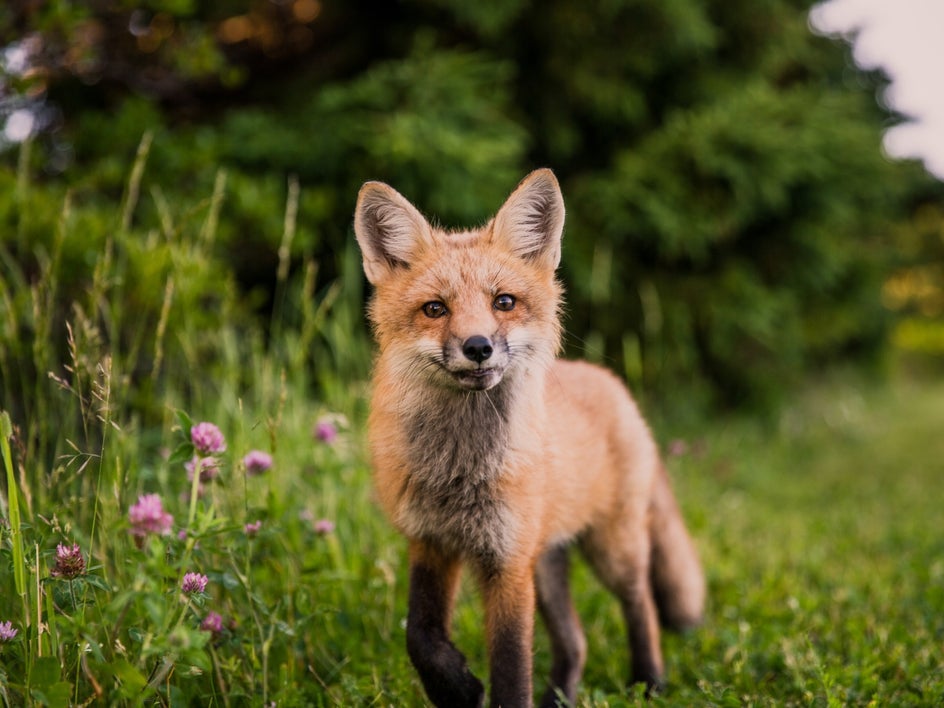
5. Consider the Rule of Thirds
If you’re not familiar with the "rule of thirds," simply bring up an image on the viewfinder of your camera and take notice of the nine boxes on the screen: three across the top, three in the middle, and three on the bottom. There are four points where these lines intersect. These intersecting points are the best places to position your animal subject, or any other interesting features, so your photograph has an eye-catching composition.
If you captured the perfect wildlife image without taking the rule of thirds into consideration, then all is not lost. You can use BeFunky’s Crop tool to reframe your image for a more effective composition. This tool even has its own built-in guide to help you nail the rule of thirds every time!

Get Started With Your Wildlife Photography Career
Now that you know the basics, it’s time to put what you’ve learned about wildlife photography to good use! Do some research, grab your camera, and practice as much as you can. You never know what incredible wildlife shots are just seconds away.
Remember, when it comes to perfecting your wildlife images, you can’t go past BeFunky’s Photo Editor. It has all of the tools and features you need to take your wildlife photography to a whole new level. Try the Photo Editor today to see just how awesome it is!