5 Road Trip Photo Tips
Seeing the sites from the road is the best way to experience a trip. Taking a road trip, even a short one, is a wonderful way to connect with your friends and have shared memories, unlike any other way. Whether you have a road trip all mapped out, or you are going to take it day by day and see where the road takes you, one thing is for sure… you must bring a camera along for the ride. Documenting the memories you will make is just as important as the drive. With the BeFunky Photo Editor and your images, you’ll have memories that will last forever.
5 Tips for Snapping Images From the Road
With your tripod and camera packed in your car, you will have some incredible experiences. If you're still unsure of why you have packed your camera and think it will just be a waste of space, these 5 tips with the Photo Editor will show you why your road trip photos will stand the test of time.
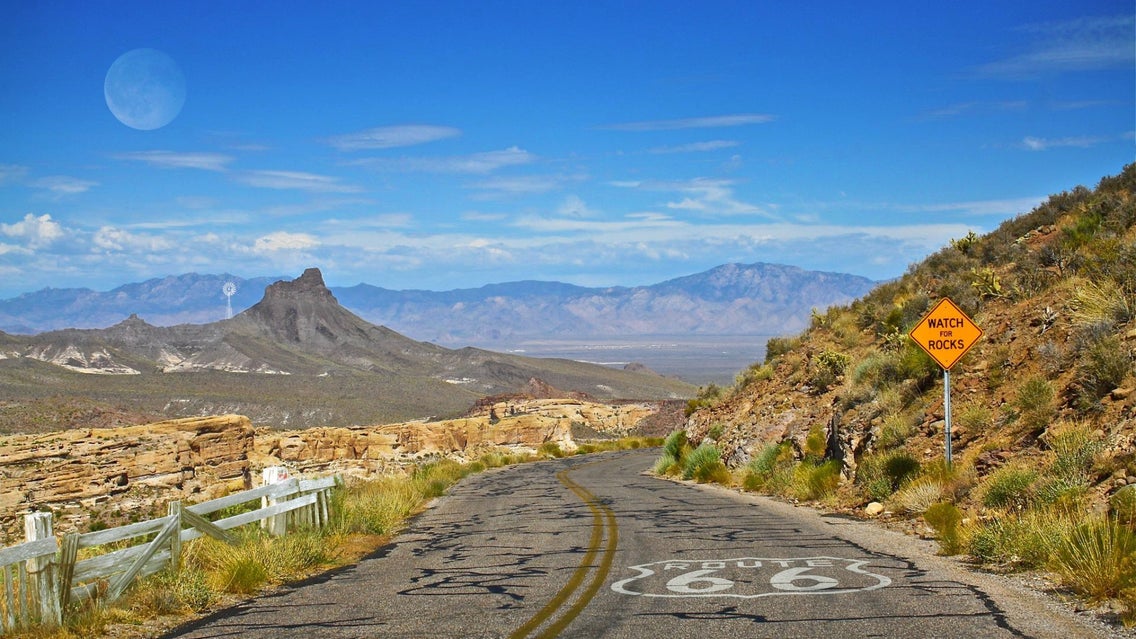
Tip 1: Take the Scenic Route
Taking the long way around is the best way to take a road trip! The scenic route gives you more opportunity to see the land untouched by massive freeways and chain restaurants. It allows you to take in the rarely seen spots and revel in the beauty. Snap a few photos of road signs while you're at it, they will tell a story of where you've been. Using a filter or effect – like Viewfinder – is a great way to quickly edit the image so you can get back to enjoying your drive.
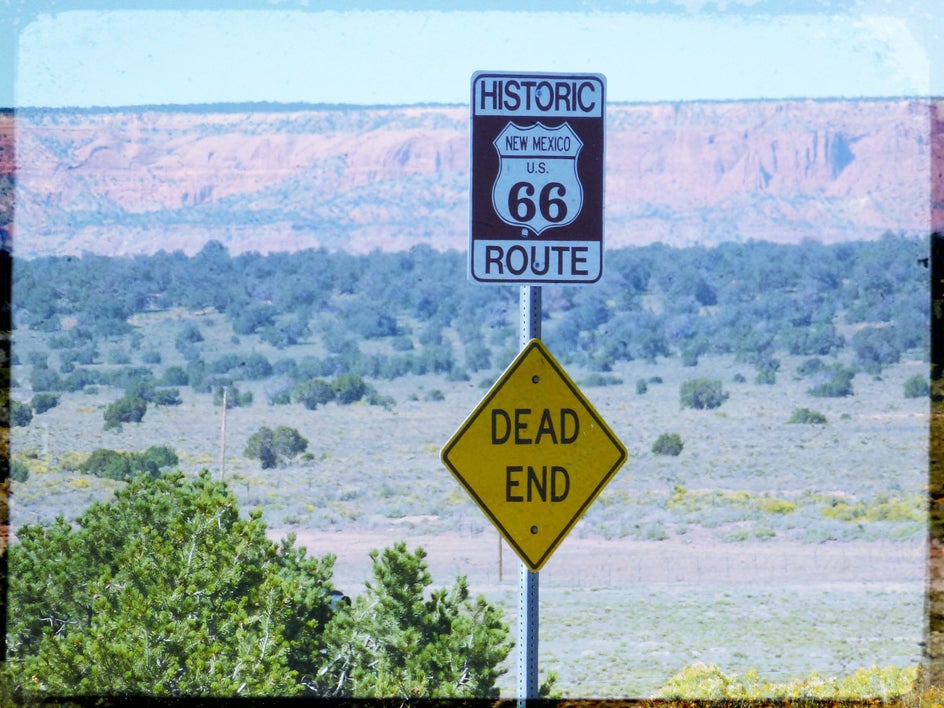
Tip 2: Pull Over for a Landscape Photo
A good road trip is full of viewpoints and gorgeous scenery, be sure to pull over to stretch your legs and marvel at it. From the mountains to the vegetation, there are so many things to take photos of. Be sure to take some photos of the vast landscape with something in the image to give it perspective. This could be the road, a street sign, or even the vehicle taking you on this trip! It will show the viewer how large the view really is! Adjust the vibrance of the photo to add a more realistic color to the scenery.
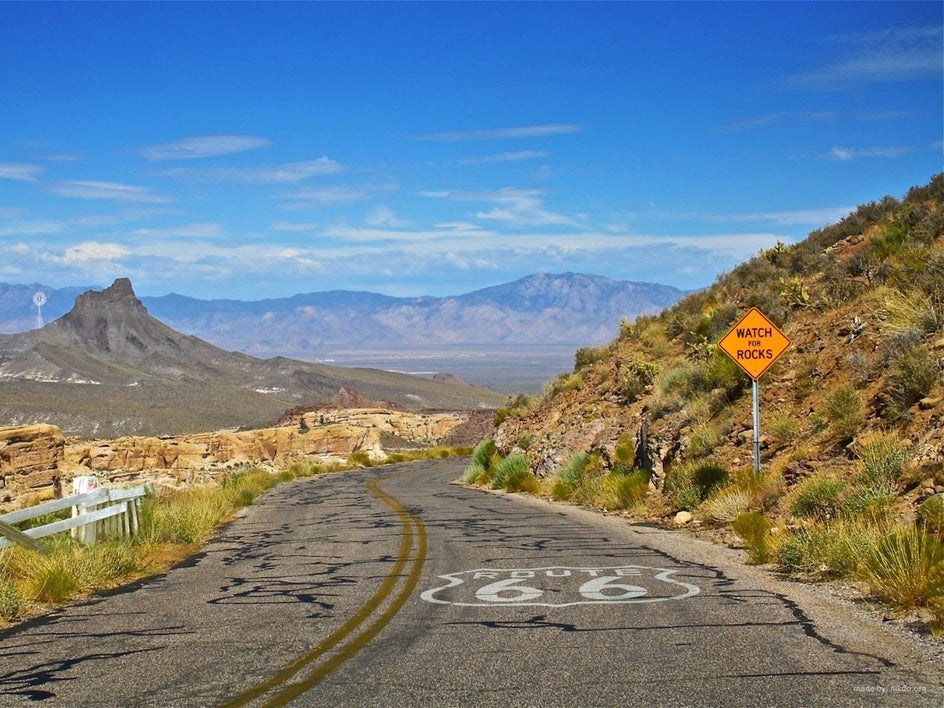
Tip 3: Include the Road in Your Shots
When you're on a road trip, the thing that you look at the most is probably the road. Using it in your photos is a great way to let your image tell a story. It shows where you are going, or where you have been! Plus, it can make for an aesthetic road trip image. Using the Vignette tool is a simple way to highlight the road as the subject of your photo. Select the shape and the color of your vignette and center it on your road, and your travels will speak for themselves.

Tip 4: Put Emphasis on the Details
The little moments that you love on the road are the moments you should capture! Driving with the windows down with friends, singing along with the music, snap a photo of that moment so it can live on forever. These little details of what your view looked like, or where you sat are great things to be able to hold onto forever. Use the Sharpen tool to enhance details by sharpening the edges.
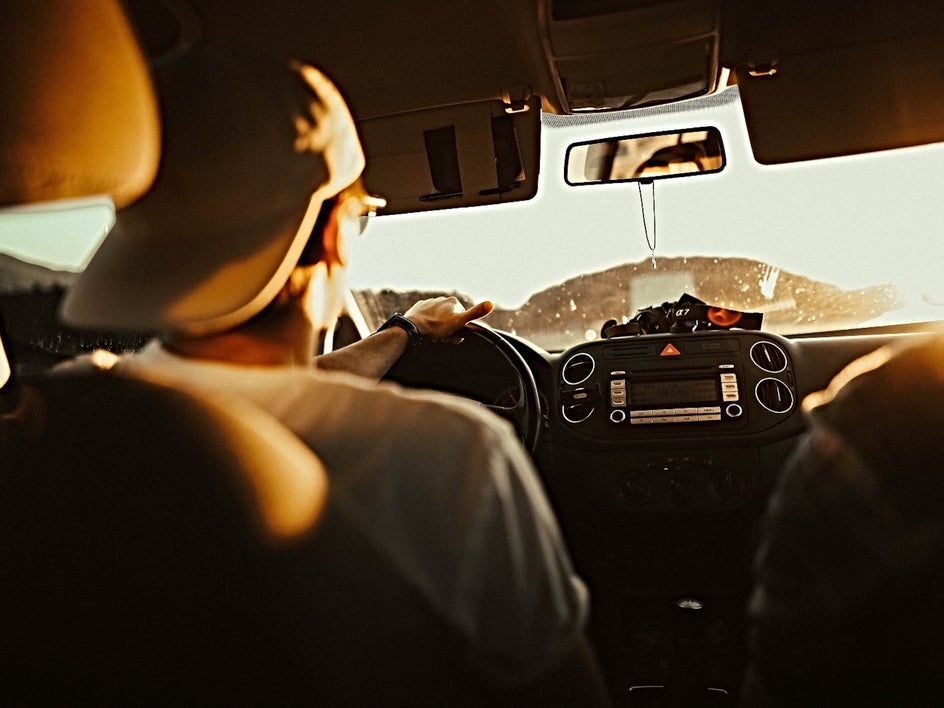

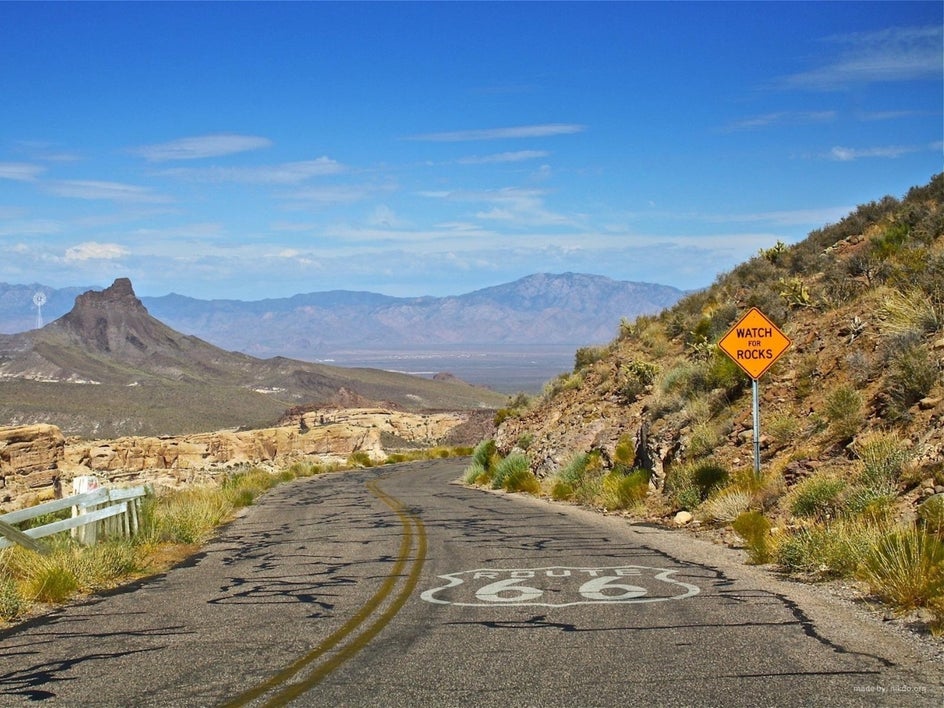
Tip 5: Make Sure Your View Is Unobstructed
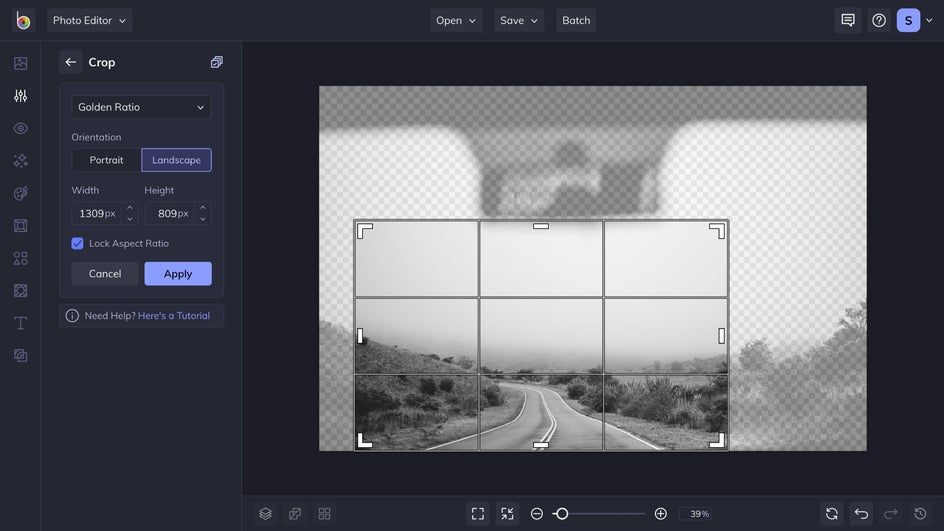
With long hours in a car, it's easy to snap a few photos while you're driving, but it can be just as tough to get an unobstructed view when you're taking these photos. You can clear all the snacks off the dashboard, but that darn rearview mirror can get in the way. An easy way to work around this is the Crop tool. Simply select the ratio that you want the final image to be, and shrink the box until the distractions are out of the photo. Make sure the subject is centered if you can, and then select Apply.
See the Sights and Take Great Shots Along the Way
With these 5 tips, you are ready to get out on the road and take photos of every destination and the between. Take some time on the road, but be sure to bring your camera and BeFunky’s Photo Editor.