The Stencil Effect: How to Dramatize Your Photo
What do you do when you want your photo to speak volumes, but it’s lacking the drama that you’re looking for? You turn up the volume with BeFunky’s Stenciler effects! Learn how to use these effects to give any photo a dramatic, stencilized look.
How to Apply a Stenciled Effect to Your Photo
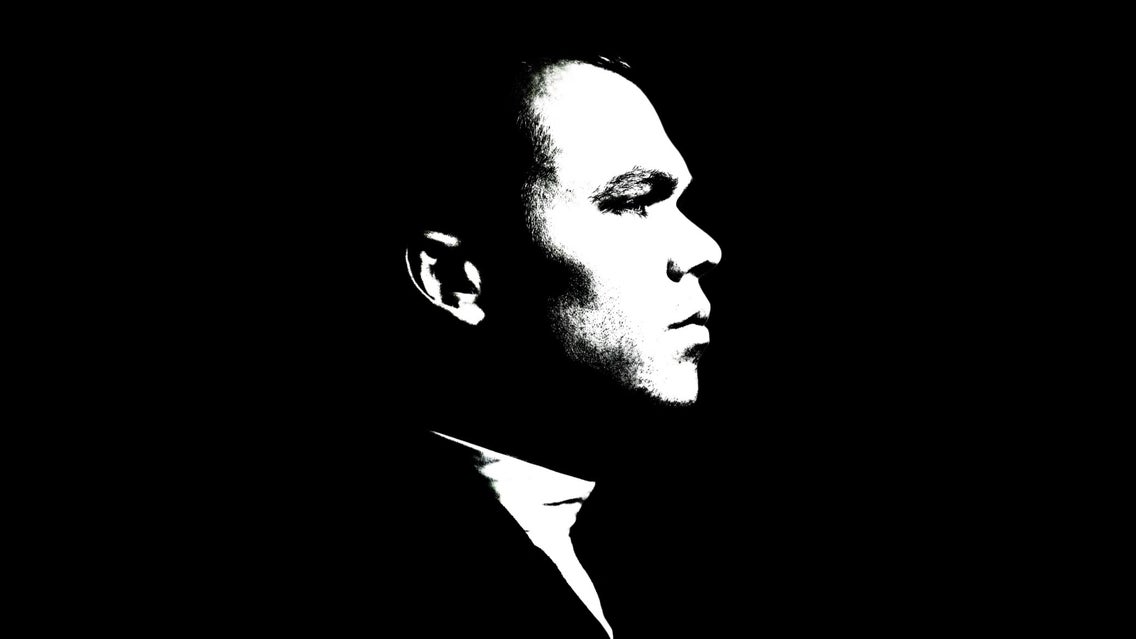
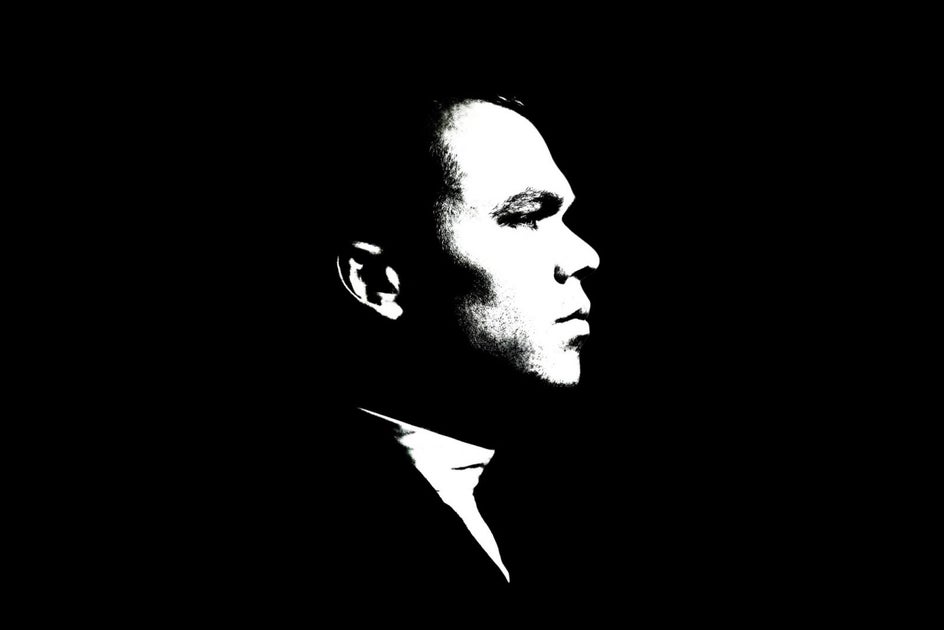
For this example, we're going to use The Godfather’s film poster as inspiration. It is an iconic aesthetic that has been replicated time and time again since its introduction in 1972. Many successful productions have used the contrasting black and white effect to create intriguing visual drama. So if you’re ready to add this effect to your own photo, get started by opening the Photo Editor and following along with the steps below.
Step 1: Choose Your Photo
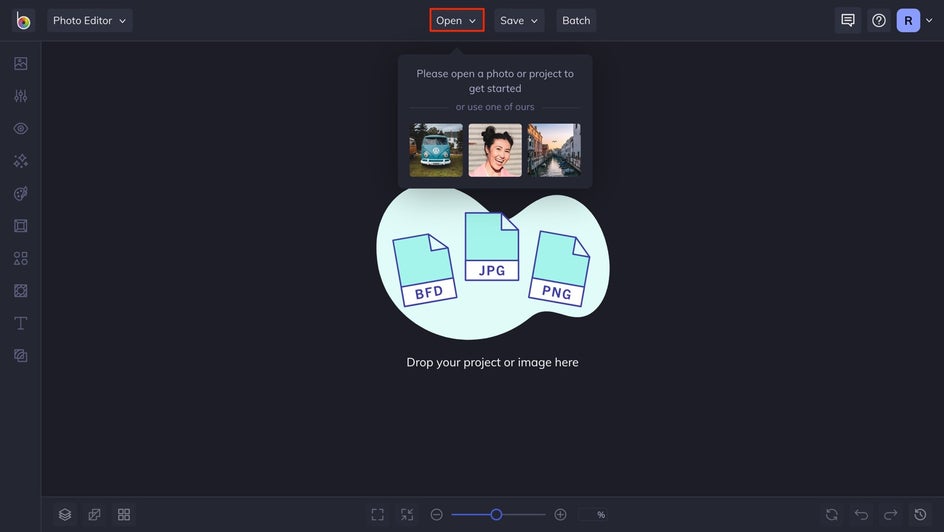
Once you’re in Photo Editor, upload your photo by clicking Open at the top of your screen. You can also do this by dragging and dropping your photo directly onto the canvas.
Step 2: Remove the Background
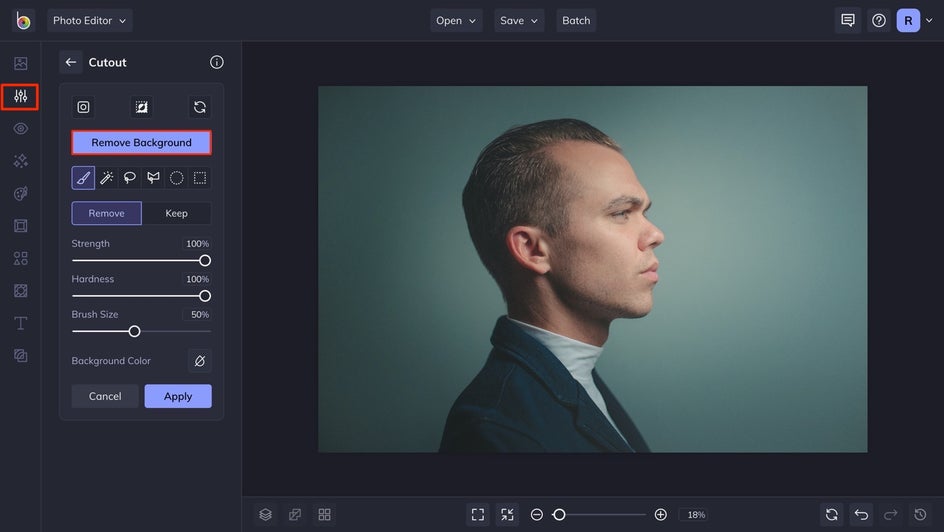
Next, remove your background by clicking Edit, then clicking Cutout followed by the blue Remove Background button. If you’re not satisfied with the results, use the Remove and Keep tabs to select which parts of the photo you want to show.
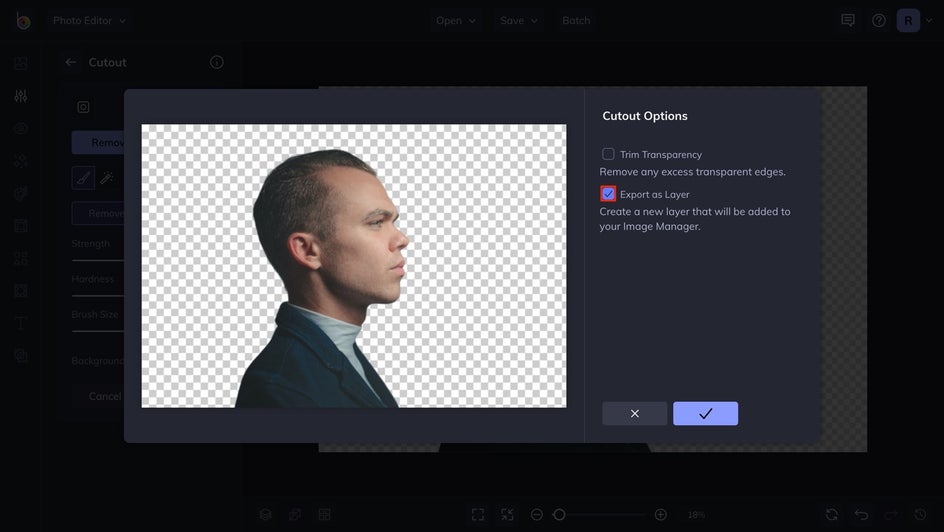
When you’re satisfied with your photo, click Apply to save your edits, followed by the Export as Layer checkbox. This will make it easier to customize the subject separate from the background.
Step 3: Blackout the Background
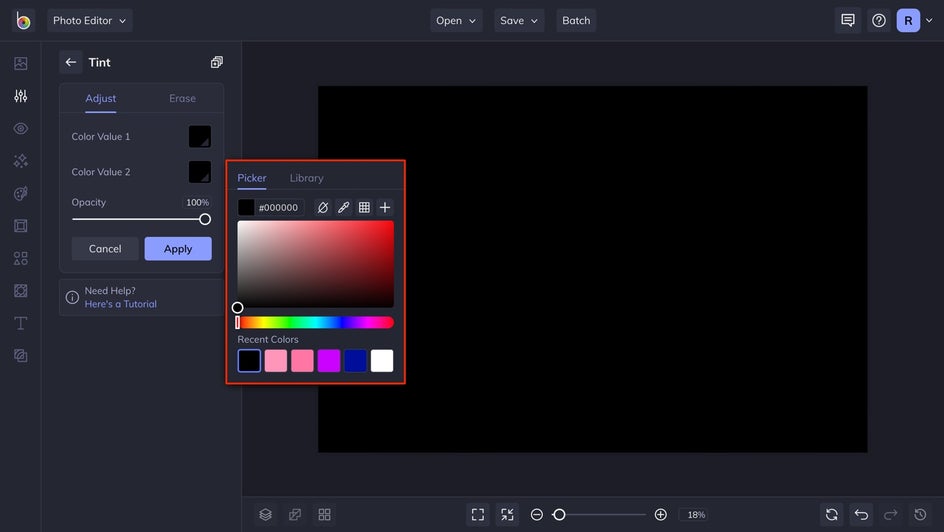
Now that your subject is separated from its background, it’s time to black it out. Start by heading to the Edit tab. From there, locate the Miscellaneous section and click Tint. Next, you’ll want to select black for Color Value 1 and Color Value 2. Make sure to click Apply to save your edits.
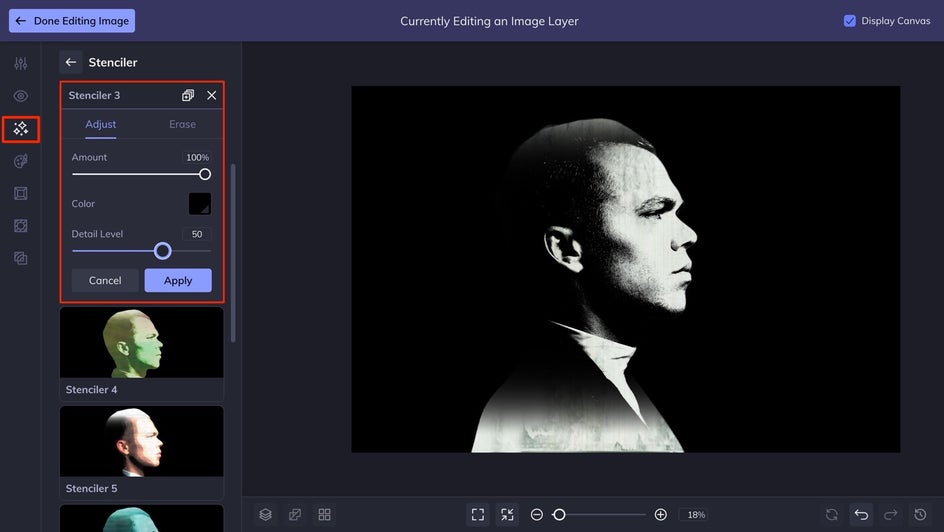
Step 4: Apply the Stenciler Effect
With your background fully blacked out, it’s time to apply a Stenciler effect to your photo. Start by clicking on the subject to open the Image Properties tab. Then, click the Edit Image button. From here, you’ll want to click Effects, and then scroll down until you locate Stenciler. Choose whichever works best for your purposes, and adjust the effect by using the Settings menu.
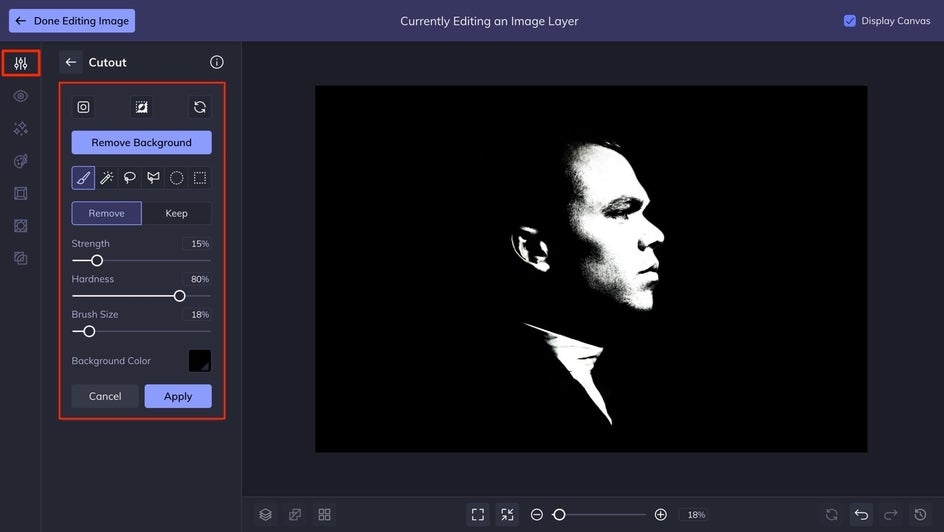
Step 5: Perfect the Effect
This step will require a little finesse. The goal is to erase the unwanted white space in your photo to reveal the black background layered underneath it. To start, head to Effects and click on the Cutout tool. You'll want to adjust the Strength, Hardness, and Brush Size before choosing a paint brush. We recommend using the Magic Brush to make the job a bit easier.
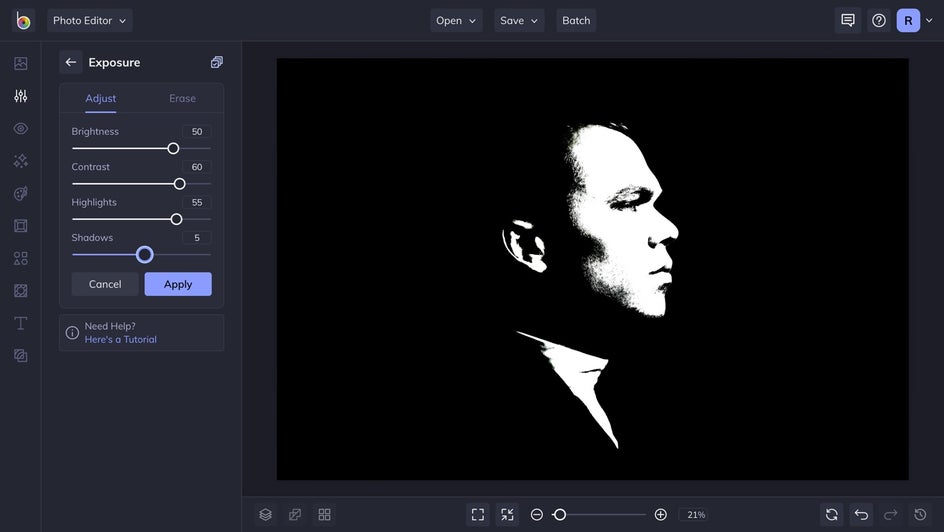
Step 6: Customize Exposure As Needed
Now it’s time to put the finishing touches on our photo. Depending on the contrasting aspects of your photo, it may be necessary to amplify the highlights. To do this, click Edit, followed by the Exposure, and adjust the slider options until the desired result is achieved. For greater contrast, try applying multiple rounds of exposure brightening.
Step 7: Save Your Photo
Once you’re happy with your photo, click Save at the top of your canvas to save it to your desired destination.
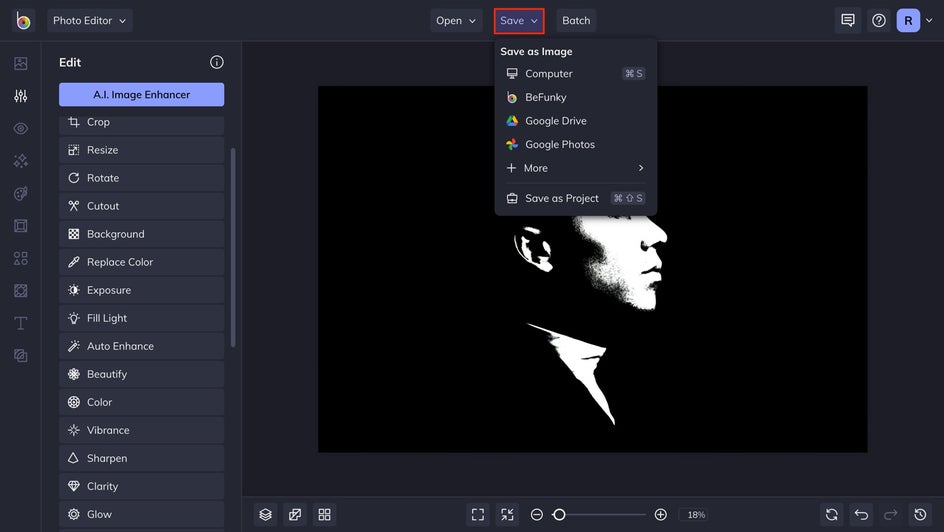
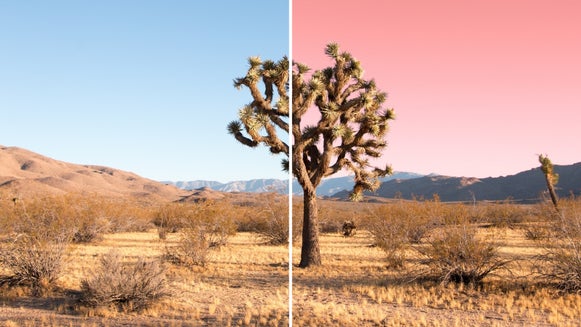
Photo to Stencil: Before and After
In just a few steps, we’ve added some serious drama and iconography to what was an otherwise mundane photo. With BeFunky’s Stenciler effects, you can completely change the emotion of your photos with just a few clicks!

Stencil Effect Inspiration
To give you another perspective of what you can do with the Stenciler effects, here are a couple of ways you can zhuzh up your photos.
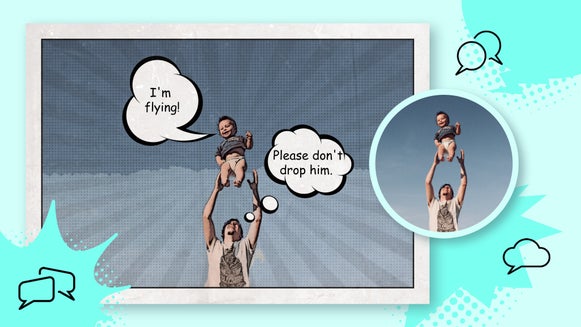
Create Interest With Inverted Photos
Want to showcase a signature moment in a new and exciting way? Give your photo a wow factor that’s sure to make an impression with our Stenciler 9 effect. This is perfect for highlighting impactful moments, as it puts all focus on the subject.

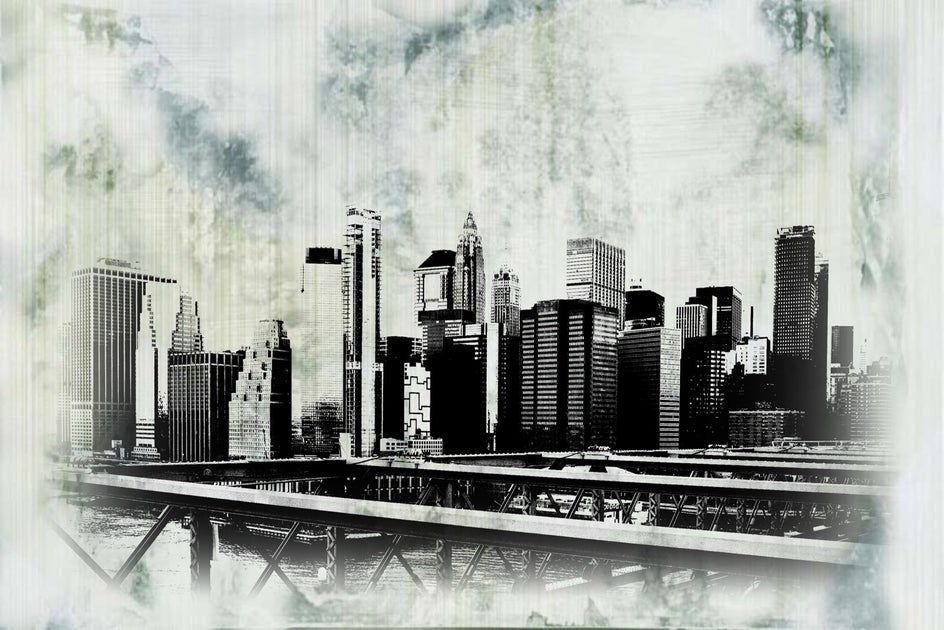
Show Off Your Skyline’s Silohuette
If you love capturing amazing shots of cityscapes and skylines, try using our Stenciler 1 effect to emphasize the stark lines, sharp edges, and finer details in your city’s architecture. Experiment with the Stenciler settings to get just the right amount of detail.
Use a Stencil Effect for Dramatic Imagery
With the wide array of stencil effects available in BeFunky’s Photo Editor, finding the right look for your photo has never been easier. With a few clicks, you can transform your photos from drab to dramatic.