How to Add Text to Photo Collages

Photo collages have become extremely popular of late, particularly as a way to easily show off a set of related images on social media or even to use as DIY photo gifts. Without a little extra context, however, photo collages can seem a bit dull. This is what has prompted many to ask, “can a photo collage have text too?” Thankfully, the answer is a resounding yes!
With the wide range of text options available in BeFunky’s Collage Maker, adding text to a photo collage isn’t just possible, but easy.
So, if you’re wondering how to make a collage with writing on it, keep reading. We’ll quickly show you how you can put text on a photo collage online for free!
How to Add Text to Your Photo Collage for Free
BeFunky offers a free photo Collage Maker with text templates, so adding text to a collage has never been easier! To get started, head to the Collage Maker and follow the easy steps below.
Step 1: Arrange Your Collage
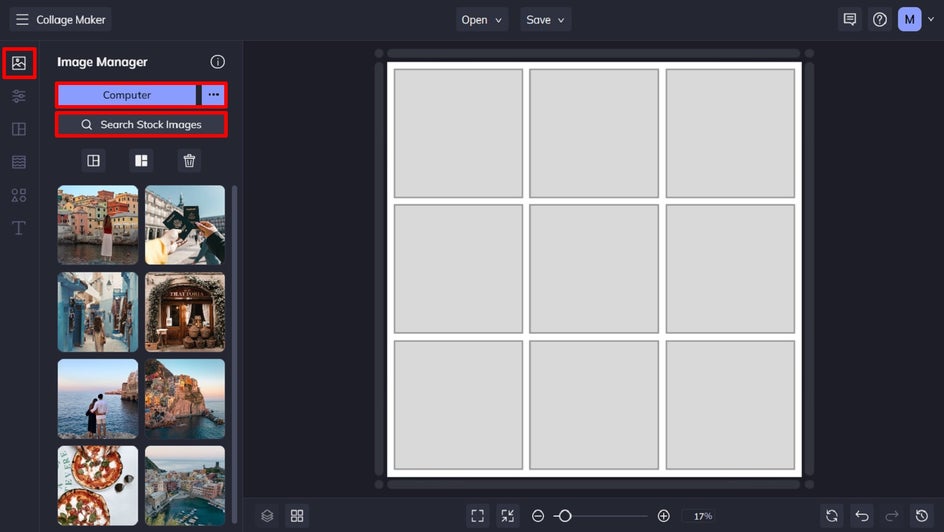
You’ll want to start your project by uploading the images you wish to include in your collage. Navigate to Image Manager in the main menu on the left. From here, you’ll be able to upload photos from your computer, Facebook, BeFunky account, and more.
Want to use stock photos instead? Click on the Search Stock Images button to access BeFunky’s huge library of free stock photos. Just type in your desired search term, and click on the images you want to use. They’ll then be automatically uploaded into your Image Manager.
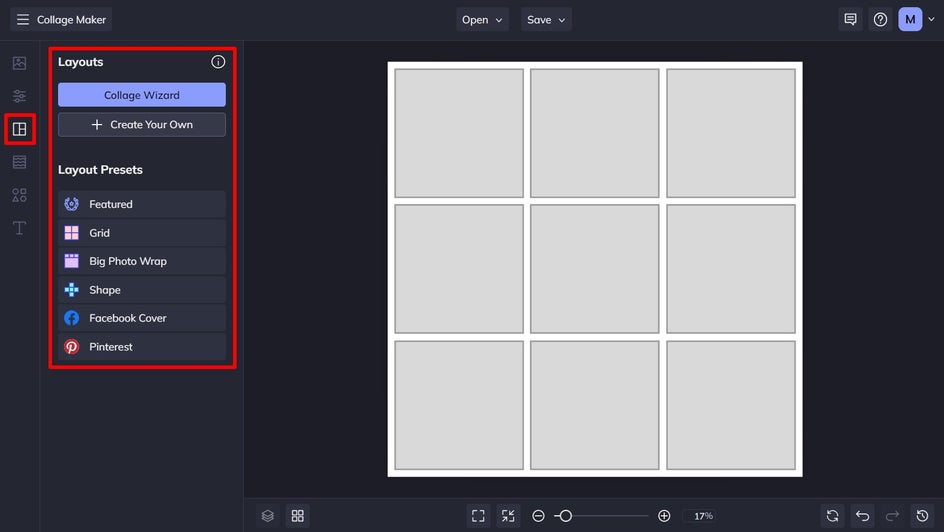
Next, you’ll want to select a new layout for your collage. Our free 3x3 square template can be customized to your liking, or you can choose one of our other custom layouts available. To do this, navigate to Layouts from the main menu on the left.
Once you select a layout, manually drag and drop each of your images into their desired cells.
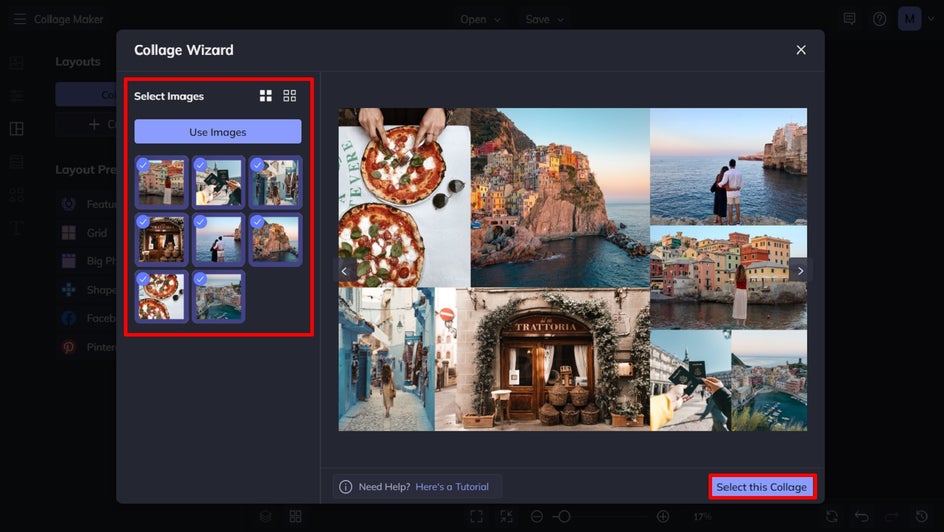
Alternatively, you can use the Collage Wizard to generate the perfect layout for your selected images. To do this, click Collage Wizard, then click to select the images you wish to include in your collage. Finally, click Use Images for the Collage Wizard to generate a series of recommended layouts for you – all without cropping or clipping any of your photos.
Once you land on a collage layout you love, simply click Select this Collage to proceed.
Step 2: Add and Customize Your Text
Now, it’s time to add custom text to your collage. Navigate to Text in the main menu on the left. Here, you’ll have the option to add a new text box (by clicking Add Text) or add one of the curated text patches available underneath.
You can then double-click a text box and type in what you want it to say.
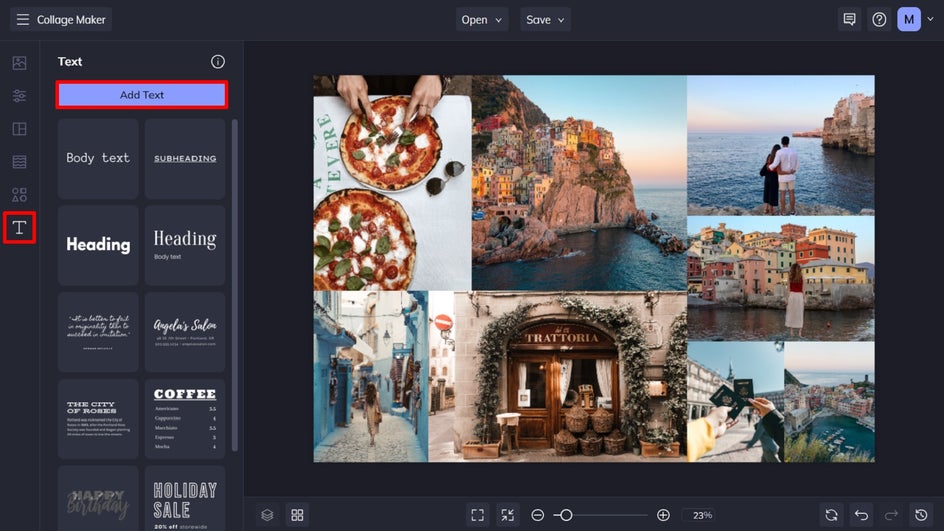
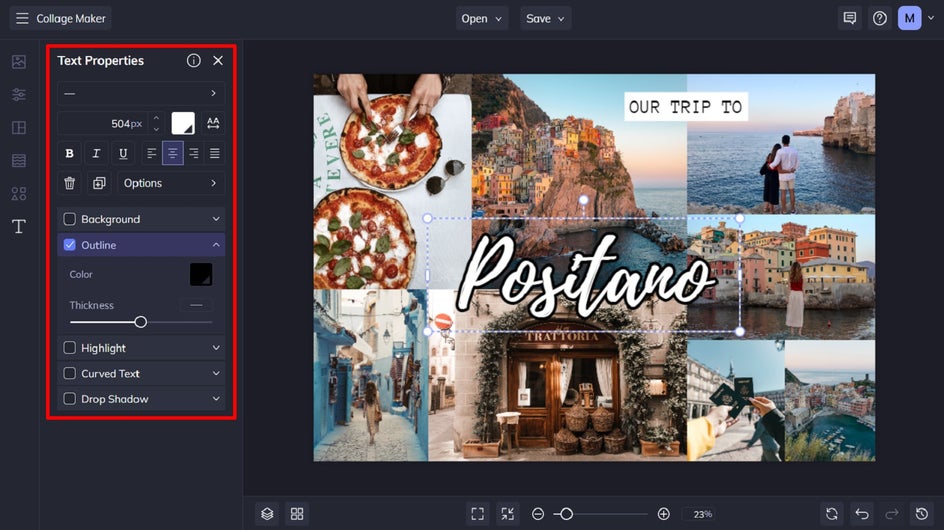
You can also use the Text Properties panel to change the font, letter spacing, color, and more. There are also multiple options to add cool effects to your text, including a background, outline, highlight, curved text, or drop shadow.
In this example, we’ve added both a white background to the words “Our trip to”, as well as a black outline to “Positano”. We’ll talk about a few more of these fun effects in the next section!
Step 3: Save Your Collage
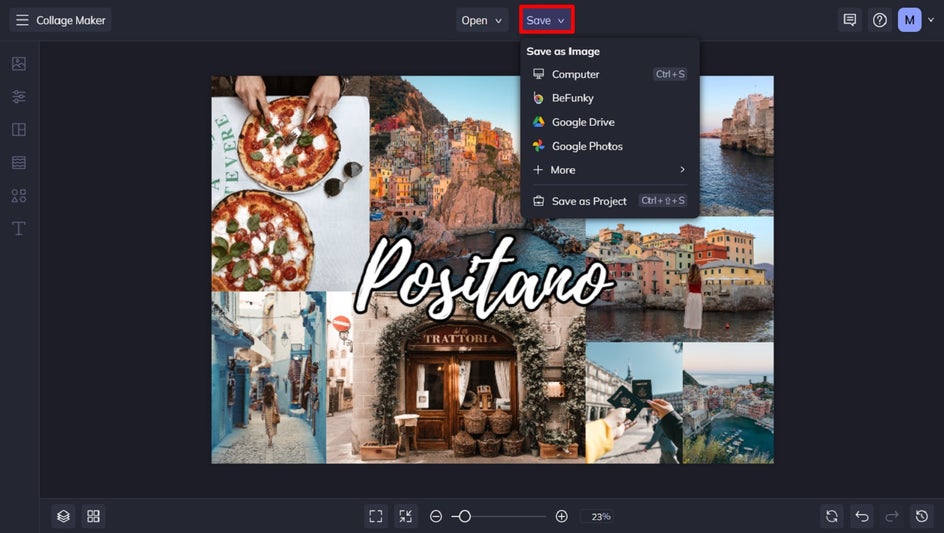
Once you’ve finished editing your photo collage, click the Save button at the top of the screen to save your work. You’ll have several options for saving to your computer, BeFunky account, Dropbox and more. You can also share your photo collage straight to social media channels like Facebook, Pinterest, or Twitter.
Finally, if you’d like to save your collage in editable format, click the Save as Project button to store an editable version. This allows you to pick right back up where you left off at a later date.
Add Text to Your Collage in Seconds
Transform the ordinary into the extraordinary by incorporating fun and eye-catching text into your next photo collage. With BeFunky’s wide range of text options, available in our free Collage Maker, doing so has never been so quick or easy. Head to the Collage Maker to see what intriguing text designs you can create! But if you want some more inspiration before getting started, keep reading!

Inspiration: Eye-Catching Text Ideas for Your Next Collage
Remember how we mentioned those fun text effects earlier in the tutorial? In this section, we’re going to show you how you can use them to add an extra wow factor to your photo collage with text!
Drop Shadow Text
Ever wondered how to add floating text to photos? Thanks to the Drop Shadow effect, doing so is now super easy. It instantly makes your text appear as though it is floating above the rest of your collage, giving it a three-dimensional appearance.
If you want, you can even use your drop shadow to create more of a glowing text effect using neon colors and increased blur.

Curved Text
One of the newer additions to BeFunky’s Text Editor is the ability to add curved text. This effect is great for drawing the viewer’s eye to your text even more, as well as giving it a rounded shape to fit in with other curved elements within your image – as we’ve done below.
In this example, we paired the Curved Text effect with brighter colored text and a bold outline to really make it pop against our photo collage!

Clipping Mask Text
Did you know you can even fill your text with an image by using our Clipping Mask feature? This allows you to create text that’s filled with intriguing imagery or patterns, giving your photo collage a whole new vibe.
In this example, we’ve added a gold and glittery stock image to the text “Positano”. This gives our photo collage a decorative look. You can either use your own imagery as a clipping mask, or utilize one of the many stock images available in BeFunky’s Stock Image Library.