How to Add and Manage Your Fonts in BeFunky

Selecting the right font is the first step to making your graphics stand out! A great font can influence an entire brand’s aesthetic, and making sure you have the font that represents you is a crucial step in any sort of creation you produce. Multiple fonts can be used concurrently to complement each other, by using different sizes, colors, and styling to make striking imagery that grabs your viewer’s attention and moves their eye around the design.
While BeFunky has an extensive selection of hand-curated fonts picked out by professional designers, it’s still important to have the freedom to add your own fonts that may not currently be available in the font library. Whether you’re in the Photo Editor, Collage Maker, or Graphic Designer, you’ll find everything you need for font greatness anytime you use the Text Editor. With this tool, you’ll be able to add Google Fonts in a single click, drag and drop your own font files, or access your curated font library from any computer. Follow along with this tutorial to see more about how to add and manage fonts in BeFunky.
How to Add and Manage Fonts in BeFunky
You’ll want to become familiar with the Text Editor, where you’ll do most of your font management. Start by adding your own text, and you’ll see a Text Properties box appear.

This menu allows you to select styling options for your text such as bolding, adding a drop shadow, and more. To manage your fonts, click on a text box to see a full list of all the fonts currently available, with recent fonts at the top.
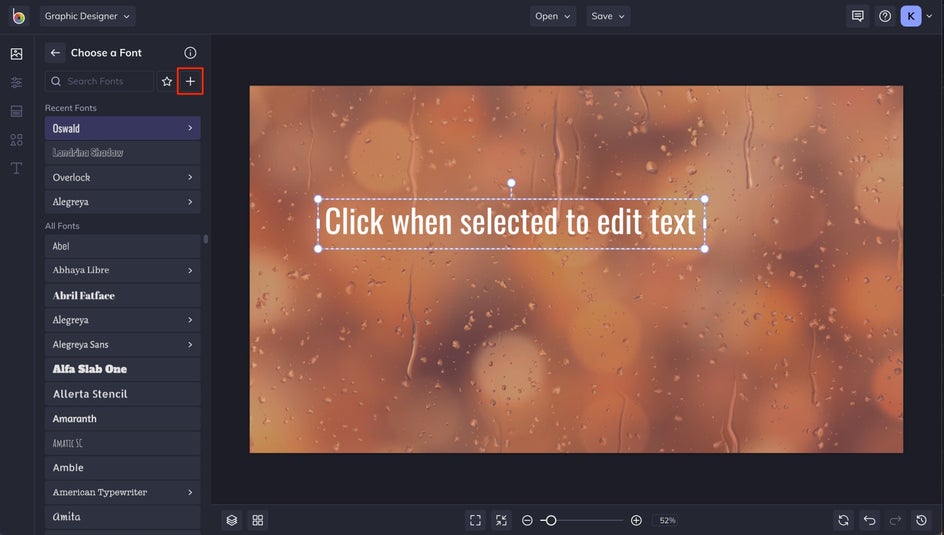
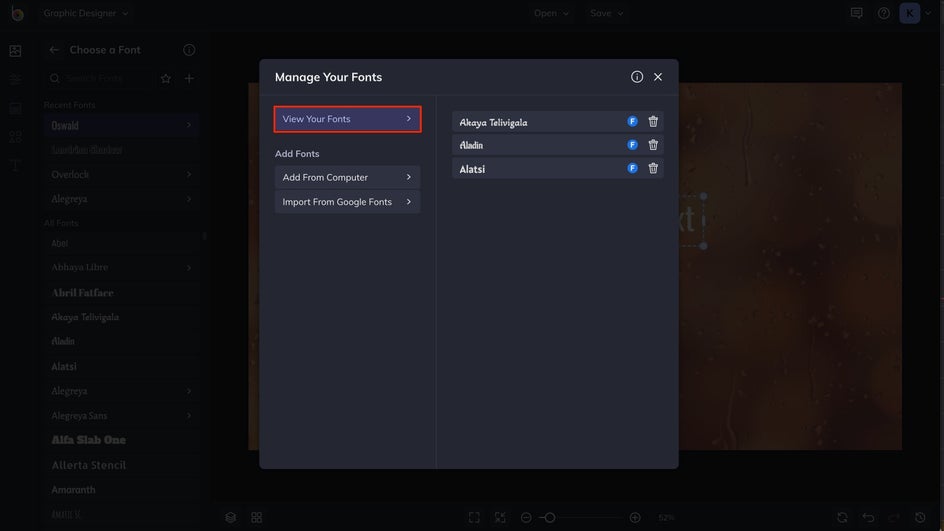
Step 1: Click the + Button
The + icon in the Choose a Font menu will allow you to add and manage fonts easily and efficiently.
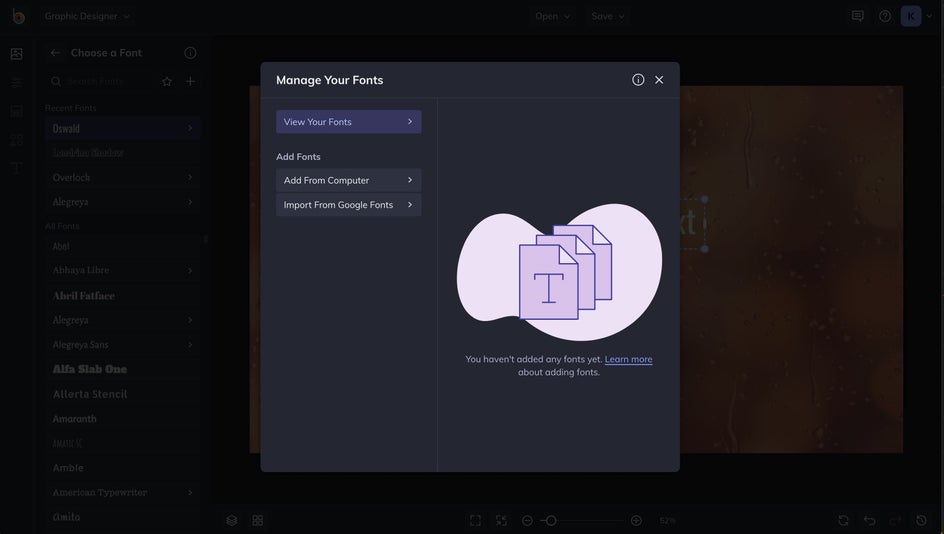
Once you click on it, you’ll see a Manage Your Fonts menu with options to add fonts from your computer, import Google Fonts, and manage all your new additions in one convenient place.
Step 2: Add Google Fonts
To access the thousands of Google Fonts available to you, click the Import From Google Fonts button in the Manage Your Fonts section.
Whenever you see a Google Font you love, click the + icon next to the font name to add it to your library in a single click! Any Google Font you’ve already added will have a checkmark next to it instead of a + icon.
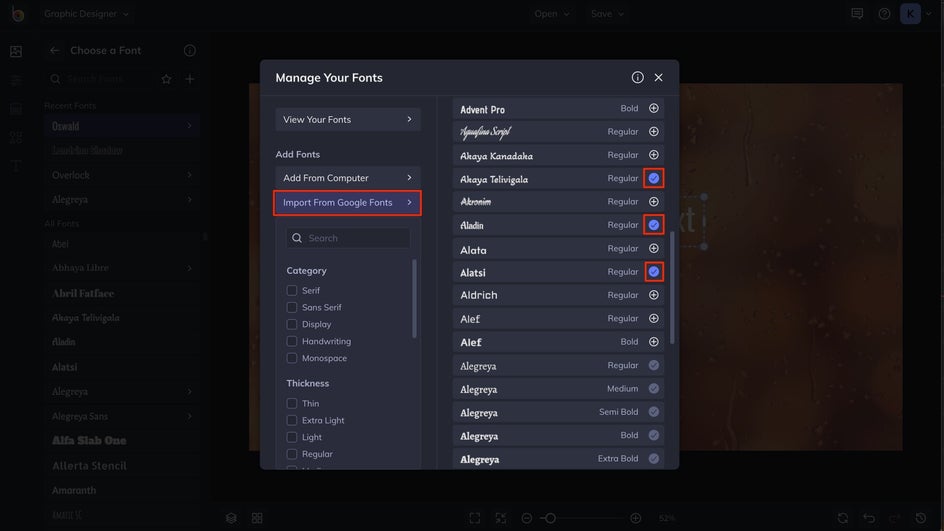
Since there are so many Google Fonts to choose from, you can use the Search bar to find a font by name or select any filters to narrow your results. You can filter Google Fonts by Categories (serif, sans serif, etc.), Thickness (or font-weight), and even Language.
Click on View Your Fonts to see the Google Fonts added to your library. Notice that any Google Font you add will automatically include all of the available font weights, so you don’t have to check each font-weight one by one.
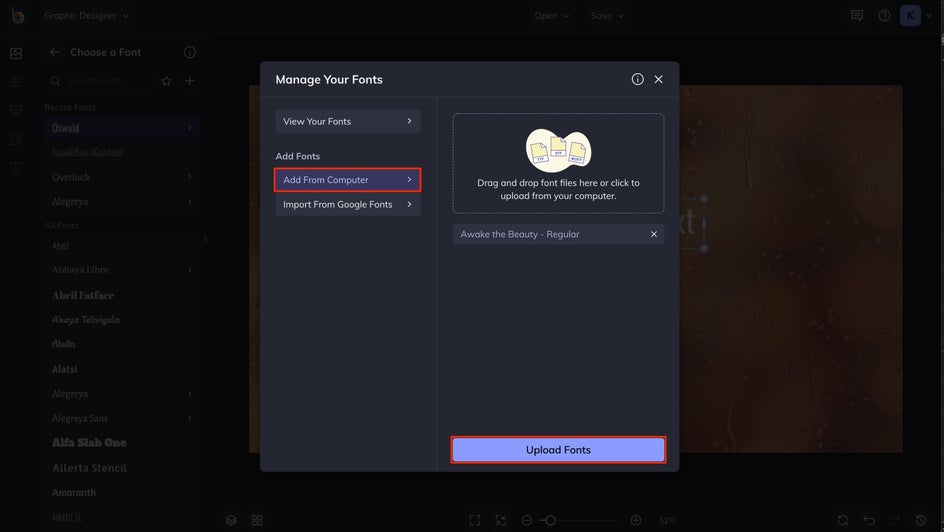
Step 3: Add Fonts From Your Computer
In that same Manage Your Fonts menu, you’ll be able to add any font stored on your computer by choosing the Add From Computer option. Then, you can drag and drop any TTF or OTF font file to instantly upload it, or click the upload box to find the file on your computer. When the font name appears in the Add From Computer window, click the blue Upload Fonts button to complete the process.
To locate your downloaded font files on a Mac, navigate to the FontBook application. If you’re using Windows, the default location of your fonts will be in your Fonts Folder. From these locations, it’s best to add your favorite fonts to a designated file on your computer for easier access.
Important Note: To add your own fonts to BeFunky, you’ll need to ensure that any font files you’ve downloaded have been fully installed on your computer. By default, downloading a font file won’t install it on your computer.
To check, open the font on your computer by double-clicking on the file, and press the Install button in the new window that appears. Once you click that Install button, you should be able to successfully drag-and-drop the font file into BeFunky and add it to your library!
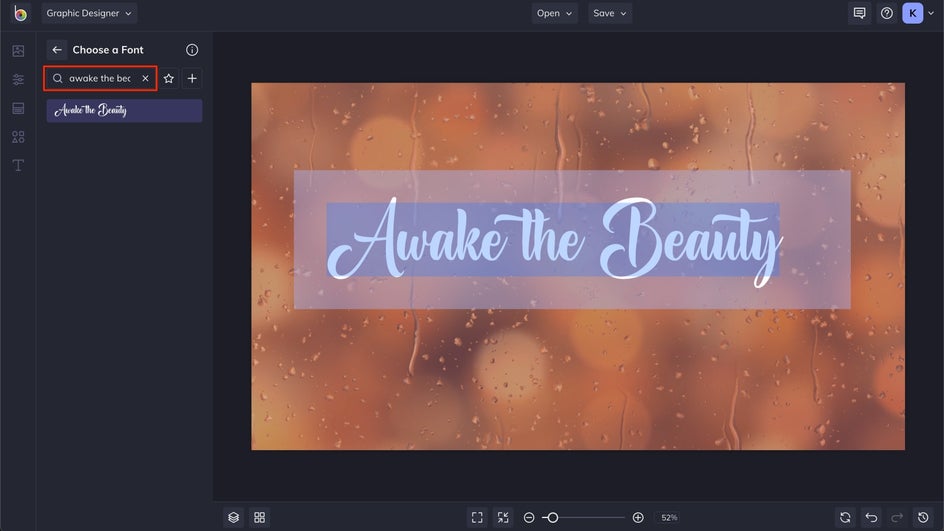
Step 4: Favorite Your Fonts
When your fonts have been added, they’ll automatically get mixed into your full font library in BeFunky. To find your font quickly, use the Font Search tool by typing your font’s full name into the Search Fonts field of the Choose a Font menu.
To curate your own list of favorite fonts for quick access, click on the star outline next to any font name. It will instantly be added as a favorite. Repeat the process for every font you want on the favorites list!
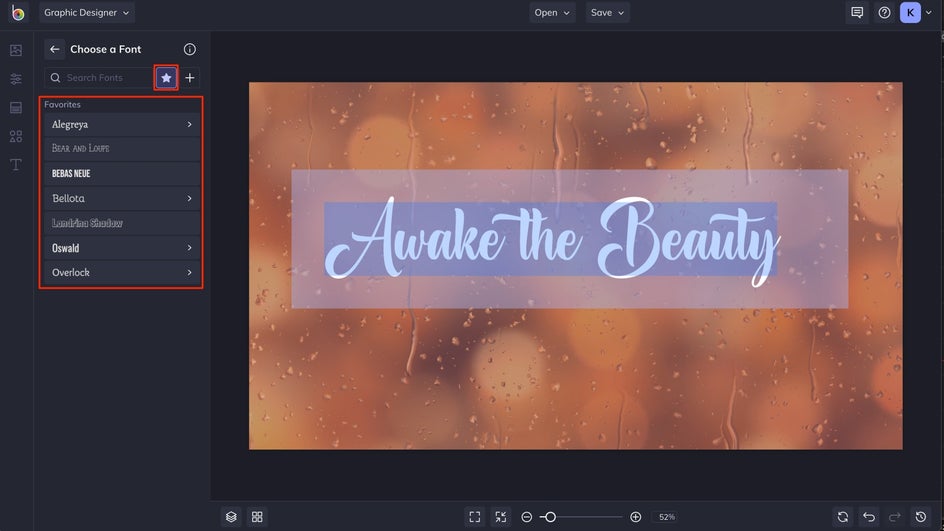
Once you’ve starred your favorites, click the Star icon in the Choose a Font menu to open your list of Favorites. This will give you quick access to your favorite font collection whenever you’re working on a project.
Add and Manage Your Fonts Like a Pro With BeFunky
With access to our curated font library, Google Fonts, and your own downloaded local font files, you truly have endless possibilities when it comes to working with text in your projects! BeFunky’s font manager has no limit on how many favorites you can choose, or how many fonts are added to the library. The ability to drag and drop fonts directly into the BeFunky platform is unheard of in other creative platforms, so consider us your secret weapon for adding text to photos and designing the way you want! Head over to our Graphic Designer, Photo Editor or Collage Maker to get started.