How to Customize Text in BeFunky’s Graphic Designer

Our Text tab includes an overwhelming font library, text customization options, preset text arrangements, and more. It's easy to personalize your projects with descriptive text, a sweet message, dates, and more. Read on to learn how to use the Text Editor in our Graphic Designer to customize templates – though this tutorial can be applied to adding text in our Photo Editor and Collage Maker as well!
Step 1: Choose a Template or a Canvas Size
For this tutorial, we're going to head to the Graphic Designer to choose a template and customize it using text and our own images. Click here to find a wide range of templates under the Templates tag. Or, you can create something from scratch under the Blank Canvas tab.

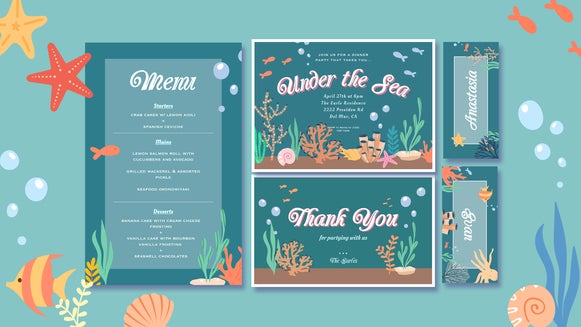
We've decided to go with a Valentine's Day-themed card!
Step 2: Prep for Your Text Design
Next, we're going to remove the graphic overlay here. To do this, simply click on whatever graphic or element you wish to remove, and press the Delete key.
Then, we're going to head to the Customize tab and change the background color. Simply click the top-left color swatch under Background Color to open your Color Picker.

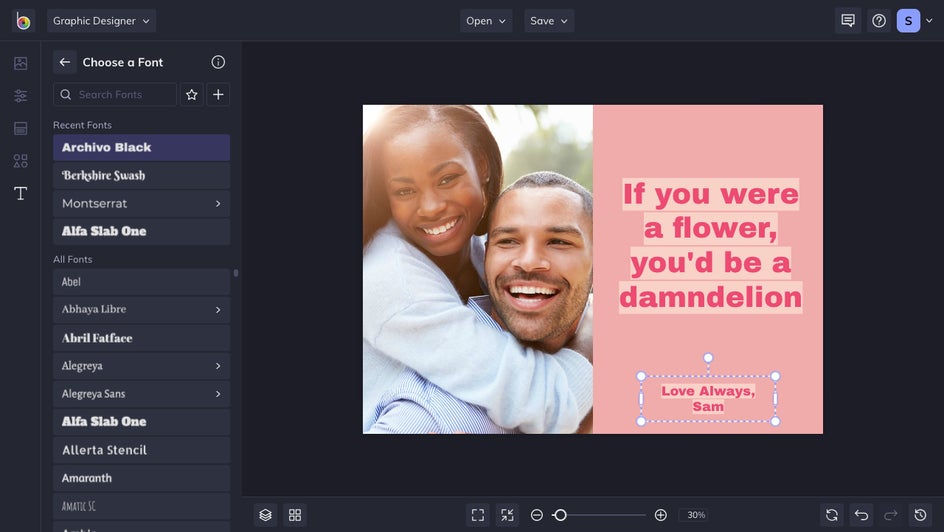
Step 3: Customize the Text
Next, we're going to change the pre-existing text. If you want to add more text boxes or use our presets, head to the Text tab. Otherwise, simply click on any preexisting text and it will open the Text Properties menu.
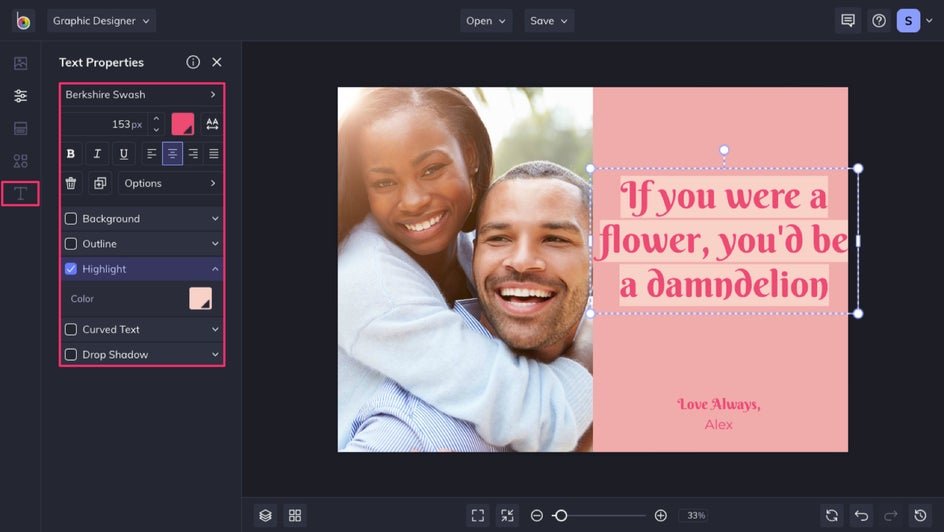
From here, you can change the font, add a background or a highlight, and more. Take some time to familiarize yourself with all of the different options available. For our card, we're going to change the preset's text color and font, and add a highlight to really make it pop.
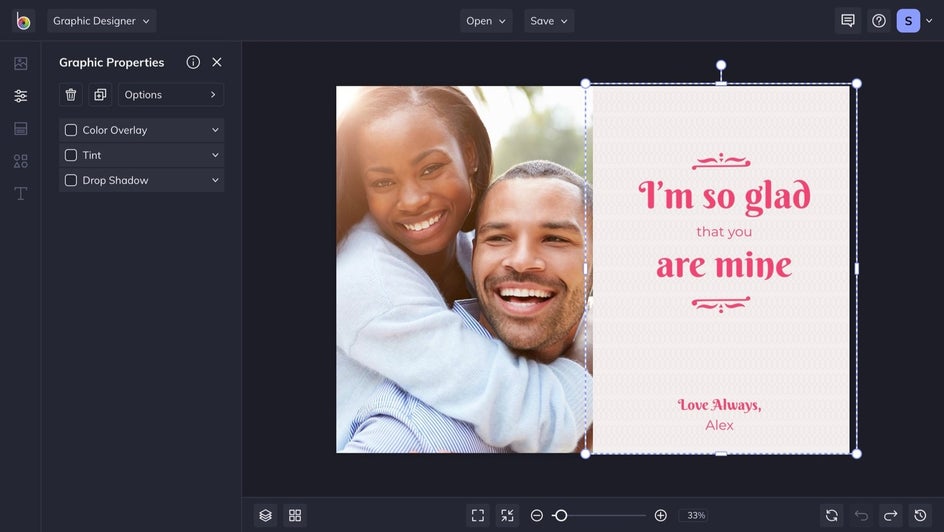
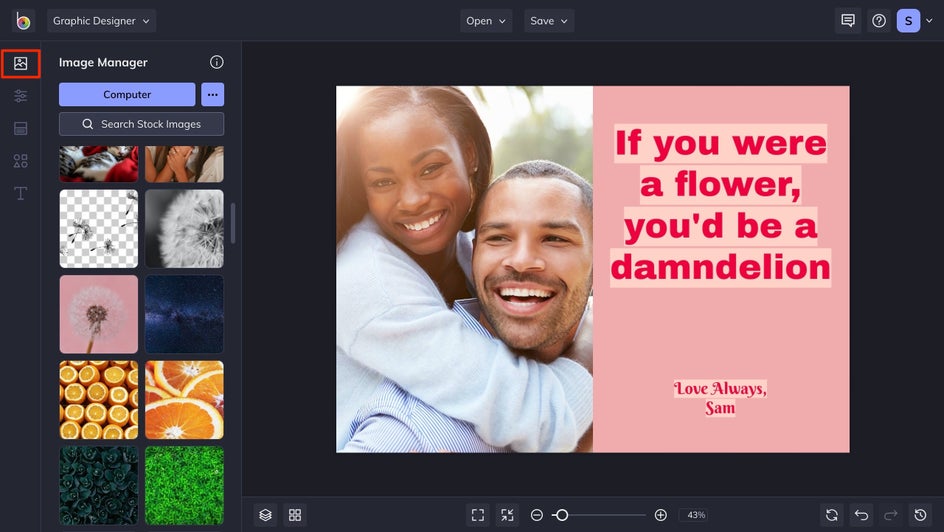
Step 4: Customize the Imagery
Next, we're going to add an original photo, because this is a personal card. To do this, head to the Image Manager tab and choose your method of uploading your photo. With an image preset like this, it's easiest just to drag and drop your image straight from your desktop – or from your Image Manager if it's already uploaded.
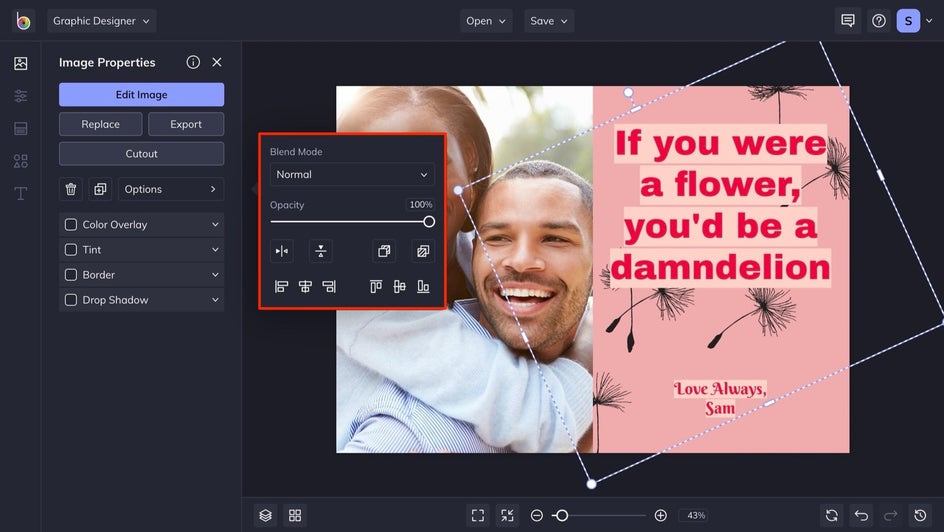
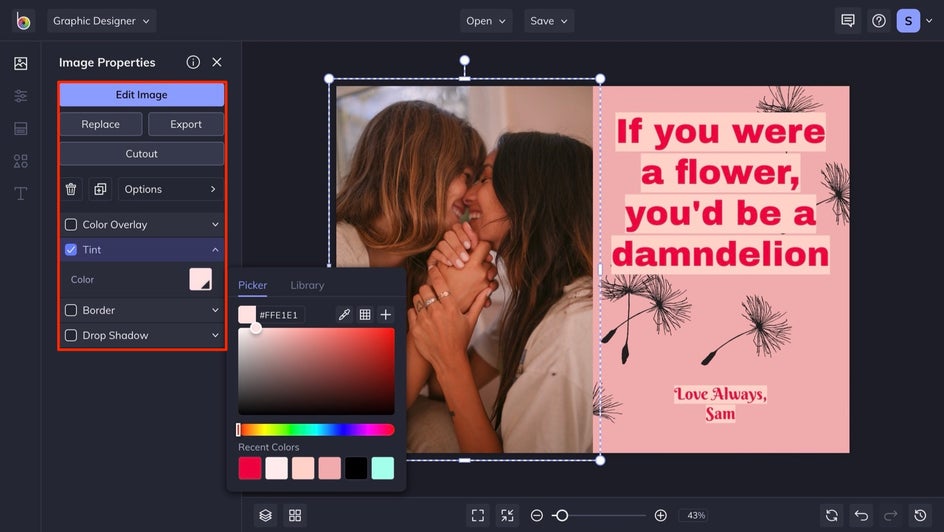
Here, we've added a design to tuck under the text. When you click on an image, the Image Properties menu will appear. From here, you can move your image forward or backward to emphasize your text.
Then, after dragging and dropping our couple into the preset, we're going to use that same menu to add a bit of a tint.
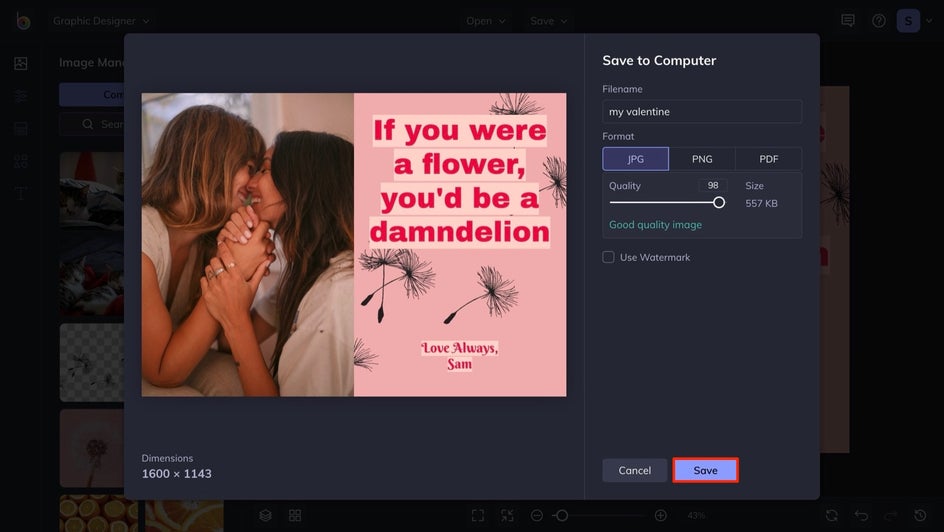
Step 5: Save Your Text Design
Once you're done designing, it's time to save. Click the Save button, found at the top of your canvas, and save to your location of choice!
The Final Result
As you can see, we've made this template our own with some original text and assets. It's super easy to utilize the Text tab and subsequent menus add a drop shadow, a curve, and more to your designs. Get started in the Graphic Designer today!


Adding Text to Other Projects
The Text tab is not limited to the Graphic Designer – you can also utilize it in all of your other designs. Here are a few examples!
Adding Text in the Photo Editor
With our preset text combos, you can add complimentary text to any photo in the Photo Editor in seconds. Just head to the Text tab and you'll find all of our available presets. They are customizable, too, meaning you can remove lines, change fonts, and more.

Adding Text in the Collage Maker
Add text to your collages in the Collage Maker to make lasting memories, create cards for special occasions, and more. For the example above, it's important to include a variety of cute pics of the available cats. And by putting the name of the cafe on the collage, you have some marketing material that will surely draw a crowd.